Rejection reasons, thoughts and directions

Wato wato all

What a truly fantastic response to my rejection letter, thank you so much for all the kindness and support. In the darkest of times, its quite a comfort. However, the point isn’t to dwell on the negative, rather to look at possible reasons and fresh approaches that help to move an aspiring maker forward, regarding finding a platform;

An explanation as to why I chose to approach NOTHS to represent my work. I’m really very bemused as to what will sell, looking at the comments gratefully received, it is clear that the bulk of my work so far is not, on the face of it, very suitable. To get the whinging out of the way, I’m not selling near enough pieces to either give me confidence enough to make more. The other more earthy reason is, I’m running out of money to ‘waste’ on designs that are not popular enough to sell ‘where they are now’. Where they are now is something I will re visit to later in this post.

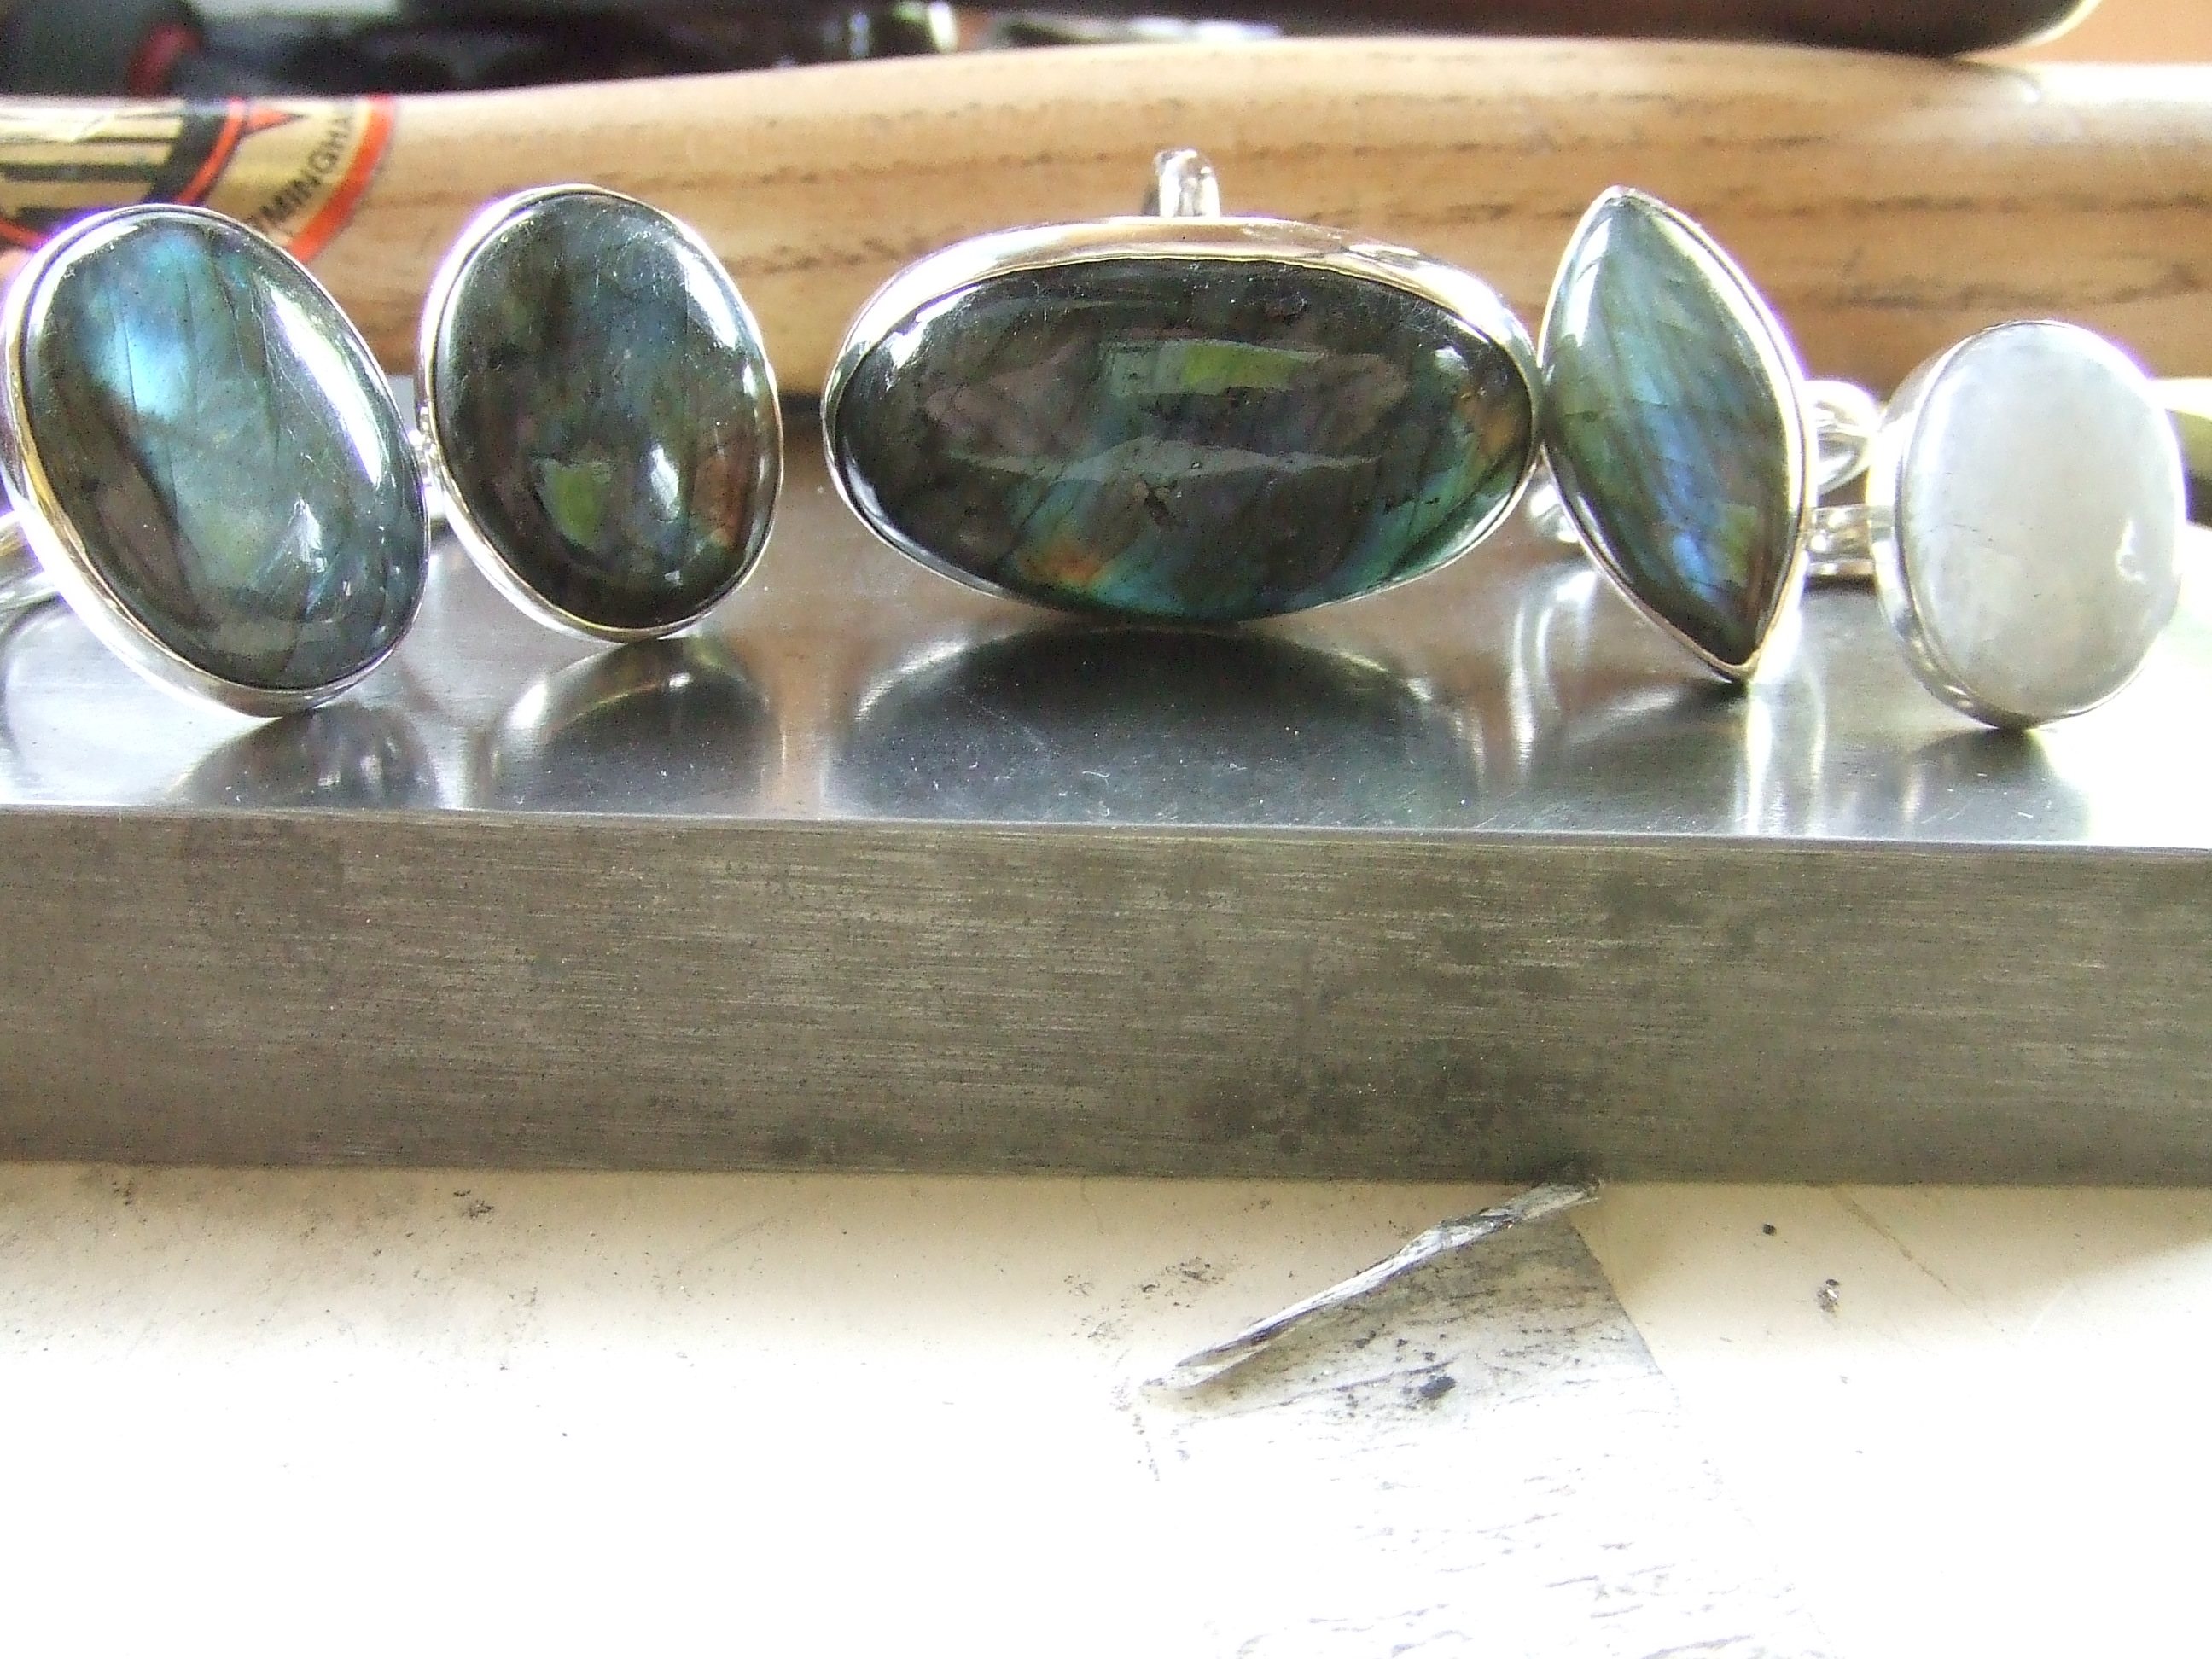
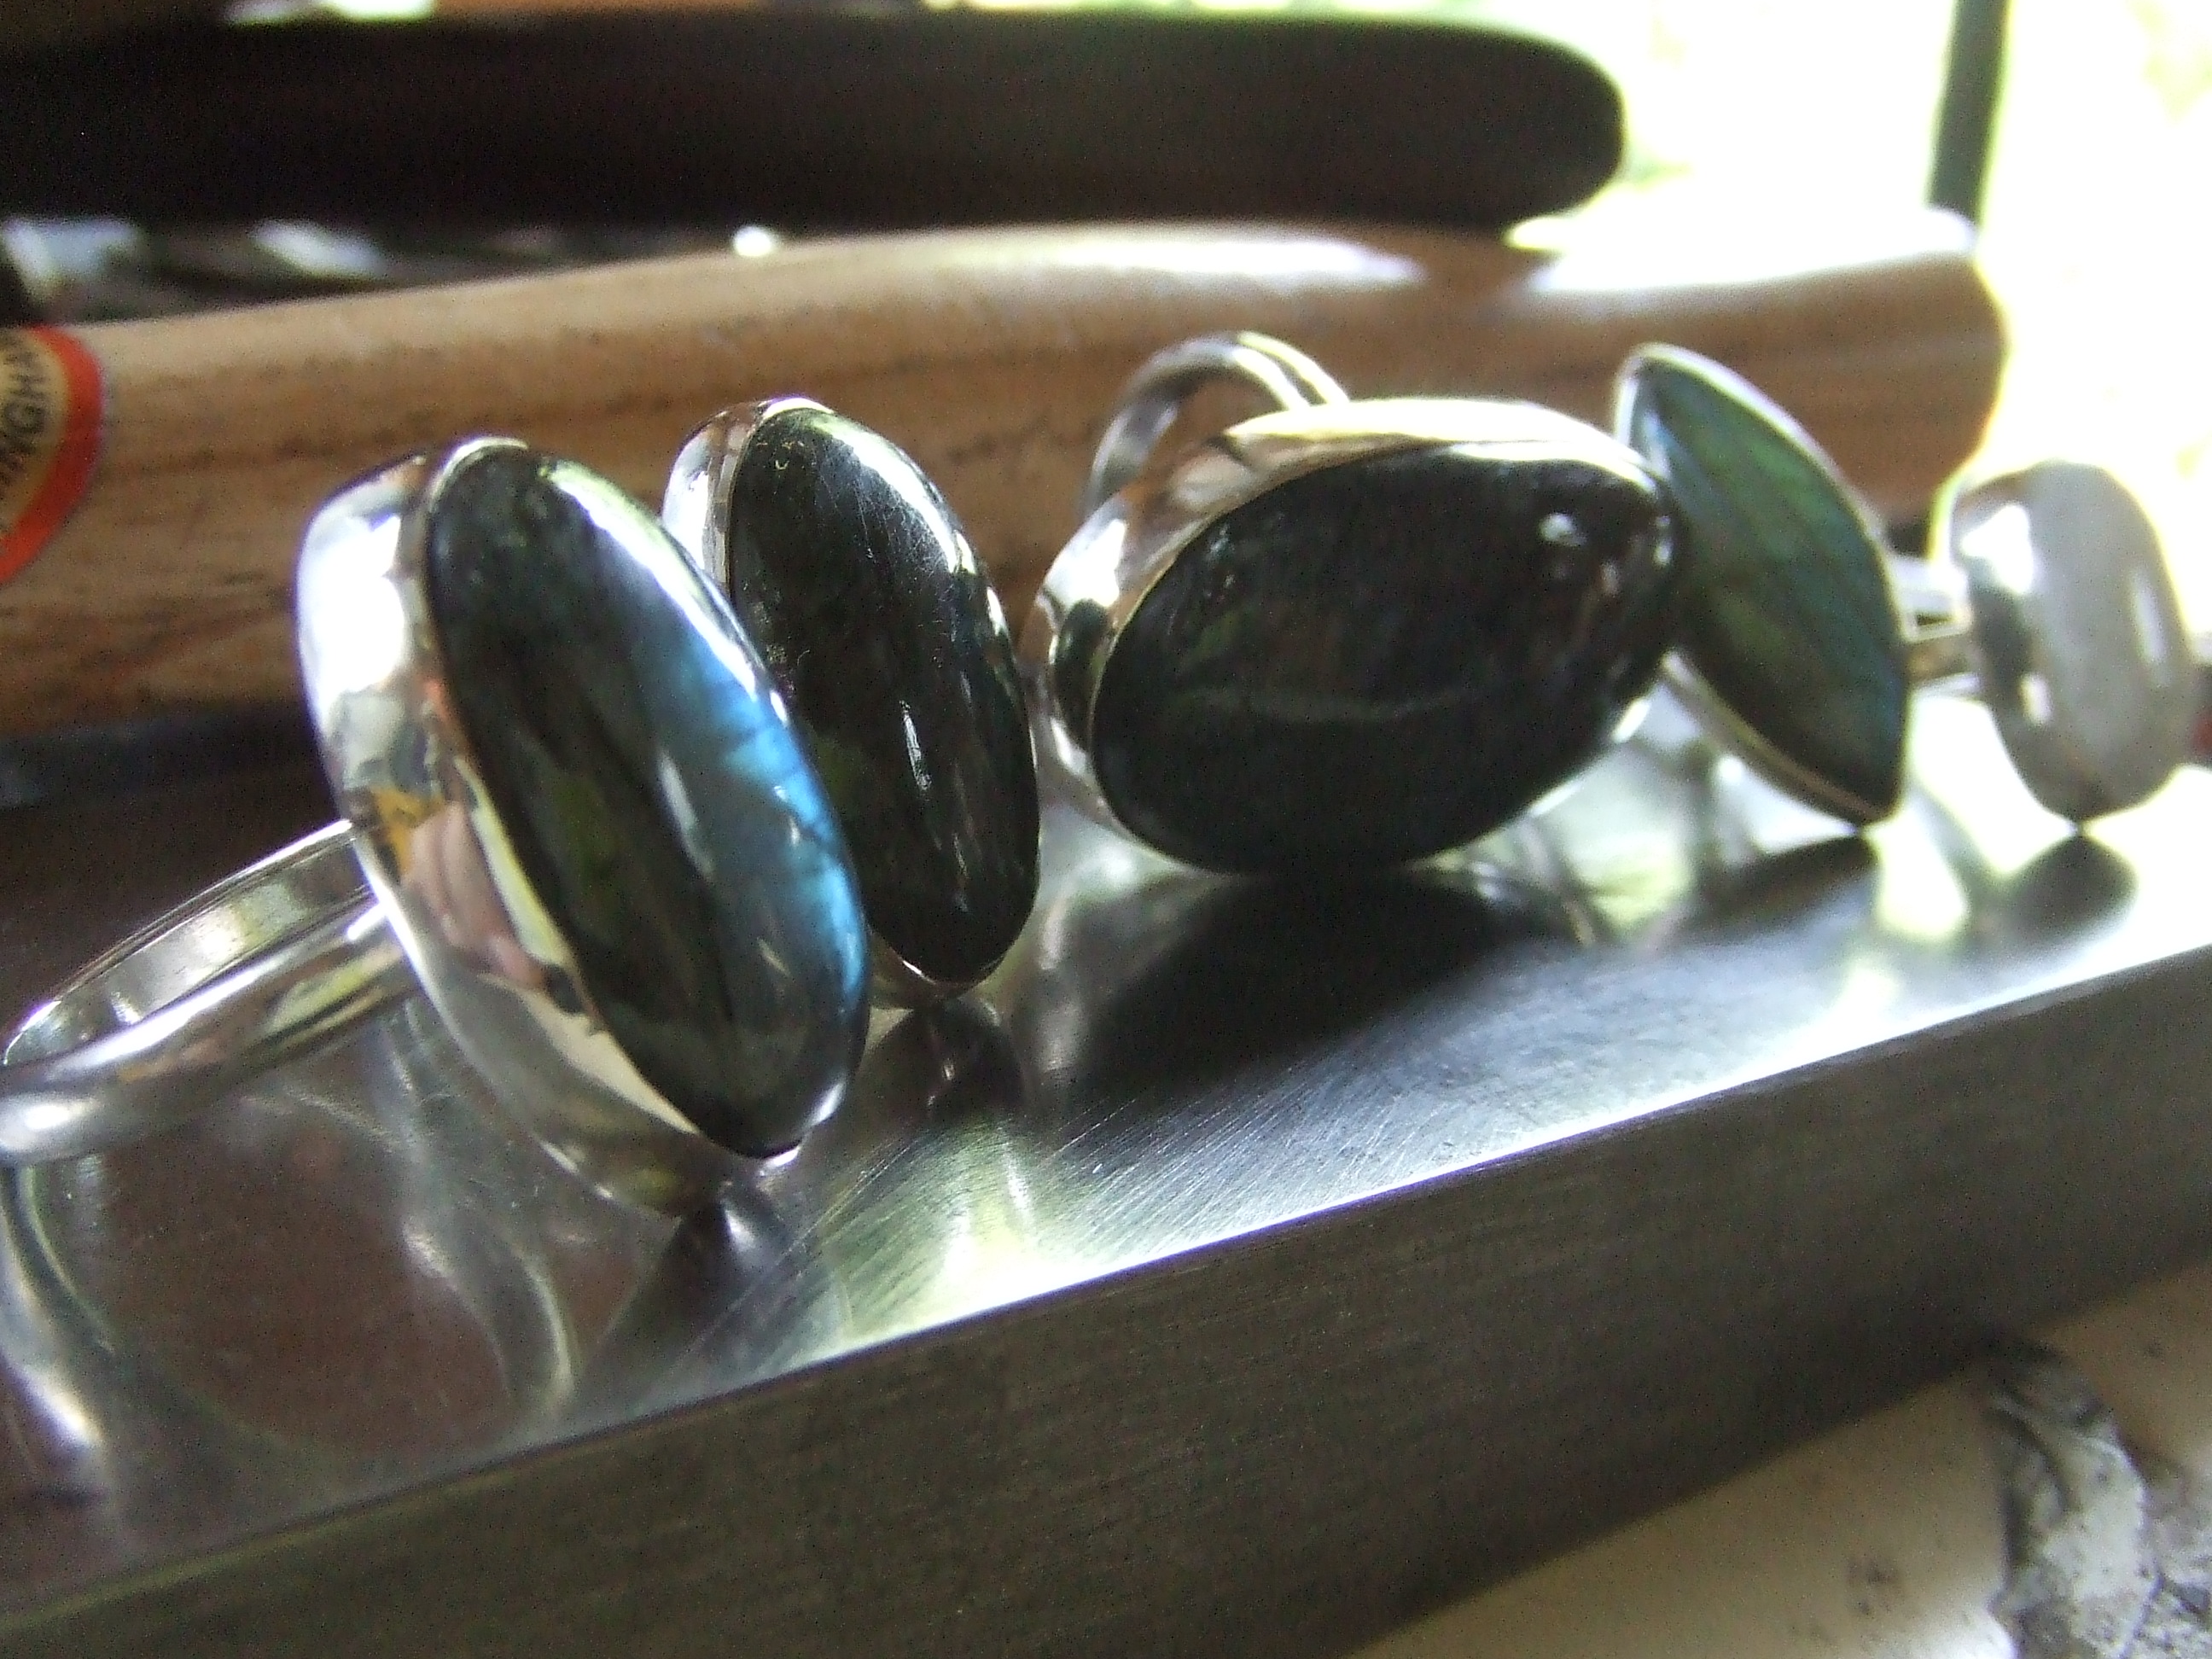
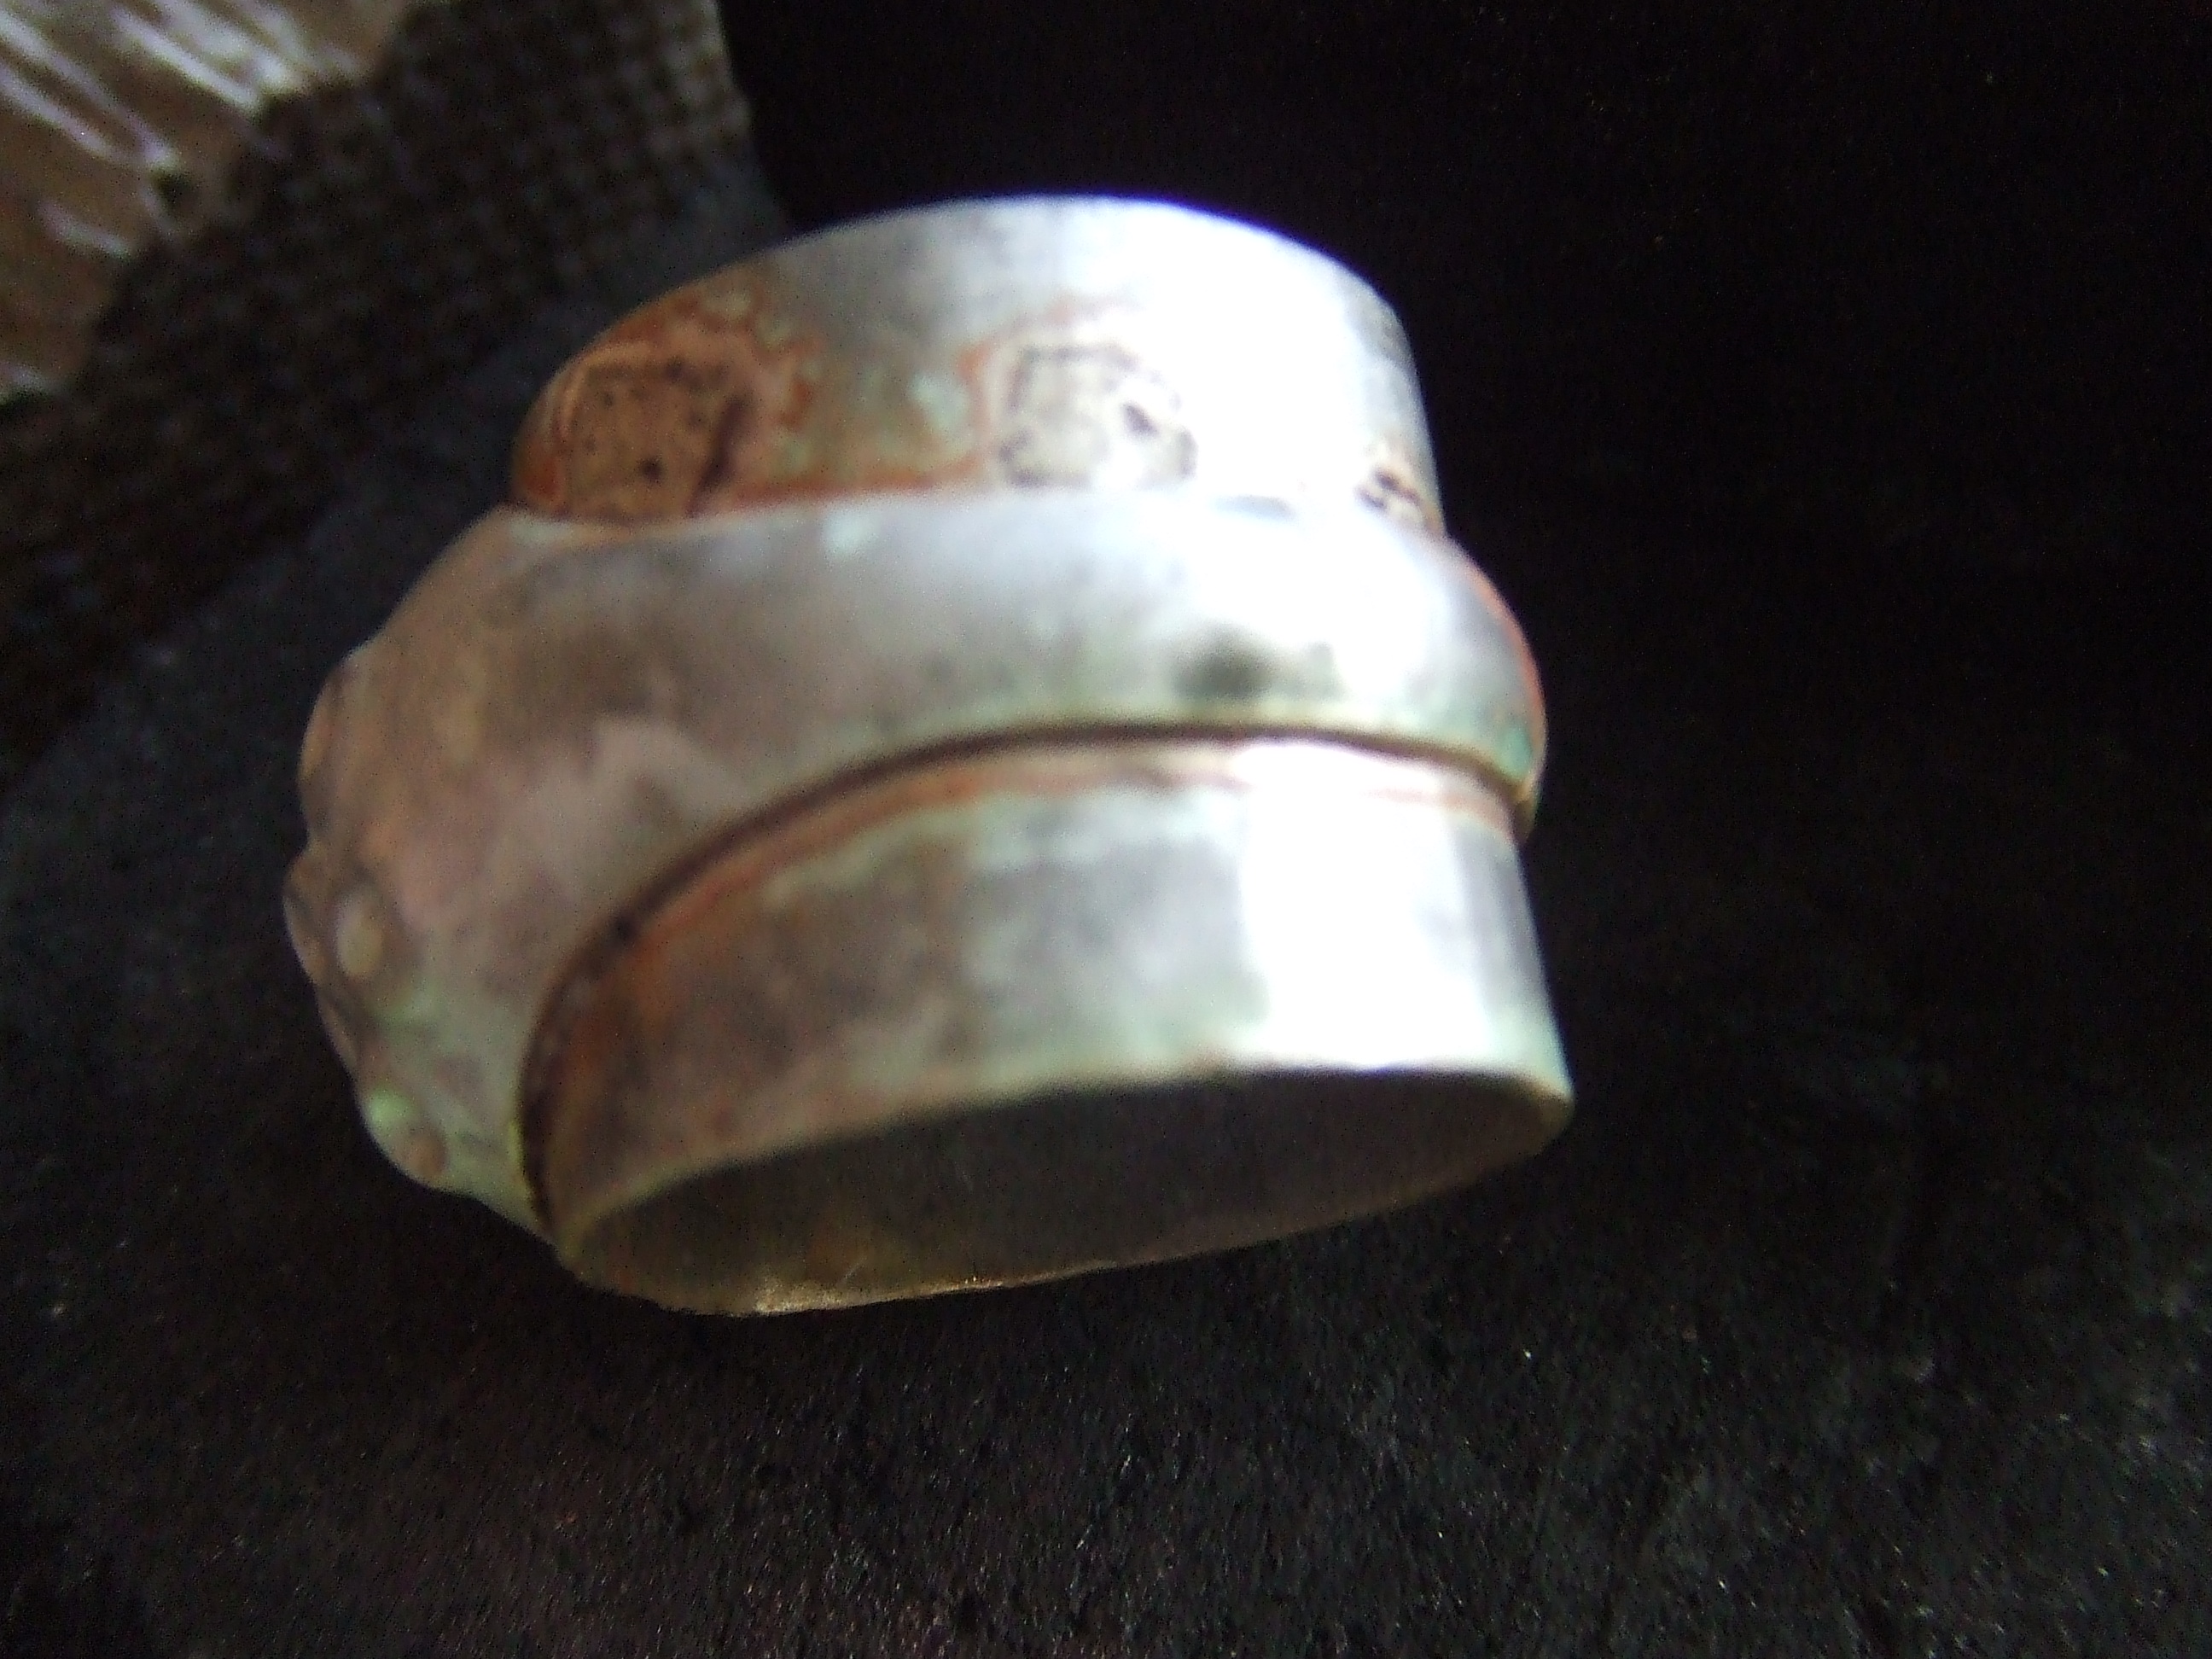
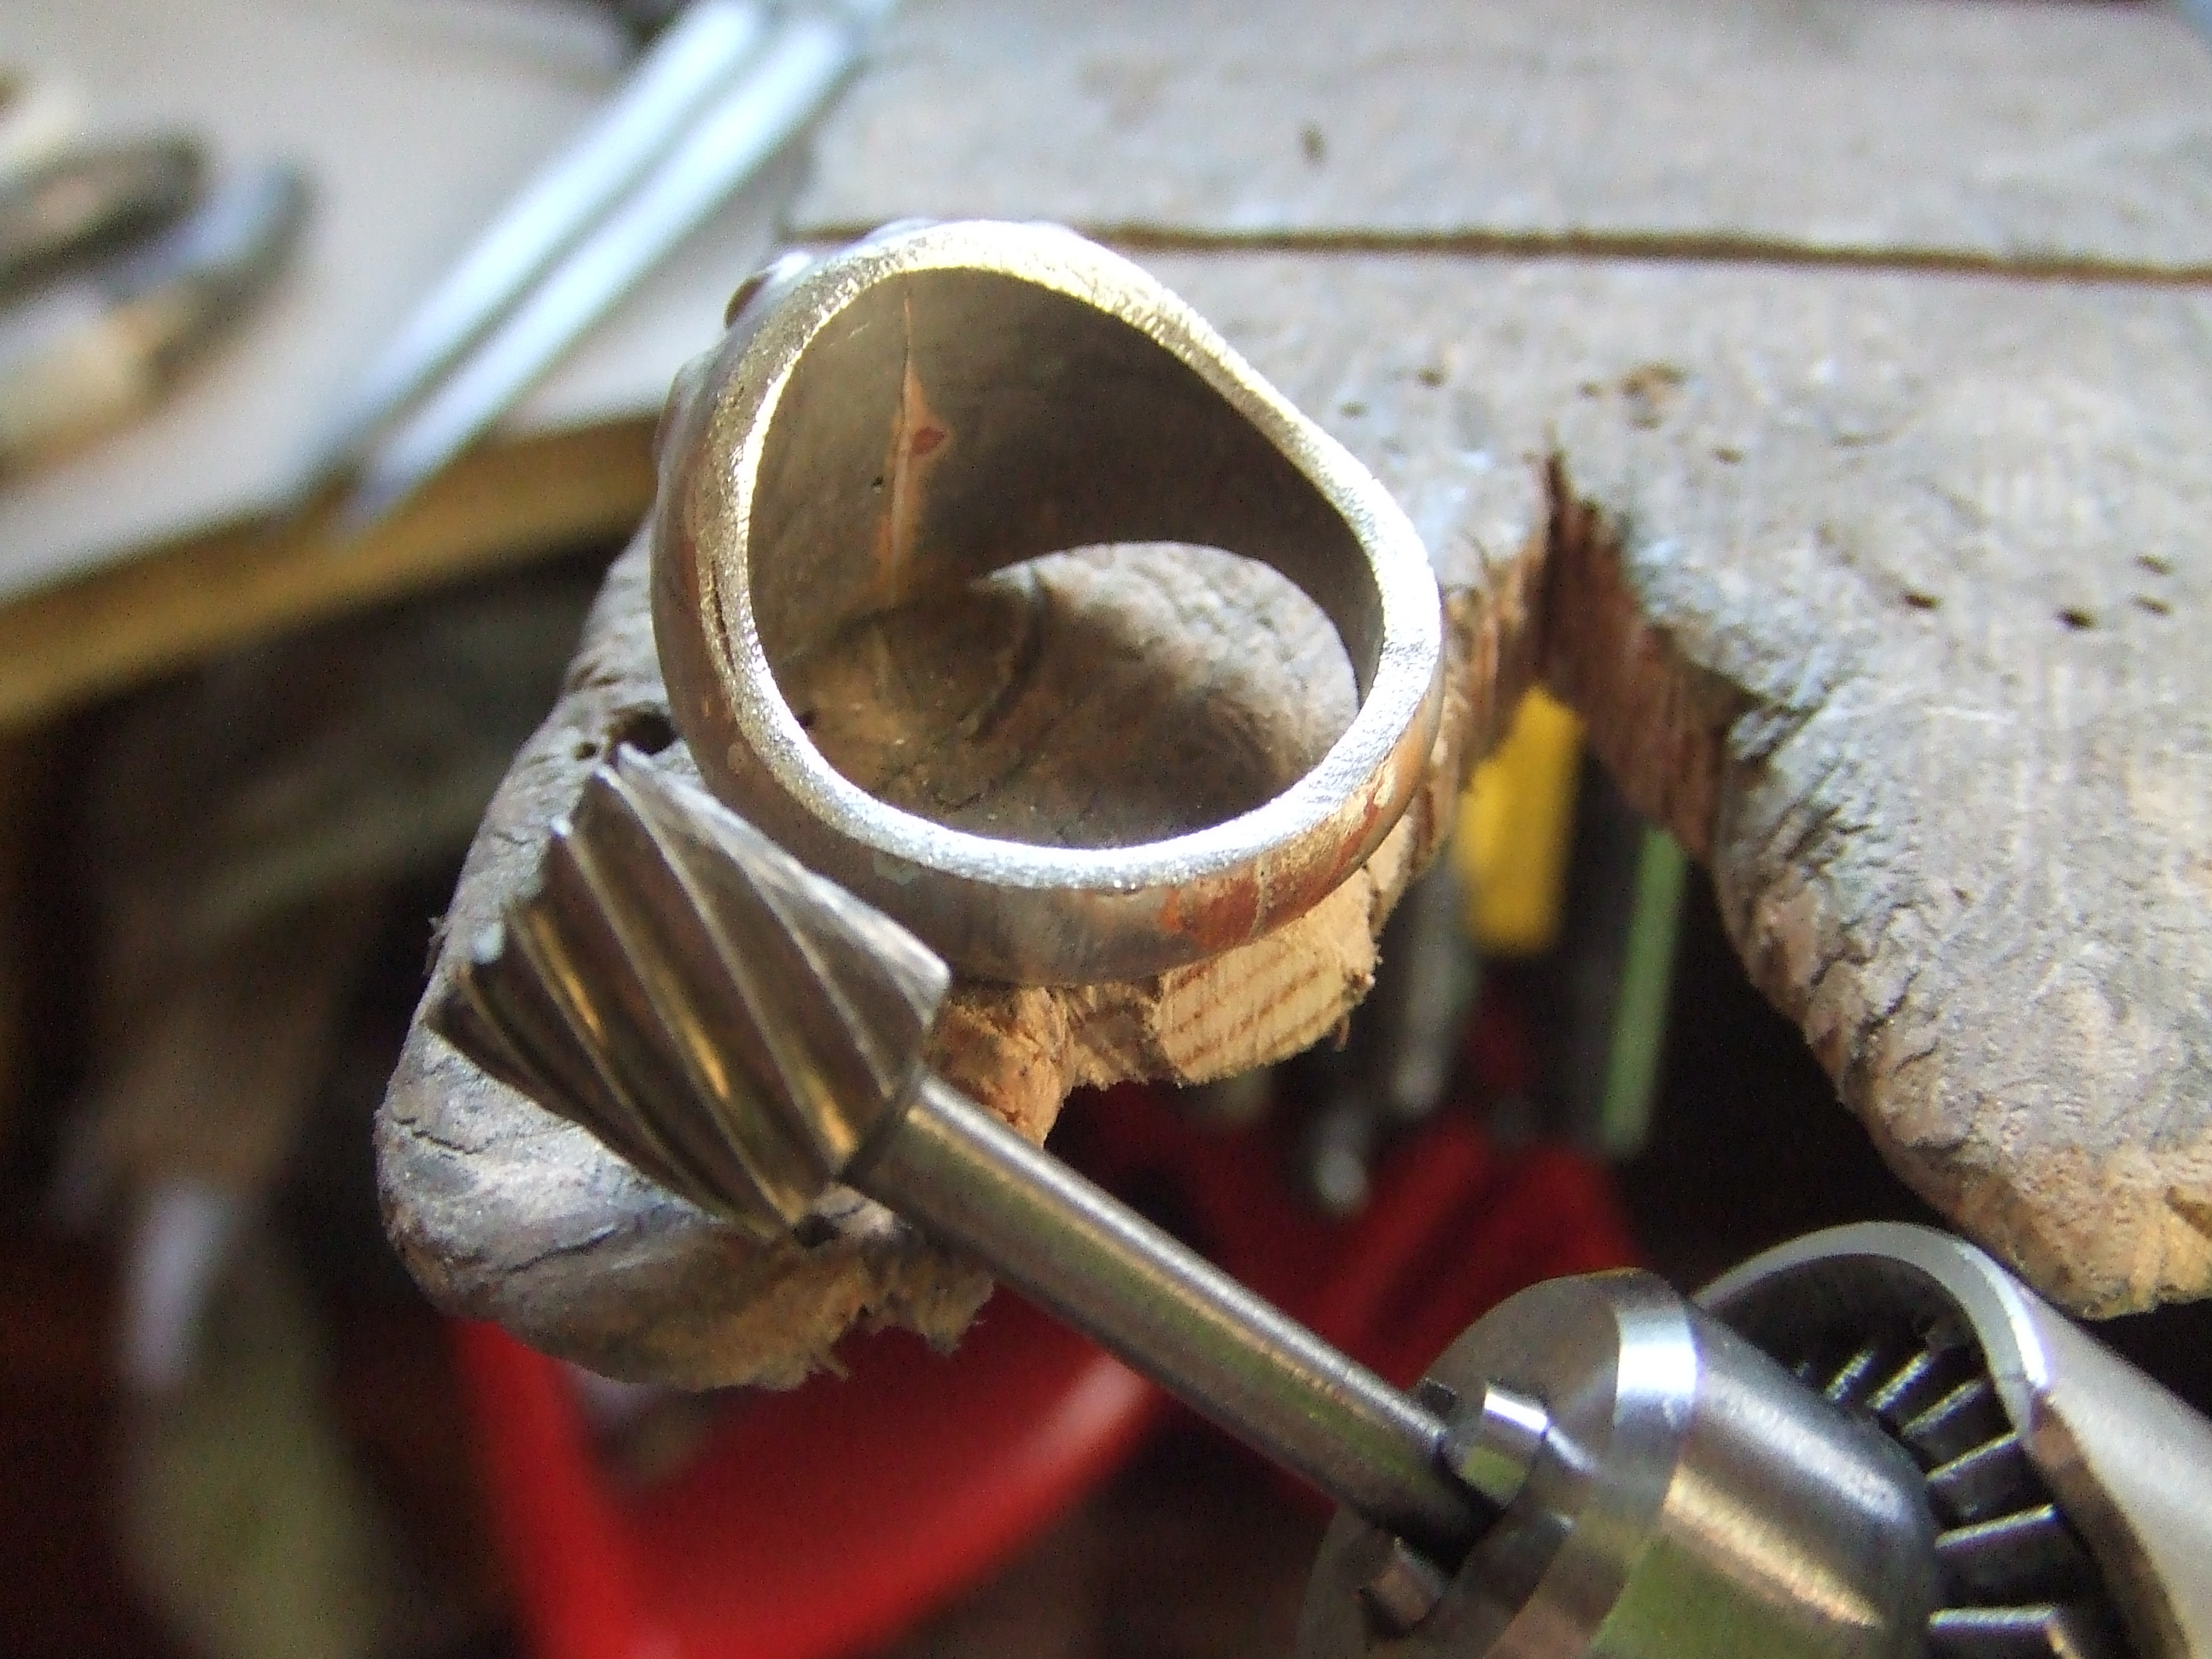
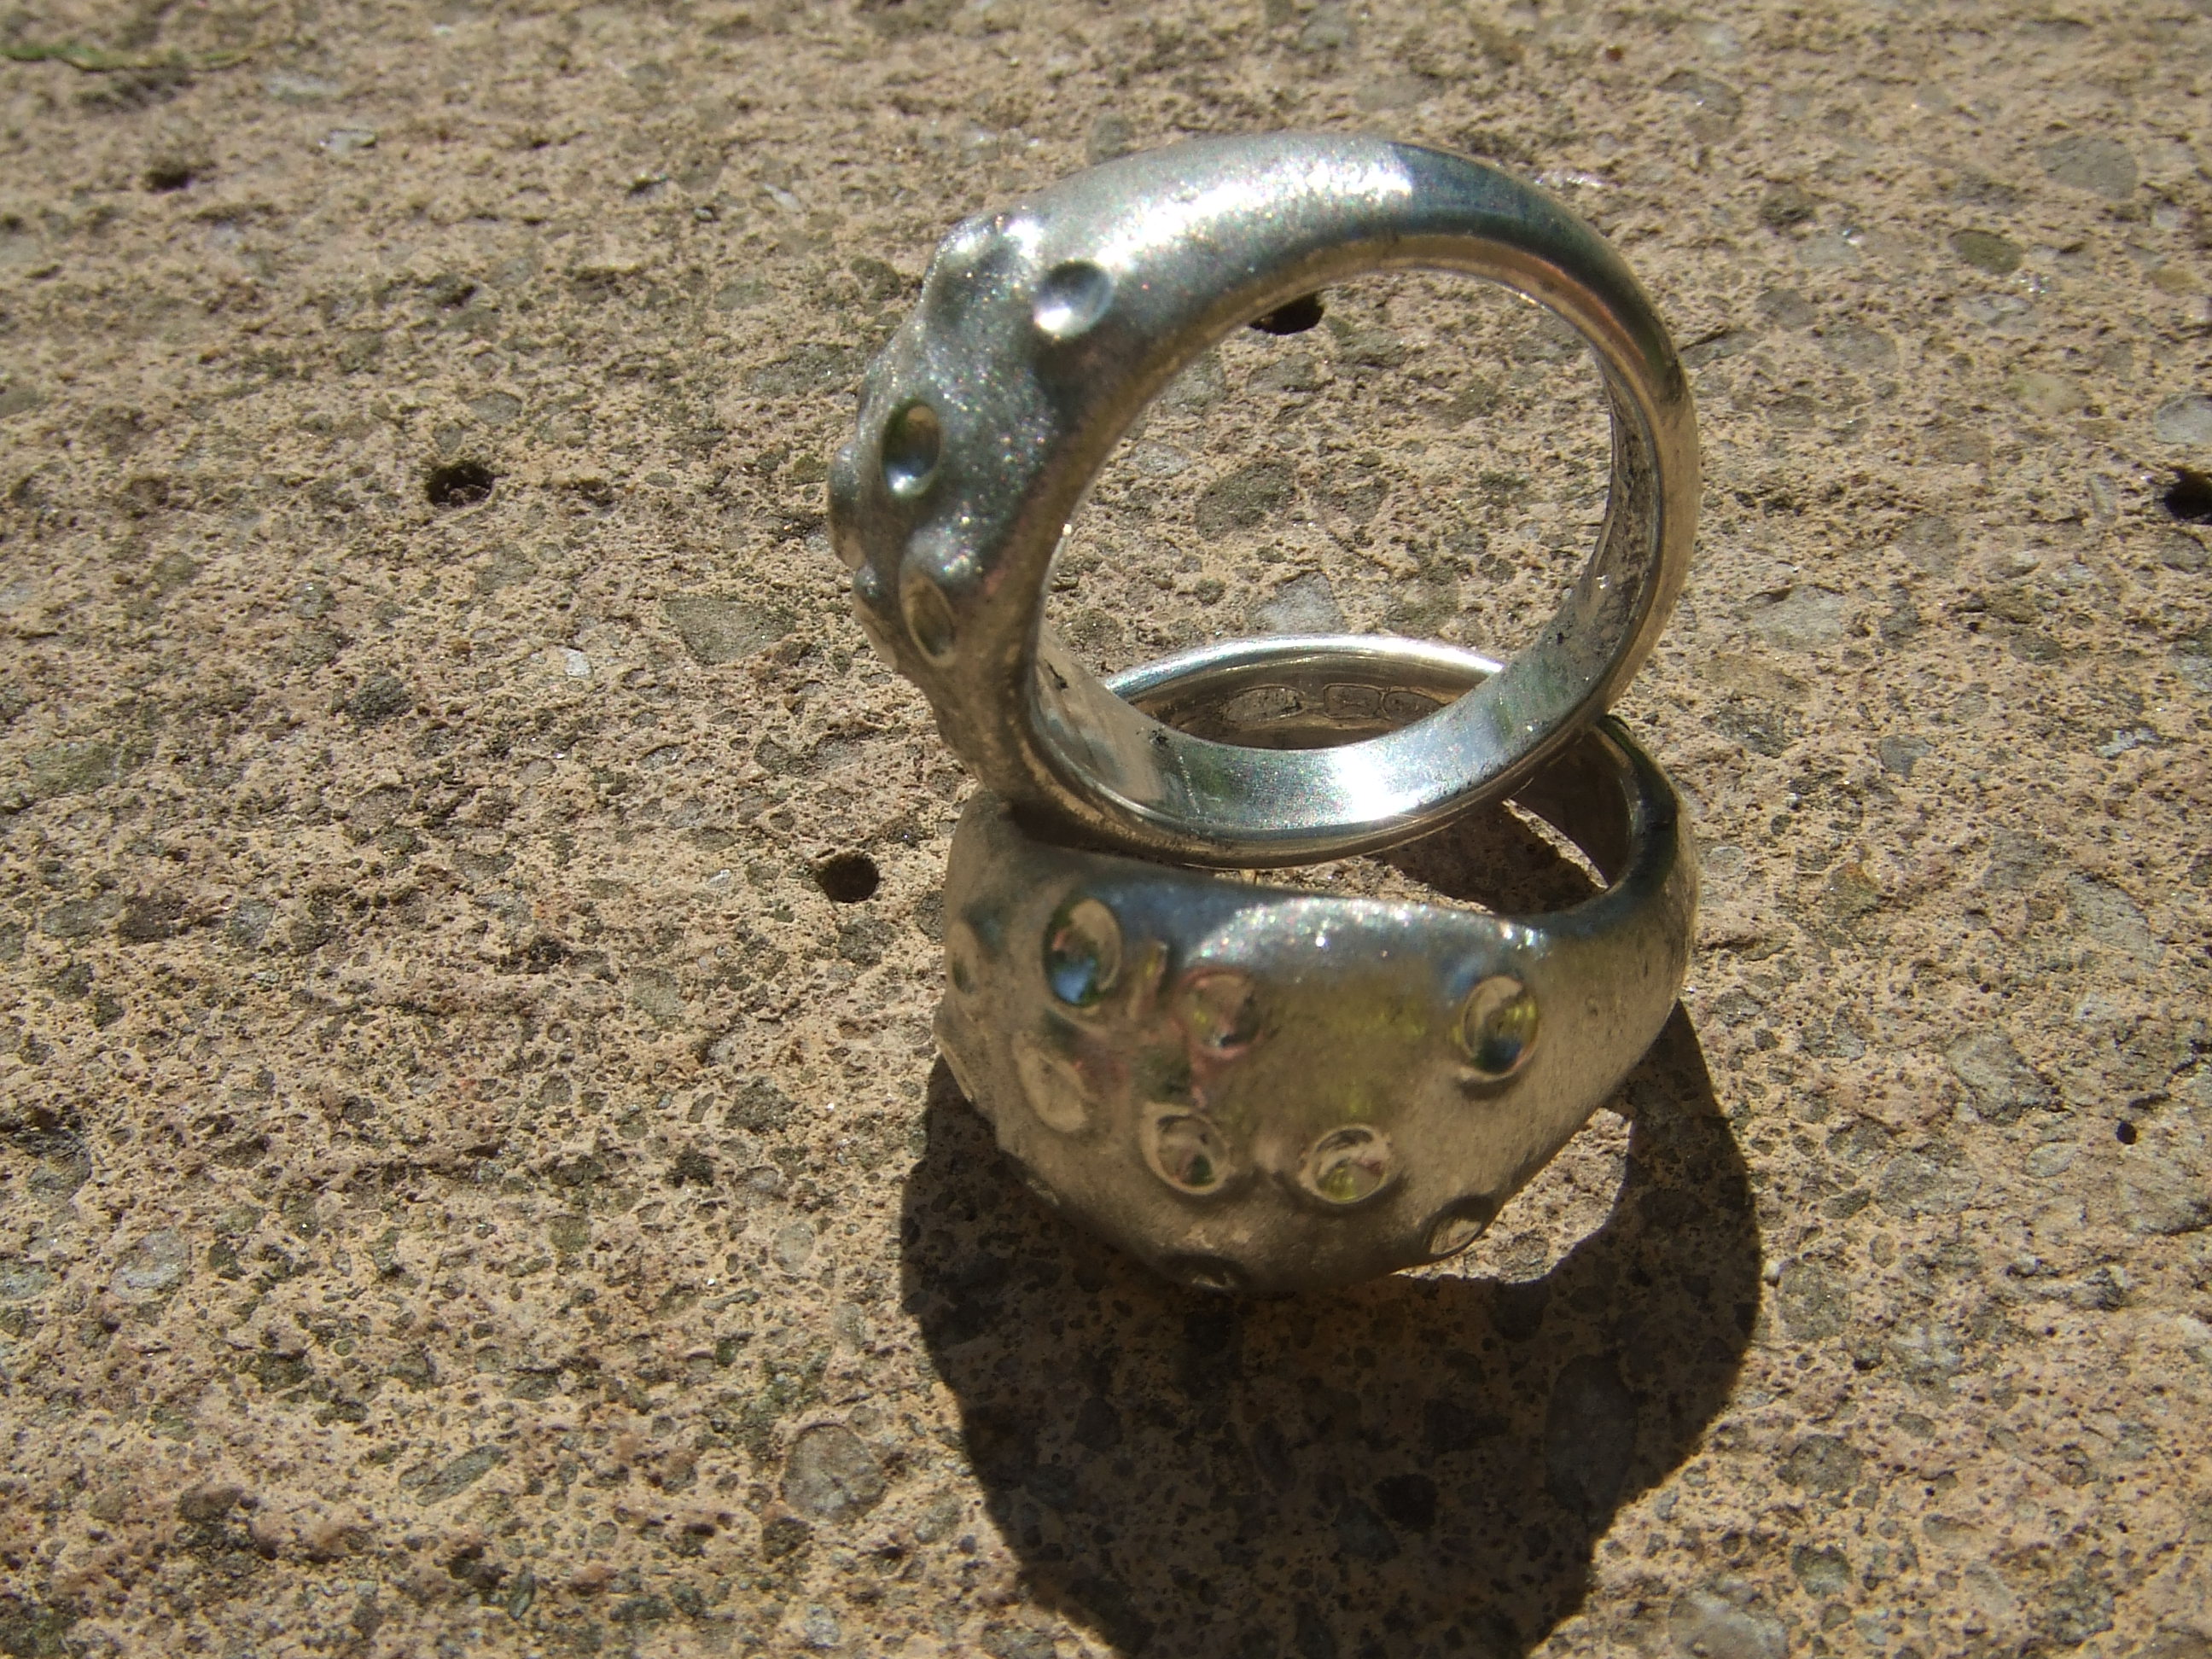
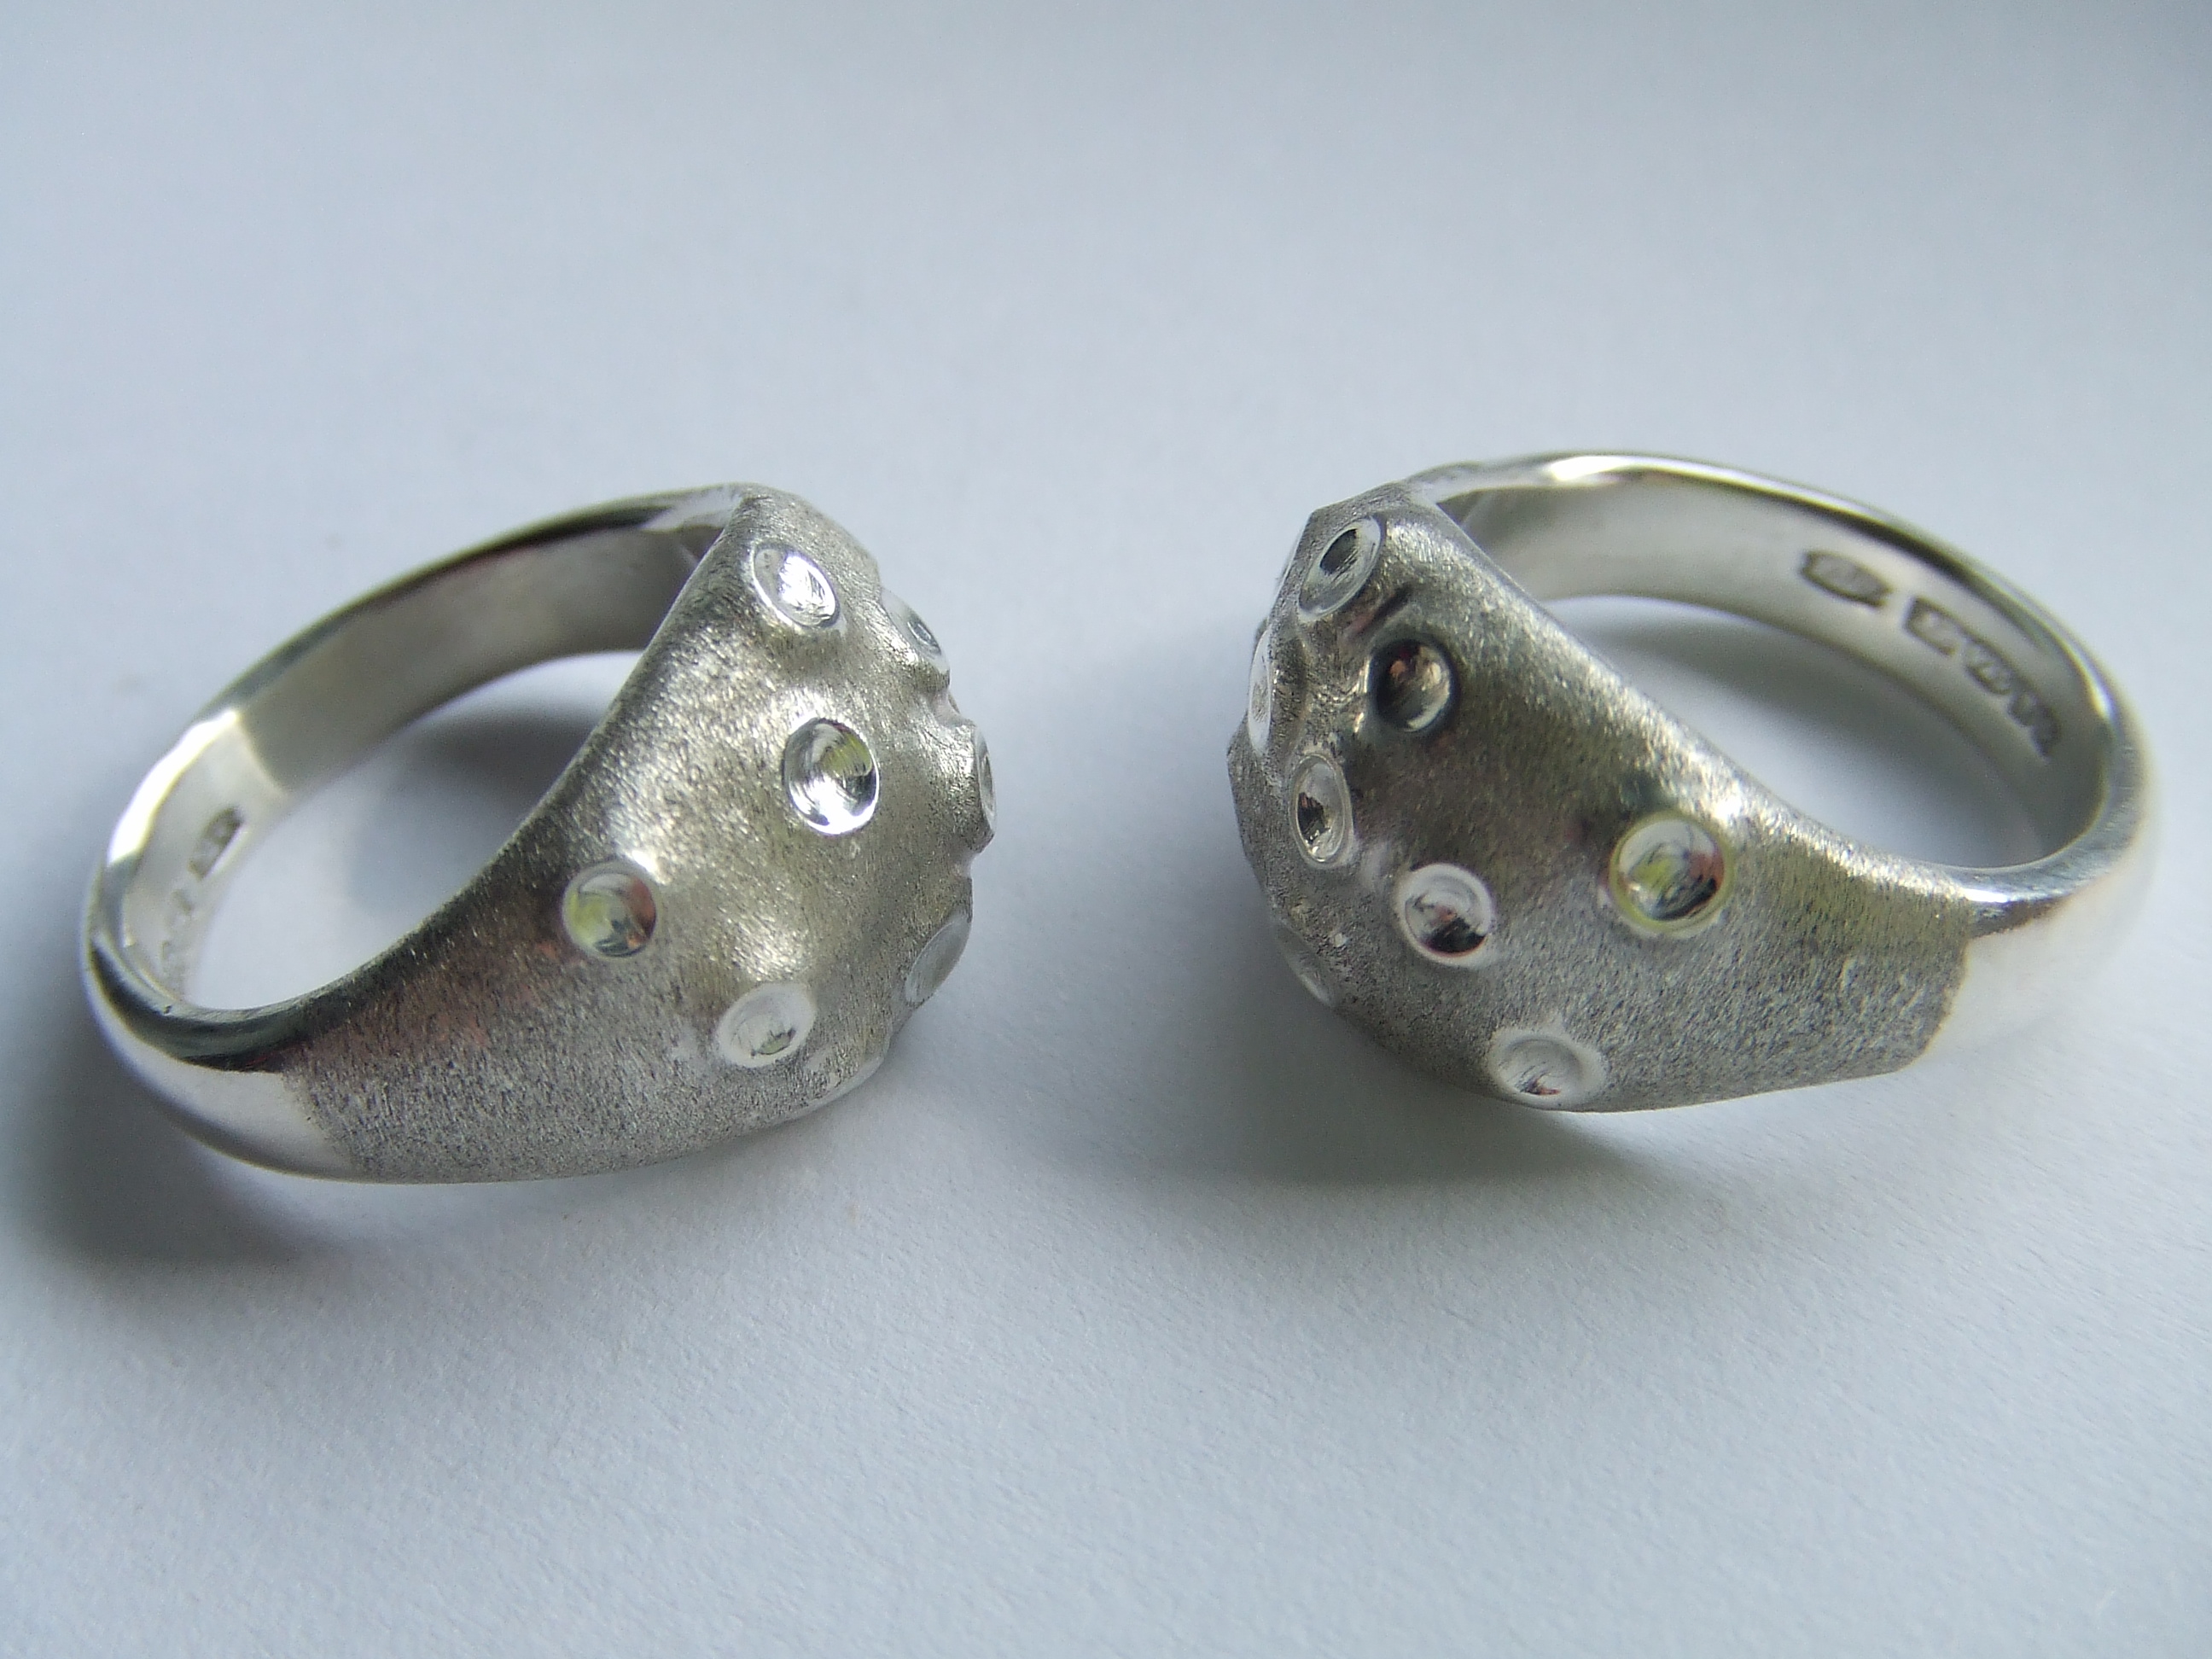
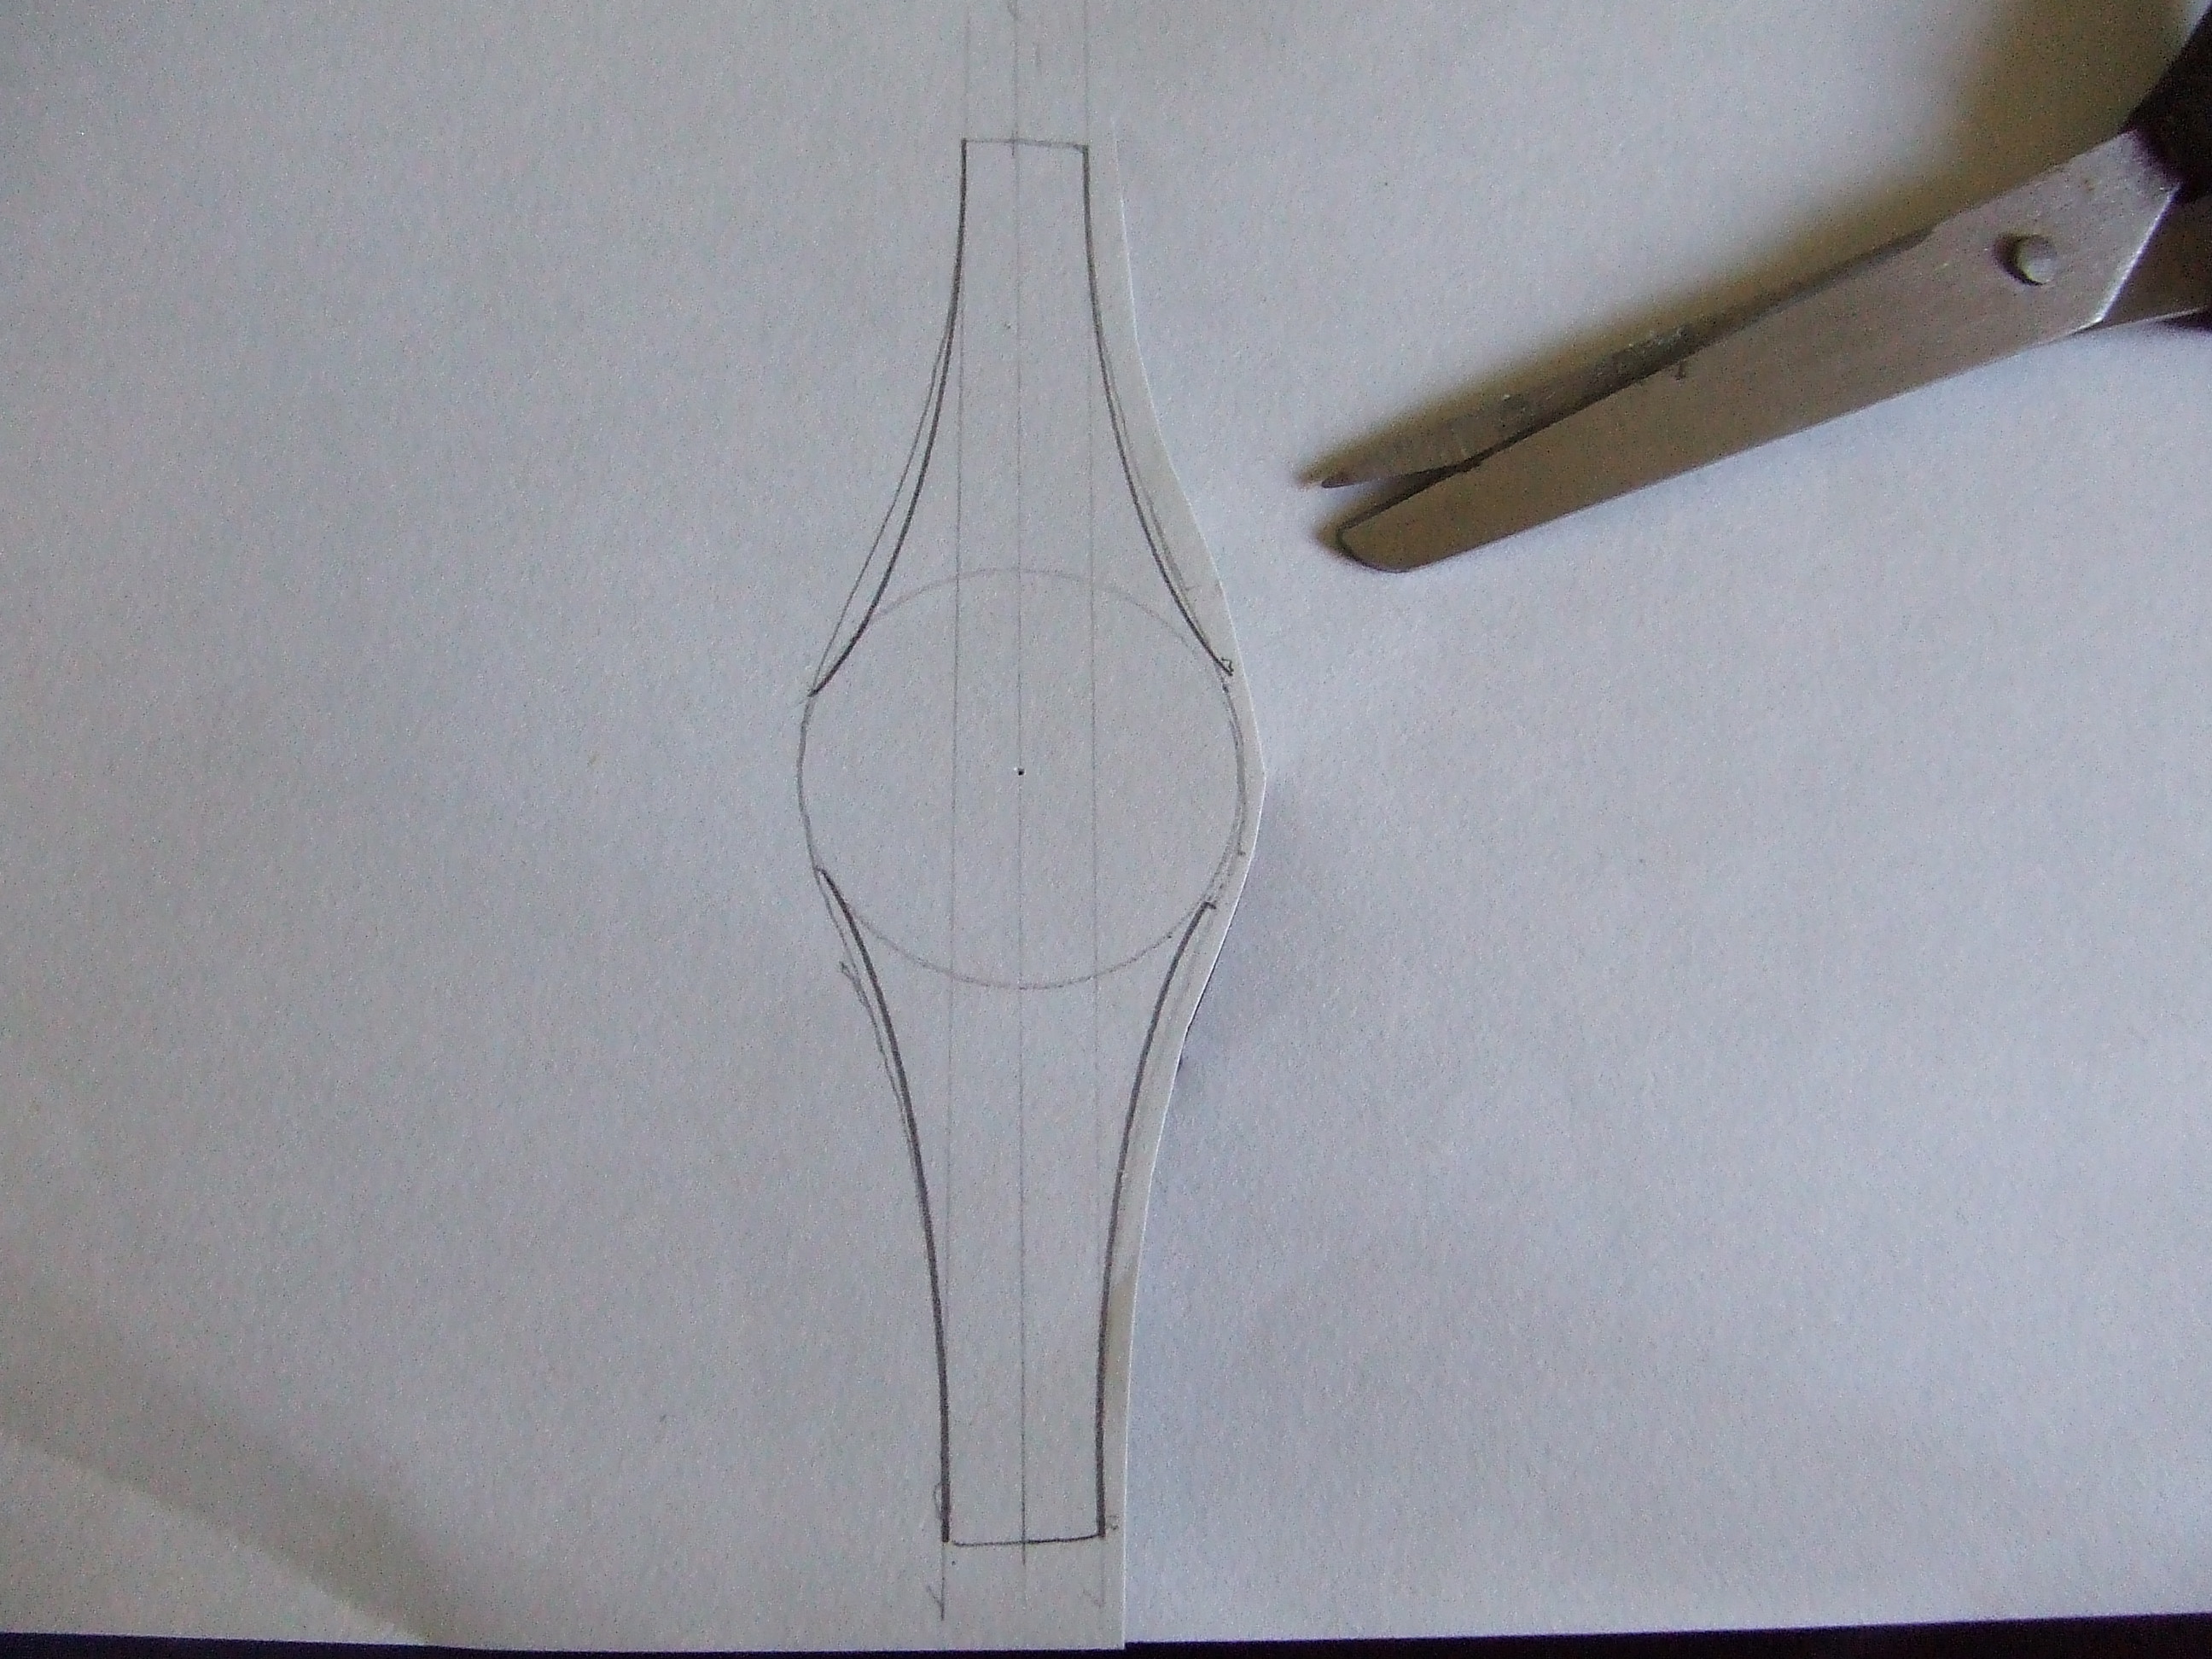
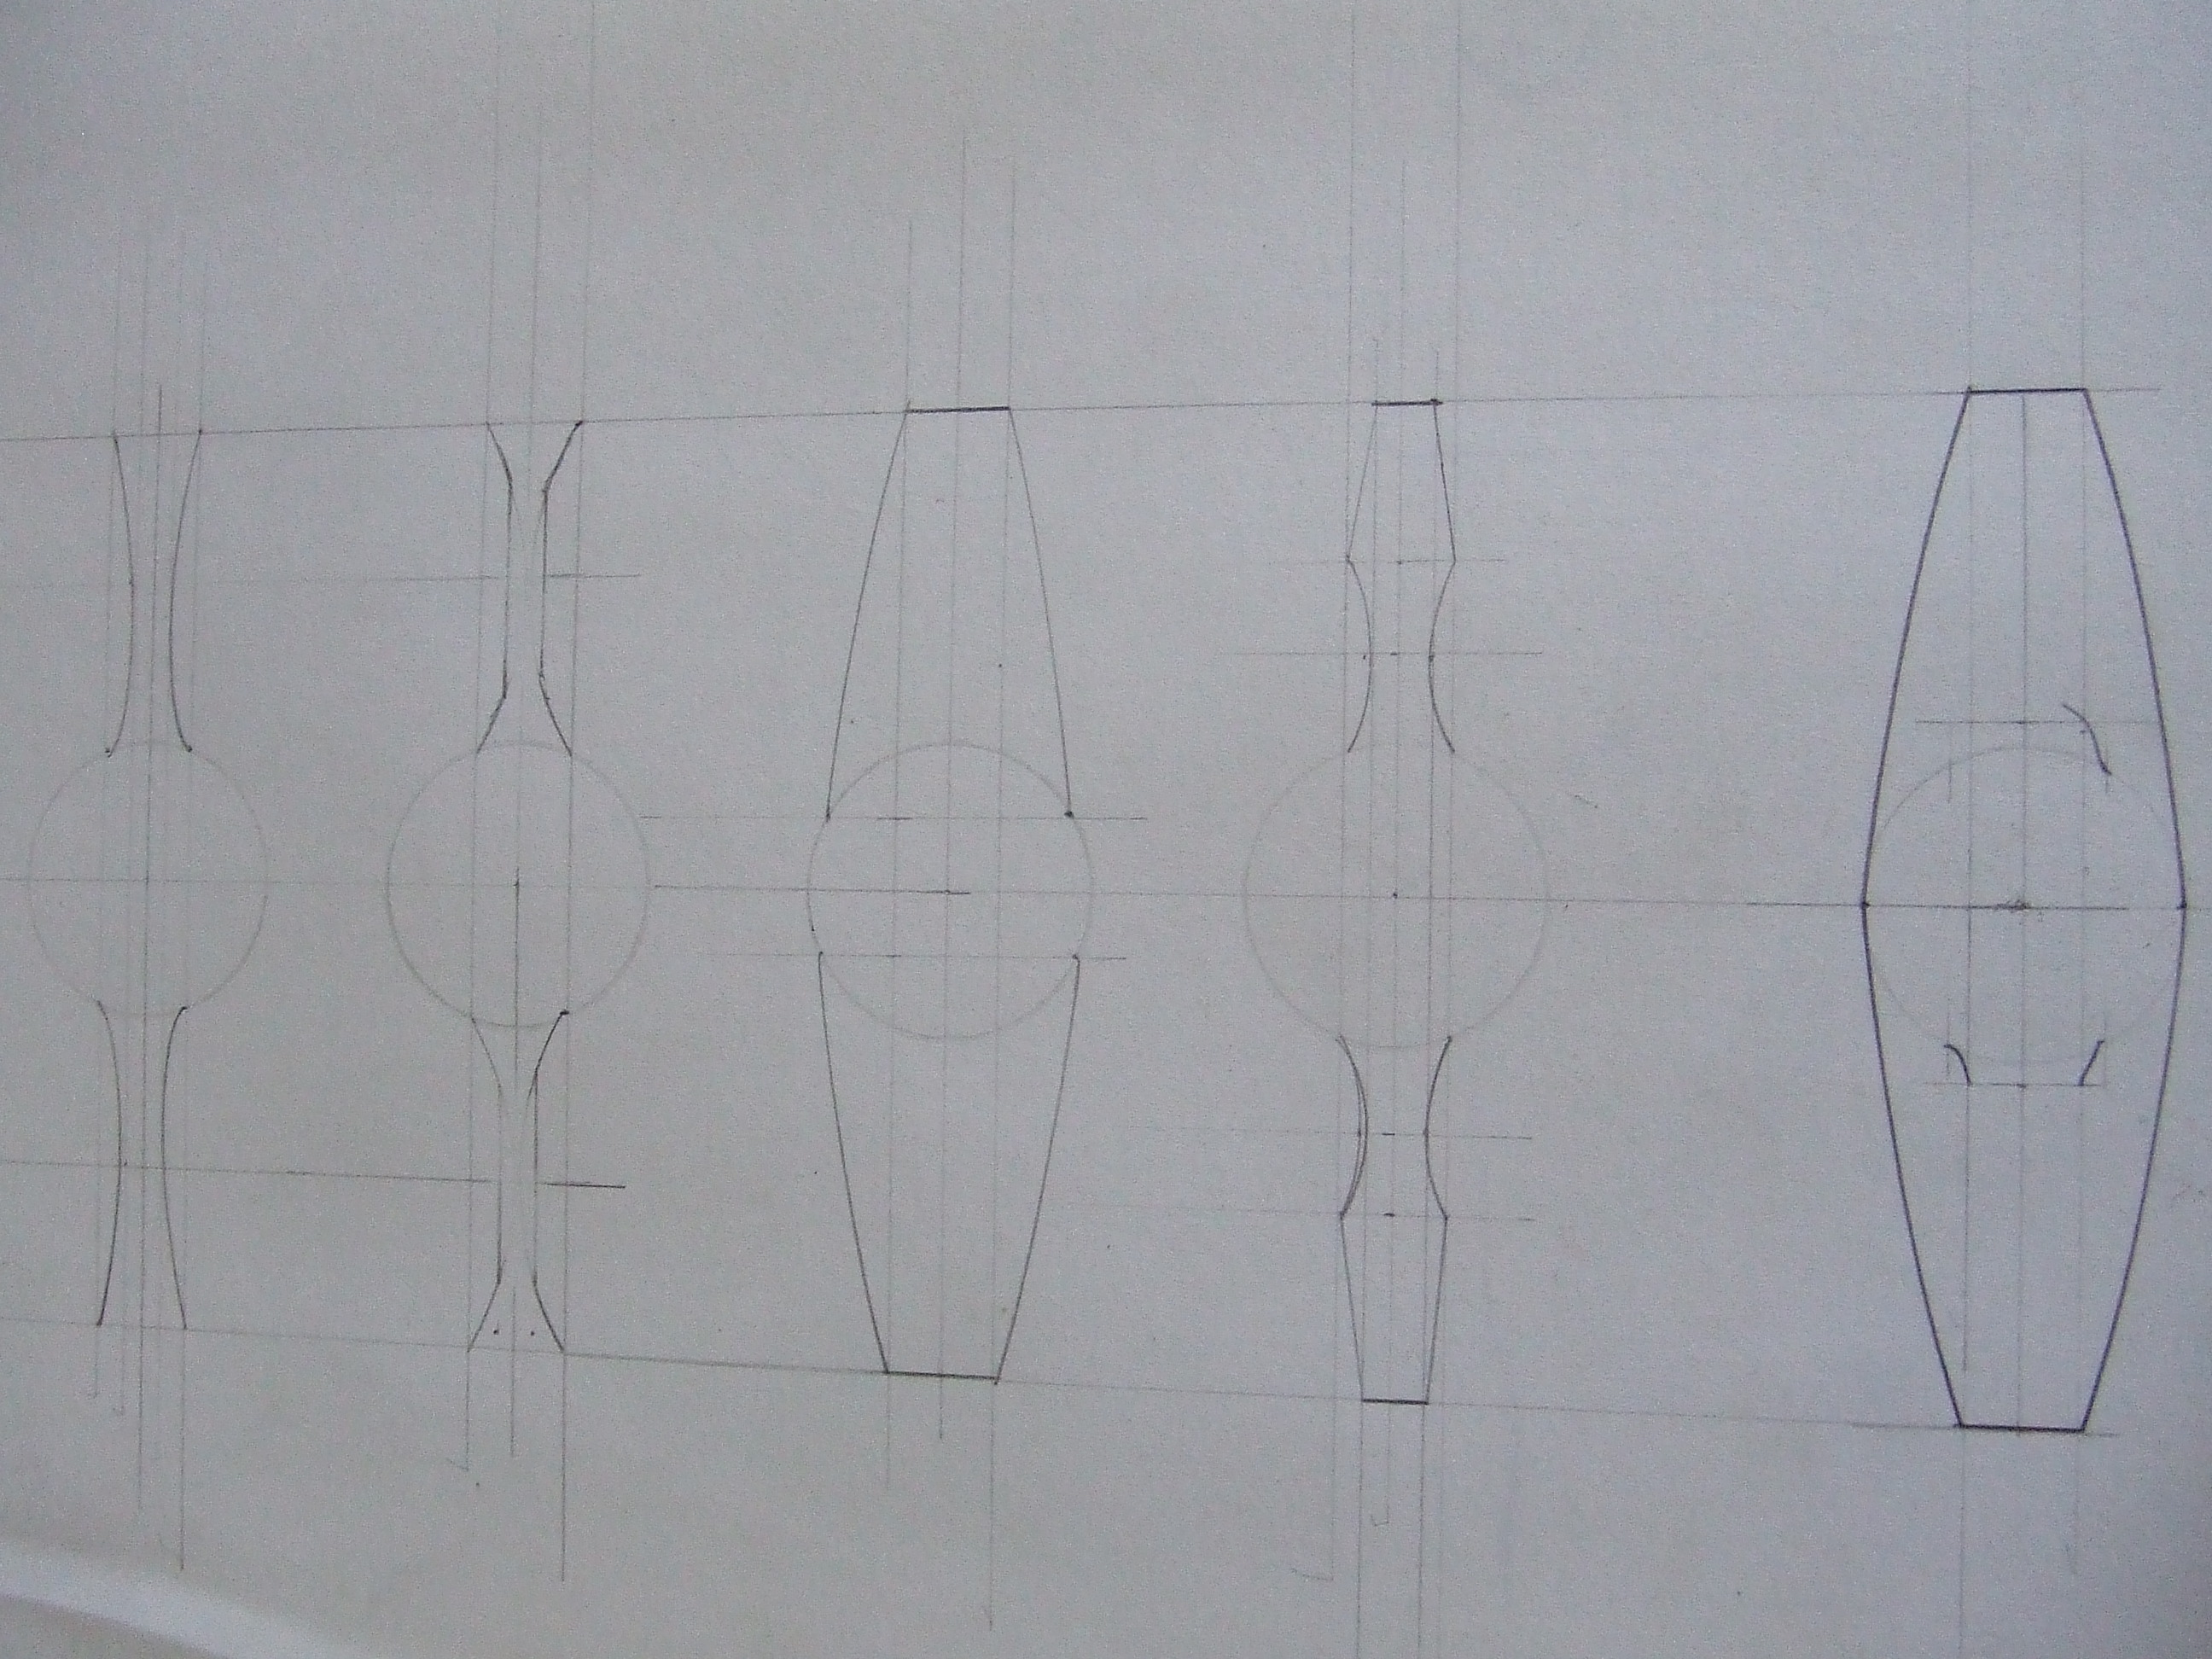
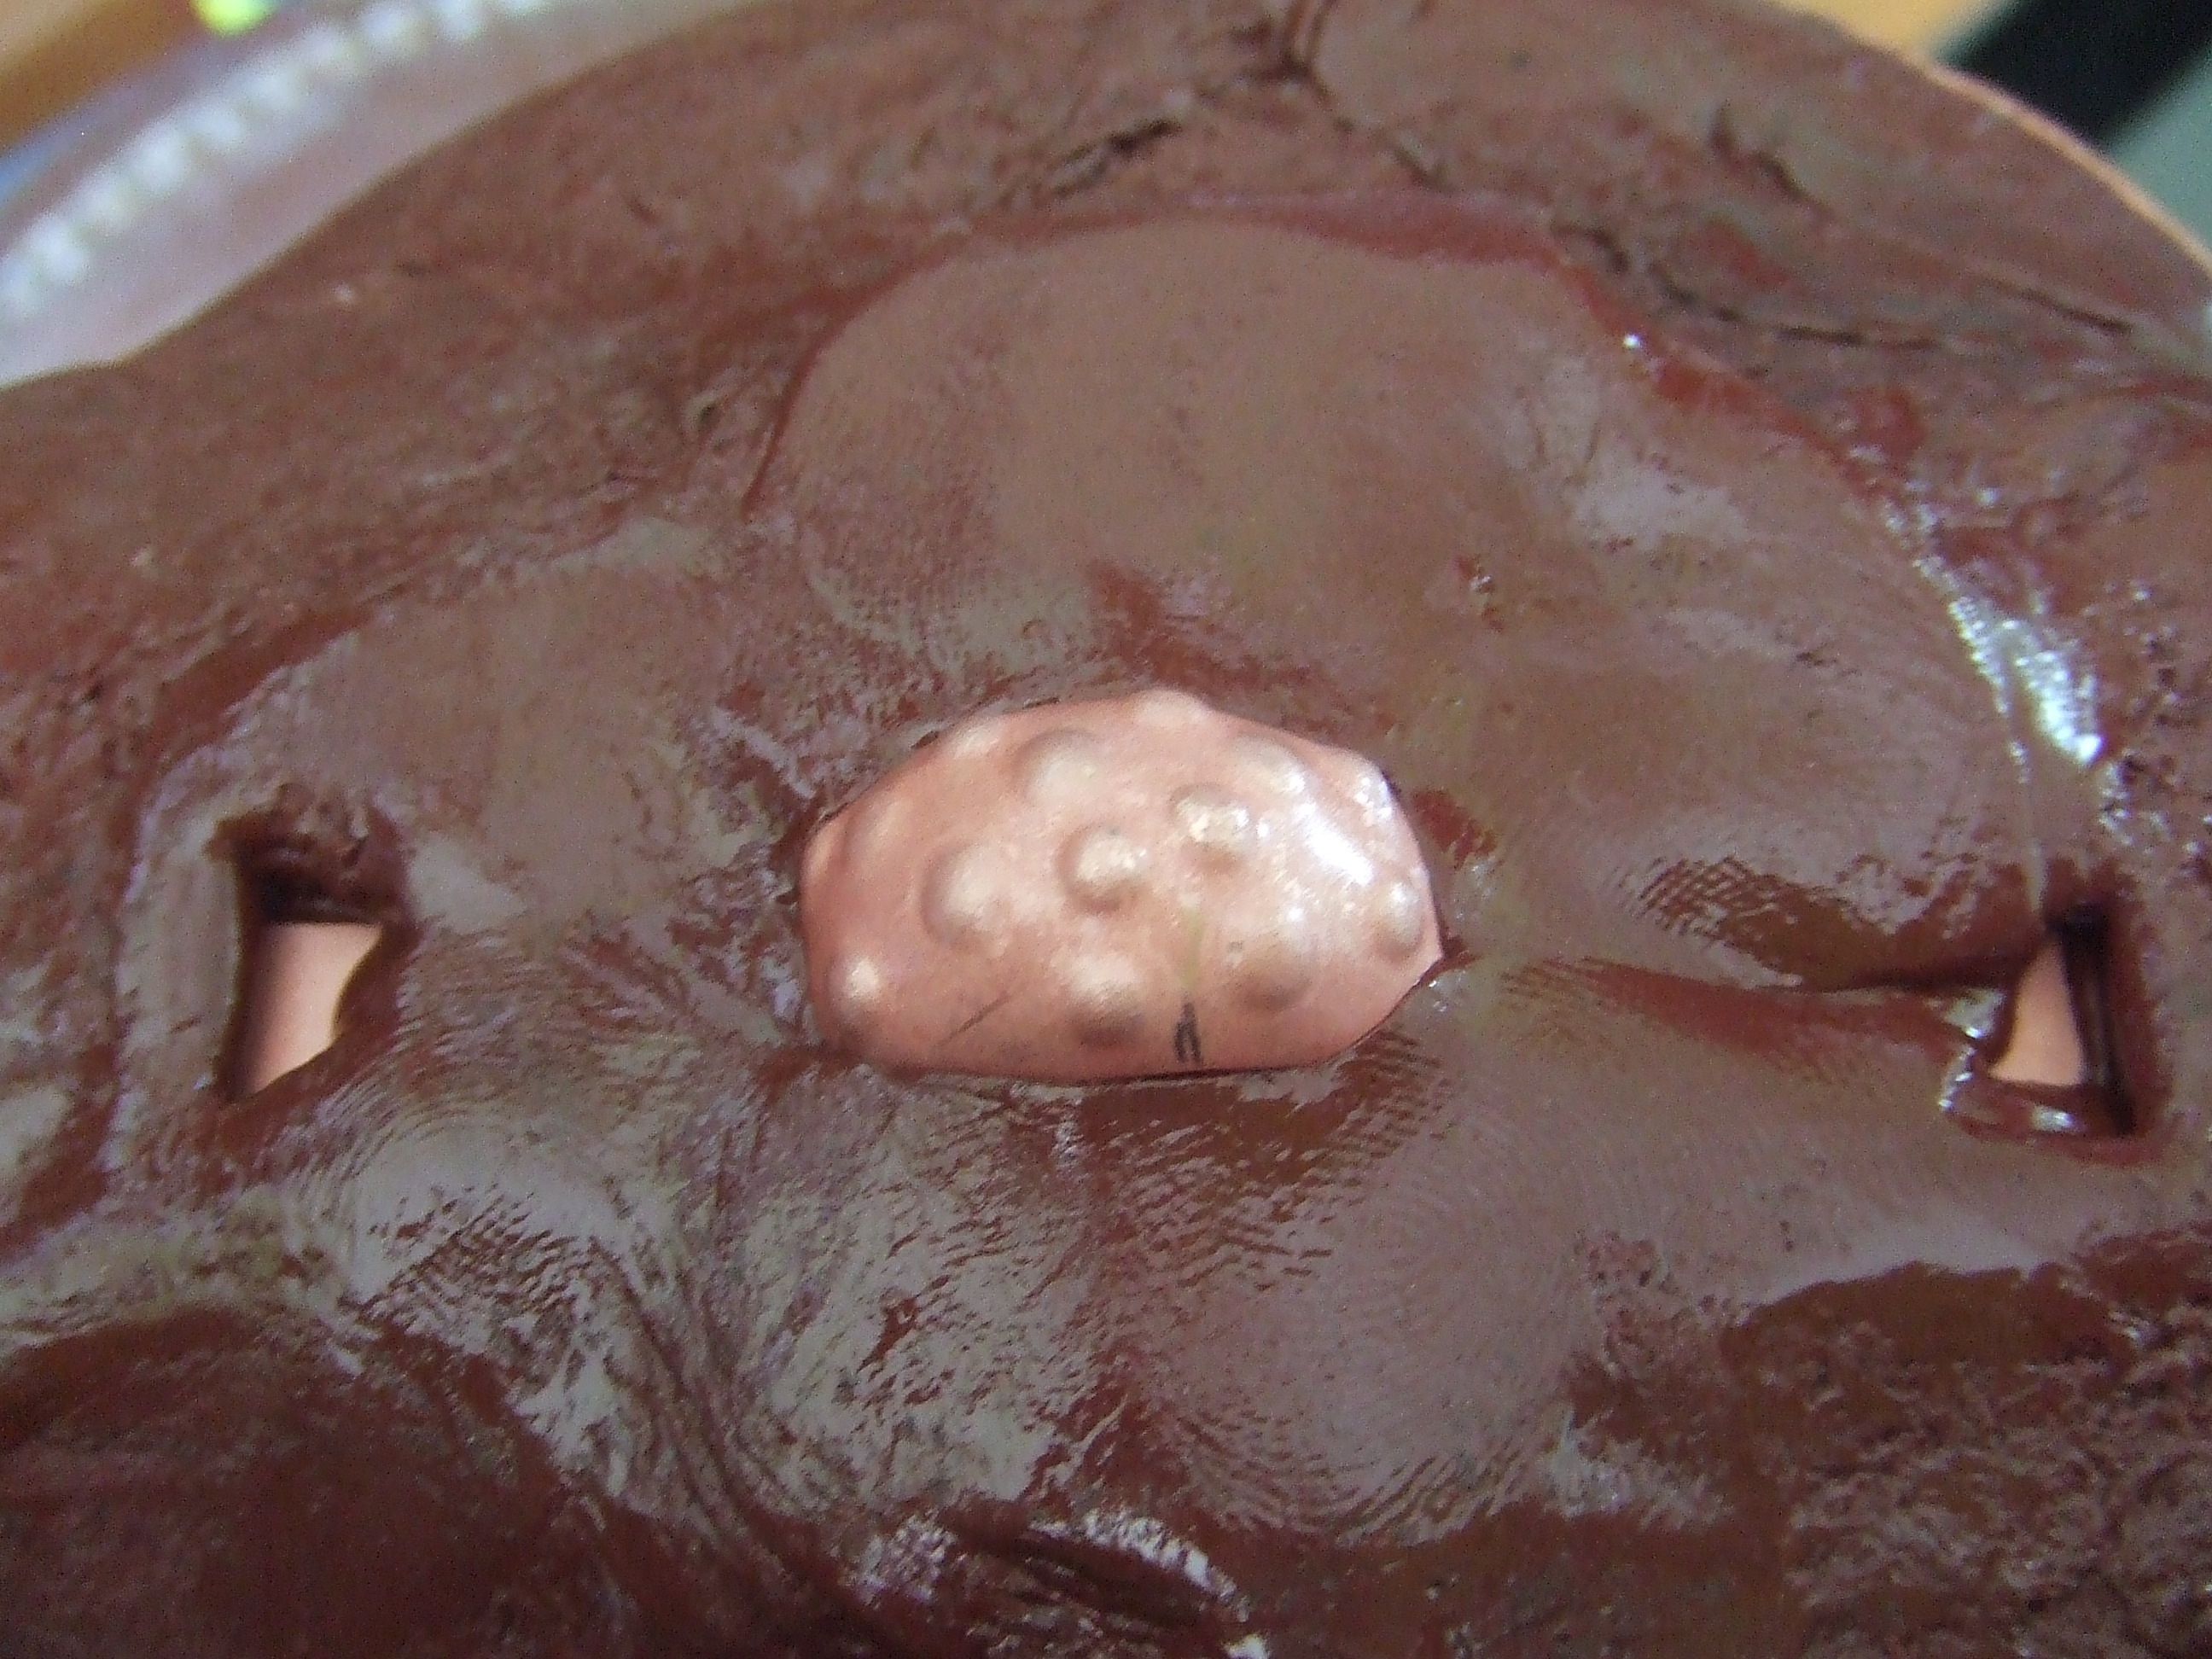
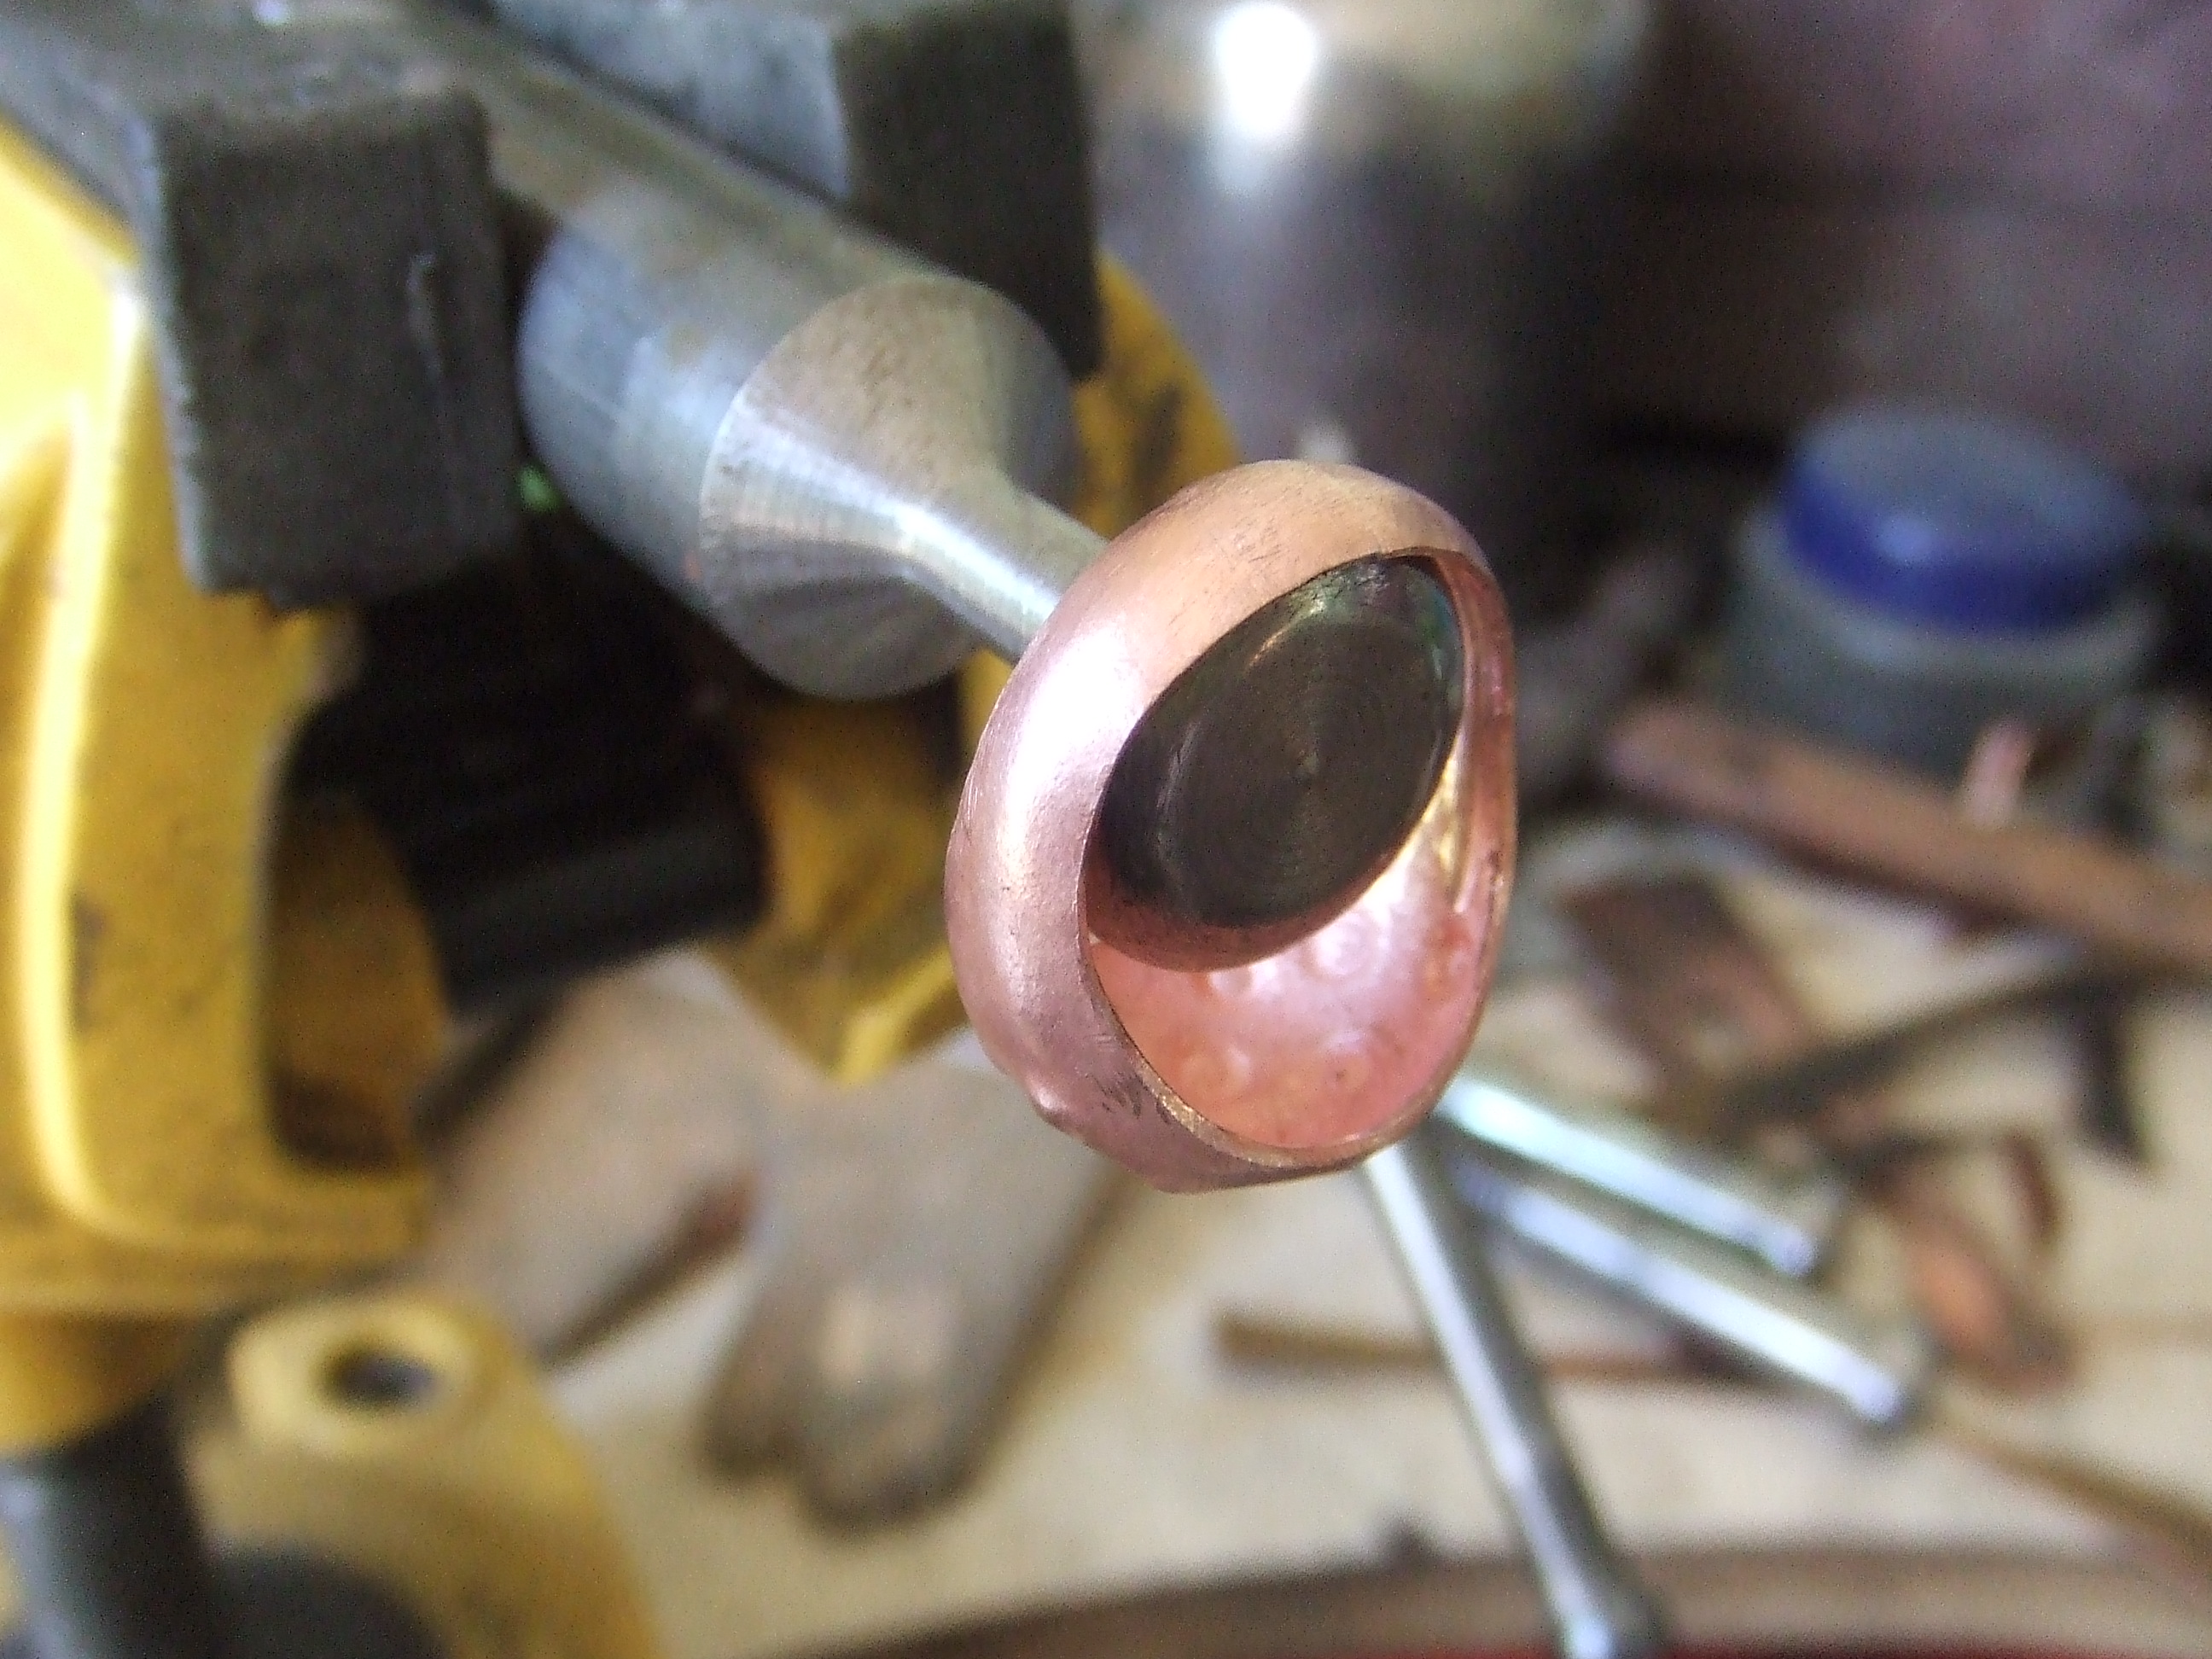
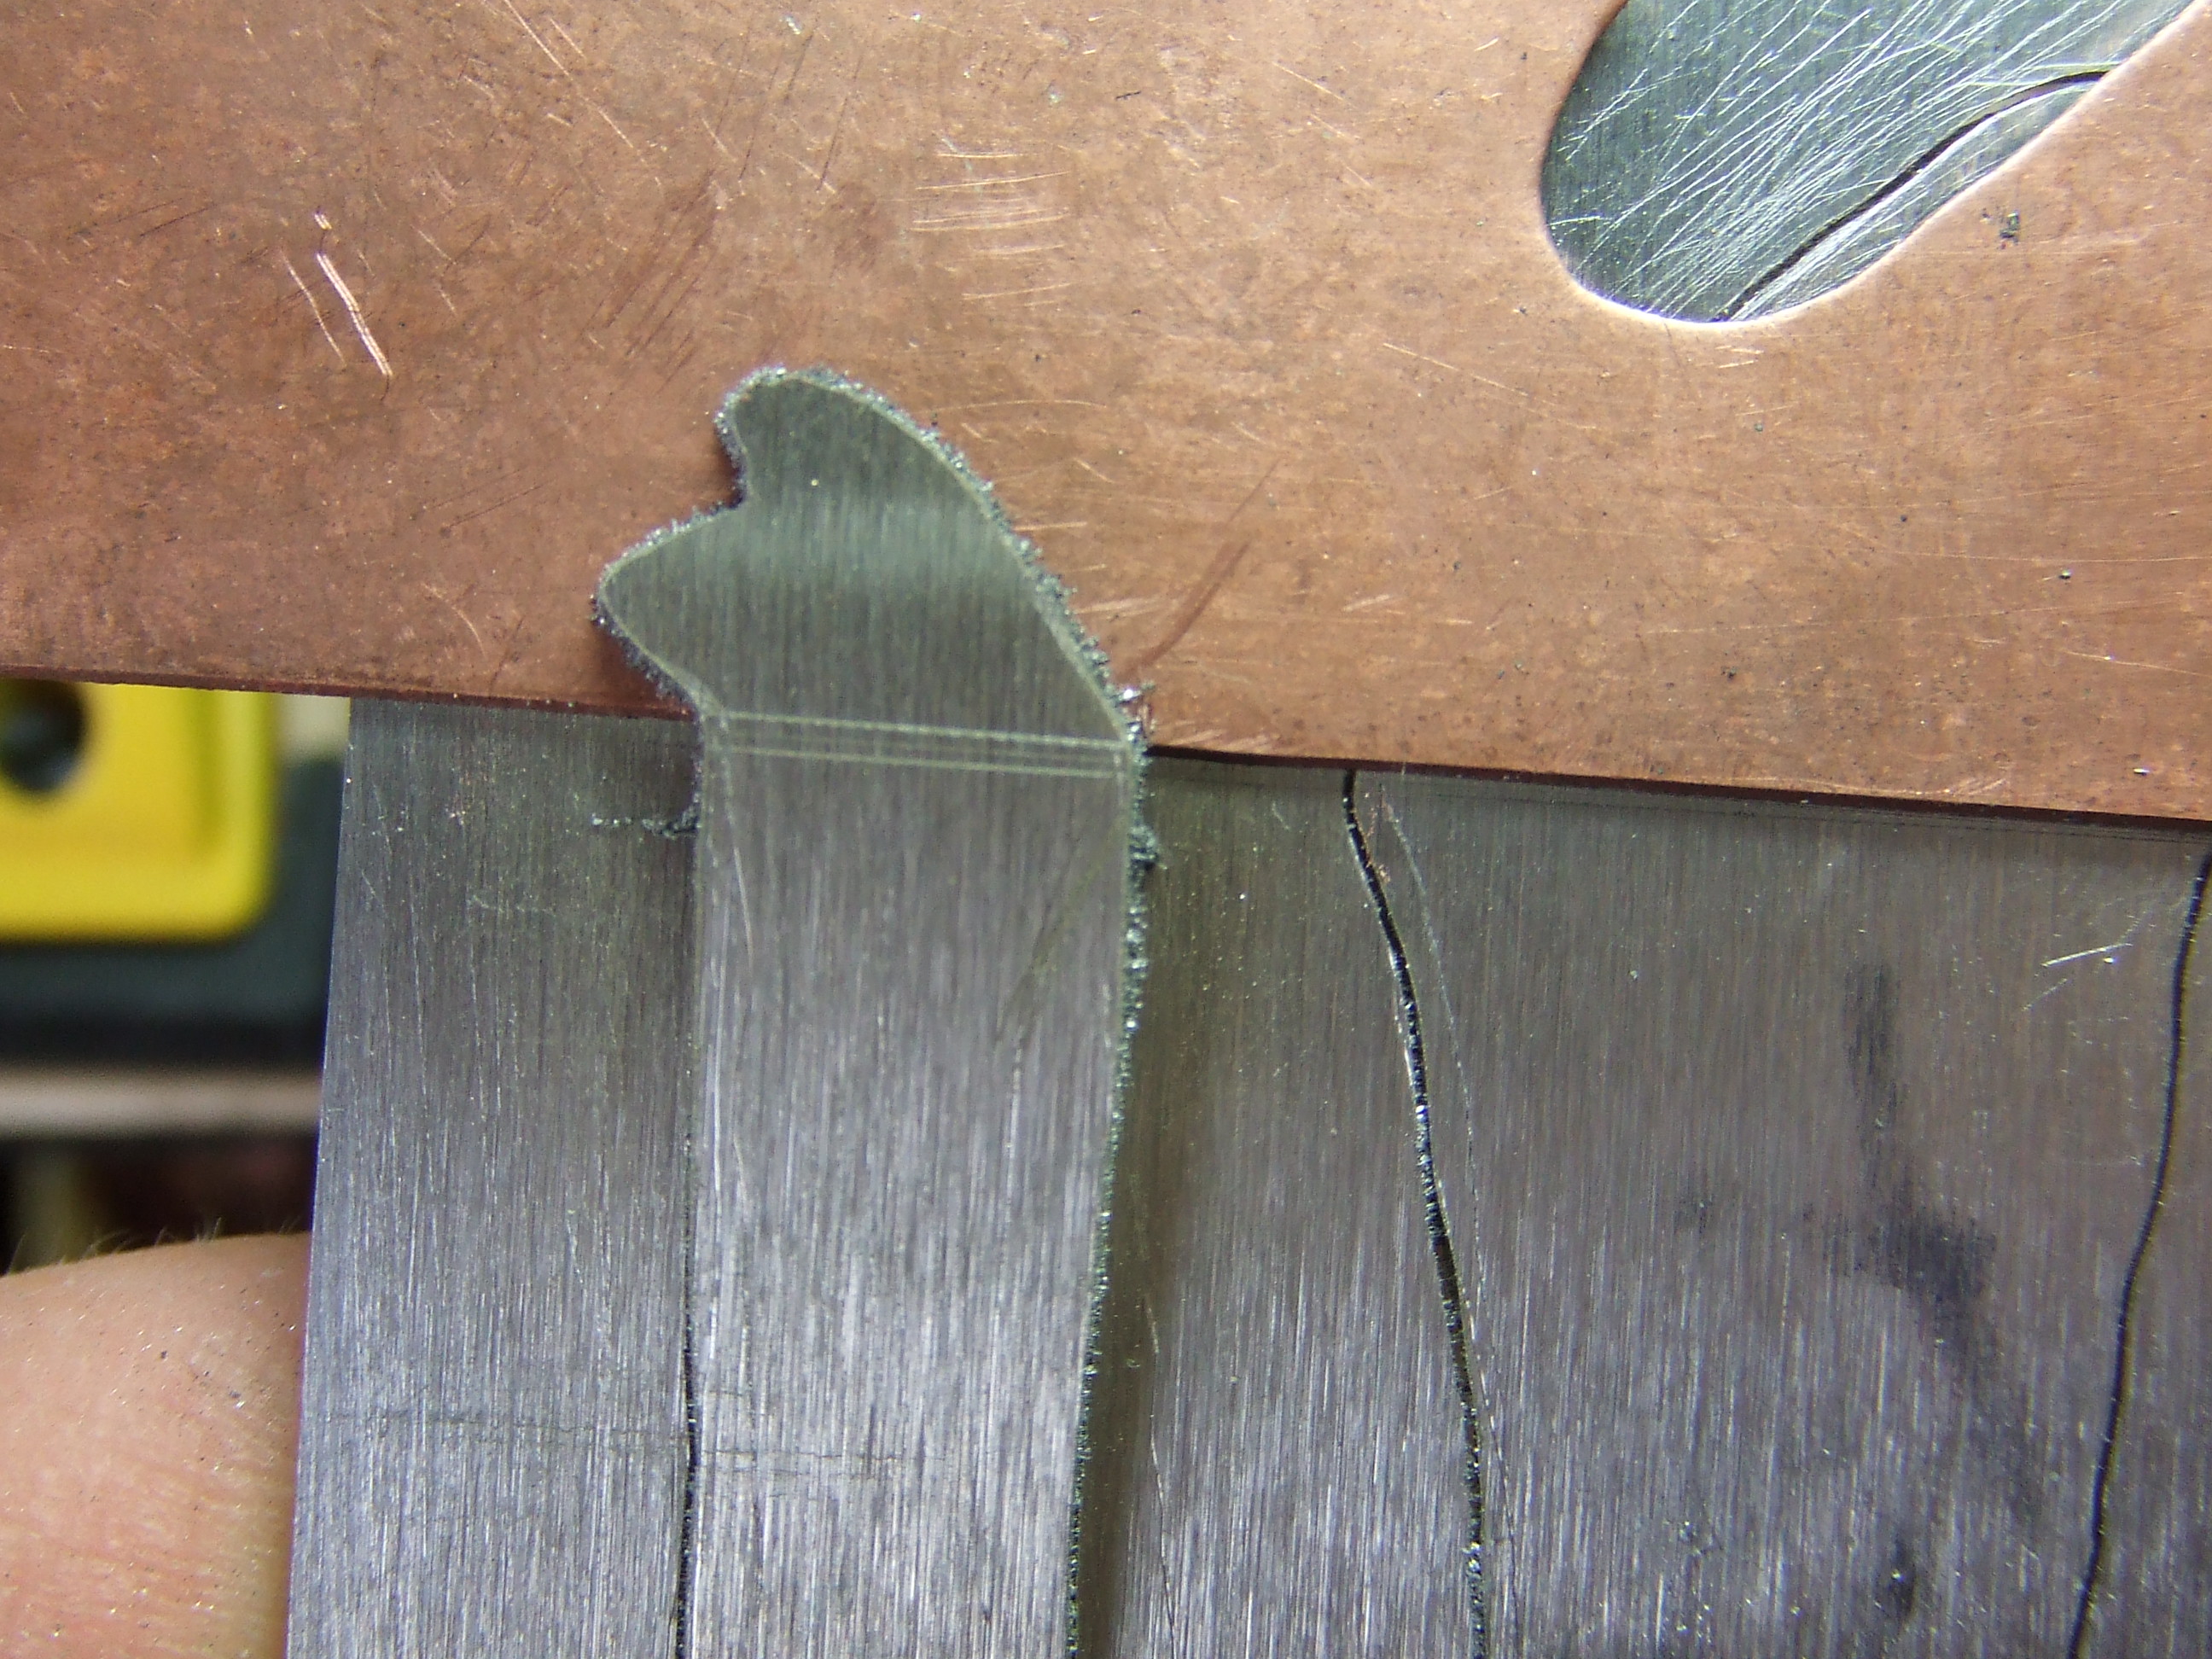
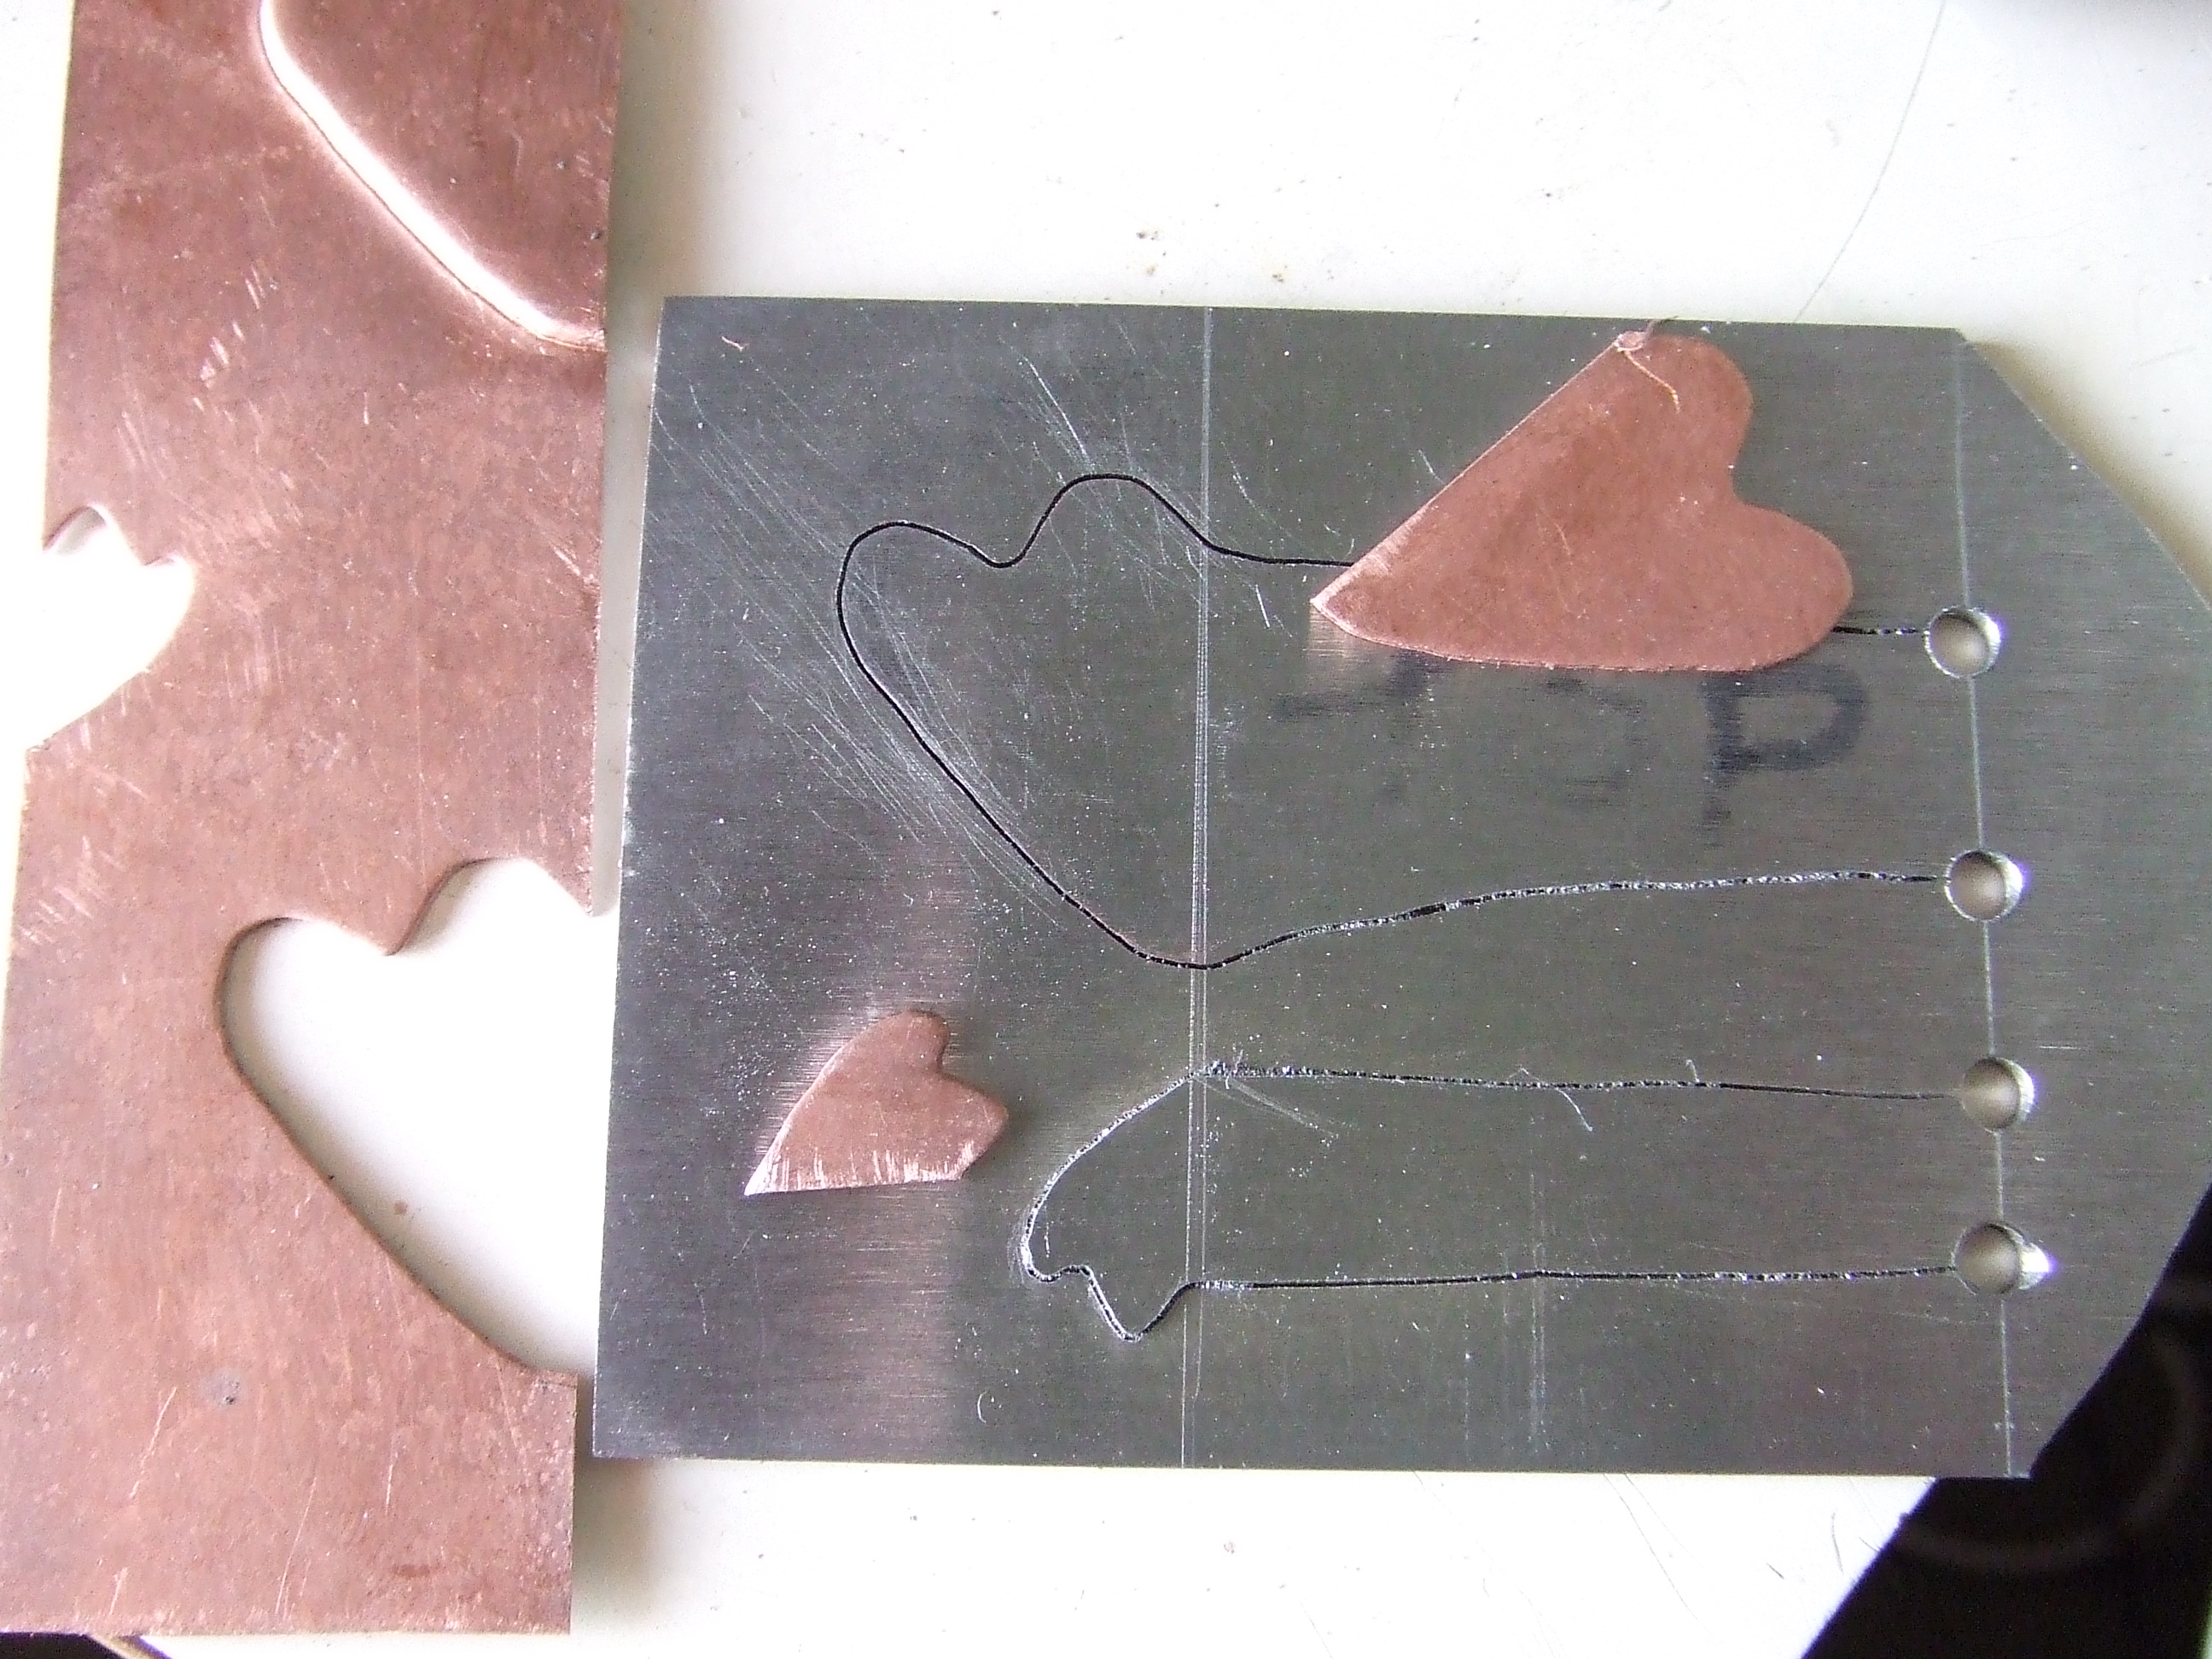
The new wave wire forged bangles proved to be a bit of a hit at the Jewellery Workshop in Porthleven. I have sold most all of the first batch in a few weeks. This gave me the confidence to make another run, having them photographed for the purpose of trying to be attractive to NOTHS. Why them? Two reasons, the first is purely financial; at this time, even if I was fortunate enough to be offered a place in another gallery/outlet, the cost of supplying them, sale and return, is highly prohibitive. I’m in enough dept, and parasitic enough to my hard working and long suffering spouse. The selling platform gives the opportunity to be exposed to a vast audience, NOTHS advertises on commercial T.V. Without the need for large amounts of stock, just a photograph of your work and a commitment, if the piece is sold out (if only), to providing the customer the option of waiting for a new one to be made for them. The other is a very clever piece of software that continues to work on my browser.

I feel sure we all look at other work; O/K I look at it all the time in an attempt to fathom desirable traits that people wish to see in a piece before committing to purchase. As written, NOTHS advertises on T.V. I looked them up on line, punched into the search ‘wire bangles’ and compared what was on offer, with my own. Tickety boo, thinks I, my forged bangles will not look too out of place here. Fair to say, I pretty much forgot about it for a while. Then when looking at a totally unrelated site, the bangles I had looked at were flashing on the page with a click to return to NOTHS. Very very slick and clever, it appears that if you look at an item on the website, somehow an add will present itself when you least expect it, to bring your mind back to the piece you last looked at whilst on the site. This was a large part of why I approached them.

Unfortunately, unlike the people who very kindly took the trouble to comment, this should have been the start of a better closer look at the site and a closer investigation to find out if my work was best suited to be there. I paid the price didn’t I.

To be eager to get somewhere is not good enough. The forged wire bangles perhaps could have ticked the box for them. One of the issues could have been, just these having a degree of mass appeal. Making me, at best, a one trick pony with little else to offer them, or anyone else.

I have to put my hand up to another, far more personal and embarrassing reason why I wanted to be apart of this site. I’m hideously useless and very apprehensive when it comes to meeting people over a table presenting my work. I used to have, my parents may say at one stage too much confidence and assuredness. Alas, as I have grown older, the scars have hindered me to the point where I’m almost paralysed by the thought of having a stall. For those of you thinking of selling your work I would respectively suggest you need to address this serious character flaw if you too are similarly minded.

Of the people I know of, both personally and by watching from afar, the thing that appears to bind them in success, is the confidence to stand up with their work and present it to the world. I do not suffer from envy, however if I’m minded to think of an emotion that resembles it in my field of experience, this is it. Not only that but valuable feedback if there for the person meeting and greeting people from their stall. This is pure gold for finding ideas and fresh approaches to make successful designs.

Long story short, after a string of failures in my work record, all I wanted to do was work alone. Having to, through necessity and choice, work with my hands since a child, I was drawn to this craft. Another word of caution to others who may be in a similar place, don’t forget marketing and presentation, I did, look where its led me.

My romantic vision of this type of creative work had me imagining, being alone, making in my workshop, whilst galleries and outlets email d me invoices and repeat orders. Not happening now, nor in any future I can see at this time. Highly unlikely, has anybody any idea of the path that needs to be trod to get to this, for me, end point. As you see, this is actually a third point why on line retailing appealed to me as an individual.

Being weak in this way is, I know, severely holding my progress back. Everything I now look to make is tainted with the ‘need’ to be popular, to obtain a foothold. This was never a consideration from the start, as such it is alien to me and a real source of anguish that was not planned for.

I believed at the start of my making journey, I still do, that a market exists for everyone who makes personal items. I had absolutely no concept of the difficulty facing, me at the very least, a maker in a quest for recognition by the outlets that are needed to realise a personal potential. Worse than that, who to approach and where to look to find them? I have no idea at this time, only the desire to continue on this path has prevented me from throwing in the towel.

Those of you who read all of my posts may recall a reference to an old silversmithing book; potted version, if your not in the right mindset, you will make awful work.

This could very well be at the heart of my current situation. I share it here with you to give some comfort to others who may be similarly self ham strung as it were. Rest assured, a very intensive inner battle is being waged at this time. Being absolutely desperate to get out of my own way, it will happen someday soon. I will let you know when the epiphany happens!

Back to the selling conundrum, again i will ask for any and all advice that you may be kind enough to share. To be clear, and this is almost worst as a result of my position at this time; I am very happy with the work I produce. I love the process the finishing and the modification of tools and learning new techniques to realise them. I don’t take it personally when outlets reject me. I know I that as an individual, also my pieces, are Marmite – love or loathe me/it. Marmite still has a solid fan base though perhaps not mass appeal. I ‘just’ have to find my base.

Too hokey, though I will share my thoughts out loud to see if it resonates with anyone. Does a persons inner demons reflect in their attitude, and work, making them perhaps unconsciously undesirable to the majority of decent people. I appreciate this is a hideous self centred concept. I only mention it here as most other avenues have been explored by me. Again this could well be at the root of much that is presented to me at this time. Perhaps inadvertently deserved. If so, then a person must stay positive to the thoughts that change is not only possible, but essential and inevitable when presented with better examples and avenues. This is where I still hope to glean something form others who may be kind enough to ‘tell it how it is’ far rather than just be a fair weather friend.

This is where the rejection letter is, to my opinion, very weak, contradictory and wishy washy. By the act of applying, the message is clear, the person wants to join. By not giving a reason, how is this helpful? Imaging sending your CV to a company, going through their selection process, only to be told; we appreciate you wish to join, your CV has gaps in it, though we will not tell you what they are. Keep on trying and find out for yourself what you think we may want and by all means re apply. Is it me?

The same goes for not wanting to influence, why not, its up to the maker if they wish to act upon advice given. Again, by applying, the goal is to join, any and all help is surly implied should one not be successful in meeting standards that are not made clear when applying.

I have, to be sure to be written too much. Whats more worrying is that this post could have been over twice as long!!!

In conclusion, please do comment as this is, to my mind, the most important topic regarding the future success and long-livedness of a future maker. There is a justification in saying, all that I am good at can be tought. It is all mechanics, techniques and applied reasoned practice. Anyone can do it. You cannot help but improve with the right practice. The tip of an iceberg just touched upon here, is a far more difficult circle to square. 

If my work is to continue to be as one off piece, great, very happy with that. However if it has to become more mainstream, at the very least have a degree of it to help fund the more quirky designs. I wish that greater insights will be forthcoming in the near future.

Thank you all again for such a fantastic response. Please do comment, your interest in the topics I raise is a great honour to me, as previously said, its also a great comfort. What else can we explore and write about 😉

All my very best wishes.

Stu


Advertisement

Rejection letter

Wato all

As promised, warts and all, here is a copy of my rejection email. Fair to say not a great feeling. Message to self, keep on trying 🙂

I share it here to give others a chance to both comment, please do as you see nothing to concrete indicate why, not helpful to be able to look for possible improvements, new directions. Also to give some solidarity to those with similar experiences.

WE HATE HAVING TO SAY ‘NO’
Thanks so much for getting in touch with us. While we can see that there’s real potential in your products, we don’t feel they’re right for notonthehighstreet.com at this time.
We’re huge advocates of creative businesses, and wish we could say yes to all of the talented people – like you – who approach us. But after eight years of learning what our customers like (and have a longing for), 
This can be hard to define, which is why we don’t have hard-and-fast criteria (or are able to offer you any concrete feedback). Nor would we dream of making suggestions that could see you change products which are – more often than not – a creative labour of love. What we can do, though, is wish you and your business every success for the future.
Thanks once more for your interest in notonthehighstreet.com.
Kind regards
notonthehighstreet.com

As you see, not signed so no one you can talk to discuss. Work it out for yourself is the hidden message, whilst keeping the door open in case you get good in future.

It is a real frustration to me that, as so many things in life, the apparent need to be ‘nice’ rather than kind and constructive by telling a truth. A truth that, in the long run is so much easier to reconcile, than the tantalising glimpses; ‘we’re only able to usher in new products that we know for certain have that crucial appeal.’ That certain critical appeal???? Give us a clue as to; ‘While we can see that there’s real potential in your products, we don’t feel they’re right for notonthehighstreet.com at this time’.

Back to the doldrums of navel gazing as to the next direction to take. As always, please do comment, looking for possible reasons, lets have an open debate. I have broad shoulders, figuratively speaking, give me both barrels, please do. I am not  truth adverse I just have a challenge finding and being presented with it. How many of us are fortunate enough to get by to the best of our potential without the thoughtfulness, kindness and directed effort of constructive criticism. I very much welcome yours, ‘warts and all’ 😉

Very many thanks in advance.

Stu


Sterling silver forged bangles and a brooch that doubles as a pendant

SH_05SH_01 SH_02 SH_06SH_04SH_03DSCF3537DSCF3531DSCF3532

Wato wato all

Opportunity is a double edged sword isn’t it, my friend, also a survivor of ‘education’ from the previous year, Nicola Bottono http://nicolabottono.co.uk.websitebuilder.prositehosting.co.uk/

asked if I would drive her to see Paul Mountsey, the photographer who now takes all of Cornwall Crafts association pictures, as well as my previous professional pictures

http://www.paulmounsey.co.uk/

http://www.cornwallcrafts.co.uk/view-craftsmaker/221

You will love her work, dedicated as she is to her vessel pendents, go have a look and read about her inspiration, the pictures taken of her work are fantastic to see.

I have had a bit of a run on these forged bangles, the Jewellery Workshop has sold quite a few. I was in the fantastic position, for the first time, of having to pull my finger out and make some more to cope with demand, great stuff eh. The summer here in Cornwall is good at this time, the children have broken up from school and the tourists are flocking to Porthleven, and buying my work.

Never a great time, I wanted to spend more time on this batch to go to be photographed, Nicola, alas, had time constraints and had to be there on a day that suited her busy schedule. I had to complete my sample, just back from Assay, completed on the evening before. I am not 100% happy with the results. Proof positive that rushing is never a great idea in our chosen field. However they do convey something of the wave like appearance they present as they are twirled around ones wrist.

I also found another hammer at a second hand stall, modified it and had a play. The two finishes offered, one just lightly planished, great for refracting light. The other, with the aid of two hammers, are given a directional finnish to accentuate the curves as they spread out in the wider parts, compressing in the transitional parts of the forged design.

I also like the way, when looked at the opening, the directional way the four opposing waves present each side, give the impression the bangle is square. I’m bound to say I’m over the moon with these, all sizes have a subtle difference that is best seen up close as the pictures have a job conveying the way they are over the three widths. I started with 3mm, 4mm and 5mm sterling silver round wire, soldered into a round. I made a stake especially for these that gives me a consistent angle as the ‘waves’ are forged, four one side, then flipped over to do the other side. The smallest (narrow gauges) are able to be completed in one, sometimes two annealing stages. The 5mm ones are quite a grunt to get them to move and require more work than their appearance would at first suggest.

I received the pictures, then put in my application to sell through a web based retailer, I will tell you all about it when I get some feedback, don’t worry, warts and all 🙂

As many of you know, it has been a struggle for me to come up with more commercially viable work. I will continue to chase and repousse some work, however I intend to concentrate more the forged line as fewer people appear to be doing such work. Now I’m very aware, this is also the case with repousse, the difference here is the cost of completed work. This is very much more affordable due to my being able to make forged work very much more quickly.

Some may remember me mentioning, I started my working life as an assistant to a farrier, a blacksmith specialising in making and fitting horse shoes. When I attended College, silver prices were very much higher, I wanted to go back to forged work then, a mixture of ridicule and price made me re consider. This is not an issue now, bound to say I feel like, a little tongue in cheek, an adolescence is being re lived a little, great stuff.

I have had steady sales priced at £69.00 3mm, £129.00 4mm and the monster 5mm is £189.00. I will put these on my website ASAP to go with the other directions written about above.

Now to the pendant and brooch combination. I felt that it would be nice to give added value to some repousse work by making a pendant that can also, if chosen, be pressed into service as a brooch. This has been very well received and ameliorates some of the cost considerstion. A bit like buy one get one free if you like.

I have posted pictures I took alongside the professional ones to give you some idea of how I did it. The pin is made from dental grade 1mm stainless steel wire, I made the silver tube for the pin to pivot in. The catch incorporating the pendant loop was made from a single piece of Sterling silver wire, forging the pin retainers, bending them into loops before soldering. If you would like more information, please let me know, I’ll post more detail if you’re not clear.

I have a huge favour to ask of you all. I know most all of you are fellow makers, not buyers. When you see fit, please pass on my details to others who may be interested in purchasing, or selling on my work. Needless to say, I would be overwhelmingly grateful for any leads you are kind enough to share.

I havent forgotten the ‘dirty’ workshop piece that is to be shown, still later than planned. Bit of an embarrassment to share; being a lumbering, clumsy oaf of a chap. The door to the shop was sticking, I bumped my hip against it to secure its closure due to the swelling of the door, damp here you see. The resulting crash of broken glass and splintering of broken door meant I had to tarpaulin over the hole, sheltering my beloved lathe behind it. The resulting furniture needed to keep it waterproof whilst a replacement is made means the shop doesn’t look much like it should right now.

Now I have some funds, a replacement door should not be too long coming, then I will post pictures and explanations of the various bits and pieces I use.

Until next time, thank you again for keeping in touch.

Kindest regards and very best wishes.

Stu 🙂

sterling silver stone set cabochon rings from scrap

DSCF3522

Carved depression into charcoal block

DSCF3524

After melting the scrap, this is the ingot before forging and subsequent milling down to size with rolling mill.

DSCF3525

The moonstone was mine to start with. Paul and Clair at the jewellery workshop Porthleven kindly gave me all the others to play with

DSCF3526

My attempt to try and KISS – keep things simple stupid 🙂

DSCF3528

The shanks were made from 3mm wire, rolled into a semi ‘D’ section. I already had the wire, only the settings were made from scrap.

Wato wato all

Alas I didn’t take a picture of a moonstone ring I made from parts of my disastrous journey into the world of outscoring casting. I had my moon series domes cast in three sizes to make bracelets and earrings. The results were not great.

Going through my scrap bin, I found one of the damaged domes and decided to make a moonstone ring with the moon dome as the setting. I wasn’t overly keen on it, to my mind it was too tall. Reen insisted that she wanted Clair and Paul to take a look, they sold it within a couple of days!!!

I always battle with what will be attractive, taking every effort to try to keep a bit of my personality in a piece the same time. I realise that this a case of mind over matter; People don’t mind cos it don’t matter 😉

Buoyed with this success, I have made these rings as simple as possible, no trace of an individual maker.

Paid work, therefore funds, still being somewhat illusive at this time, I was forced to recycle some scrap to make the bases for the stones and the bezel. Luckily I had some wire, if not I would have had to make a draw plate to make my own. I put the wire through the ‘D’ section of the rollers and partially rounded the ends. I have noticed, around here anyway, most rings in the art jewellery sections appear to use mainly round wire. I think the extra surface area of the inside of a flat shank is more comfortable. Also, the size of the stones used, I think will stop them flopping on a wearers finger.

As you see in the pictures, I used a block of charcoal to make a depression, doubling as a crucible and mould at the same time. I’m not sure as the wisdom of this, the amount of heat it took was, to me, disproportionate to the amount of scrap in the hole. I can only surmise the block took away much of the heat. For the second batch I used a crucible, it was faster. The reason I wanted to melt into the charcoal was for the reducing effect. The carbon, when heated, takes away/uses up the oxygen, less fire-stain as the ingot cools in a much reduced atmosphere.

Fingers crossed this could be a far more productive avenue for me to potentially take in future. I feel bound to say, if you wish to inject some of your personality into your work, you may need to consider if your personality is attractive enough to share. This is a lesson I am learning. I was looking through my library of books and came across; Silversmithing a basic manual by Nicholas D Humez ISBN 0-316-38151-9. I wish to share with you a passage written there that made me think, perhaps it will do so for you also;-

Third, a word about attitude,or where your head is at. When you sit down at the workbench, if you are not prepaired to commit yourself to being all there – not thinking about lunch, or where your rent is coming from, or why so-and-so is peeved at you, or even how groovy you are sitting at this workbench – you are doing yourself and the metal no favour and will probably botch the job in front of you, possible exposing yourself to danger as well, should your torch or buffing wheel malfunction. Similarly, if you are furious at the world and take it out on the silver, your problems will not go away and your work will probably lack subtlety, even if your aim is good. And if you are just plain sloppy, your work will show it, and in a soberer moment you will be ashamed to have wasted your bench time so. To a certain extent, you will smith silver with the same style with which you run the rest of your life; hence “cleaning up your act” on the bench – that is, trying to do as good a job of being a silversmith as you know how – will work or not according to how well you are coping with the world outside the workshop. Don’t hope to do your best piece of the day after your cat dies: it is simply too much to expect of yourself.

Wow, wisdom and not more than a little kick from 1976. Now I know where I’m going wrong. Time to make more plain work I think 🙂

Until next time, very best wishes.

Stu Art


No better way to start repousse and chasing

A great place to start if you wish to learn about chasing and repousse.

Victoria has a first time sale. I highly recommend you consider her fantastic instructional DVDs.

If you like my work, it’s unlikely I would have made it this far without her instructional work. Also a very kind lady who will respond to your questions.

I will add, I do not receive anything by writing his. I would just like to share the experience, as I found it invaluable.

Best wishes.

Stu Art.


http://www.victorialansford.com/dvd.html


Sterling silver moon ring how to with home made tools. Part 2

DSCF3473

This is the nylon hammer I used. Wood or leather would have worked. 15mm doming punch used to refine after the doming block stage.

DSCF3441

Bolts used for forming, I used all three. Study the photographs, you can see the increased angles; the middle one first, the one in the foreground second, lastly the one on the right that I made in the metal lathe.

DSCF3479

Test fitting with line drawn in the middle as a guide for forming with the nylon hammer and the modified bolt stakes. I refined the design as I went along. The final version was more rounded, I also cut away the bulky shank. Compare this to the completed ring.

DSCF3480

Final rounding of the shank.

DSCF3481

I made this asymmetrical to give me a choice of profiles.

DSCF3486

Small hole drilled in shank to let gasses escape when soldering. I have never used easy solder before, I will in future. Use plenty of it.

DSCF3488

I’m not sure I fully recommend it; look at the top of the picture. The marks are left by the placing of the pallions of solder. I would normally turn the ring over and re apply solder to the other side. In this instance the solder ran clean to the other side, fully sealing the piece without additional soldering.

DSCF3490

Sawing off the unwanted parts of the shank.

DSCF3491

Savage beasty this, be careful, really fast though, saves lots of time roughing out. Notice I stopped just shy of being flush to the surrounding silver.

DSCF3492

Large half round file, almost but not quite nearly 😉

DSCF3493

Last of the files, small half round needle file, now nicely blended, ready for final polishing.

DSCF3478

Close fitting solder joint as I cut through both sided at the same time, making sure they would fit the shank.

DSCF3495

Photographed outside.

DSCF3502

Wato wato the end of the ring project.

This is a great example of wanting to make something but not having to hand the tools to realise it. As time goes by, I understand more and more why I’m not currently able to sustain myself in this craft. I spend far too long procrastinating on designs, making tools to realise far too many failed copper models before coming up with something I think will appeal. Only to discover I’ve barked up the wrong tree. At best a niche item, nowhere near commercially viable.

I now, with huge regret and not a little embarrassment, view my metalwork/silversmithing as a hobby only now. All ambitions of being able to support myself financially through my chosen craft showing as unrealistic at this time. I feel the clue here is in the realisation that I associate myself with the term craft, rather than designer or artist. As I become ever more bewildered as to what is marketed, I come to realise my place as fairly and squarely a maker in a world than no longer needs makers. Concept appears to be king. I feel its akin to being a computer, fantastic at maths; however it takes the genius of a mathematician to make beautiful equations. I aspire to be more conceptual in my approach to the craft. However my first love is the love of learning more about past masters and the techniques they employed to achieve wondrous constructions. The past machine age is pure romance to me. This is lost in a new era where, at the push of a button, designers/artists realise three dimensional objects, made by unseen operatives with mass production machines in such vast numbers as to make pretty much anything commercially viable. I have neglected to fully understand what is fashionable, wearable and viable. That’s the negative. The positive is that now I am no longer attempting to make a life for me and mine using just my hands. My resulting, more relaxed attitude towards this craft will, with luck, result in a positive re think. Trying to become a ‘mathematician’, not concerning myself as much with the mechanics, ‘computer’ aspect of creating wonderful objects. Working towards becoming a creative designer, rather than just as a solver of technical challanges. Watch this space 🙂

If you look at the bolts I modified for this job, I looked at stakes from established tool supply houses. Here in the U/K it is becoming ever rarer to source forming tools, the ones that are available are prohibitively expensive for a hobbiest. As we use very soft, non ferris metals, even a common or garden bolt will suffice for forming. If you wanted to make a more permanent, planishing stake from a bolt you can buy/salvage hardened steel bolts and fashion them to the shapes you desire. Cylinder head bolts work very well, you can look up through fastener suppliers, the hardness rating of a bolt, if you wish to purchase new.

I used a metal lathe to make these. I was thinking though that those of you without access to such a machine could use a drill and a hand file to create a similar stake. Chuck up a bolt that you have founded off best as you can in a vice, then spin it in the drill, rounding as you go with a file. Finish off with coarse to fine paper whilst still spinning in the drill. Be careful as the bolt will get hot. Try to use a drill stand so as to keep it all steady and have both hands free for proper filing. I also add chalk to the file and paper. This gives a better finish as it prevents the build up of metal particles in the ‘tooth’ of the file or paper.

My aim with the next post is to introduce you to my garage machine shop. Fair warning to those of you not interested in such things.

If you have any questions about the ring, or anything else, as always, please don’t hesitate to ask. Thank you for looking.

All my very best wishes.

Stu Art 😉


Sterling silver moon ring how to with home made tools. Part 1

DSCF3504

The completed, hallmarked sterling silver rings.

DSCF3508

The first, spiky example was my first attempt at a ring at my first year of College. I am drawn to this type of construction, though I wouldn’t recommend this ring. It was a good exercise on many levels, not least, how to make something totally unappealing 🙂 it taught me a lot about soldering though. The second was my first attempt to make a ring with repousse and chasing techniques to take advantage of the ‘skinned’ or two part hollow nature of these rings. The third is where this project takes off.

DSCF3424

To give you a flavour of the process, some experiments, drawn, paper mock ups and copper blanks ready for the next stage.

DSCF3422

This is not the final patter, though pretty close. If you do something similar I would recommend using graph paper, I did in the end. The reason is, when cut out you notice, especially in the following processes, that your pattern isn’t quite symmetrical. Graph paper makes this far more preventable.

DSCF3423

Some of the directions from the comfort of my drafting table,. Told you I couldn’t draw 🙂

DSCF3432

I can’t remember where I picked up this tip. Fabulous stuff this rubber cement for sticking paper patterns to metal. Cover the metal and the paper with the glue. Blow on the metal until it goes matt, slide the paper pattern and leave for a min or two. Saw up to the pattern, great stuff.

DSCF3434

Blank in copper domed in the block with a 15mm doming punch. Starting in a larger depression, moving down a size, four or five times. If you try too small too fast, it created nicks in the corners of the piece where it is trying to compress too quickly. Anneal if you feel the need.

DSCF3436

From a previous post. remember my, made from copper, filled with lead pitch bowl. This parcel tape fits the bill as a great stand for it. Some grippy cloth in-between keeps thins nice and stable.

DSCF3437

2mm and 3mm doming punches for repousse stage.

DSCF3438

Same again for the chasing part.

DSCF3440

Using a suitable sized doming punch, to fit the ring shank you need. Mark the overlap, cut through both layers (each side) to create a perfect soldering joint.

DSCF3441

Some of my miniature metalwork forming tools. See text.

DSCF3443

Showing how to round off the shank. Use a soft hammer, not metal as this will stretch the metal. Remember this if your outer is too tight to fit the shank. You can use a metal hammer to the stake to stretch it to fit.

DSCF3442

You can just see the air gap. I will go into more detain in the next post.

DSCF3469

The silver blanks ready.


Wato wato one and all.

This ‘moon ring’ was a request, I have no idea if it will sell, made a couple just in case.

This journey is in two parts, this one shows you a little background. Also the refinement of the design and the tools needed to realise it.

The references to looking to the text will be covered in detail in the next post. Hope you enjoy reading about it. Also I hope it inspires you to look at the things around you in a different way. You never know where the next tool is lurking, just keep looking.

Until next time. Very best wishes.

Stu Art.

RT blanking die for cutting repeatable shapes in metal silver copper ect.

DSCF1104 DSCF1099 DSCF1100 DSCF1101 DSCF1102 DSCF1103 DSCF1106 DSCF1107 DSCF1108

DSCF1607

project report no. 12e_1 the r.t. blanking system – may 1980

Wato wato all

Want to make repeatable elements without having to saw them out individually. You want the RT blanking system you do 🙂

I hope you can download the attached PDF as it was a free download I had from a couple of years back. I have made these dies for others, not had good enough ideas myself to warrant some for myself…. YET!

I include this post mainly for a smashing person who asked what my yellow clamp was from a previous post. As you can now see close up it is a vice. I use this to hold my bench pin, as you see here. Also for holding a small soldering stand, and holding small forming stakes. It is shown here with rubber safety jaws, I also made some copper ones to hold work securely without marking. Not shown in these pictures, though I will in another post, is the vertical and horizontal ‘v’ matching grooves in each jaw. Great for holding round bar, also for stopping stakes I make from discarded Allen keys from spinning when I hammer onto them.

I will not write too much on the RT system, the attached PDF should provide way more than I can write. What I will explain is my way of maintaining an angle when sawing out my blanks from flat stock steel.

The angle gage shown here has a magnetic base and is used for setting saw blades to the appropriate angle on table saws and the like. Nowadays you can download an app for your smartphone to give you a very accurate angle gage, better than buying a gauge like this, you probably already have an all singing and dancing phone right 🙂

Have a read through the PDF, look at the pictures, please ask if you require any clarification. I saw mine by carefully maintaining the angle, watching to see I am sawing vertically, not swaying from side to side. If you look on line you will find saws contained in frames, they run in tracks to go up and down perfect every time for this job, no risk of deviation. They also have tables to rest flat sheet upon that can be set to the angle you select, for the thickness you require. Very posh, very efficient but quit a lot of money. Fine if you are a production person, not so justifiable for experimentation. My results were quite satisfactory, sure to be the proper saw will do a better job, I have to clean up the edges more than would be needed with the proper saw. I can live with that, can you? give it a go. Prepare to break a lot of blades, progress is very slow cutting hardened steel. Very best of luck.

Very best wishes.

Stu Art

Move to outside workshop

DSCF3446

My bench, all made from reclaimed stuff. The top cane from a skip, the table it sits on was being slung out. Its raised on two rough sawn off cuts, not elegant, effective though.

DSCF3447

‘Plier rack’ is an old plate stand, keeps files to hand as well. The filing cabinet has my tumbler, pickle pot (an old slow cooker, make sure its ceramic, not metal if you try yourself) and one or two fondue set mini pickle pots, heated by tea lights, for small work. The table/stand is a laptop stand, height adjustable, very useful.

DSCF3448

Solis cast iron surface plate, or sometimes called a flat iron, perfect for checking the trueness of raising, marking out and checking for flatness. Old fire bricks salvaged from electric night storage heaters, two turntables, the smaller one for a T/V, the other is a twist exerciser, both plastic so be careful. With the size of the bricks placed on the soldering table, I have no issue with heat reaching the turntable. Both found in junk shops.

DSCF3449

Truly awesome guillotine, I took this apart and painted it. It is so heavy, I used a motorcycle jack to help take it apart. As it was over a small drain, the weight cracked through the alloy drain, toppling it onto my pushbike, you should see the dent in the frame ;/

DSCF3450

A mod roc, wire and wood ‘sculpture’ I made for a project. Do you think it would work in copper for outside?

DSCF3452

Swage machines, part of the tinsmiths hall. All need to be cleaned up and restored.

DSCF3454

Two old slip rollers, along with my modern rolling mill. Restoration of the old ones later!!!!

DSCF3455

Some of my hammers. That fan is great, force 10 at least, no paperwork out when this is running.

DSCF3456

A belt and disc sander I use for roughing out amongst other things the chasing tools you see here. They are attached by strip magnets used for storing knives in kitchens, you guessed it, from a second hand shop. The trolley, on wheels, was salvaged from a skip.

DSCF3459

Birds eye view. Got to have a cuppa tea. I’m British don’t ya know 🙂 The stool I use is a piano stool, the pad is on a screw thread, just spin it for height adjustment.

DSCF3462

Couldn’t resist this, beautiful at night, with switchable effects, just plain white, reminds me of the stars, you have to be here to see the full fantastic effect.

DSCF3464

My disc cutter, truly fantastic, beautiful machine. Always make me giggle every time I use it.

DSCF3467

A Norton fly press, more to come in the near future with this machine. The machine to the right, just visible the two rollers, is a bowl forming machine. Alas one of the cast gears is broken, on another post I will introduce my “dirty” workshop, (my garage) and the machine tools I will be using to repair it. Most of the stakes came from the tinsmith hall, along with most of the machines here, see text for explanation.


Wato wato one and all

Not posted for a while, work and a direction revisited from a previous time have meant not much happening at the moment. I was hoping the start of the holiday season would be more fruitful than it has proven to be so far. I have just made a batch of wire forged bangles. Alas they are difficult to photograph, I wanted to send them off to the jewellery workshop to try to get some cash-flow going, I will get the next batch professionally photographed, I’m very pleased with them.  http://porthlevenjewelleryworkshop.co.uk/

To the subject of this post, my move to outside with my jewellery work. Long story short, Reen, as you know, is a woodturner, membership secretary for Cornwall woodturnershttp://www.cornwallassociationofwoodturners.co.uk/

Now when we started with the workshop in the back garden I ‘shared’ it with her. As her hobby has grown, so has her collection of wood, not to mention the acquiring of a bandsaw and other wood related stuff. I resolved to just do larger work there, keeping my jewellers bench and associated bits in our spare bedroom. Burnt holes in the carpet and black smeetch marks from soldering/annealing led to the executive decision that I had to go outside.

Great news, Reen has a new shed. I now have re claimed the workshop, I thought I would share some pictures while it resembles some form of order.

I purchased a couple of years ago a complete tinsmith workshop tooling. As you see it is in a fairly rough state, the guillotine, disc cutter and fly press the only three things, apart from the odd stake, that I have gotten round to repairing/restoring. It was fantastic to meet the chap who sold it to me, he worked at this job, for the same firm all his working life. When he retired, the business closed down, he kept all the tooling in a, sadly, leaky lock up. He showed me a fly press die that he said was his first job when he started at 15 years of age. I’m now the very proud custodian of these time capsules. I don’t know if look forward is the right term, however as the years go by, time permitting, I will slowly restore each part. I have only shown some of what I have, I will introduce you to more as time goes on. Some of these machines, like the bowl maker, or the crimper with the associated accessories, are simply fascinating and wondrous to behold. All made from solid cast sections that are hernia inducing to move around. These industrial relics were the CNC machines of their time, I am very privileged to own these machines, they give me immense pleasure as I look at them, trying to figure out how they work, imagining the chap, his working lifetime etched into each one.

I know this has little to do with silversmithing per say, however these machines and associated stakes can be pressed into service for silversmithing purposes, as I intend to show you over the times we share.

I have pretty much completed a commission I will share with you next time, including some more, made from stuff lying around tools you can make yourself.

I apologise in advance for an upcoming post that shows my “dirty” workshop. A very nice person has expressed an interest in the old engineering machines I am fortunate enough to look after. Please don’t dismiss it as I feel sure, as people interested in making things, you should get something from it.

Until next time. All my very best wishes.

Stu Art