Sterling silver moon ring how to with home made tools. Part 1

DSCF3504

The completed, hallmarked sterling silver rings.

DSCF3508

The first, spiky example was my first attempt at a ring at my first year of College. I am drawn to this type of construction, though I wouldn’t recommend this ring. It was a good exercise on many levels, not least, how to make something totally unappealing 🙂 it taught me a lot about soldering though. The second was my first attempt to make a ring with repousse and chasing techniques to take advantage of the ‘skinned’ or two part hollow nature of these rings. The third is where this project takes off.

DSCF3424

To give you a flavour of the process, some experiments, drawn, paper mock ups and copper blanks ready for the next stage.

DSCF3422

This is not the final patter, though pretty close. If you do something similar I would recommend using graph paper, I did in the end. The reason is, when cut out you notice, especially in the following processes, that your pattern isn’t quite symmetrical. Graph paper makes this far more preventable.

DSCF3423

Some of the directions from the comfort of my drafting table,. Told you I couldn’t draw 🙂

DSCF3432

I can’t remember where I picked up this tip. Fabulous stuff this rubber cement for sticking paper patterns to metal. Cover the metal and the paper with the glue. Blow on the metal until it goes matt, slide the paper pattern and leave for a min or two. Saw up to the pattern, great stuff.

DSCF3434

Blank in copper domed in the block with a 15mm doming punch. Starting in a larger depression, moving down a size, four or five times. If you try too small too fast, it created nicks in the corners of the piece where it is trying to compress too quickly. Anneal if you feel the need.

DSCF3436

From a previous post. remember my, made from copper, filled with lead pitch bowl. This parcel tape fits the bill as a great stand for it. Some grippy cloth in-between keeps thins nice and stable.

DSCF3437

2mm and 3mm doming punches for repousse stage.

DSCF3438

Same again for the chasing part.

DSCF3440

Using a suitable sized doming punch, to fit the ring shank you need. Mark the overlap, cut through both layers (each side) to create a perfect soldering joint.

DSCF3441

Some of my miniature metalwork forming tools. See text.

DSCF3443

Showing how to round off the shank. Use a soft hammer, not metal as this will stretch the metal. Remember this if your outer is too tight to fit the shank. You can use a metal hammer to the stake to stretch it to fit.

DSCF3442

You can just see the air gap. I will go into more detain in the next post.

DSCF3469

The silver blanks ready.


Wato wato one and all.

This ‘moon ring’ was a request, I have no idea if it will sell, made a couple just in case.

This journey is in two parts, this one shows you a little background. Also the refinement of the design and the tools needed to realise it.

The references to looking to the text will be covered in detail in the next post. Hope you enjoy reading about it. Also I hope it inspires you to look at the things around you in a different way. You never know where the next tool is lurking, just keep looking.

Until next time. Very best wishes.

Stu Art.

Advertisement

Move to outside workshop

DSCF3446

My bench, all made from reclaimed stuff. The top cane from a skip, the table it sits on was being slung out. Its raised on two rough sawn off cuts, not elegant, effective though.

DSCF3447

‘Plier rack’ is an old plate stand, keeps files to hand as well. The filing cabinet has my tumbler, pickle pot (an old slow cooker, make sure its ceramic, not metal if you try yourself) and one or two fondue set mini pickle pots, heated by tea lights, for small work. The table/stand is a laptop stand, height adjustable, very useful.

DSCF3448

Solis cast iron surface plate, or sometimes called a flat iron, perfect for checking the trueness of raising, marking out and checking for flatness. Old fire bricks salvaged from electric night storage heaters, two turntables, the smaller one for a T/V, the other is a twist exerciser, both plastic so be careful. With the size of the bricks placed on the soldering table, I have no issue with heat reaching the turntable. Both found in junk shops.

DSCF3449

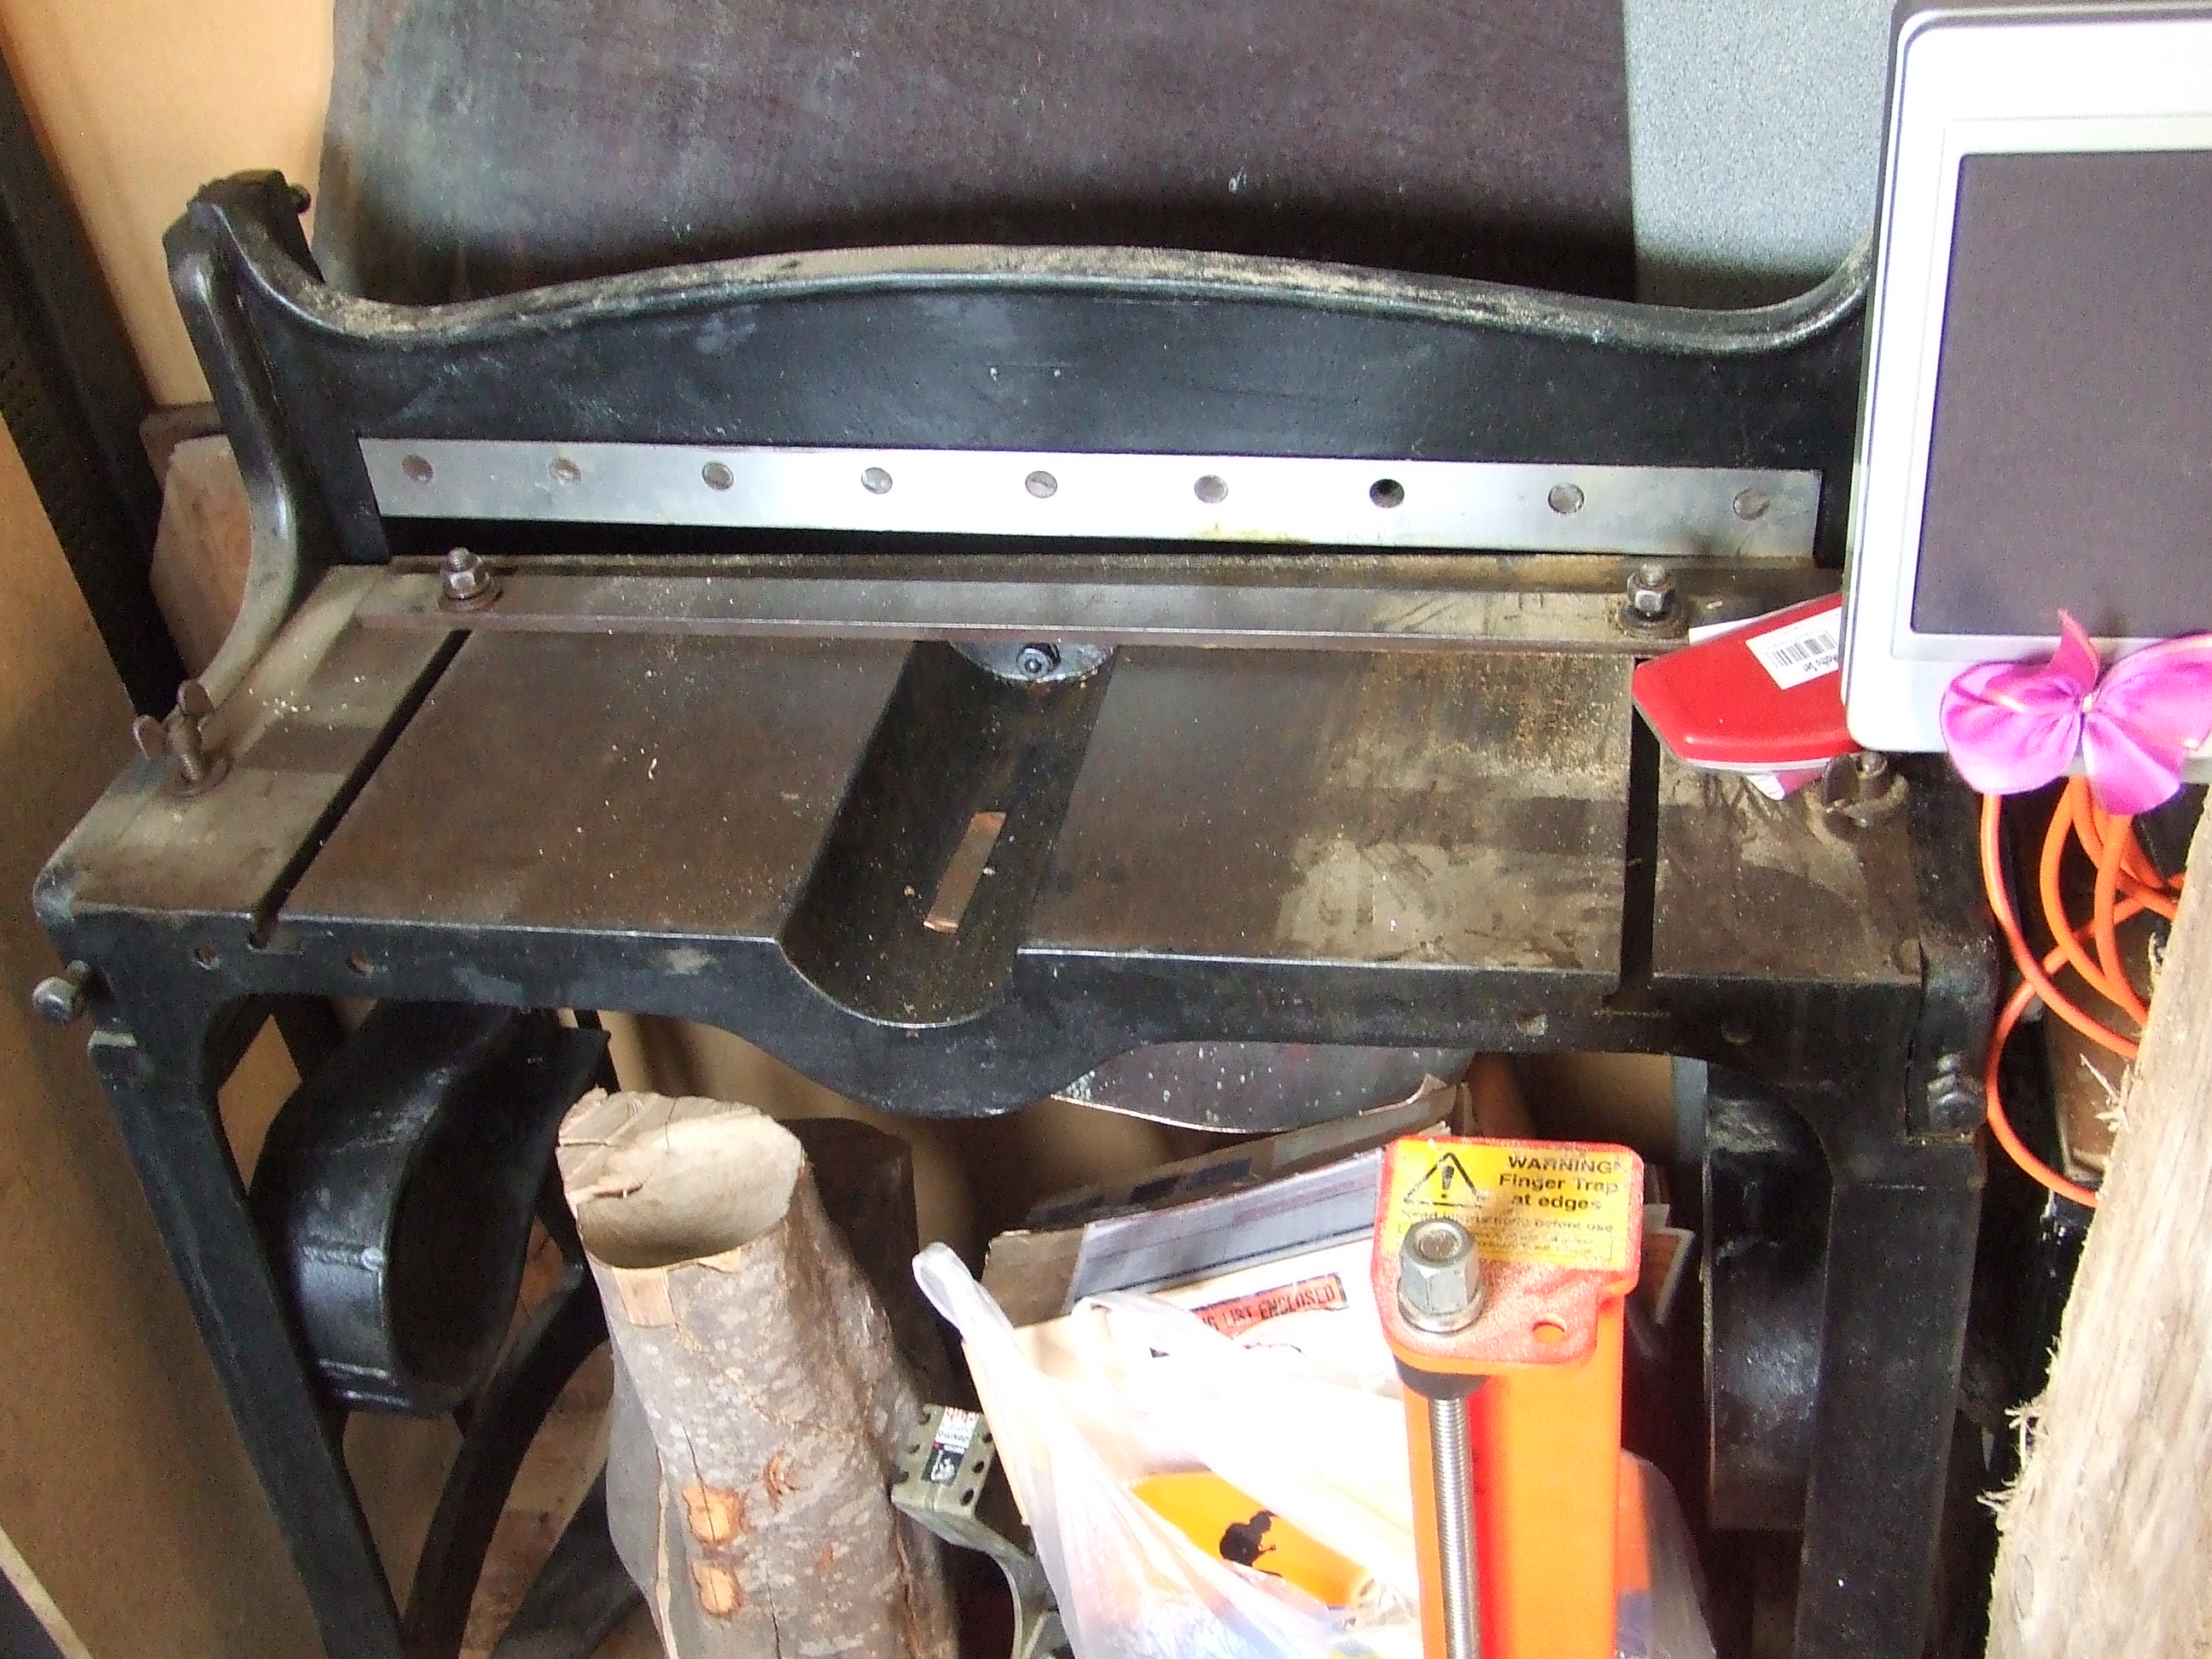
Truly awesome guillotine, I took this apart and painted it. It is so heavy, I used a motorcycle jack to help take it apart. As it was over a small drain, the weight cracked through the alloy drain, toppling it onto my pushbike, you should see the dent in the frame ;/

DSCF3450

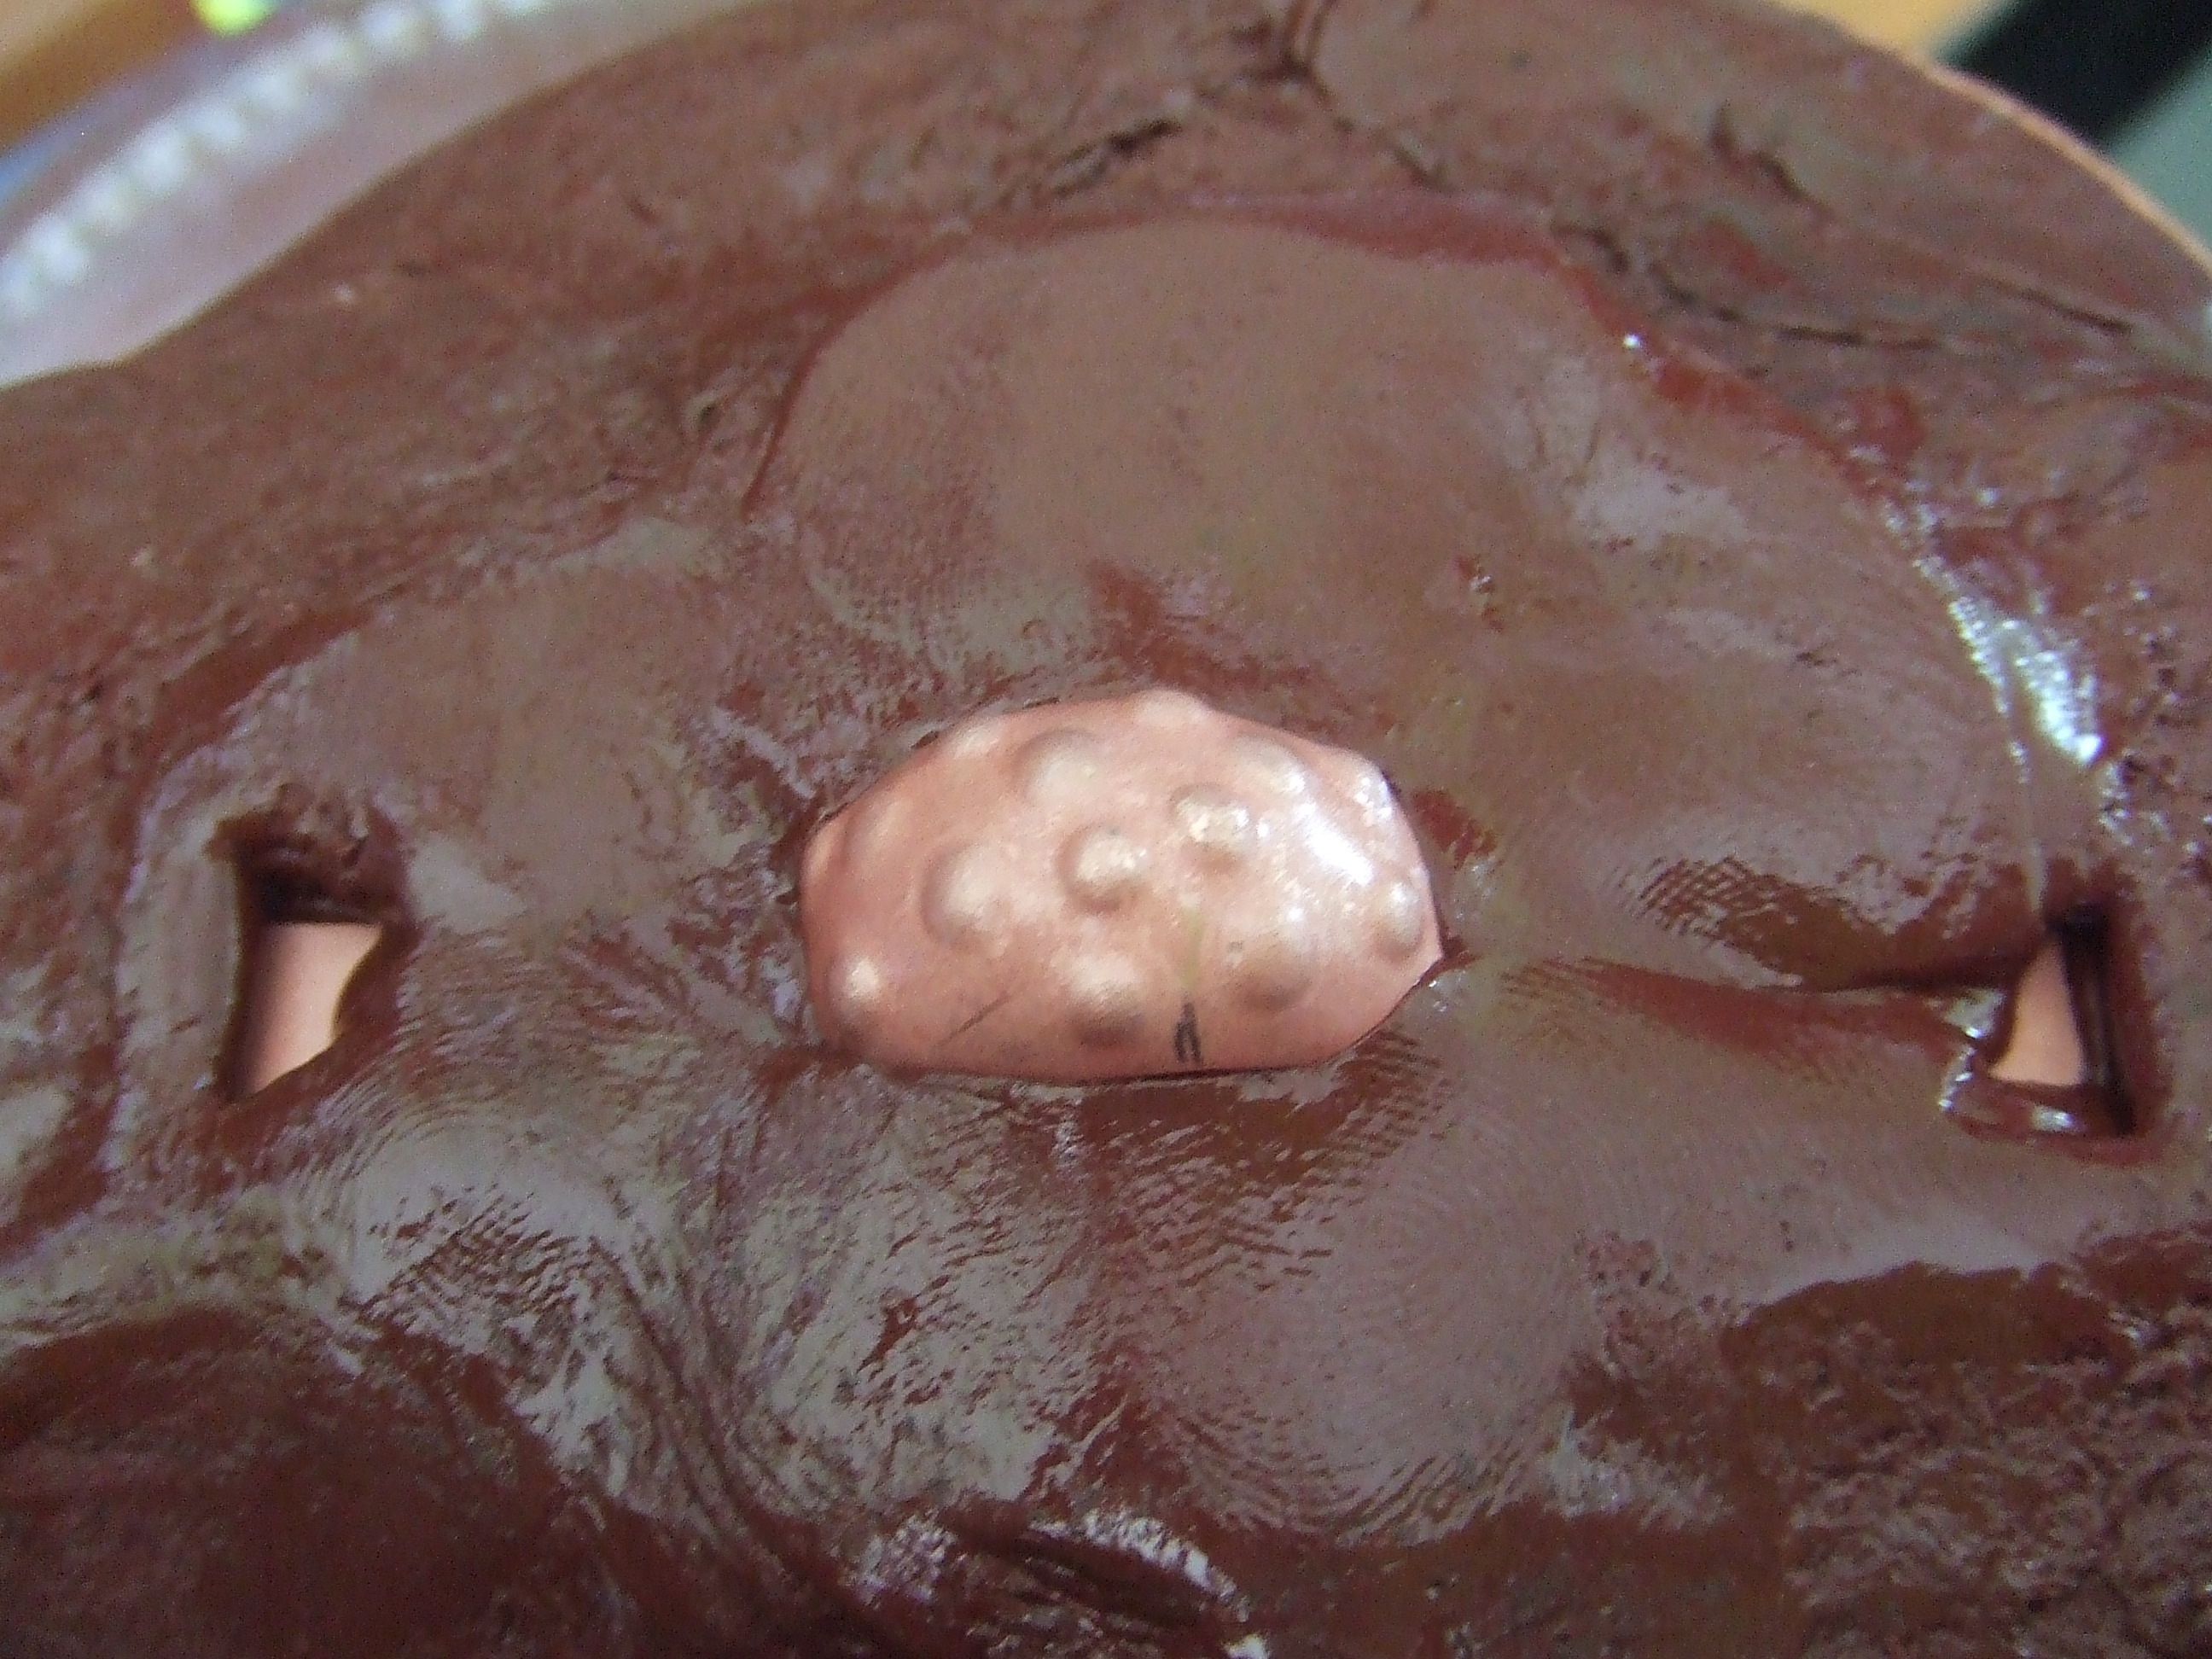
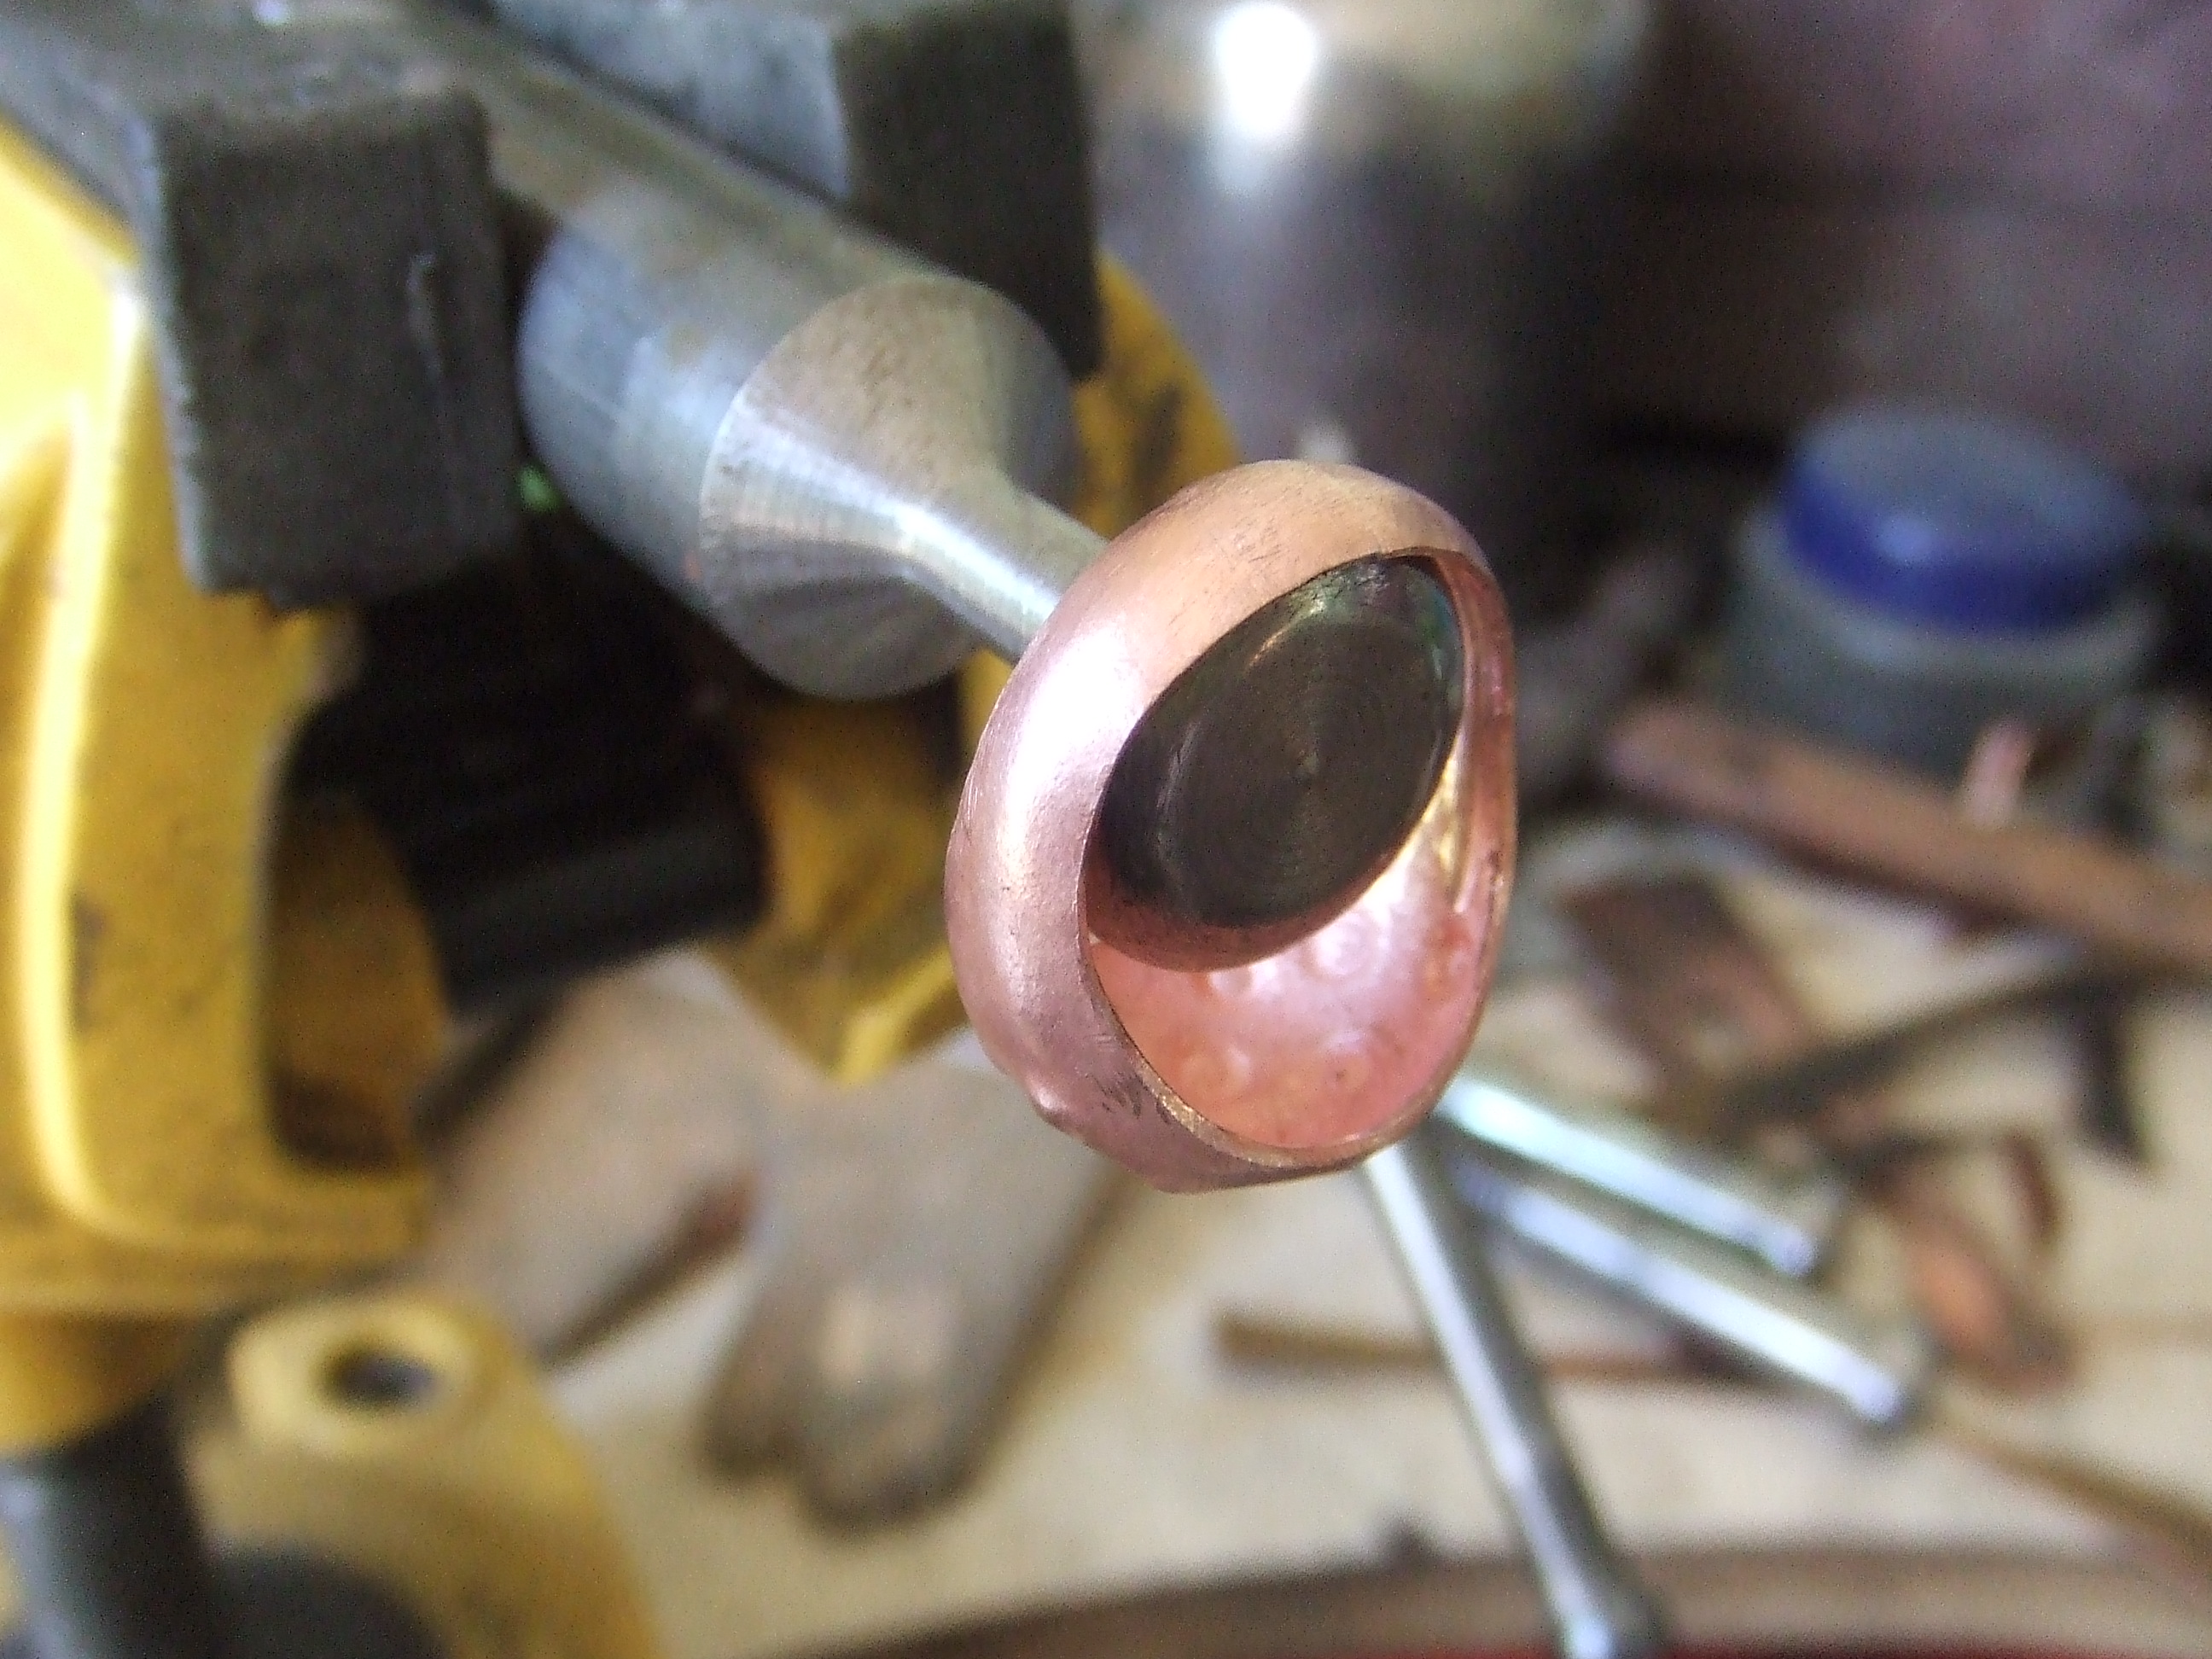
A mod roc, wire and wood ‘sculpture’ I made for a project. Do you think it would work in copper for outside?

DSCF3452

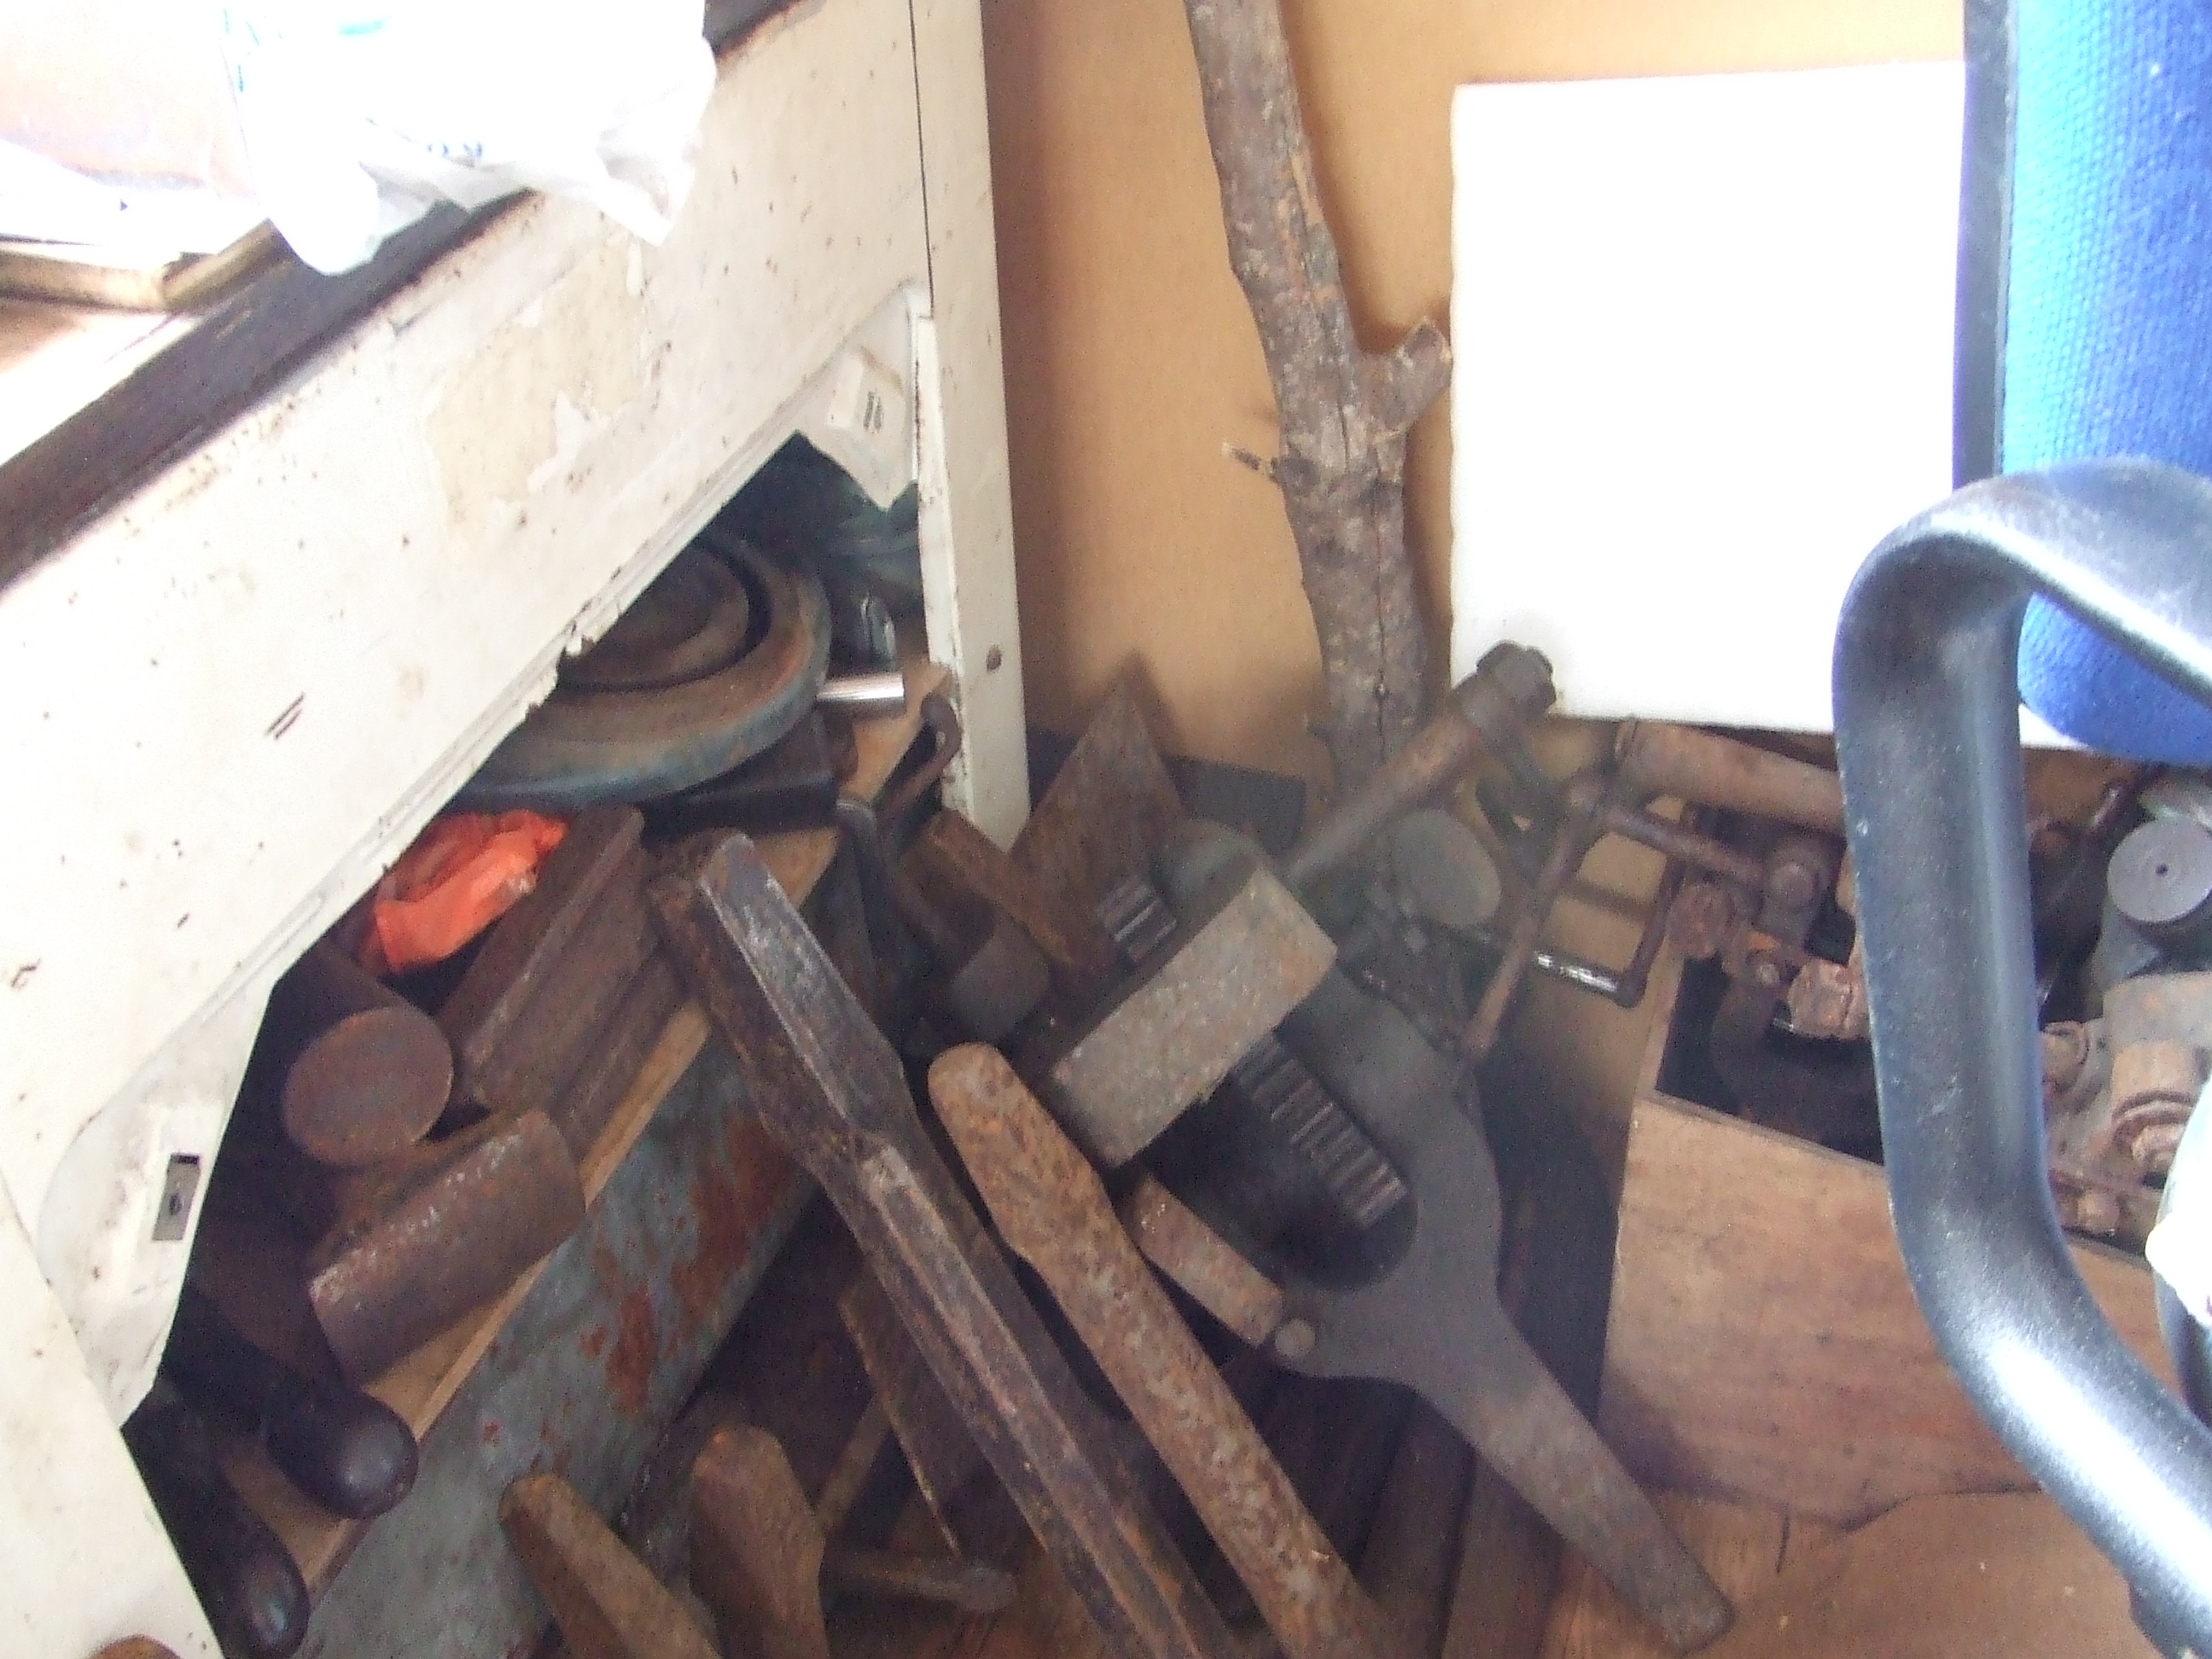
Swage machines, part of the tinsmiths hall. All need to be cleaned up and restored.

DSCF3454

Two old slip rollers, along with my modern rolling mill. Restoration of the old ones later!!!!

DSCF3455

Some of my hammers. That fan is great, force 10 at least, no paperwork out when this is running.

DSCF3456

A belt and disc sander I use for roughing out amongst other things the chasing tools you see here. They are attached by strip magnets used for storing knives in kitchens, you guessed it, from a second hand shop. The trolley, on wheels, was salvaged from a skip.

DSCF3459

Birds eye view. Got to have a cuppa tea. I’m British don’t ya know 🙂 The stool I use is a piano stool, the pad is on a screw thread, just spin it for height adjustment.

DSCF3462

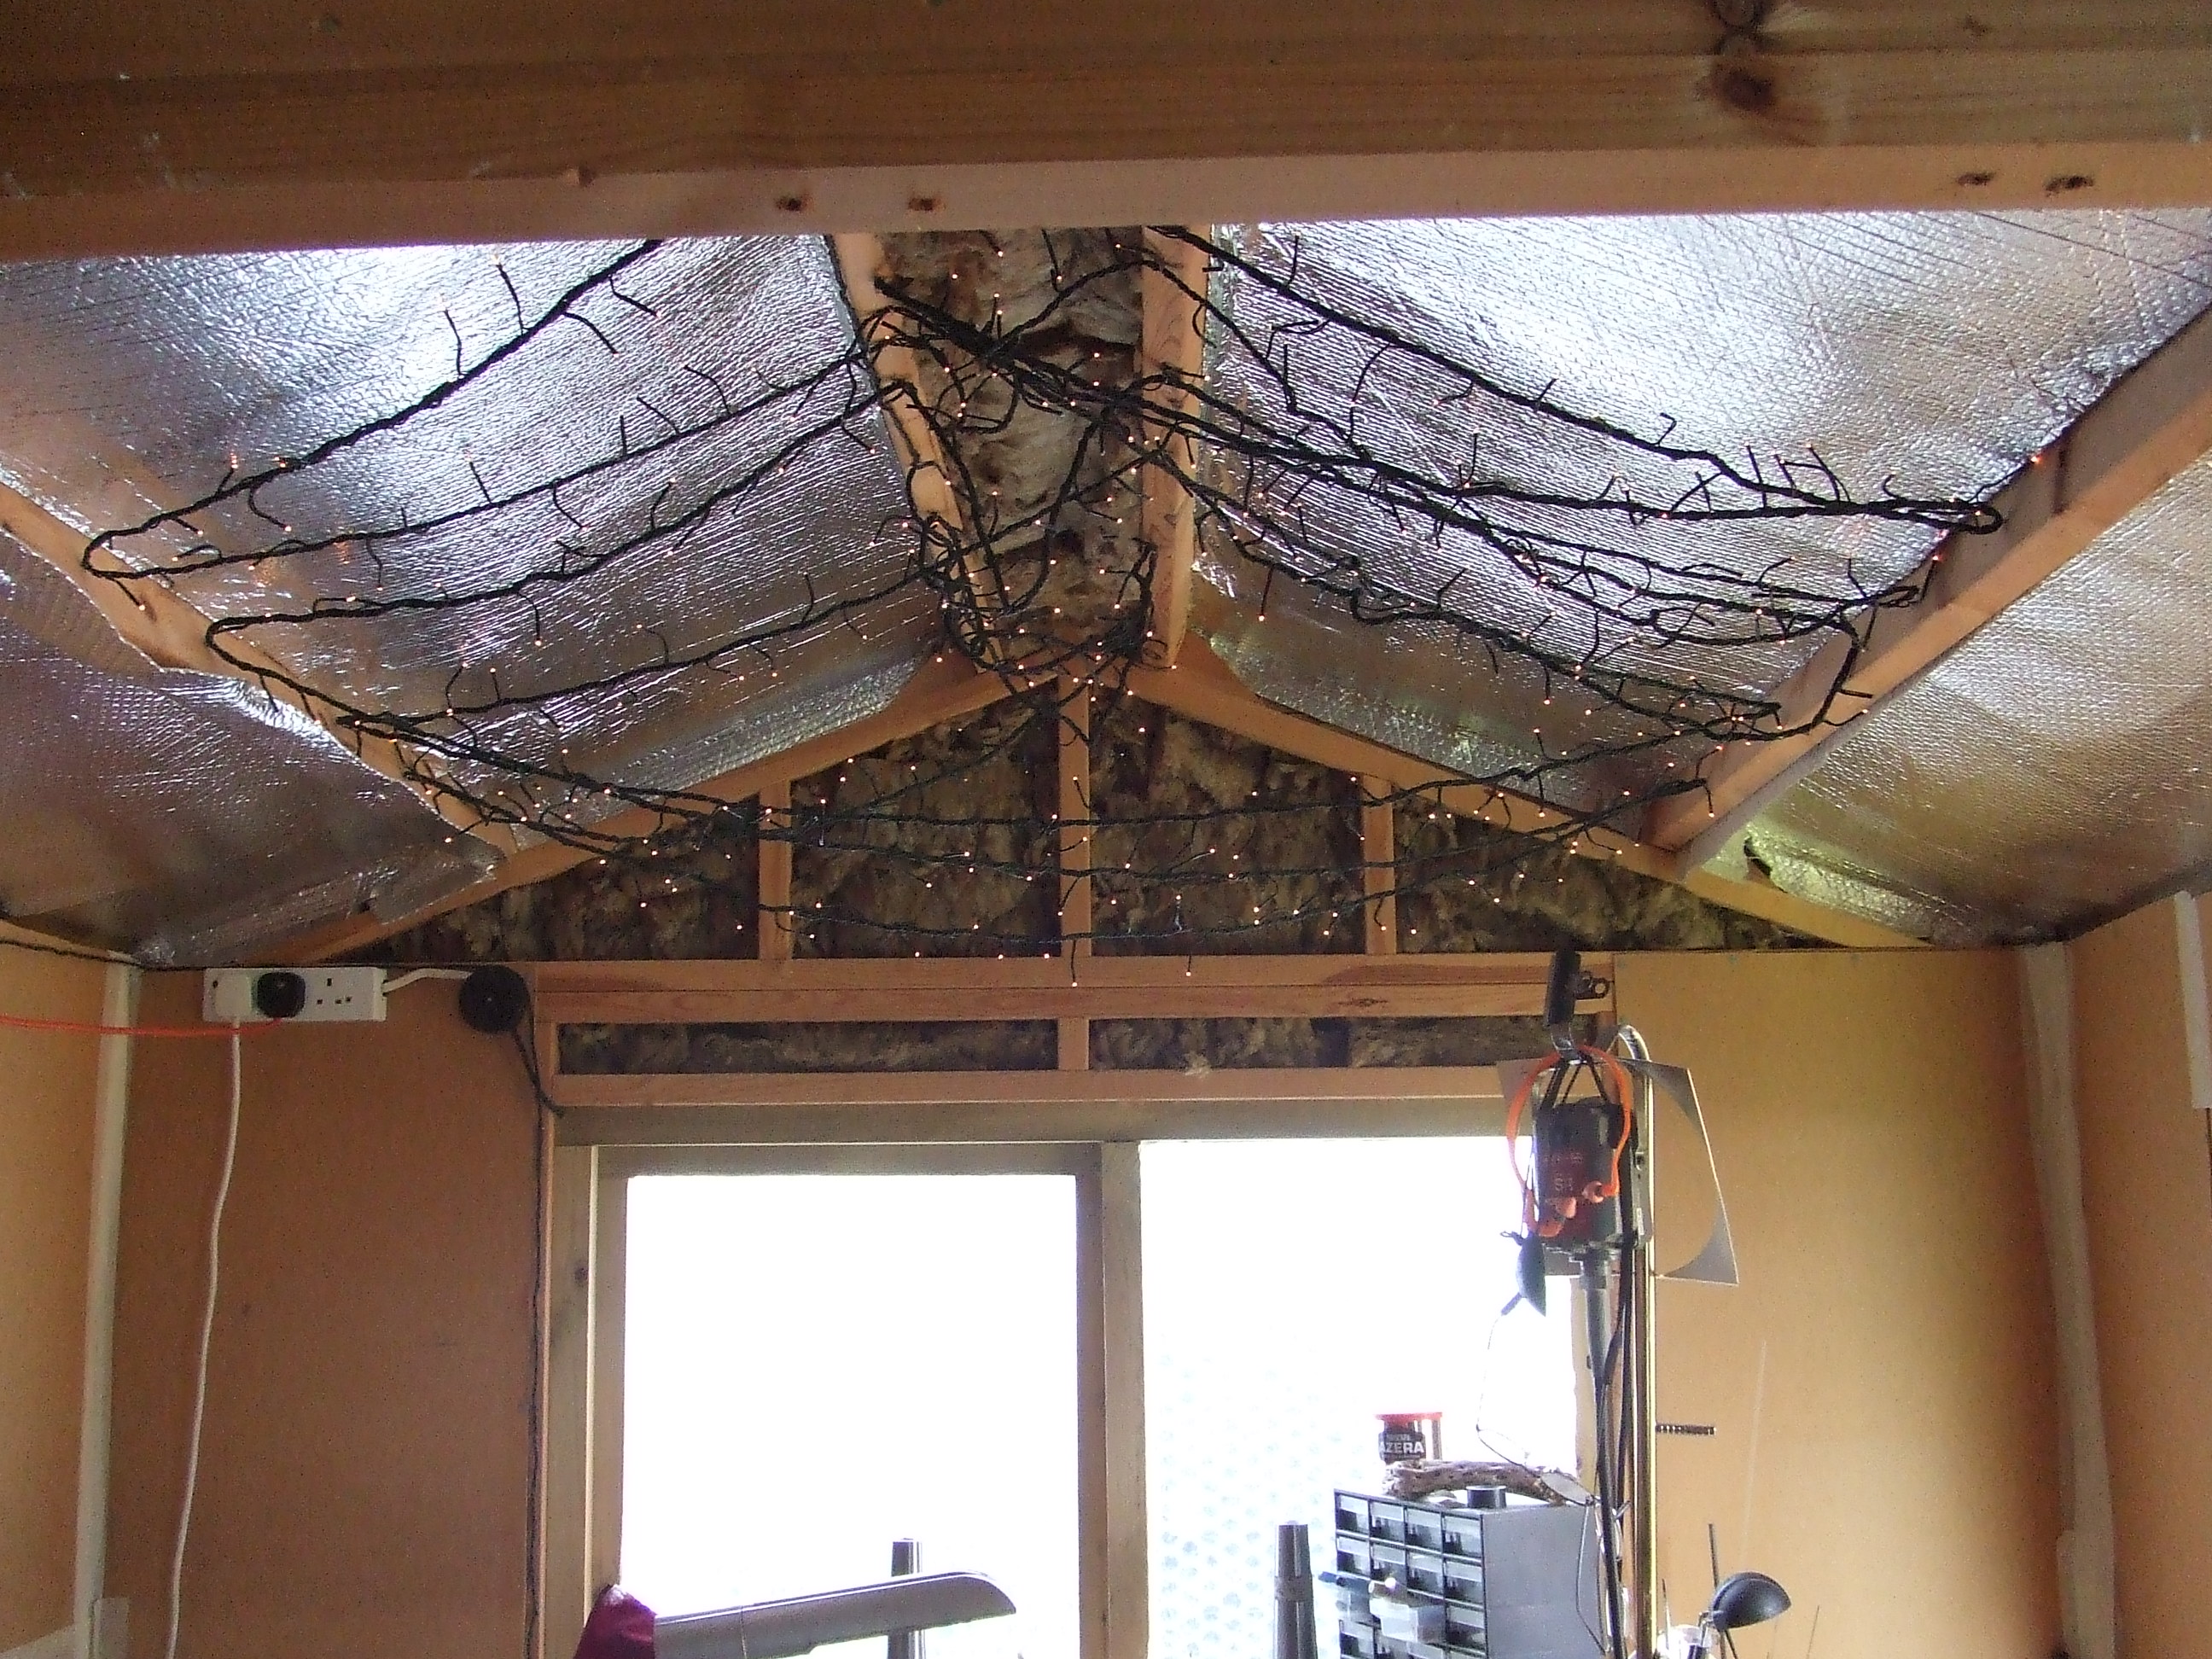
Couldn’t resist this, beautiful at night, with switchable effects, just plain white, reminds me of the stars, you have to be here to see the full fantastic effect.

DSCF3464

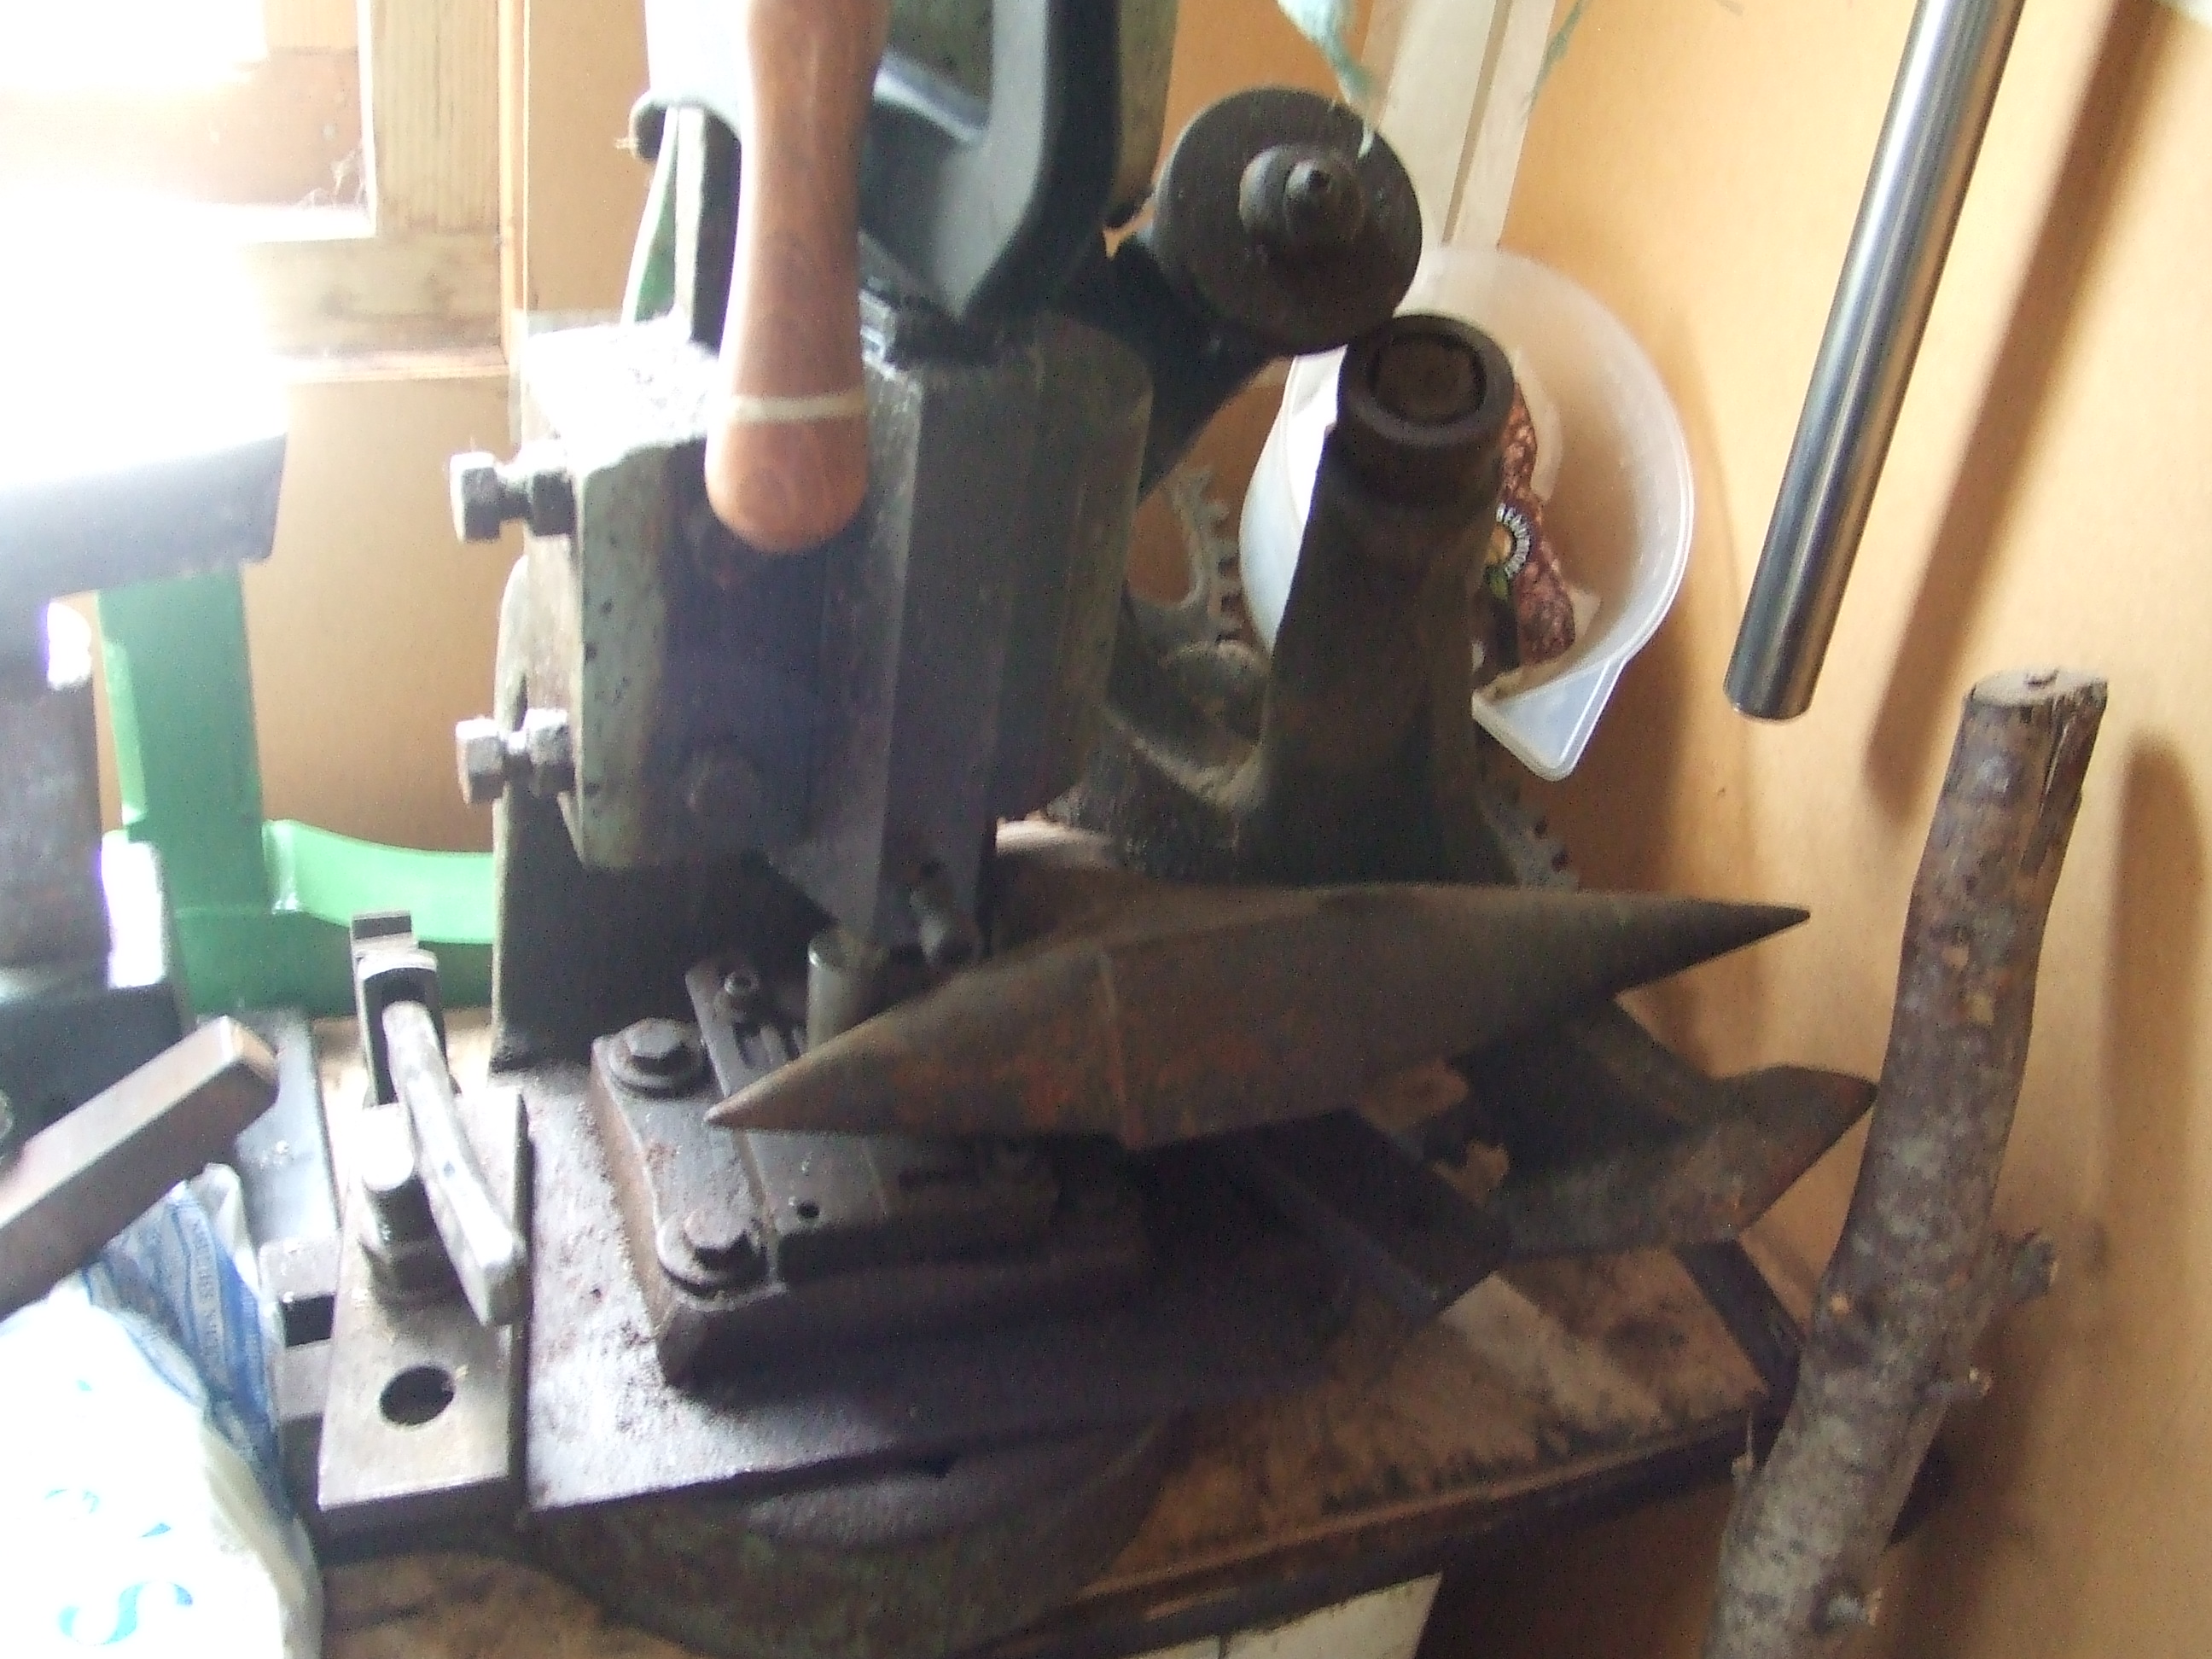
My disc cutter, truly fantastic, beautiful machine. Always make me giggle every time I use it.

DSCF3467

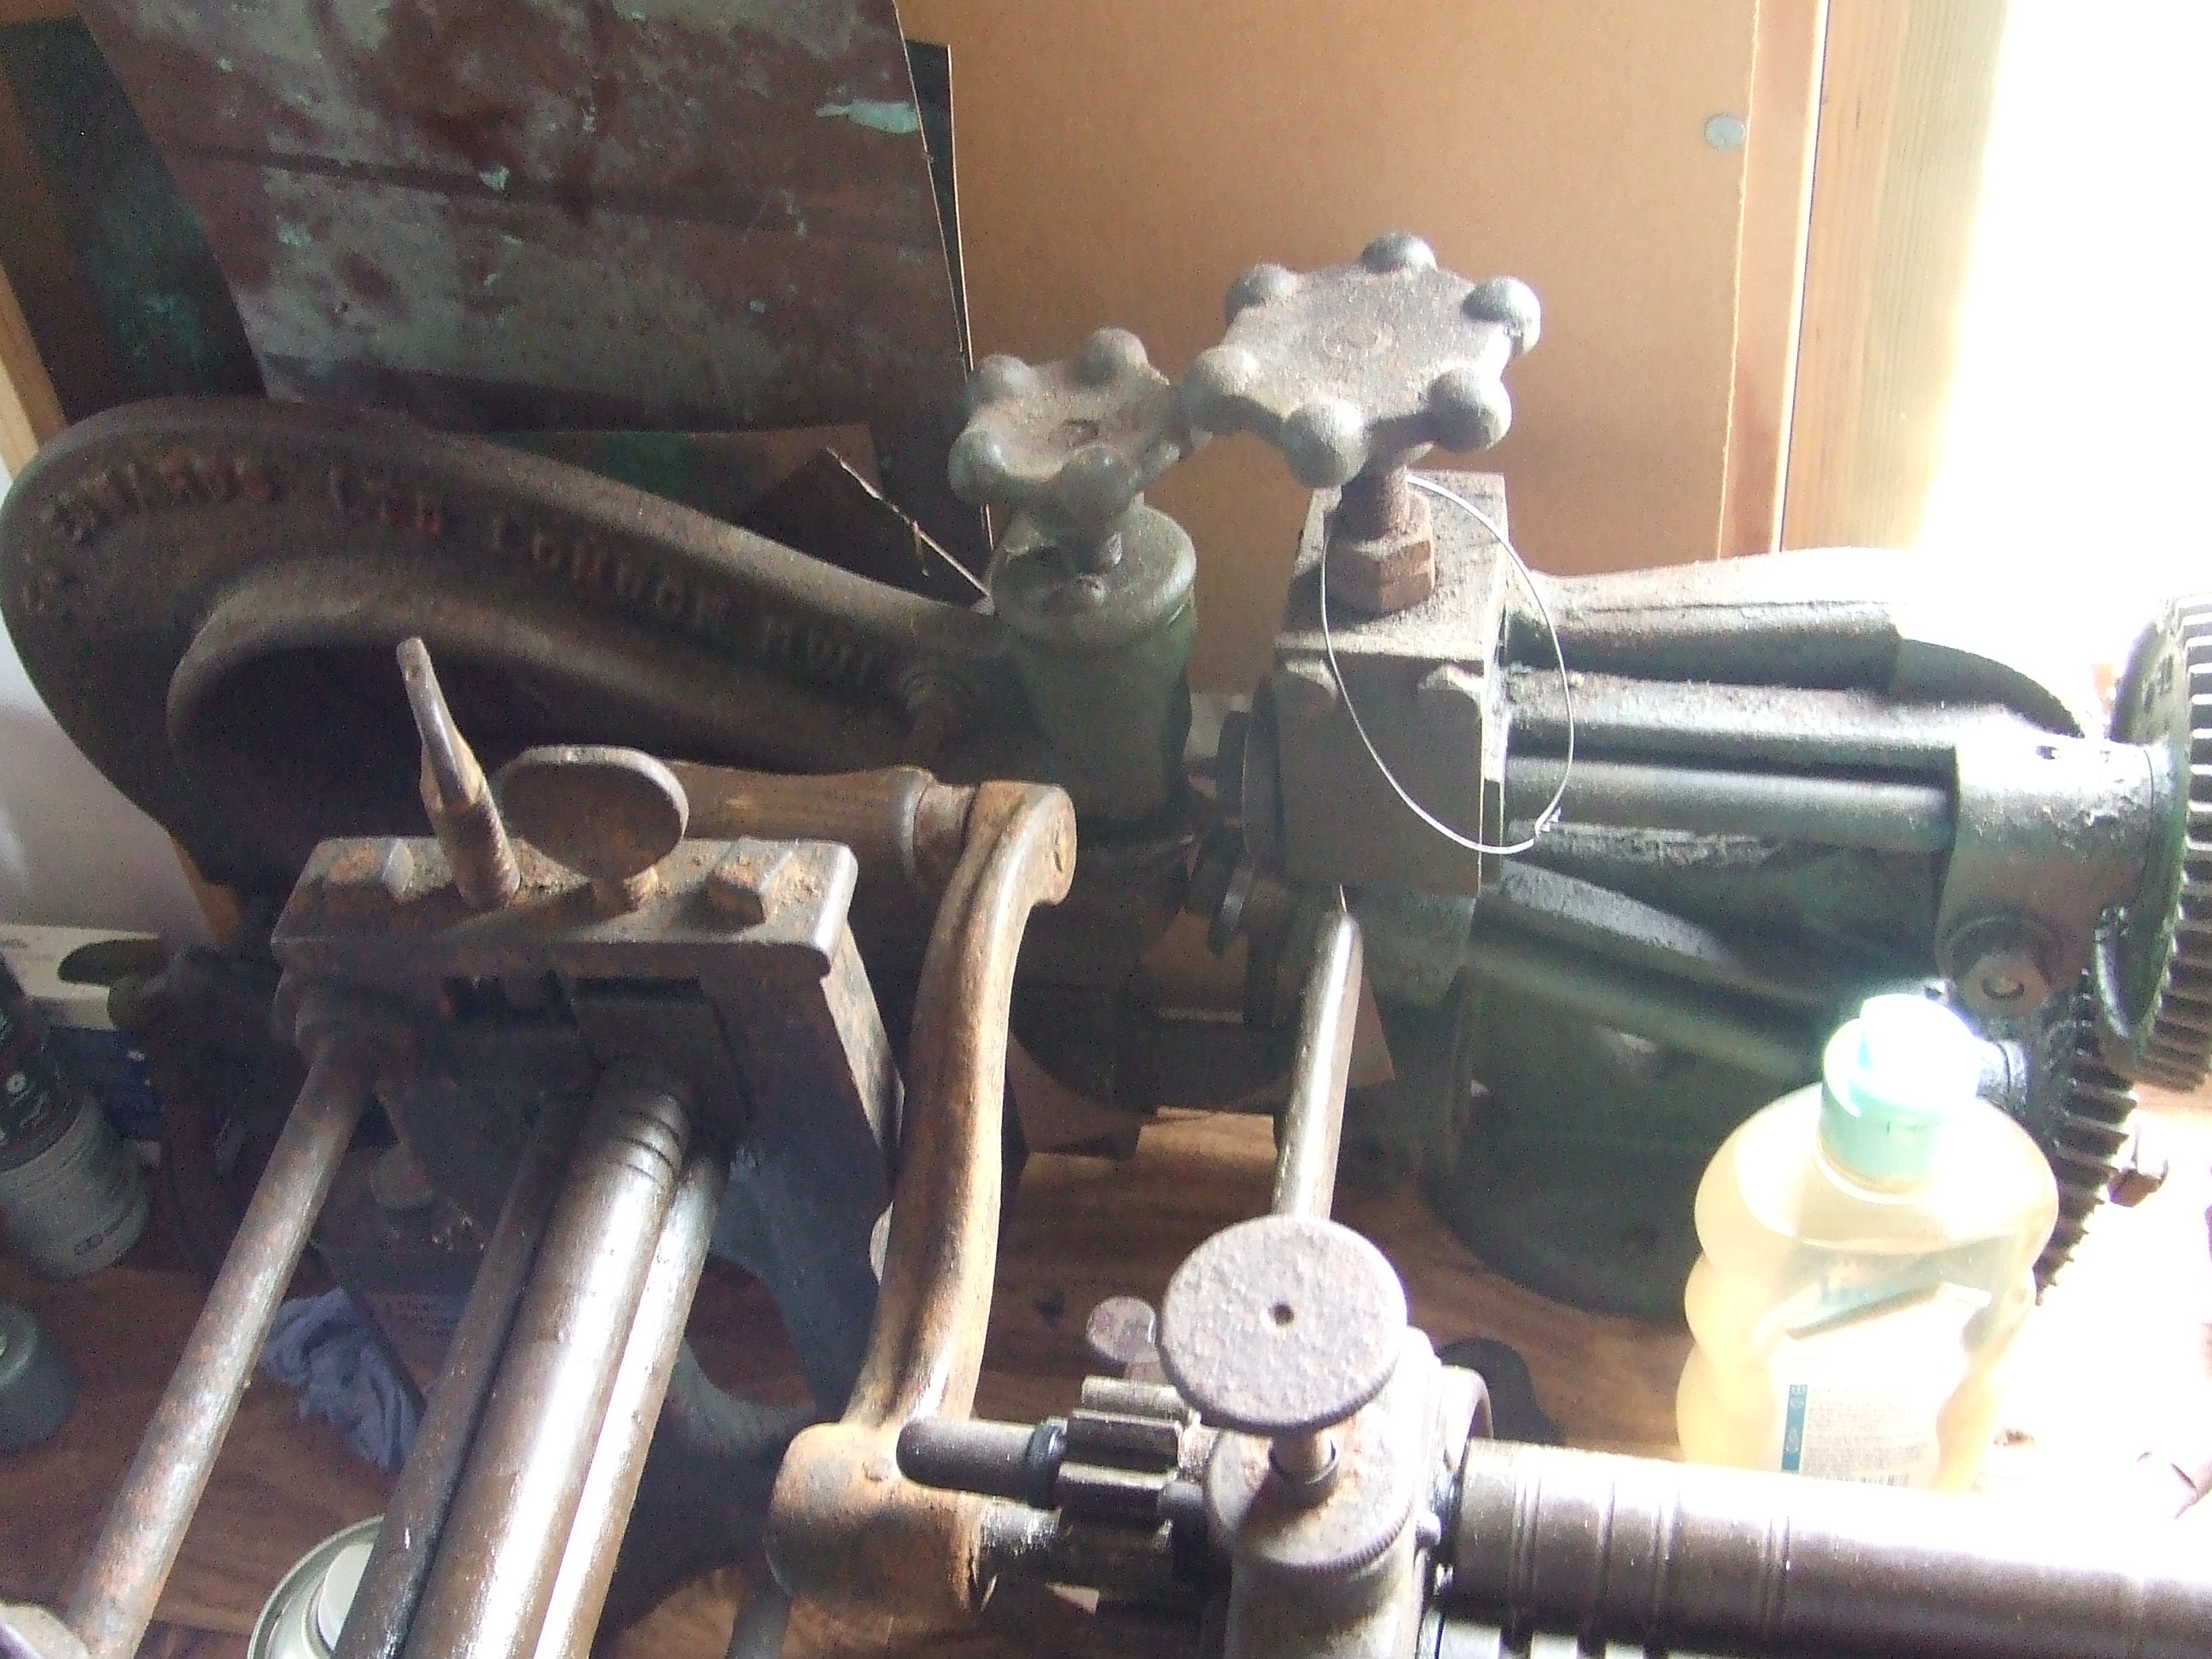
A Norton fly press, more to come in the near future with this machine. The machine to the right, just visible the two rollers, is a bowl forming machine. Alas one of the cast gears is broken, on another post I will introduce my “dirty” workshop, (my garage) and the machine tools I will be using to repair it. Most of the stakes came from the tinsmith hall, along with most of the machines here, see text for explanation.


Wato wato one and all

Not posted for a while, work and a direction revisited from a previous time have meant not much happening at the moment. I was hoping the start of the holiday season would be more fruitful than it has proven to be so far. I have just made a batch of wire forged bangles. Alas they are difficult to photograph, I wanted to send them off to the jewellery workshop to try to get some cash-flow going, I will get the next batch professionally photographed, I’m very pleased with them.  http://porthlevenjewelleryworkshop.co.uk/

To the subject of this post, my move to outside with my jewellery work. Long story short, Reen, as you know, is a woodturner, membership secretary for Cornwall woodturnershttp://www.cornwallassociationofwoodturners.co.uk/

Now when we started with the workshop in the back garden I ‘shared’ it with her. As her hobby has grown, so has her collection of wood, not to mention the acquiring of a bandsaw and other wood related stuff. I resolved to just do larger work there, keeping my jewellers bench and associated bits in our spare bedroom. Burnt holes in the carpet and black smeetch marks from soldering/annealing led to the executive decision that I had to go outside.

Great news, Reen has a new shed. I now have re claimed the workshop, I thought I would share some pictures while it resembles some form of order.

I purchased a couple of years ago a complete tinsmith workshop tooling. As you see it is in a fairly rough state, the guillotine, disc cutter and fly press the only three things, apart from the odd stake, that I have gotten round to repairing/restoring. It was fantastic to meet the chap who sold it to me, he worked at this job, for the same firm all his working life. When he retired, the business closed down, he kept all the tooling in a, sadly, leaky lock up. He showed me a fly press die that he said was his first job when he started at 15 years of age. I’m now the very proud custodian of these time capsules. I don’t know if look forward is the right term, however as the years go by, time permitting, I will slowly restore each part. I have only shown some of what I have, I will introduce you to more as time goes on. Some of these machines, like the bowl maker, or the crimper with the associated accessories, are simply fascinating and wondrous to behold. All made from solid cast sections that are hernia inducing to move around. These industrial relics were the CNC machines of their time, I am very privileged to own these machines, they give me immense pleasure as I look at them, trying to figure out how they work, imagining the chap, his working lifetime etched into each one.

I know this has little to do with silversmithing per say, however these machines and associated stakes can be pressed into service for silversmithing purposes, as I intend to show you over the times we share.

I have pretty much completed a commission I will share with you next time, including some more, made from stuff lying around tools you can make yourself.

I apologise in advance for an upcoming post that shows my “dirty” workshop. A very nice person has expressed an interest in the old engineering machines I am fortunate enough to look after. Please don’t dismiss it as I feel sure, as people interested in making things, you should get something from it.

Until next time. All my very best wishes.

Stu Art

Raising Britannia silver bowl further along.

Wato wato.

Back to the Britannia silver bowl, here I will show the stages up to the completed first outer angle before coming back in to close the opening. Also I will show some corrective work needed to keep the form true.

Alas, I did not take pictures of the raising of the bottom, I feel you will be able to see it in your mind and do not feel this will hinder you’re understanding. As you raise you may well have to make some decisions as to what stake is best for you. Silversmiths will normally make custom stakes to make the shapes they desire before starting a project. A commercially available stake such as the cows tongue one here, present some good options for a variety of pleasant shapes without having to fashion a custom shape. A mix of time restraints and a not definite shape encouraged me to use what I had.

The large doming punch can only be used for a short time. Think about the shape of a dome, if used for too long the shape will come in on itself too much. This is where doing it will be far more beneficial than reading, I will do my best to explain it as I do it, you may like to share your own approaches, I would love to see them.

If you hold your form in front of you and bring your doming punch, or stake, up from behind you can ‘sight’ it if you will against a light or window. You can better envisage the shape of the stake against your form and relate it to the shape you wish to achieve. Similarly if you take these two stakes, well a doming punch and a stake, and hold them in front of you and play with the relationships in space, you can work out the transition from one to another.

I find this helpful as the commonest fault I have watched others make, including myself, is that the stake is just hit against without properly realising the subtle differences a few mm each way can make on the final shape, as the curves are progressive, not fixed, on most stakes. Again consistency can be better appreciated when you do this sighting exercise as the smallest of movements between each of the stakes can have quite dramatic results on the curves created. This also helps the imagination to run a little wild as you see shapes that you may not have considered. I find this, sometimes only after perhaps days when a thought pops into my head after I have seen something and relate it to the shapes I have made playing with stakes. As usual I have used many words when these few would do; most stakes have a myriad of possibilities that are more subtle than a casual glance may present.

Keeping your form even and correct throughout the raising process is important if you do not wish to have to cut off, or correct the rim too much at the end. With the picture of the piece shown on a flat plate it can be clearly seen that my technique is not consistant. I always, after a course of raising, just go over it again with a mallet to take out the lumps and bumps that the raising process creates. This serves to also give you an idea of how accurate you are, not very if you look at this. Now is a good time to correct this as you can imagine this will only get worse at the end, I will explain what I do to correct it.

Planishing is a very tricky skill to get right. Notice I didn’t say perfect as I am nowhere near as competent as I wish to be at this stage. There are many variables, stake selection, hammer profile, weight of hammer and the blow itself. I hope to cover this in more detail in at the end of this project, for now though I will just say that ‘spot planishing’, my made up term, was used to stretch the silver back into shape.

As you see the rough line drawn around the high spot, imagine if you will the silver being thicker in this boundary. By measured planishing in this particular area we can encourage the silver to flow out towards the edge. I did this over three annealing. As you know this was the first silver bowl I have raised and so I was perhaps a little timid, the results in the next picture shows that it was not altogether unsuccessful.

When I planished the bowl all over I used a flat faced planishing hammer, the surface being convex, like a dome, as opposed to concave, like a slice of eaten watermelon. For this technique to be a success however a domed planishing hammer was used. I hope not to confuse but I also used a cross peen as well in places. The slight dome compresses into the silver displacing it. If you make a ‘barrier’ along the line, nothing definite I’m afraid, it’s your call, experience will teach us all in the end. By a barrier, think work hardened line that the unhardened silver cannot cross. This forces the silver to flow towards the rim, trapped in the barrier you create by overlapping blows along the line, hardening it.

If you planish too hard you will cause unevenness and possible warping, this is why I annealed and went back to it. I planished on the cows tongue stake, making sure the area was in contact with the stake at all times. With patience and careful planishing you can restore the rim, as seen in the photographs.

I hope I have been clear to this point and will return again to explain the bringing in of the form, closing the entrance to the bowl.

Until next time, all my very best wishes.

Stu Art 🙂