-

-
Keep sides even.
-
-
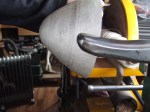
Not shown here is the large doming punch I used to raise from the bottom. After the round bottom is realised, the raising continued on this ‘cows tongue’ stake.
-

-
After every round of raising I go back with a leather, or wooden mallet to keep the form true. Pictured on the flat plate this needs correcting, note the rough lines made around the gap.
-

-
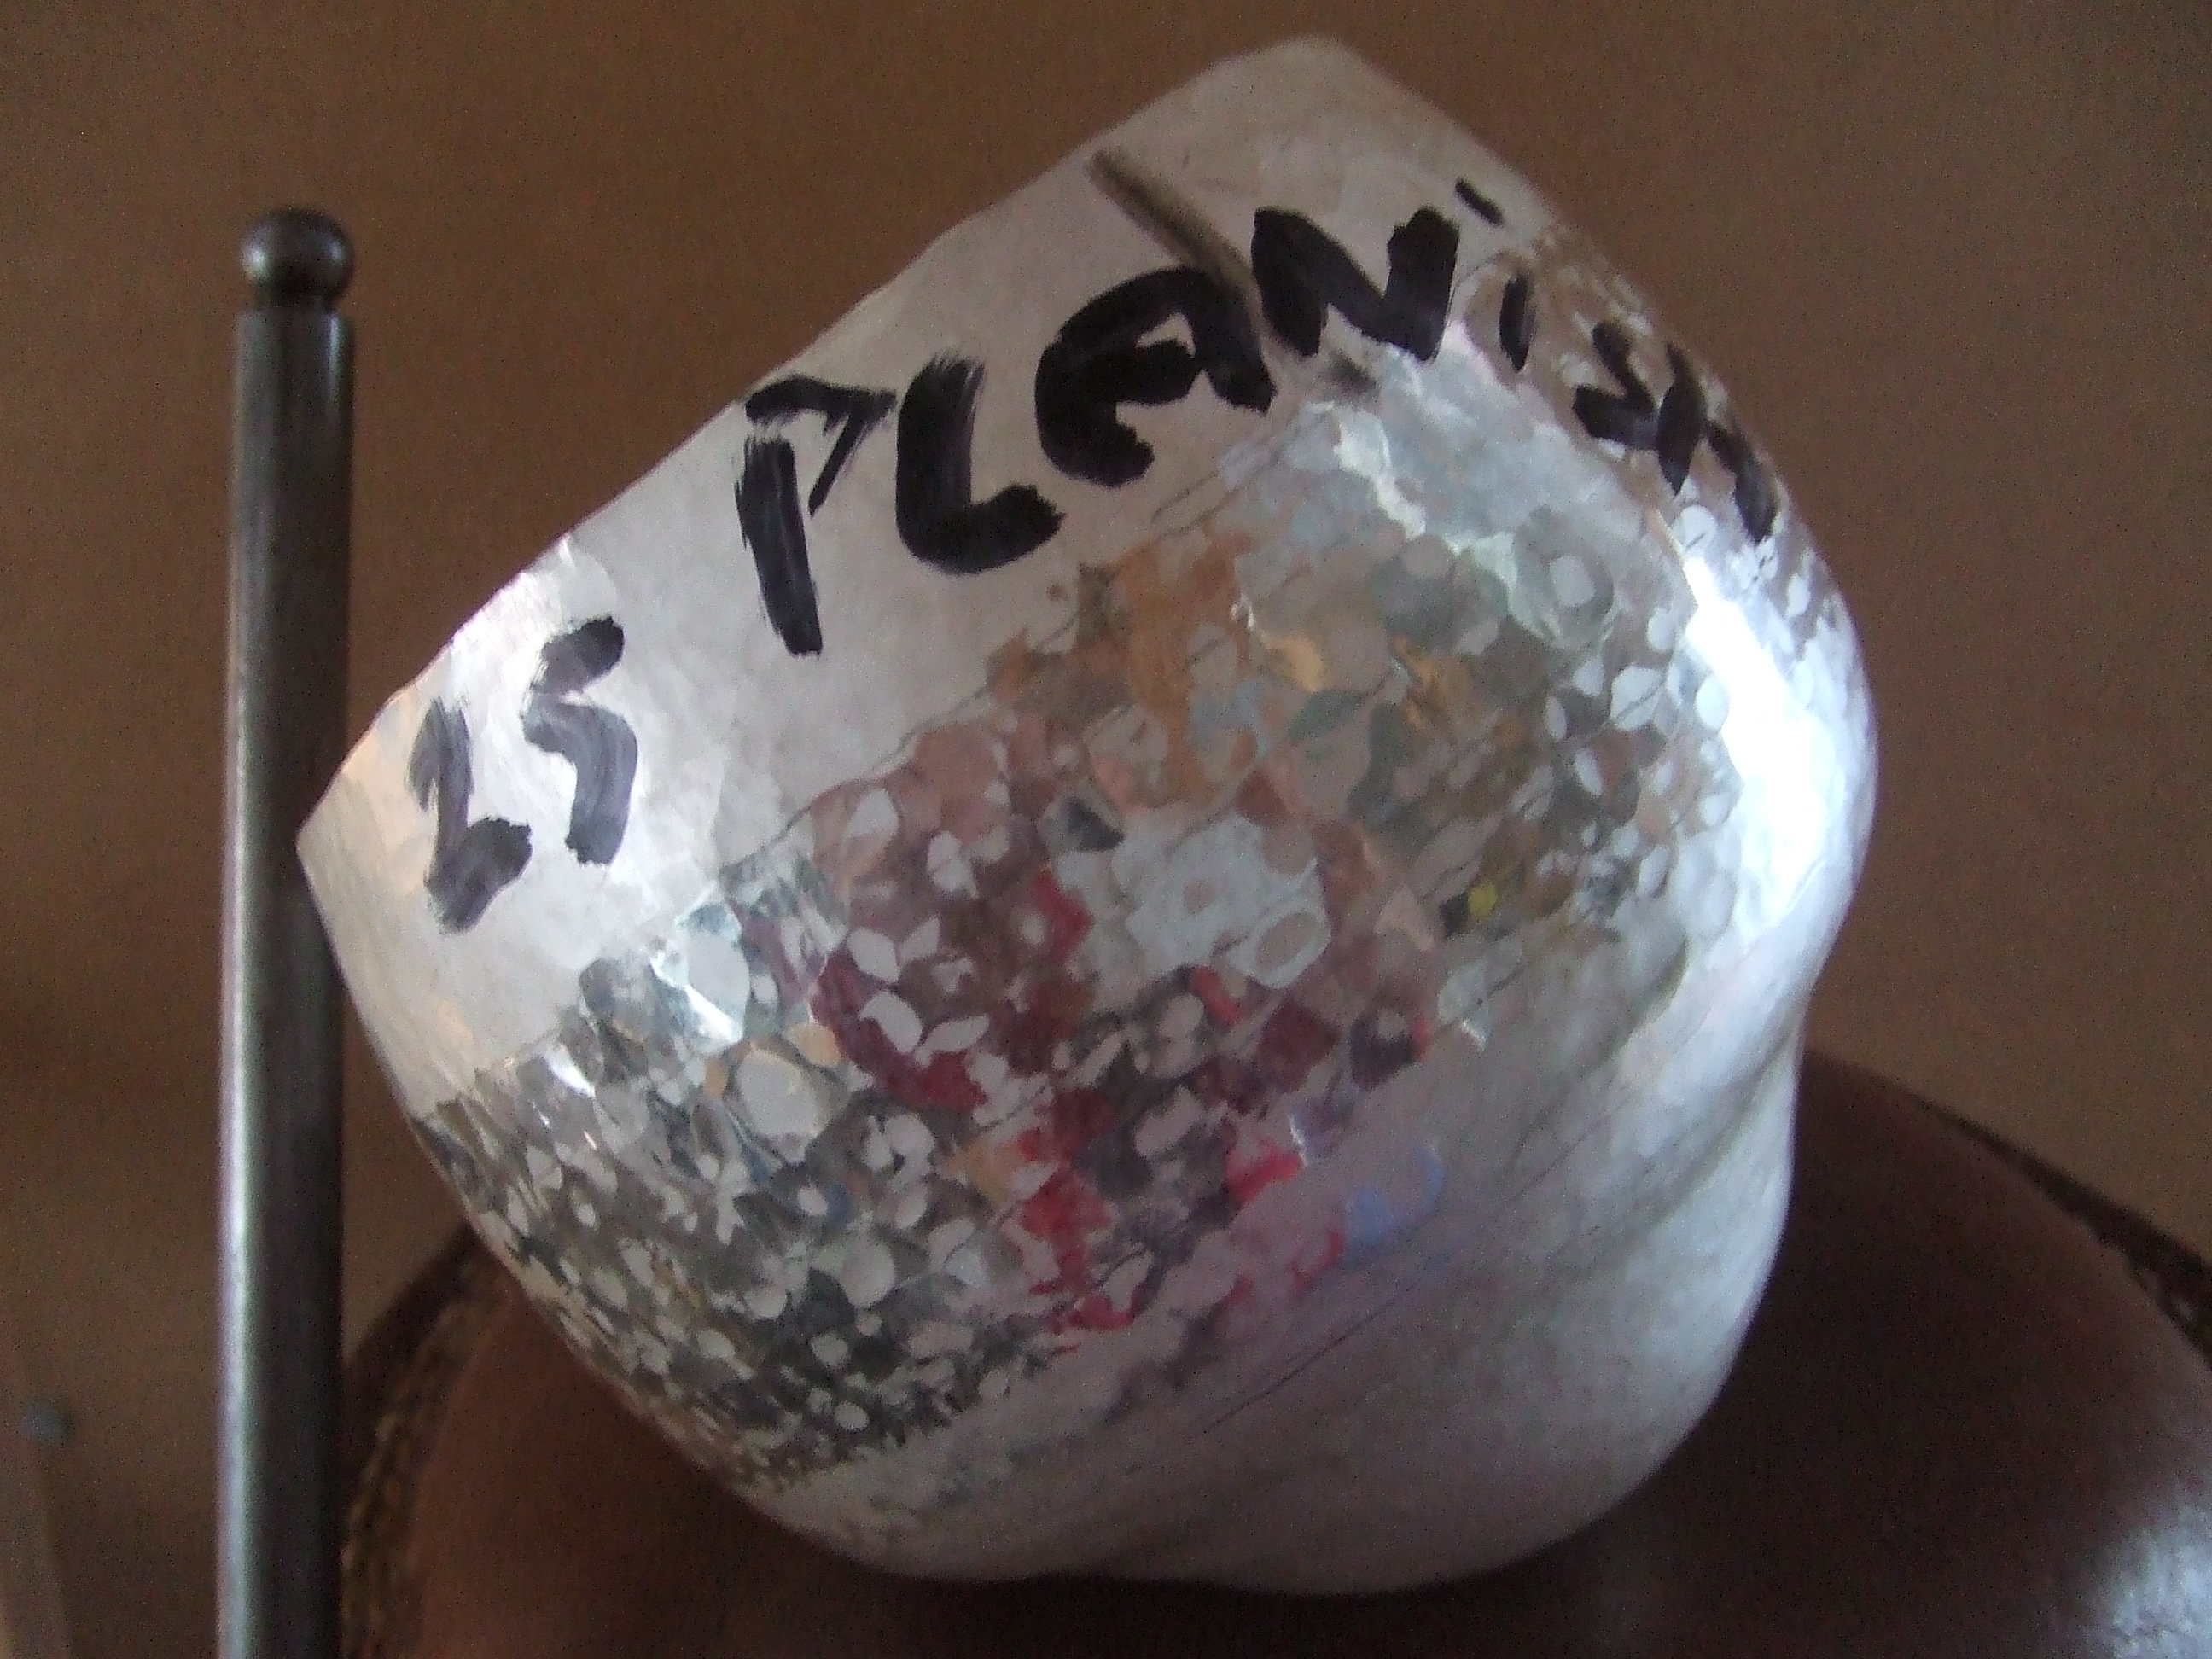
After a round of planishing, see text.
-

-
Closer view, I re-annealed to do it again to make it touch the plate all around.
-

-
6th raising outline on paper to see progression.
-

-
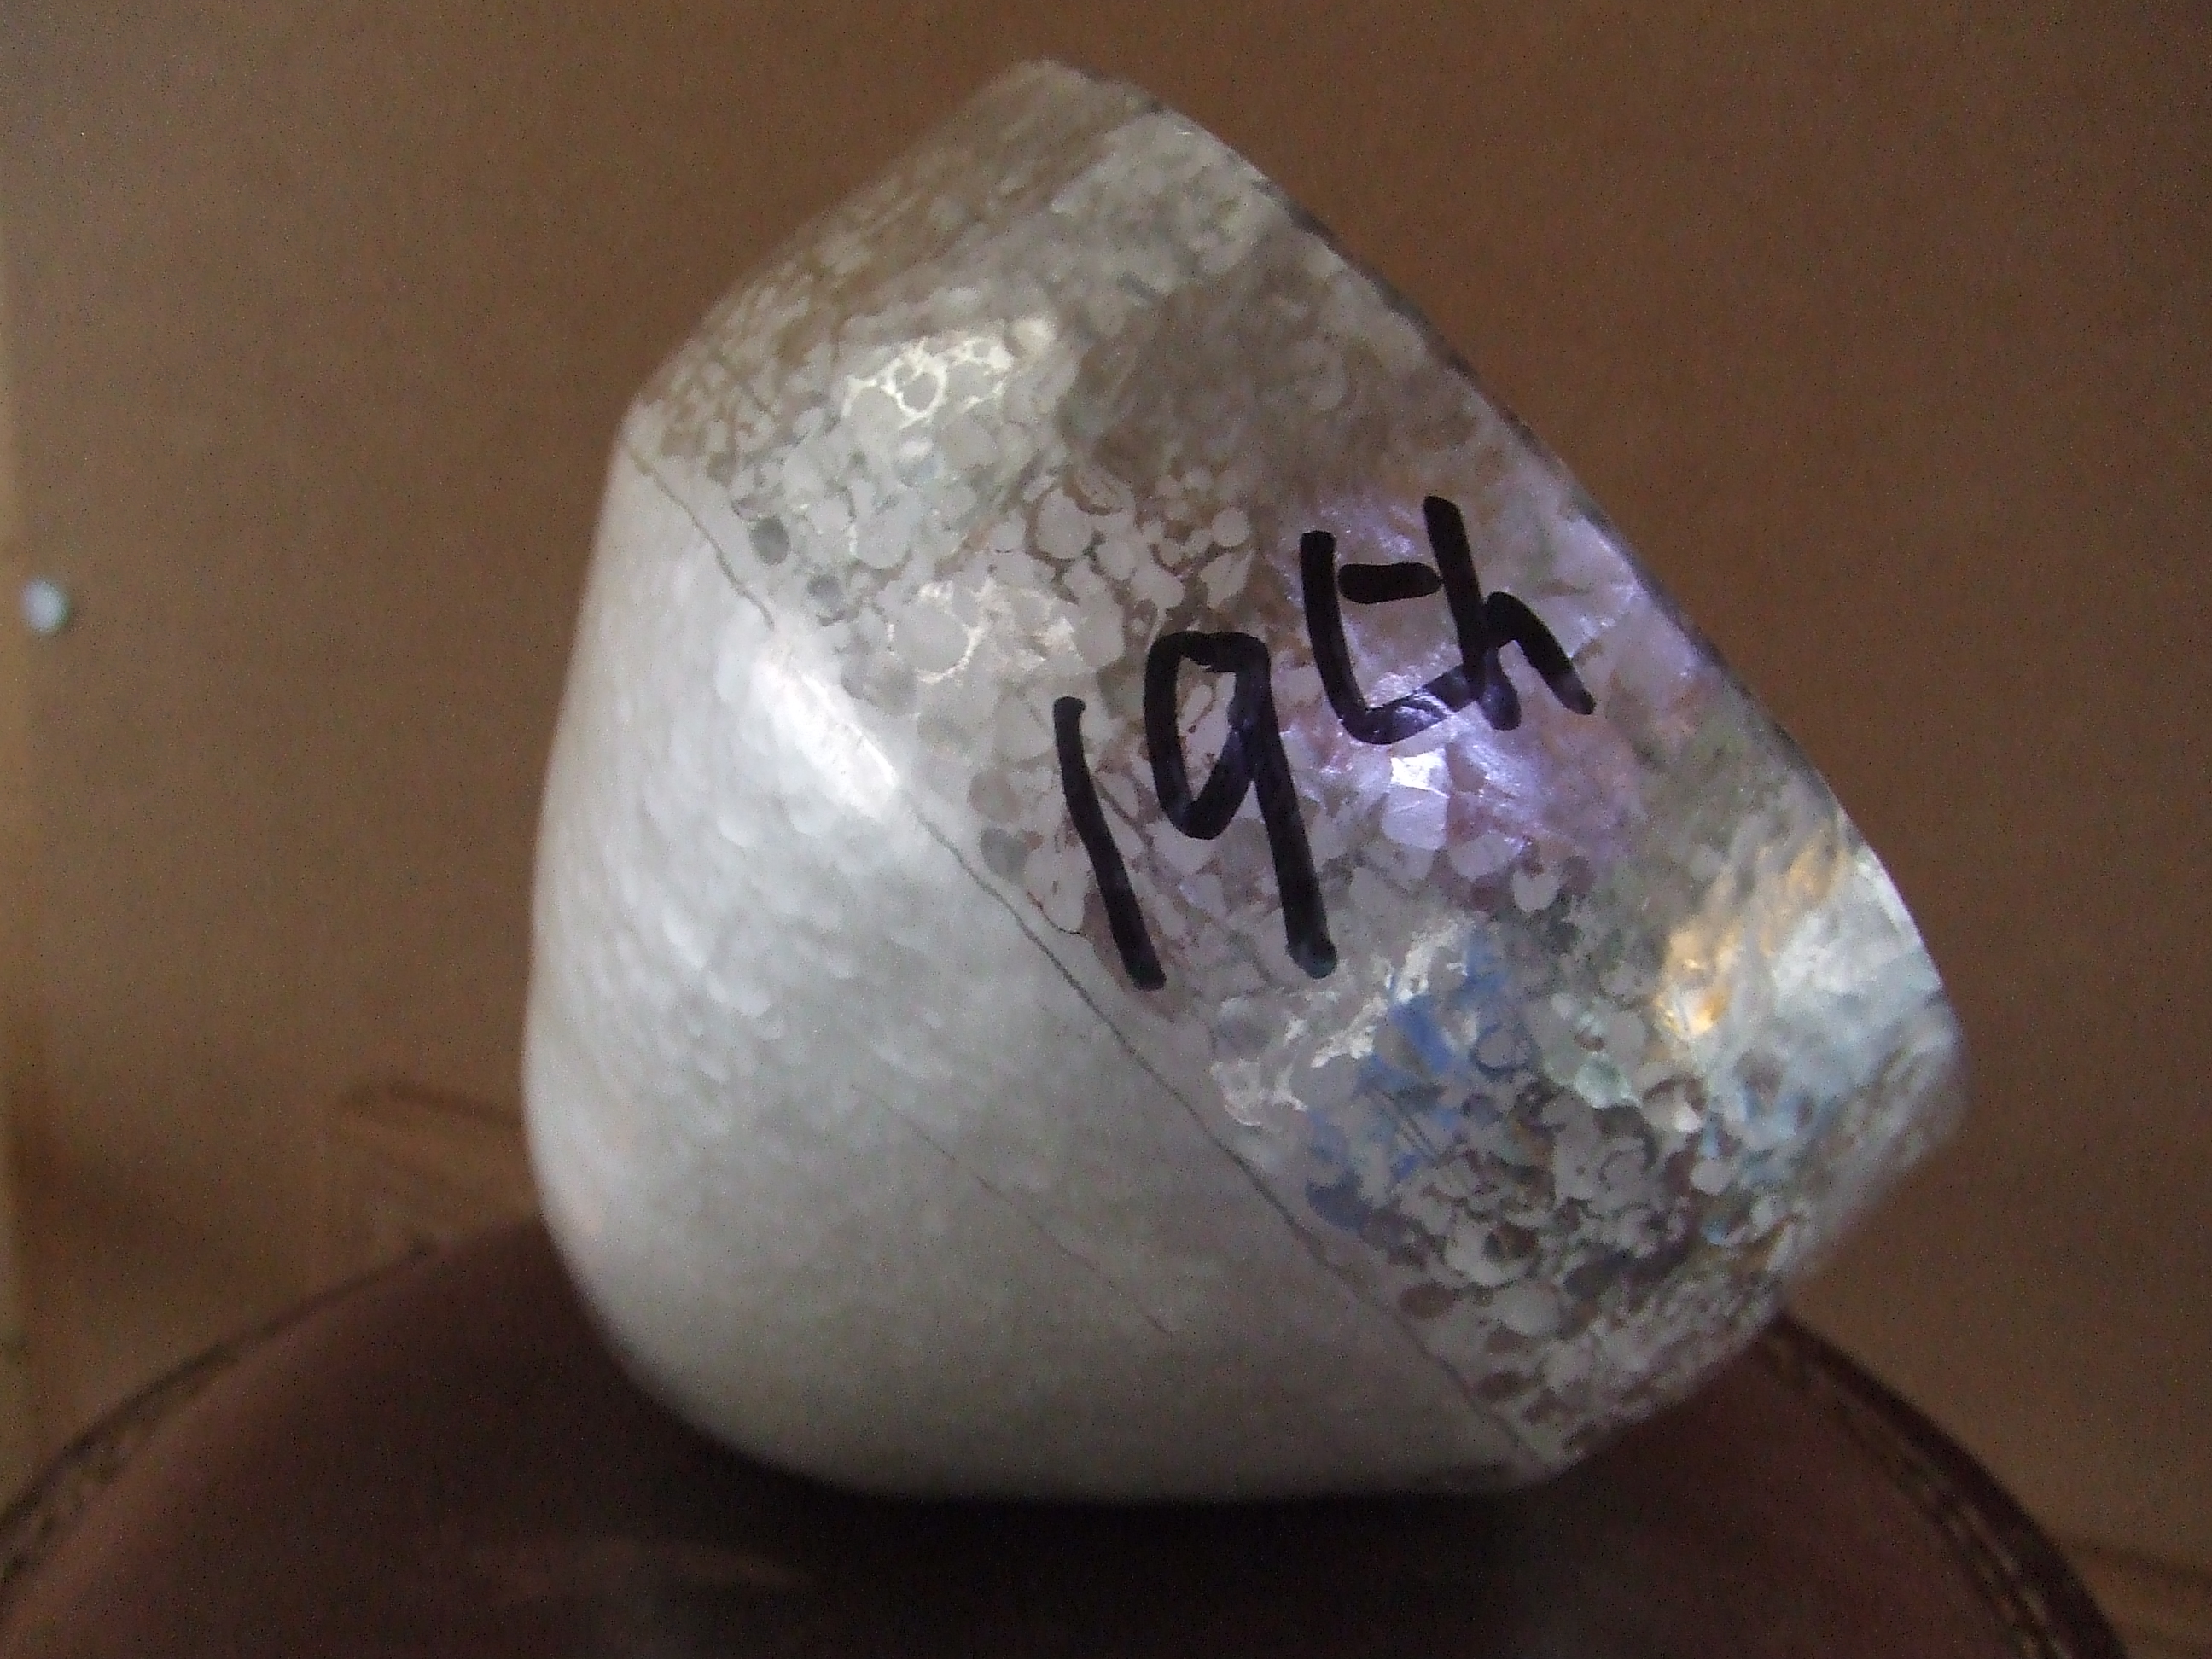
Raising completed to where I wanted it up to the lines drawn. The first line (from the base) is where I want the stake to contact the silver. The second is the guide for the hammer, this gap will be off the stake, in air, the silver being hammered to close the air gap.
Wato wato.
Back to the Britannia silver bowl, here I will show the stages up to the completed first outer angle before coming back in to close the opening. Also I will show some corrective work needed to keep the form true.
Alas, I did not take pictures of the raising of the bottom, I feel you will be able to see it in your mind and do not feel this will hinder you’re understanding. As you raise you may well have to make some decisions as to what stake is best for you. Silversmiths will normally make custom stakes to make the shapes they desire before starting a project. A commercially available stake such as the cows tongue one here, present some good options for a variety of pleasant shapes without having to fashion a custom shape. A mix of time restraints and a not definite shape encouraged me to use what I had.
The large doming punch can only be used for a short time. Think about the shape of a dome, if used for too long the shape will come in on itself too much. This is where doing it will be far more beneficial than reading, I will do my best to explain it as I do it, you may like to share your own approaches, I would love to see them.
If you hold your form in front of you and bring your doming punch, or stake, up from behind you can ‘sight’ it if you will against a light or window. You can better envisage the shape of the stake against your form and relate it to the shape you wish to achieve. Similarly if you take these two stakes, well a doming punch and a stake, and hold them in front of you and play with the relationships in space, you can work out the transition from one to another.
I find this helpful as the commonest fault I have watched others make, including myself, is that the stake is just hit against without properly realising the subtle differences a few mm each way can make on the final shape, as the curves are progressive, not fixed, on most stakes. Again consistency can be better appreciated when you do this sighting exercise as the smallest of movements between each of the stakes can have quite dramatic results on the curves created. This also helps the imagination to run a little wild as you see shapes that you may not have considered. I find this, sometimes only after perhaps days when a thought pops into my head after I have seen something and relate it to the shapes I have made playing with stakes. As usual I have used many words when these few would do; most stakes have a myriad of possibilities that are more subtle than a casual glance may present.
Keeping your form even and correct throughout the raising process is important if you do not wish to have to cut off, or correct the rim too much at the end. With the picture of the piece shown on a flat plate it can be clearly seen that my technique is not consistant. I always, after a course of raising, just go over it again with a mallet to take out the lumps and bumps that the raising process creates. This serves to also give you an idea of how accurate you are, not very if you look at this. Now is a good time to correct this as you can imagine this will only get worse at the end, I will explain what I do to correct it.
Planishing is a very tricky skill to get right. Notice I didn’t say perfect as I am nowhere near as competent as I wish to be at this stage. There are many variables, stake selection, hammer profile, weight of hammer and the blow itself. I hope to cover this in more detail in at the end of this project, for now though I will just say that ‘spot planishing’, my made up term, was used to stretch the silver back into shape.
As you see the rough line drawn around the high spot, imagine if you will the silver being thicker in this boundary. By measured planishing in this particular area we can encourage the silver to flow out towards the edge. I did this over three annealing. As you know this was the first silver bowl I have raised and so I was perhaps a little timid, the results in the next picture shows that it was not altogether unsuccessful.
When I planished the bowl all over I used a flat faced planishing hammer, the surface being convex, like a dome, as opposed to concave, like a slice of eaten watermelon. For this technique to be a success however a domed planishing hammer was used. I hope not to confuse but I also used a cross peen as well in places. The slight dome compresses into the silver displacing it. If you make a ‘barrier’ along the line, nothing definite I’m afraid, it’s your call, experience will teach us all in the end. By a barrier, think work hardened line that the unhardened silver cannot cross. This forces the silver to flow towards the rim, trapped in the barrier you create by overlapping blows along the line, hardening it.
If you planish too hard you will cause unevenness and possible warping, this is why I annealed and went back to it. I planished on the cows tongue stake, making sure the area was in contact with the stake at all times. With patience and careful planishing you can restore the rim, as seen in the photographs.
I hope I have been clear to this point and will return again to explain the bringing in of the form, closing the entrance to the bowl.
Until next time, all my very best wishes.
Stu Art 🙂