Raised Britannia silver bowl the start of planishing and problems encountered

DSCF3094 DSCF3095 DSCF3097 DSCF3100 DSCF3101 DSCF3102 DSCF3104 DSCF3106 DSCF3109 DSCF3151


Wato wato, summer has been great here, hope you are all enjoying a holiday, well hopefully anyway.

Starting to part planish the Britannia silver bowl before the rest of the shaping is carried out. I do this because planishing is a tricky skill to master. On the face of it, what could be simpler, just overlap the blows with a polished faced planishing hammer on a polished stake, no worries eh!

Stake selection is critical if you wish to achieve good results, also planishing is not a one shot deal, it happens over successive courses and becomes ever finer and gentler towards the end result of the finish you wish to create. I will go into a little more detail in the next post as I also wanted to highlight a massive boob I made in selecting a raising stake, in this case my cows tongue stake.

I turned it from its concave gentle curve the other side to a rather more aggressive convex curve. In the past I have managed to ‘bully’ copper into this slight depression, creating the wrinkles that I used to shrink the material, creating the narrowing mouth of the entrance as I wanted. In silversmithing this is perhaps a little misguided on my part, silver being altogether more resilient to hammer blows than copper.

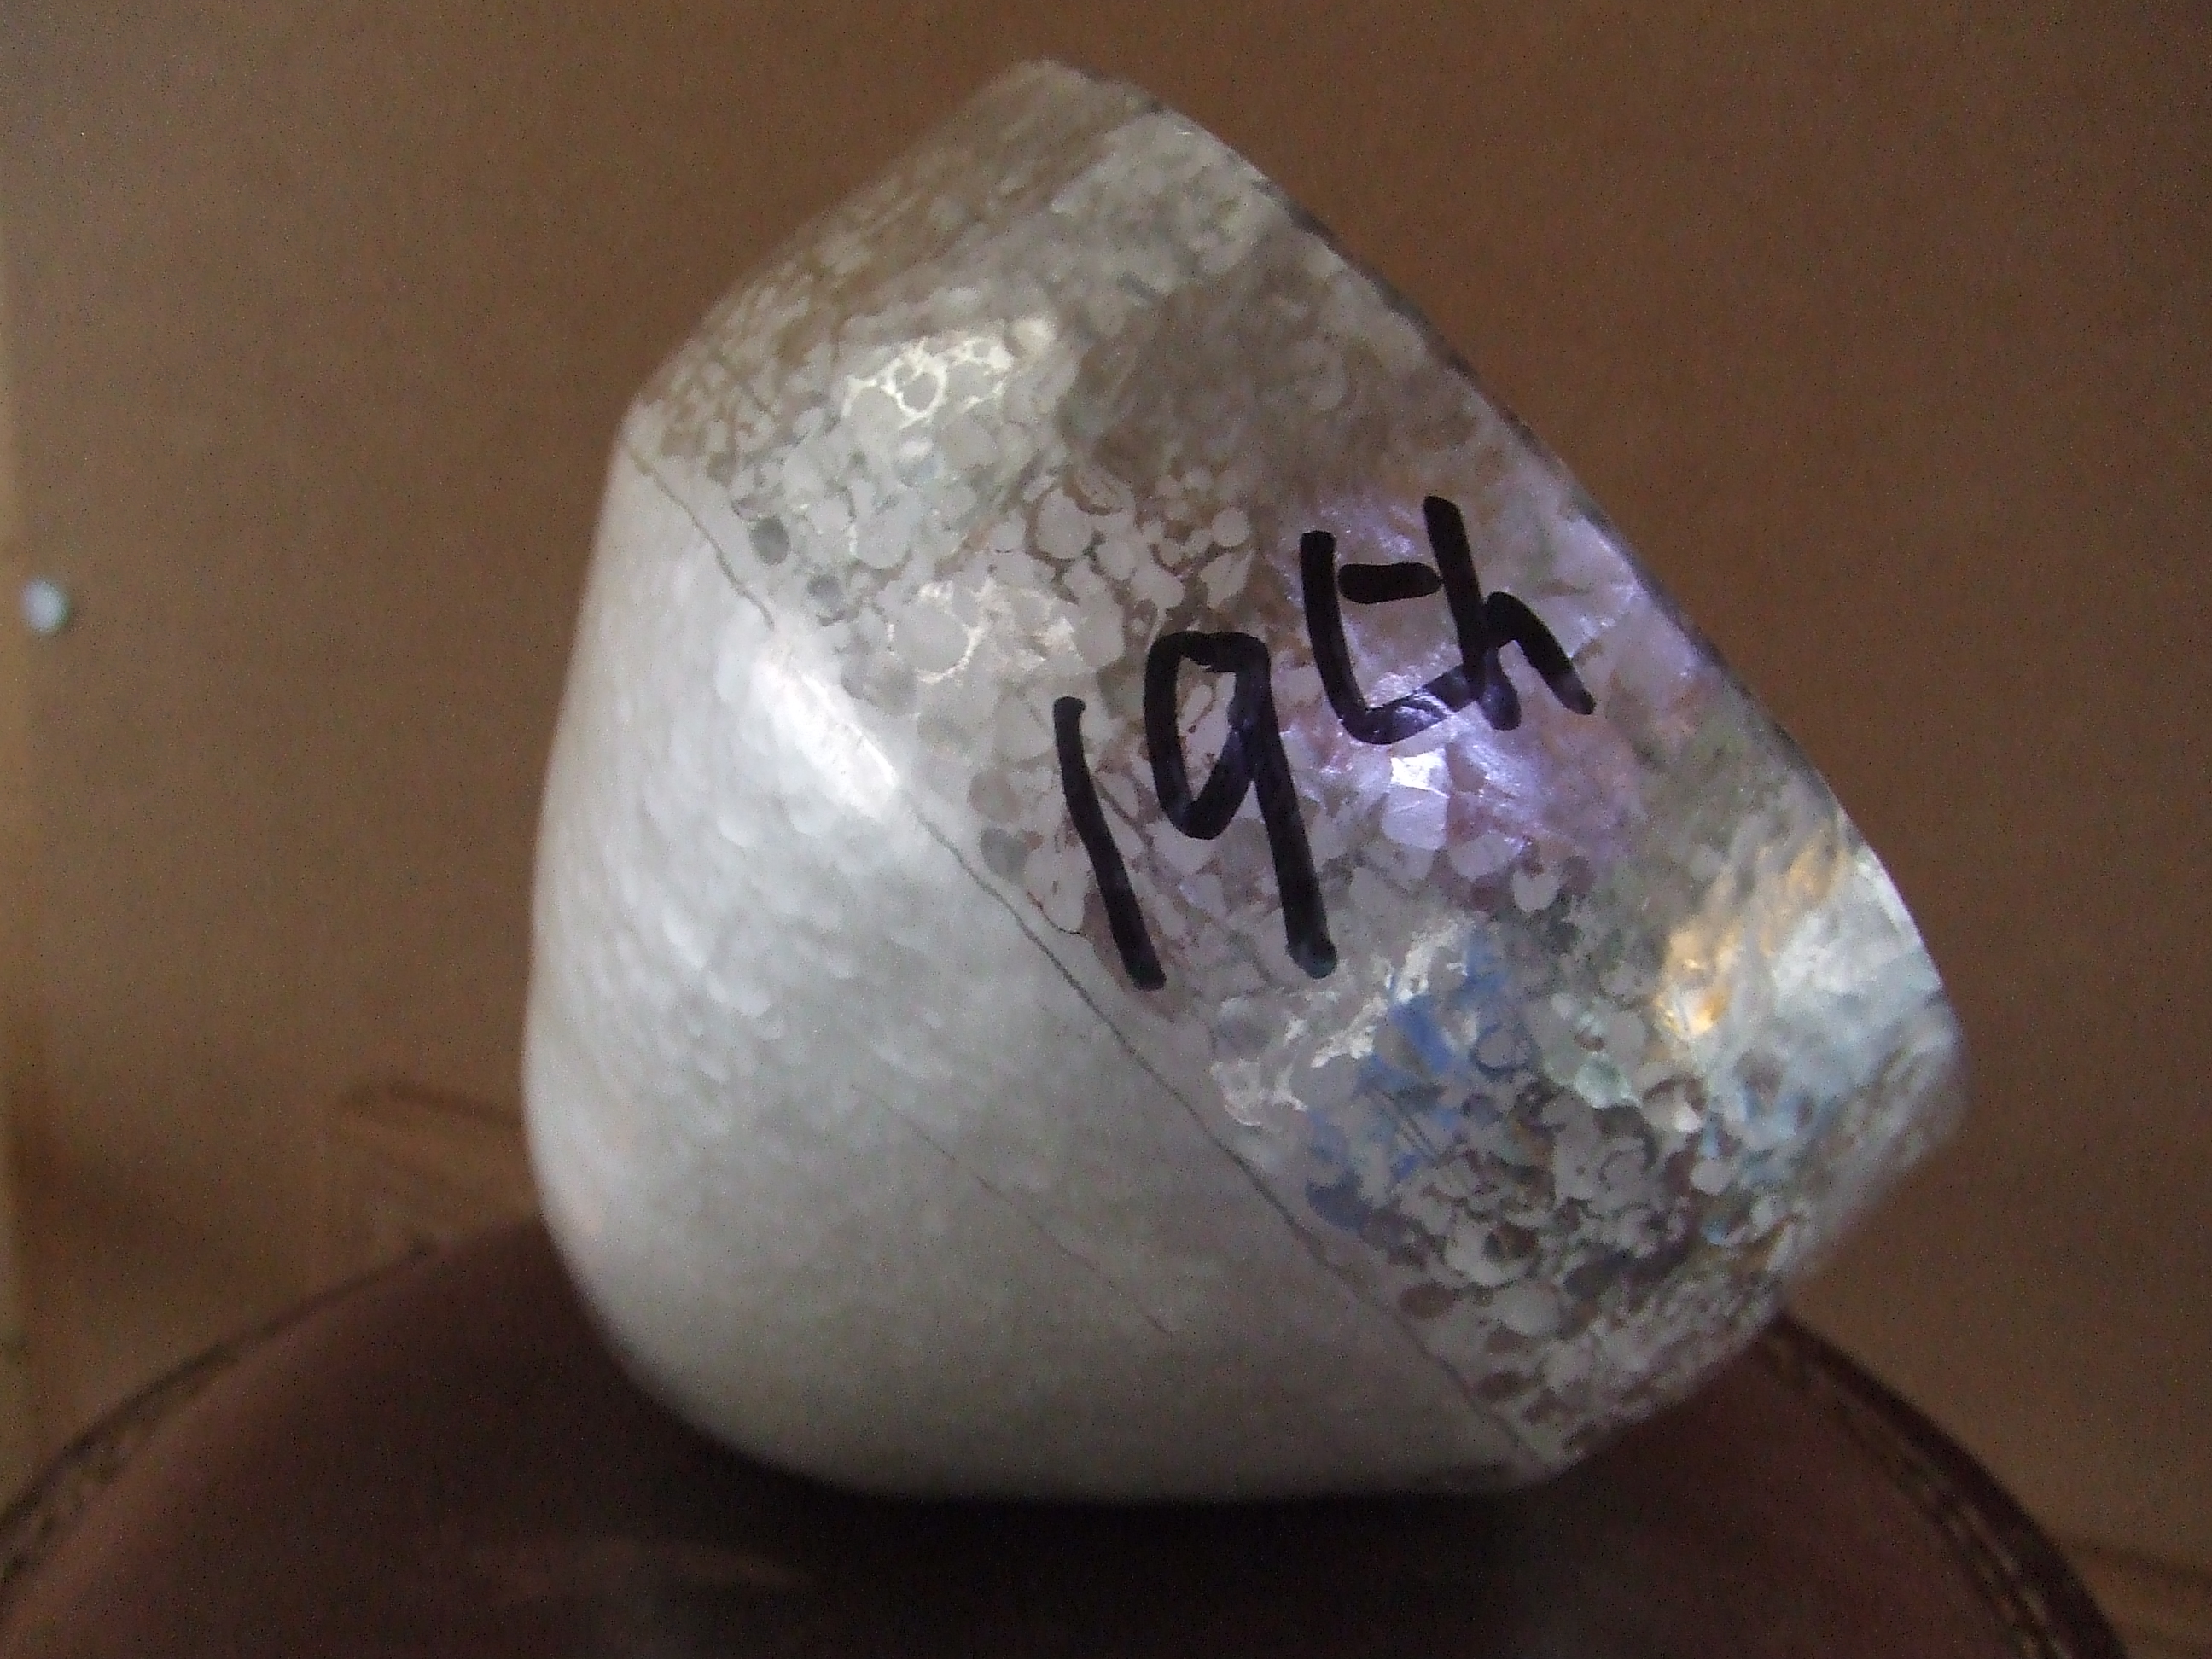
Looking at the pictures you will notice that things were going quite nicely up to the 18th course. I keep things tidy after each round by truing up with a mallet on the stake to help me to keep track of where things are going, as well as cutting down on the time taken to planish at a later stage.

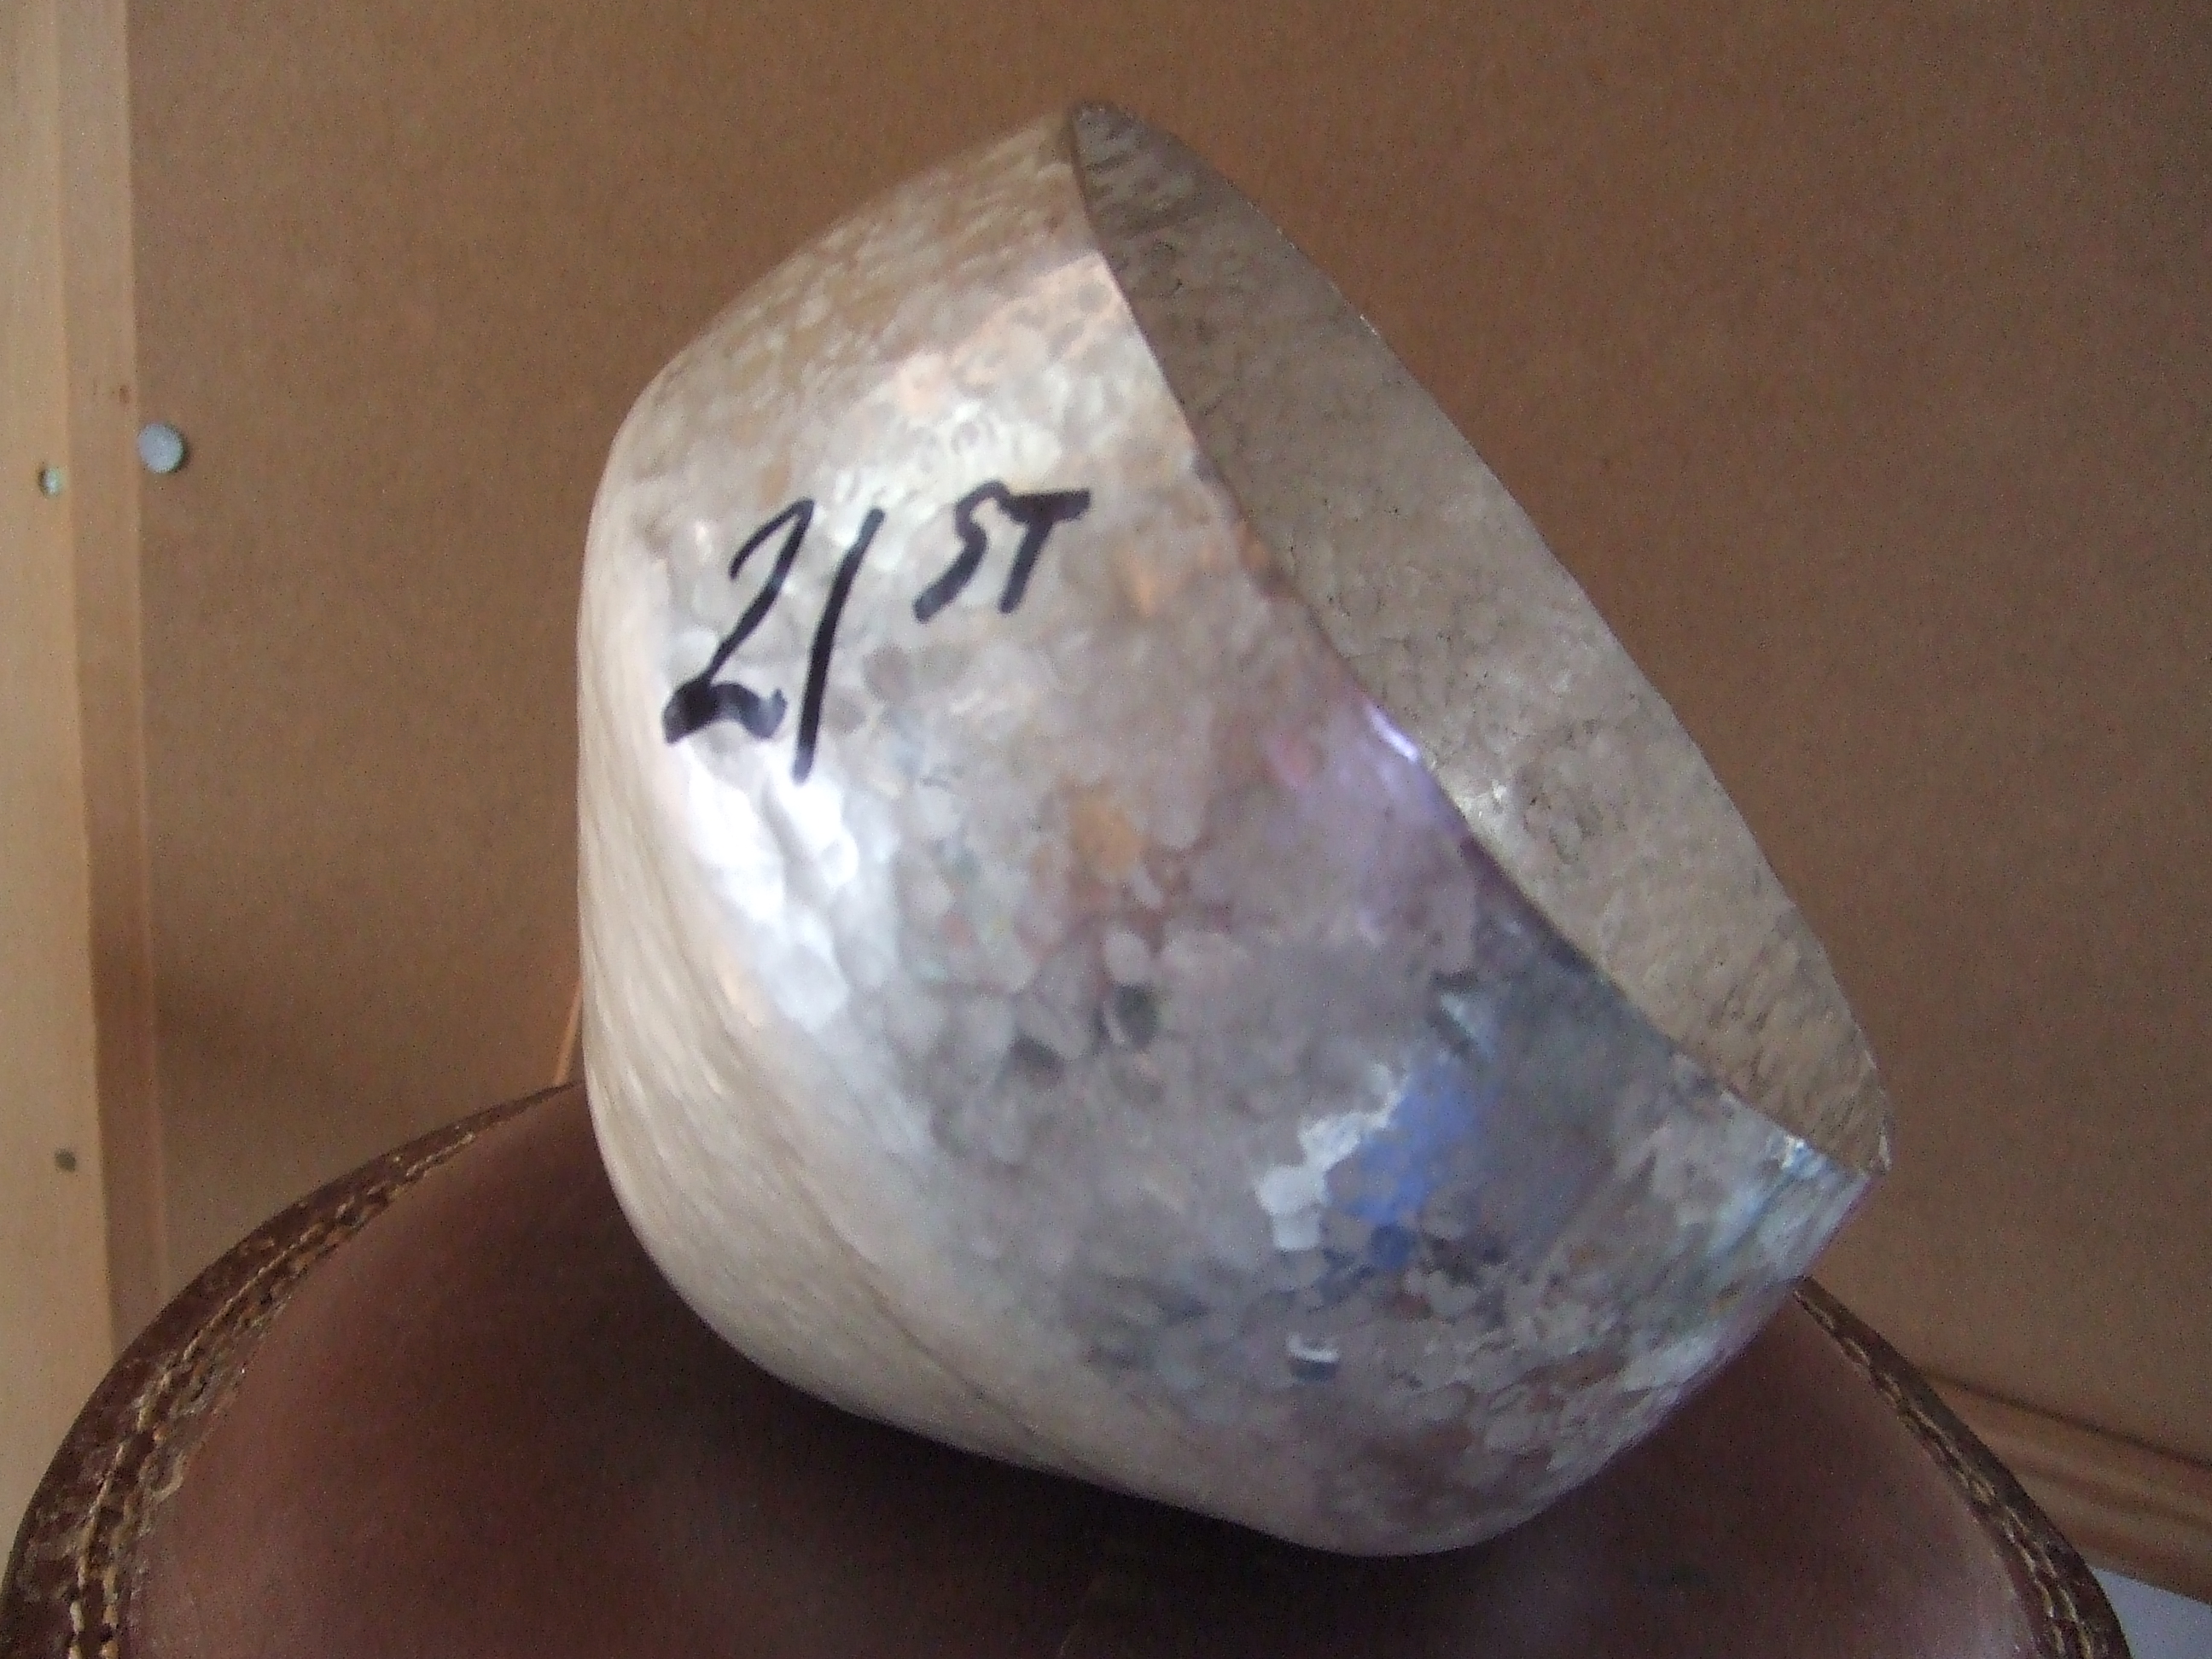
The next picture shows the stake with the convex curve that I tried to drive the silver into to help shrink the mouth and bring the shape in. The following pictures up to the 25th course will show the sorry result of the assumptions that I made, comparing my results with the copper vessels I had made previously.

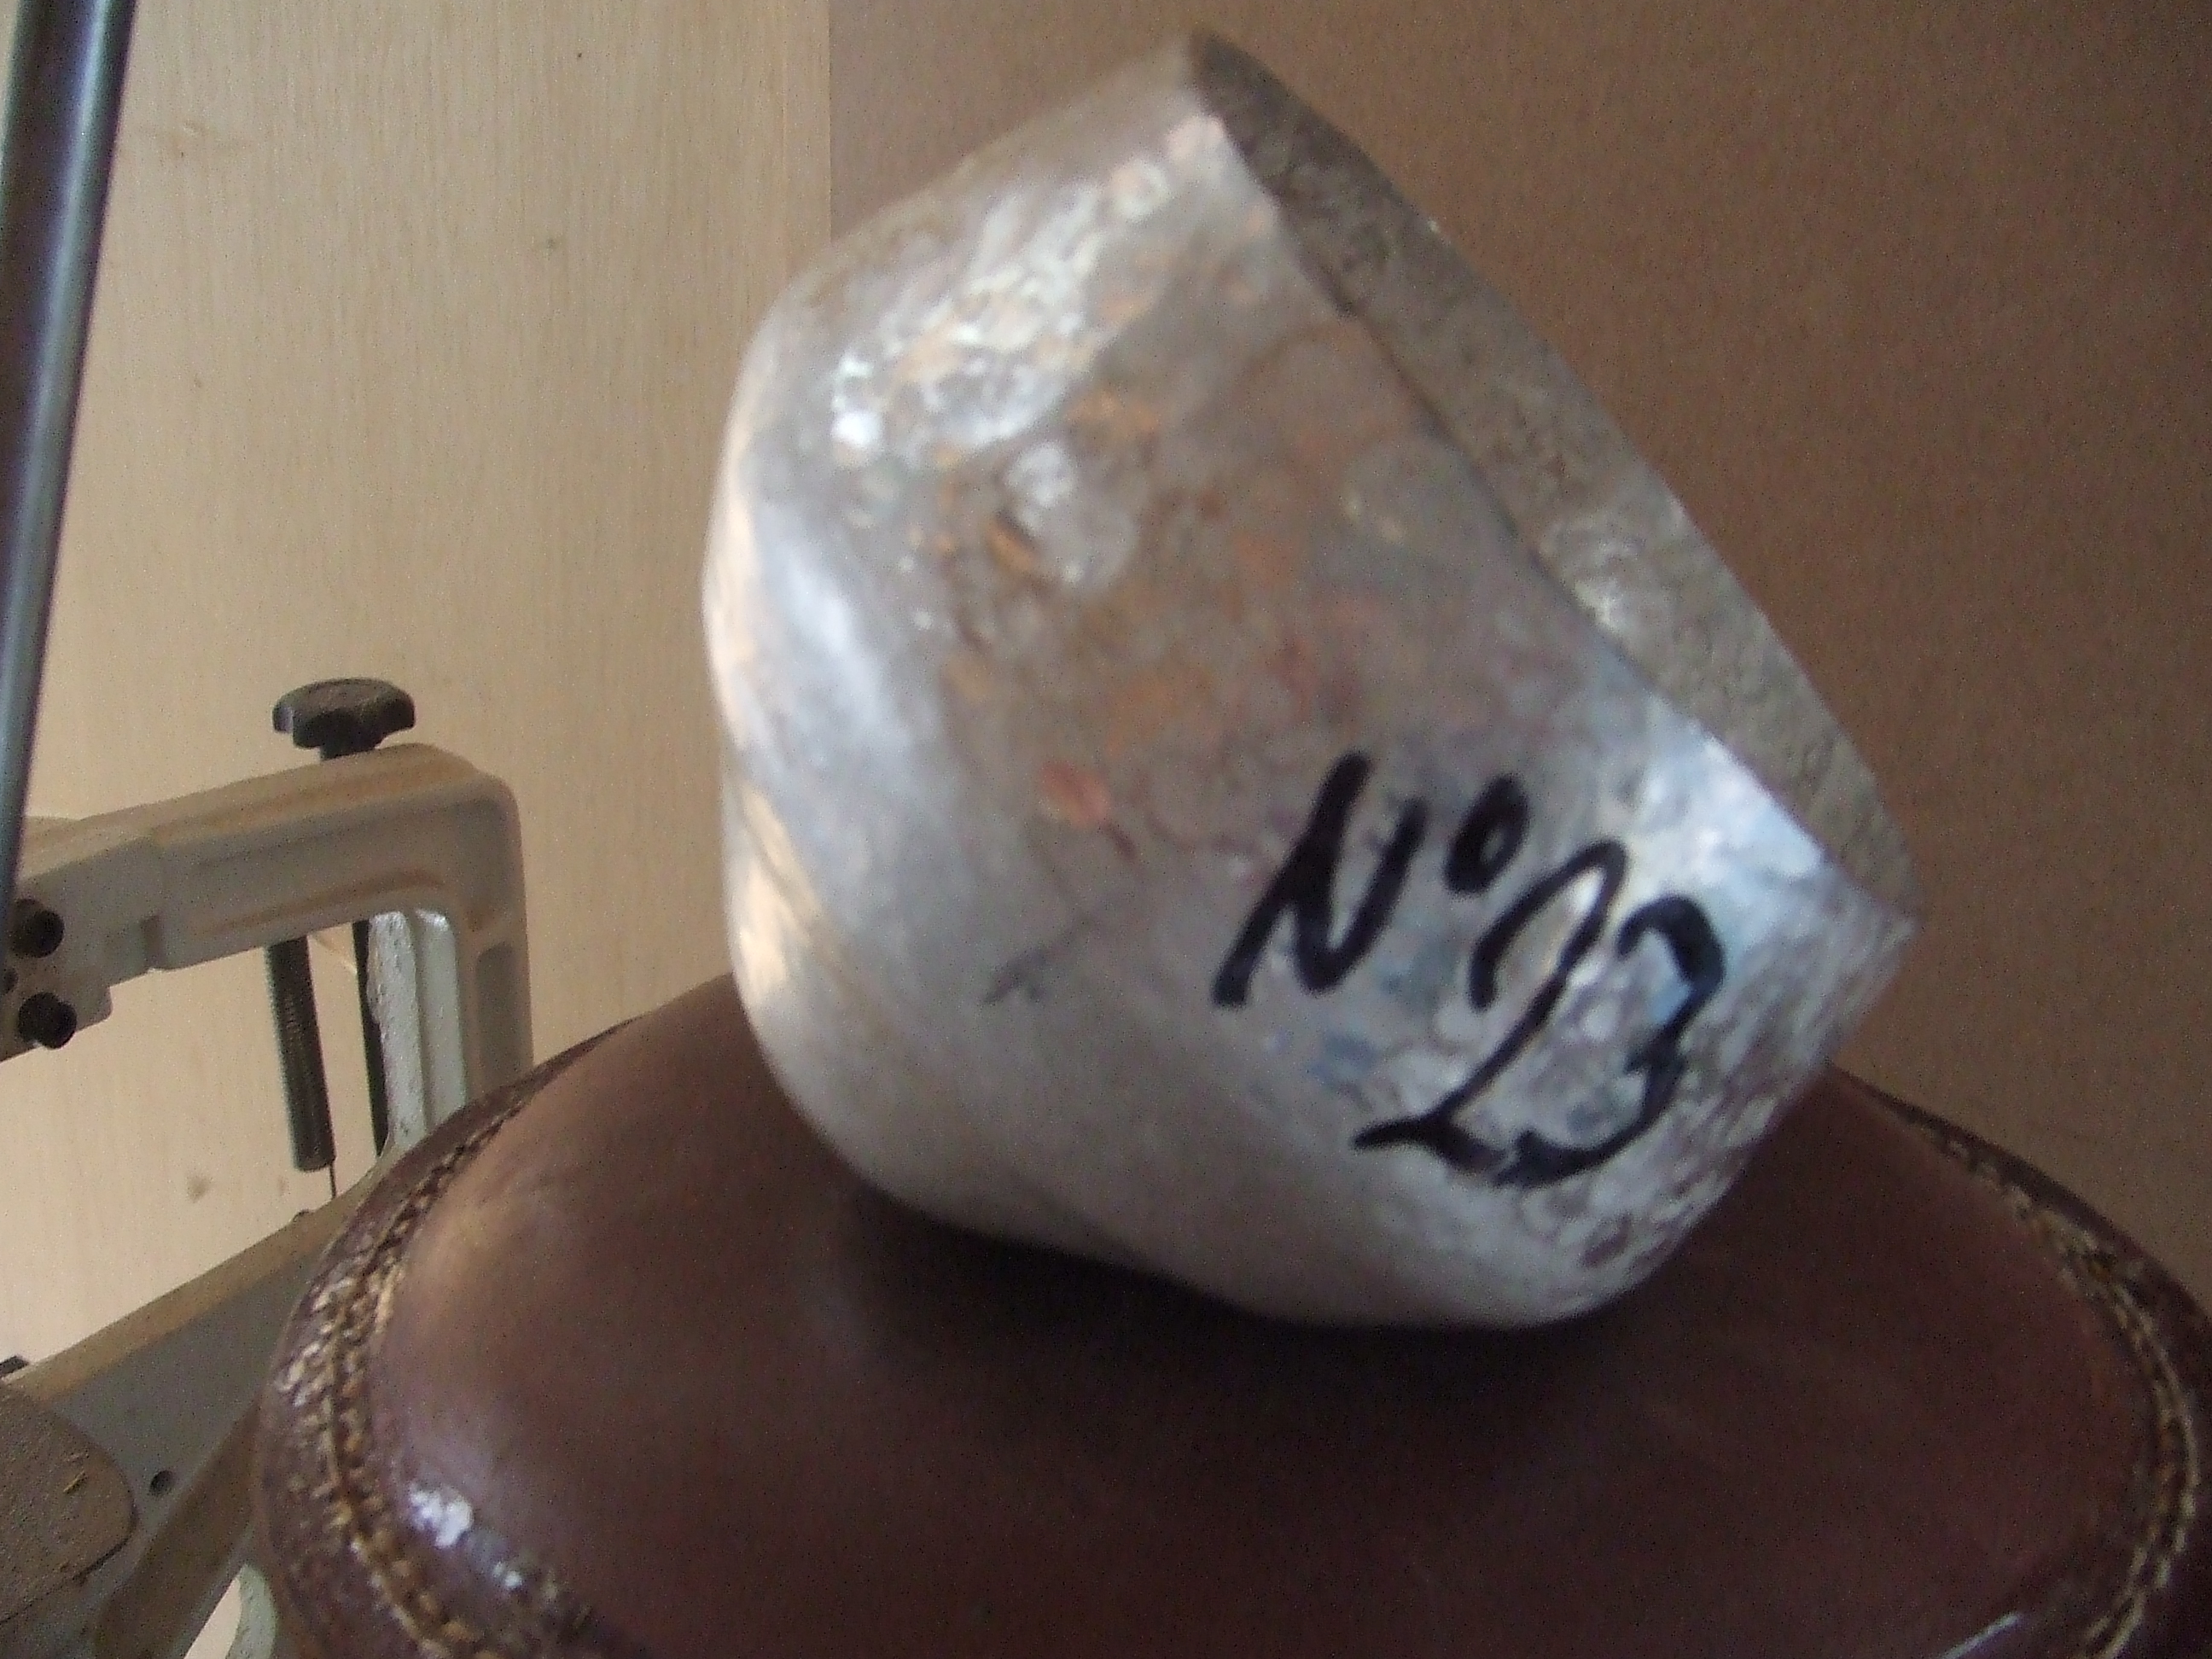
The silver resisted the force of the hammer blows far more than the copper. This meant that as I landed my blows from my raising hammer, the stake acted like a kind of, equal and opposite hammer. This pushed the silver into the bulge you see up to this point. I am embarrassed to see the pictures and feel a little foolish for not noticing this effect earlier, correcting it sooner by going back to the concave side of the cows tongue stake.

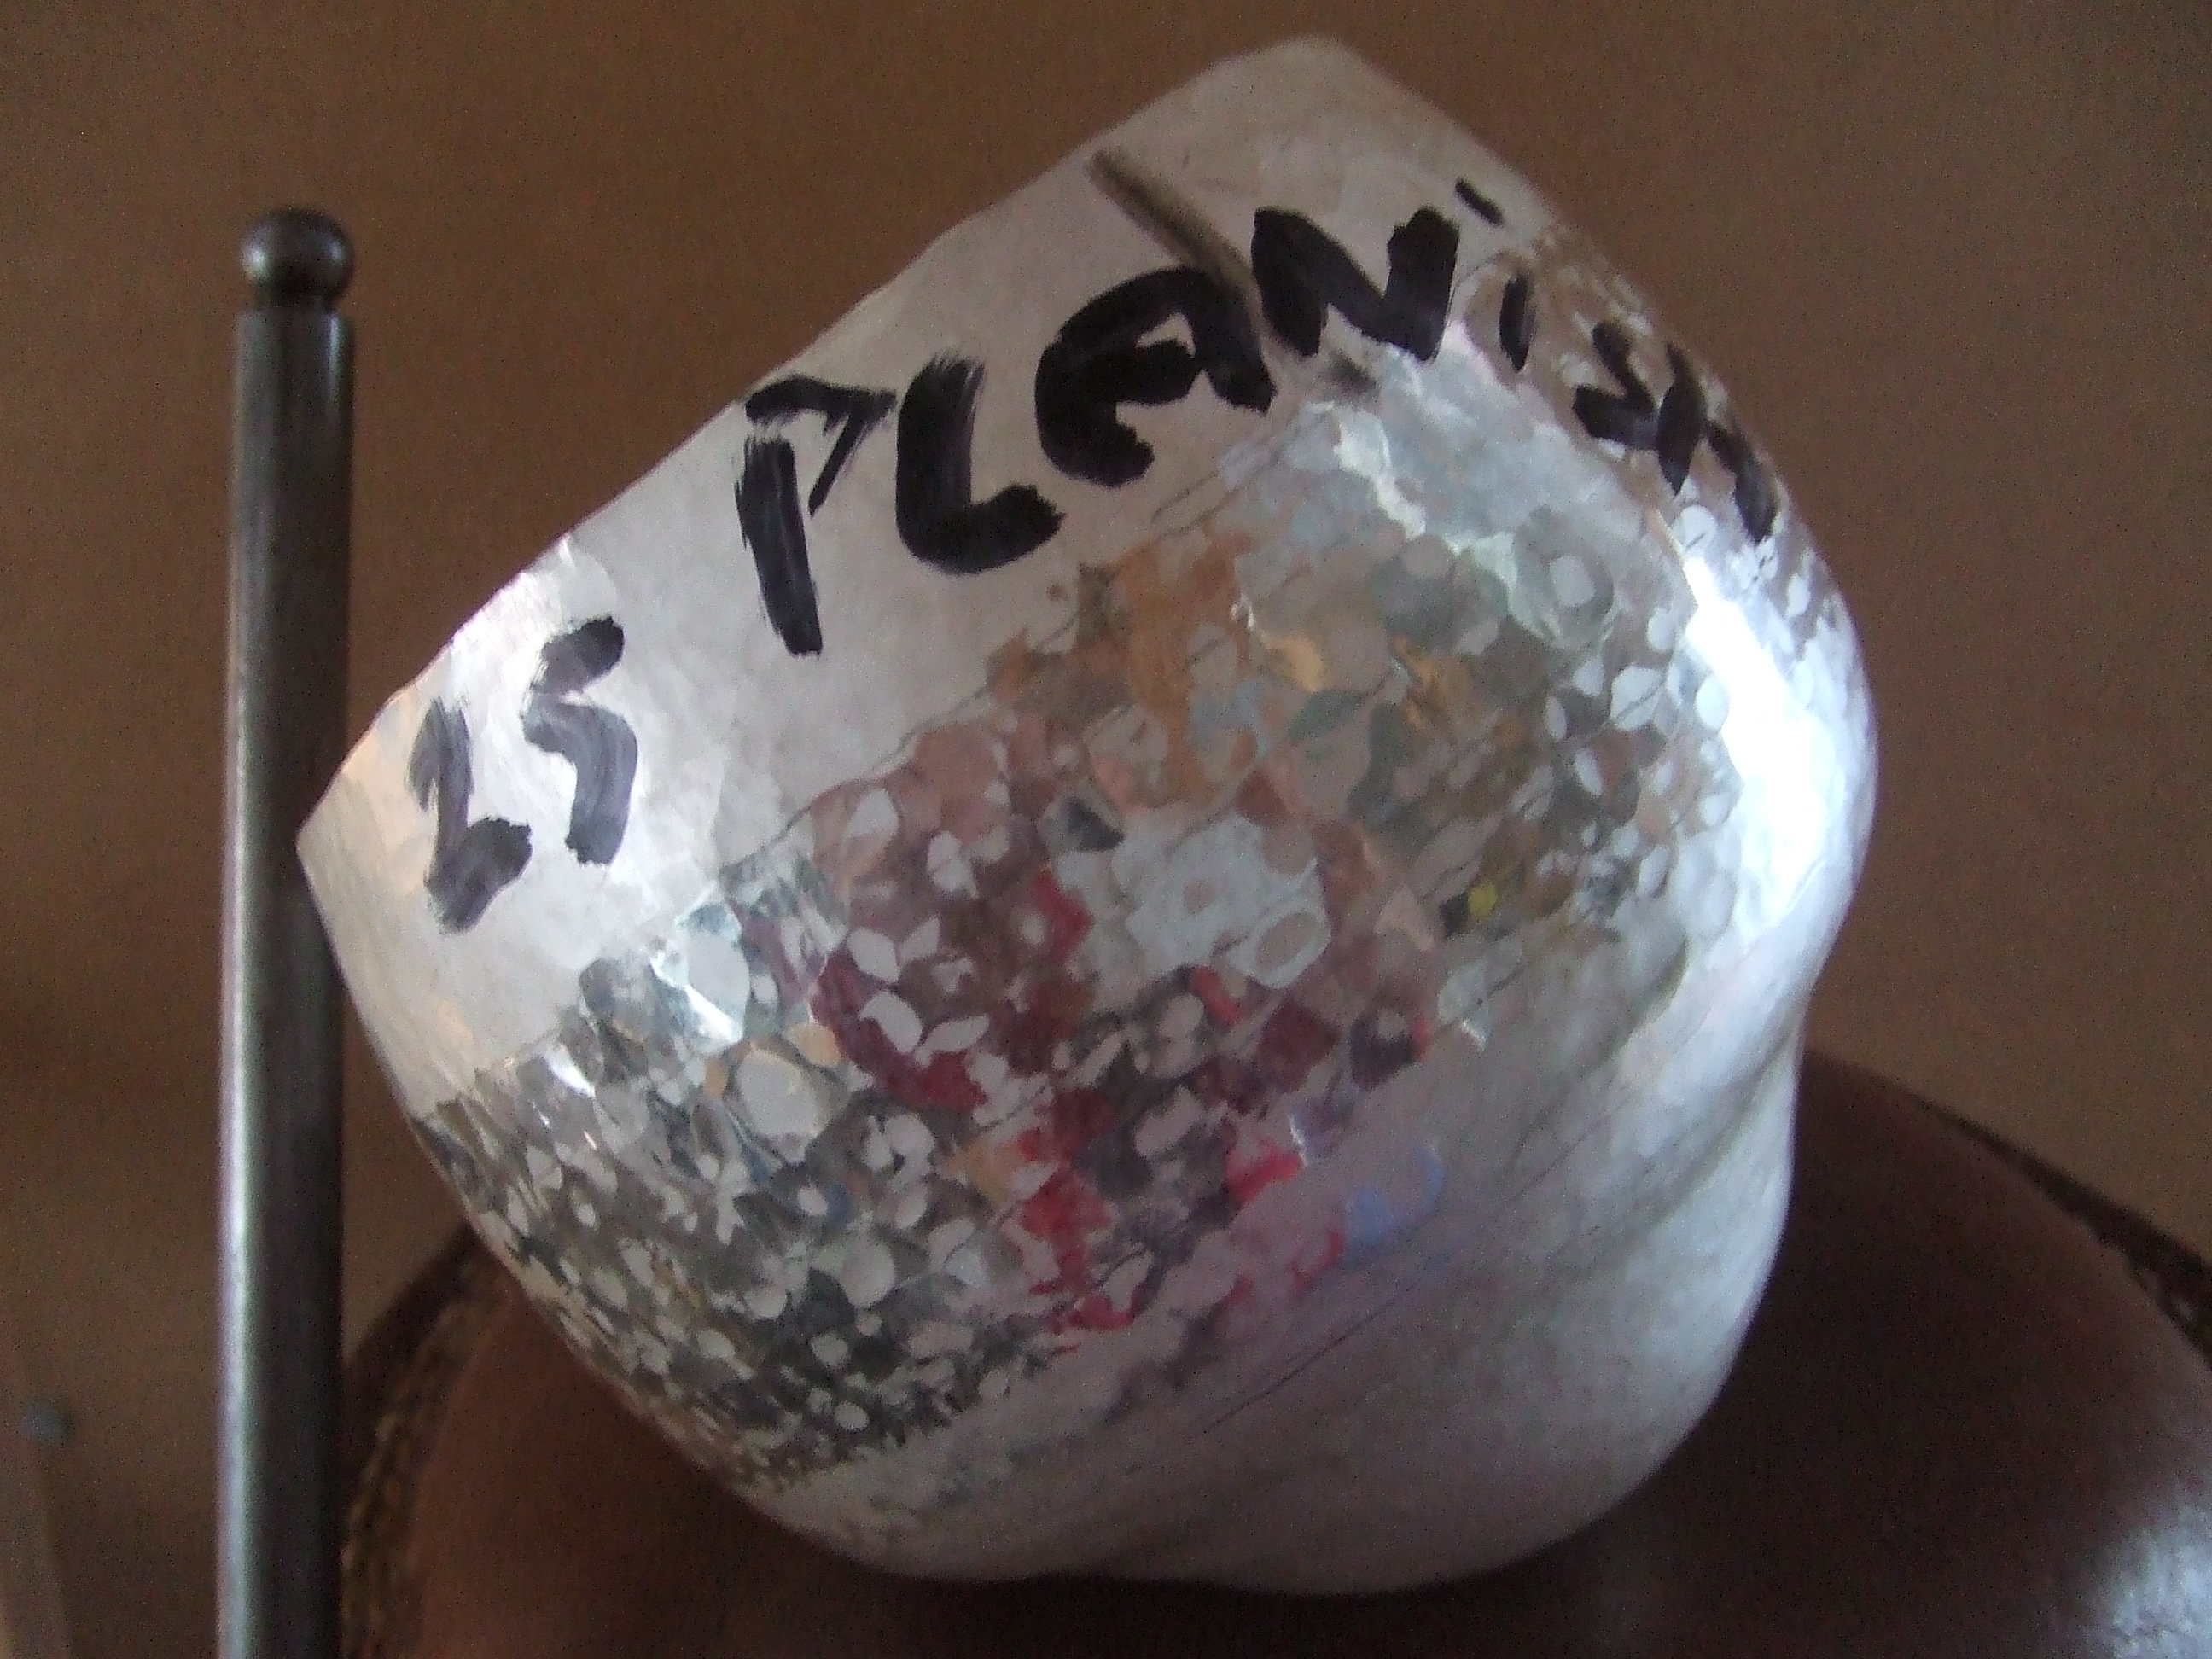
Round 29 shows you the bowl after I took this action and went back to the ‘propper’ side of the stake. I tried to bring the sides in too fast and this was the result. Perhaps this was part of the reason the rim cracked, more of this in another post.

I have been made aware that I write, not to mention talk, too much making it difficult for people to keep attention to what I’m trying to convey. With this in mind I will leave this post for you to ponder, going into more depth with planishing, and the cracked rim in another post.

Thank you again for your kind messages, I very much appreciate them. Until next time.

All my very best wishes.

Stu Art 🙂

Advertisement

Raised silver bowl, calking for a thickened edge

Wato wato all, back to the making of the Britannia silver bowl.

I feel somewhat of a fraud, talking about the thickened edge here as the completed bowl was not a complete success, having not gone entirely to plan. Annealing is a topic I will cover in another post, suffice to say at this stage over, or under annealing causes problems. In this case, near the end of raising the rim cracked. This meant I had to cut off my, hard fought for and carefully made thickened edge. Oh well, at least it wasn’t a complete disaster, I am still happy with the end result. I will explain in detail later in this process.

Quick re cap, the peening process moved material from the centre of the disc towards the edge. Calking pushes the edge down compressing the edge in on itself thickening the edge in the process.

Just as the raising process work hardens and will crack the silver if overworked, so only a single overlapping blow is desirable, or wise, at each and every calking stage for the same reason.

With the bowl to be resting on a sandbag for support, a soft faced cross peen hammer, I used a modified raising hammer, is bought down confidently, striking the edge. Accuracy is very important, each blow ideally overlaps slightly to lead into the next blow. The hammer must be square on, if not sharp ding or undulations will develop leading to uneven distribution of the silver. This will cause problems further down the raising process as the sides will become uneven, worse, it may encourage cracking due to the added stress caused by the gathering of a forceful blow on a very small ‘ding’. It may not develop into a crack until further along, you may not even be able to find a cause when it happens.

A thing I have learnt working with this slow process is that, you may well be able to cover up a misplaced blow, even forget you made it, the silver wont!!!!

Sooner or later something will happen, I will show uneven raising examples another time. The message I wish to convey this time is, take your time, don’t just hit it, measure and control your hammerblows. If you don’t, and hit it willy nilly, it will come back to haunt you later.

I found, as Christopher Lawerence showed on his demonstration, I had much more control and more feeling by holding the sandbag on my lap the whole time. Same rules as raising, move the disc, not the hammer, concentrating on keeping the hammer blows consistent and square to the edge. The picture shows one of my raising hammers that I softened, rounded off to reduce the chance of catching the edge of the silver with a sharp edge, as seen on the opposite side of the hammer showing the original as it came factory finished.

Knocking off removes the burr that is created by calking process. The beauty of this is that material is saved by re compressing it back into the rim rather than, as you would be forgiven for naturally doing, removing the burr with a scraper or file.

As can be imagined this is a delicate process, too hard and you will remove all of the work hammering the rim back on itself, too little force and the burr remains causing problems further along. This is done on a flat plate, hammering from the inside on a steel flat plate in the early stages. Later it becomes impossible to get a hammer in as the opening reduces in size. The picture of the copper one shows the knocking off process done on a mandrell. The hammer used is a collet, of domed faced planishing hammer.

Remember the pickling process is your friend. Every time you strike the silver it will stand out as a shining mark that clearly stands out from the pickled matt finish. No excuse for overworking as you can see where you have been, again don’t just hit it, measure your blows and make sure you are as consistent as possible.

After each round of sinking, then raising, calking process is applied until the end of the raising process, or when the desired thickness is reached, whichever comes first.

Hope you can follow this, please let me know if I’m not clear on something and I will add to this.

Thats all for now, raising proper starts next time, untill then. All my very best wishes.

Stu Art./