-

- Not the best image, apologies. If you elarge it you should be able to see the shining edge with the overlapping blows that made them.
-

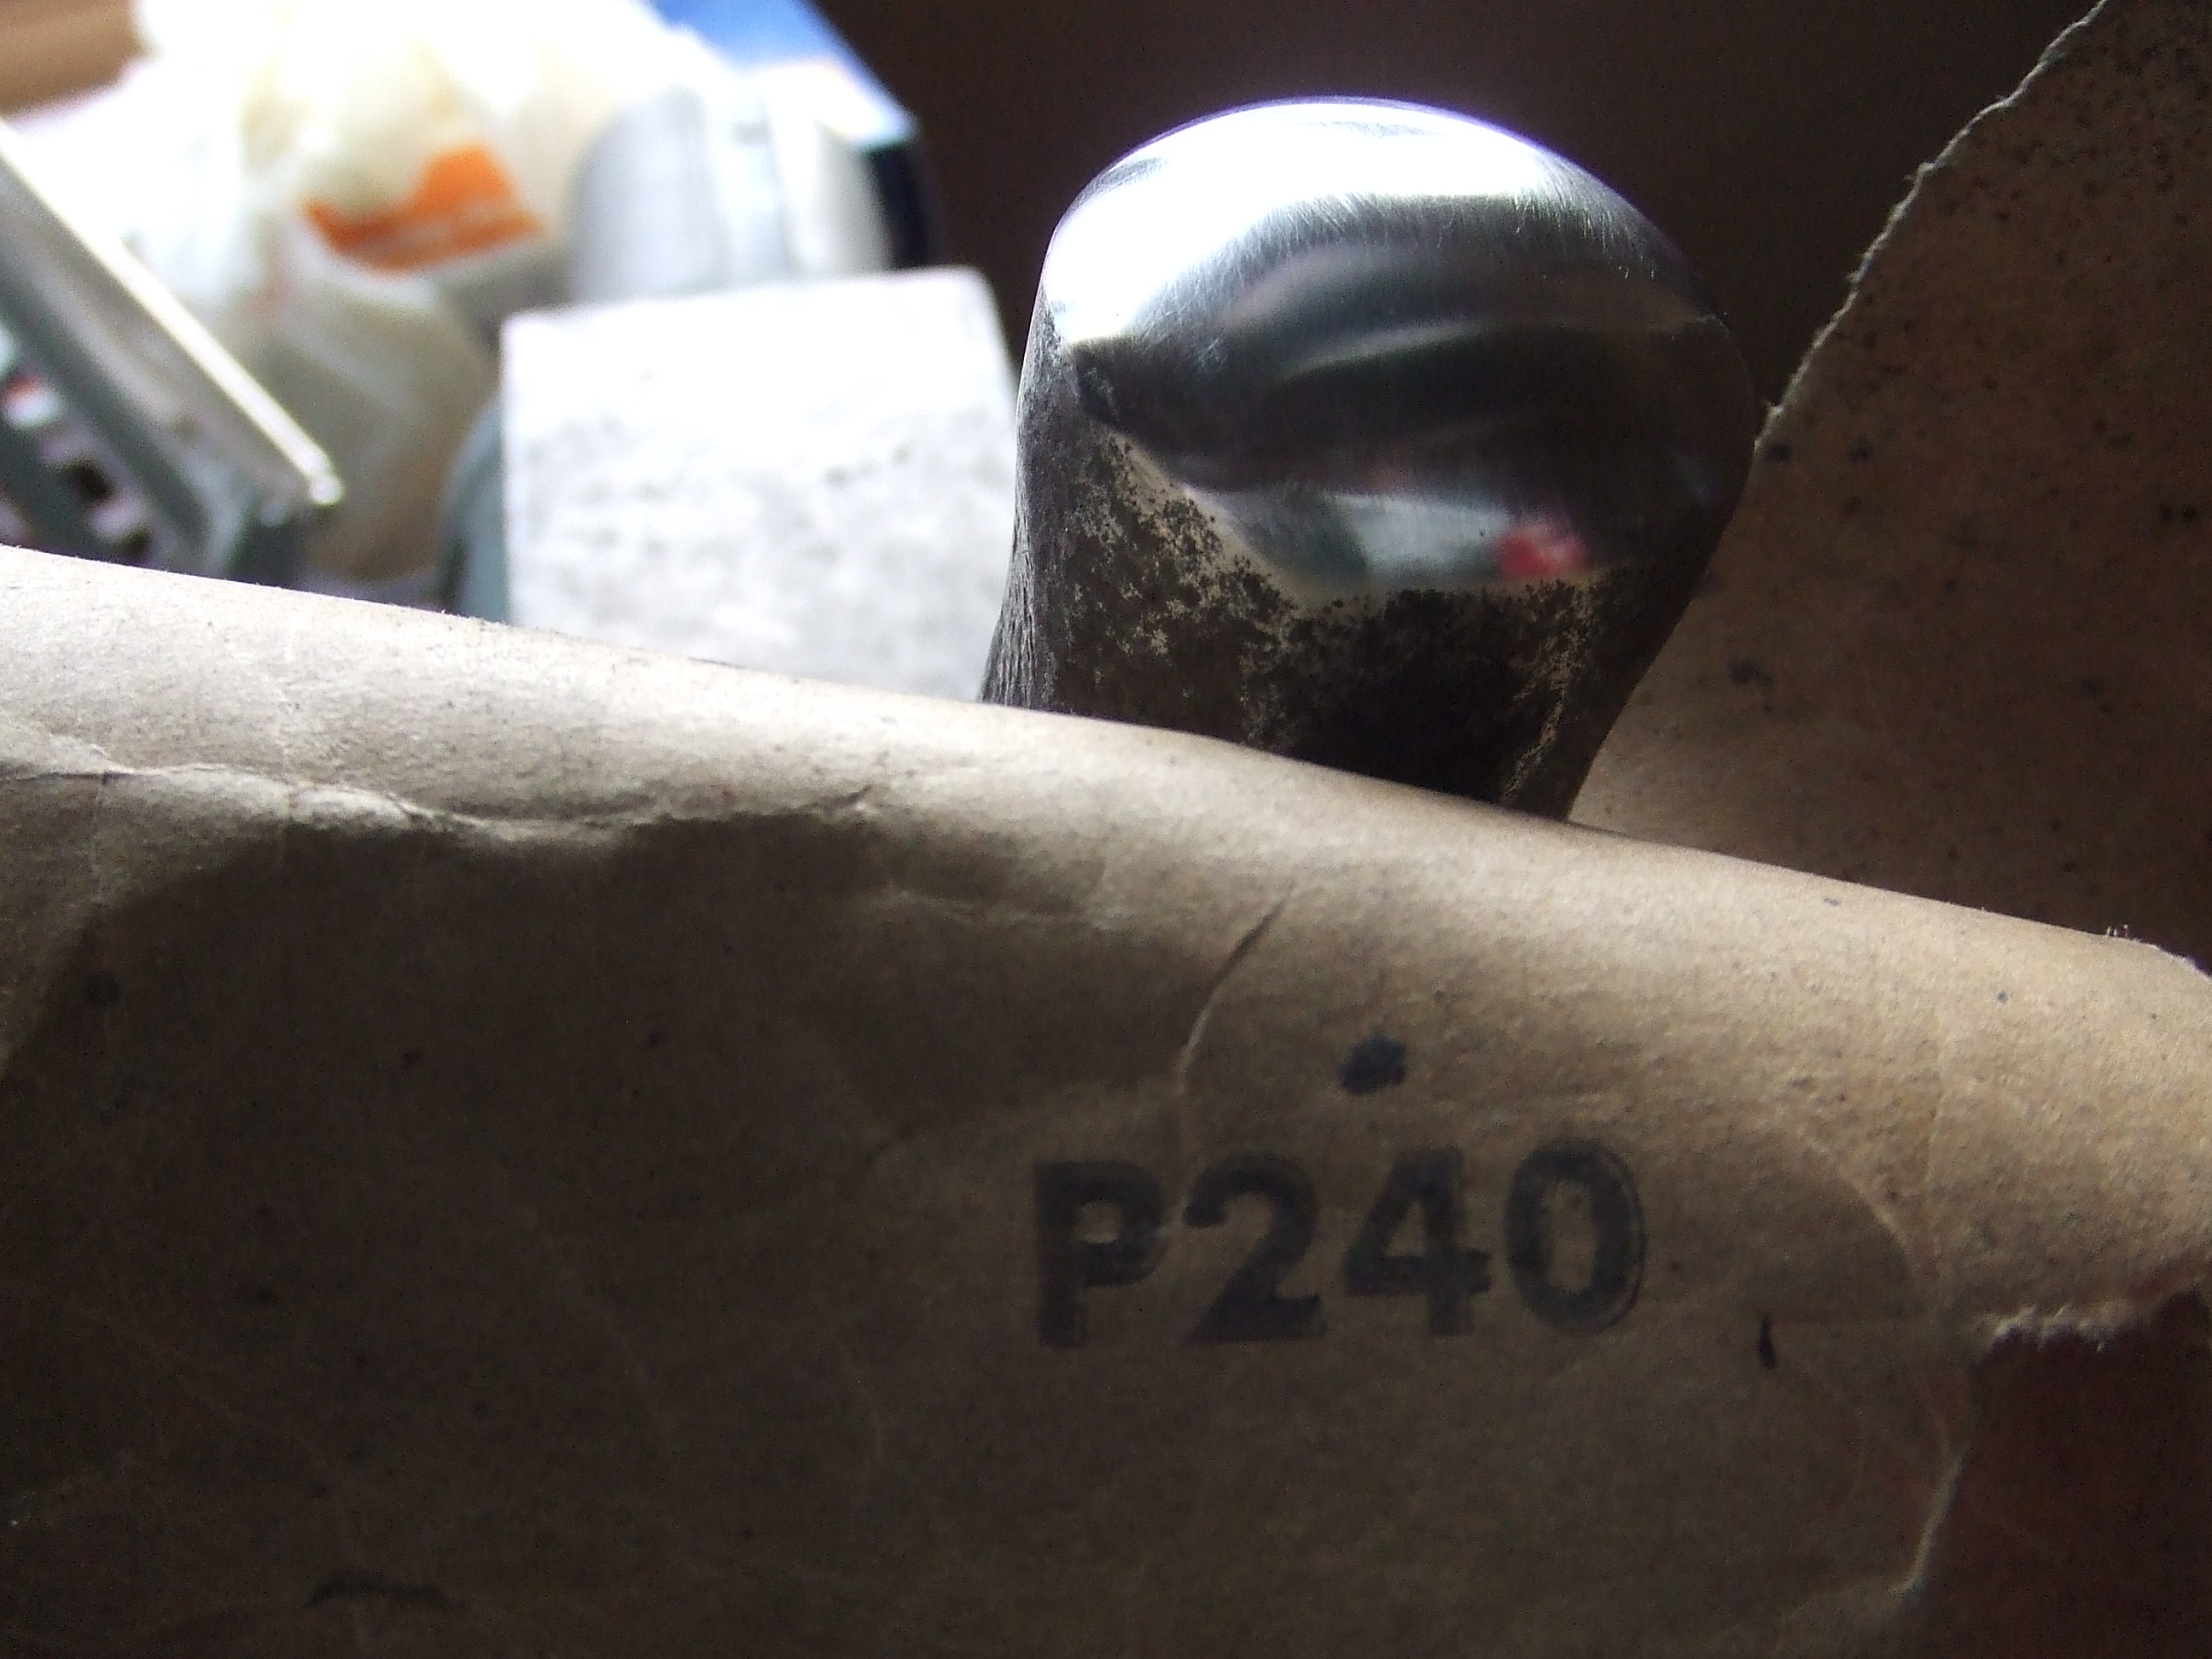
- This was not the first round of calking, just happens to be the one with a sandbag and raising hammer used for the calking process. Please note the ‘softer’ end of the hammer, looking right as you view this picture, see text.
-

- I forgot to take pictures of the Britannia silver bowl being calked. This copper one clearly shows the process, hammer blow square on.
-

- Christopher Lawerence calls this ‘knocking off’ see text
Wato wato all, back to the making of the Britannia silver bowl.
I feel somewhat of a fraud, talking about the thickened edge here as the completed bowl was not a complete success, having not gone entirely to plan. Annealing is a topic I will cover in another post, suffice to say at this stage over, or under annealing causes problems. In this case, near the end of raising the rim cracked. This meant I had to cut off my, hard fought for and carefully made thickened edge. Oh well, at least it wasn’t a complete disaster, I am still happy with the end result. I will explain in detail later in this process.
Quick re cap, the peening process moved material from the centre of the disc towards the edge. Calking pushes the edge down compressing the edge in on itself thickening the edge in the process.
Just as the raising process work hardens and will crack the silver if overworked, so only a single overlapping blow is desirable, or wise, at each and every calking stage for the same reason.
With the bowl to be resting on a sandbag for support, a soft faced cross peen hammer, I used a modified raising hammer, is bought down confidently, striking the edge. Accuracy is very important, each blow ideally overlaps slightly to lead into the next blow. The hammer must be square on, if not sharp ding or undulations will develop leading to uneven distribution of the silver. This will cause problems further down the raising process as the sides will become uneven, worse, it may encourage cracking due to the added stress caused by the gathering of a forceful blow on a very small ‘ding’. It may not develop into a crack until further along, you may not even be able to find a cause when it happens.
A thing I have learnt working with this slow process is that, you may well be able to cover up a misplaced blow, even forget you made it, the silver wont!!!!
Sooner or later something will happen, I will show uneven raising examples another time. The message I wish to convey this time is, take your time, don’t just hit it, measure and control your hammerblows. If you don’t, and hit it willy nilly, it will come back to haunt you later.
I found, as Christopher Lawerence showed on his demonstration, I had much more control and more feeling by holding the sandbag on my lap the whole time. Same rules as raising, move the disc, not the hammer, concentrating on keeping the hammer blows consistent and square to the edge. The picture shows one of my raising hammers that I softened, rounded off to reduce the chance of catching the edge of the silver with a sharp edge, as seen on the opposite side of the hammer showing the original as it came factory finished.
Knocking off removes the burr that is created by calking process. The beauty of this is that material is saved by re compressing it back into the rim rather than, as you would be forgiven for naturally doing, removing the burr with a scraper or file.
As can be imagined this is a delicate process, too hard and you will remove all of the work hammering the rim back on itself, too little force and the burr remains causing problems further along. This is done on a flat plate, hammering from the inside on a steel flat plate in the early stages. Later it becomes impossible to get a hammer in as the opening reduces in size. The picture of the copper one shows the knocking off process done on a mandrell. The hammer used is a collet, of domed faced planishing hammer.
Remember the pickling process is your friend. Every time you strike the silver it will stand out as a shining mark that clearly stands out from the pickled matt finish. No excuse for overworking as you can see where you have been, again don’t just hit it, measure your blows and make sure you are as consistent as possible.
After each round of sinking, then raising, calking process is applied until the end of the raising process, or when the desired thickness is reached, whichever comes first.
Hope you can follow this, please let me know if I’m not clear on something and I will add to this.
Thats all for now, raising proper starts next time, untill then. All my very best wishes.
Stu Art./