


I watched a film made by the Goldsmiths company to showcase silversmithing skills. The demonstrator was the awe inspiring Christopher Lawrence;
http://www.pearsonsilvercollection.com/biographies.html#lawrence
Christopher Lawrence embodies, for me anyhow, what is it is to be a true master craftsman. If you stop to dwell too long on his achievements, experience and sheer depth of knowledge, you could be forgiven for being disheartened. Trained from a very early age in a time when measurable performance meant far more than ideas and promise, it feel its fair to say the likes of these crafts masters are becoming ever rarer in a time where talking is far more valued than ‘walking’
Rant over! Lets look at peening the disc of Britannia silver before sinking, in preparation to raising. Peening is the same as the approach I presented in a previous post showing how to make simple curves or dishes without curved stakes. The difference being the working from the centre, as before, this time without the ‘dam’ or ‘moat’ I explained to contain the ‘wave’ of material as it is pushed to the outside edge.
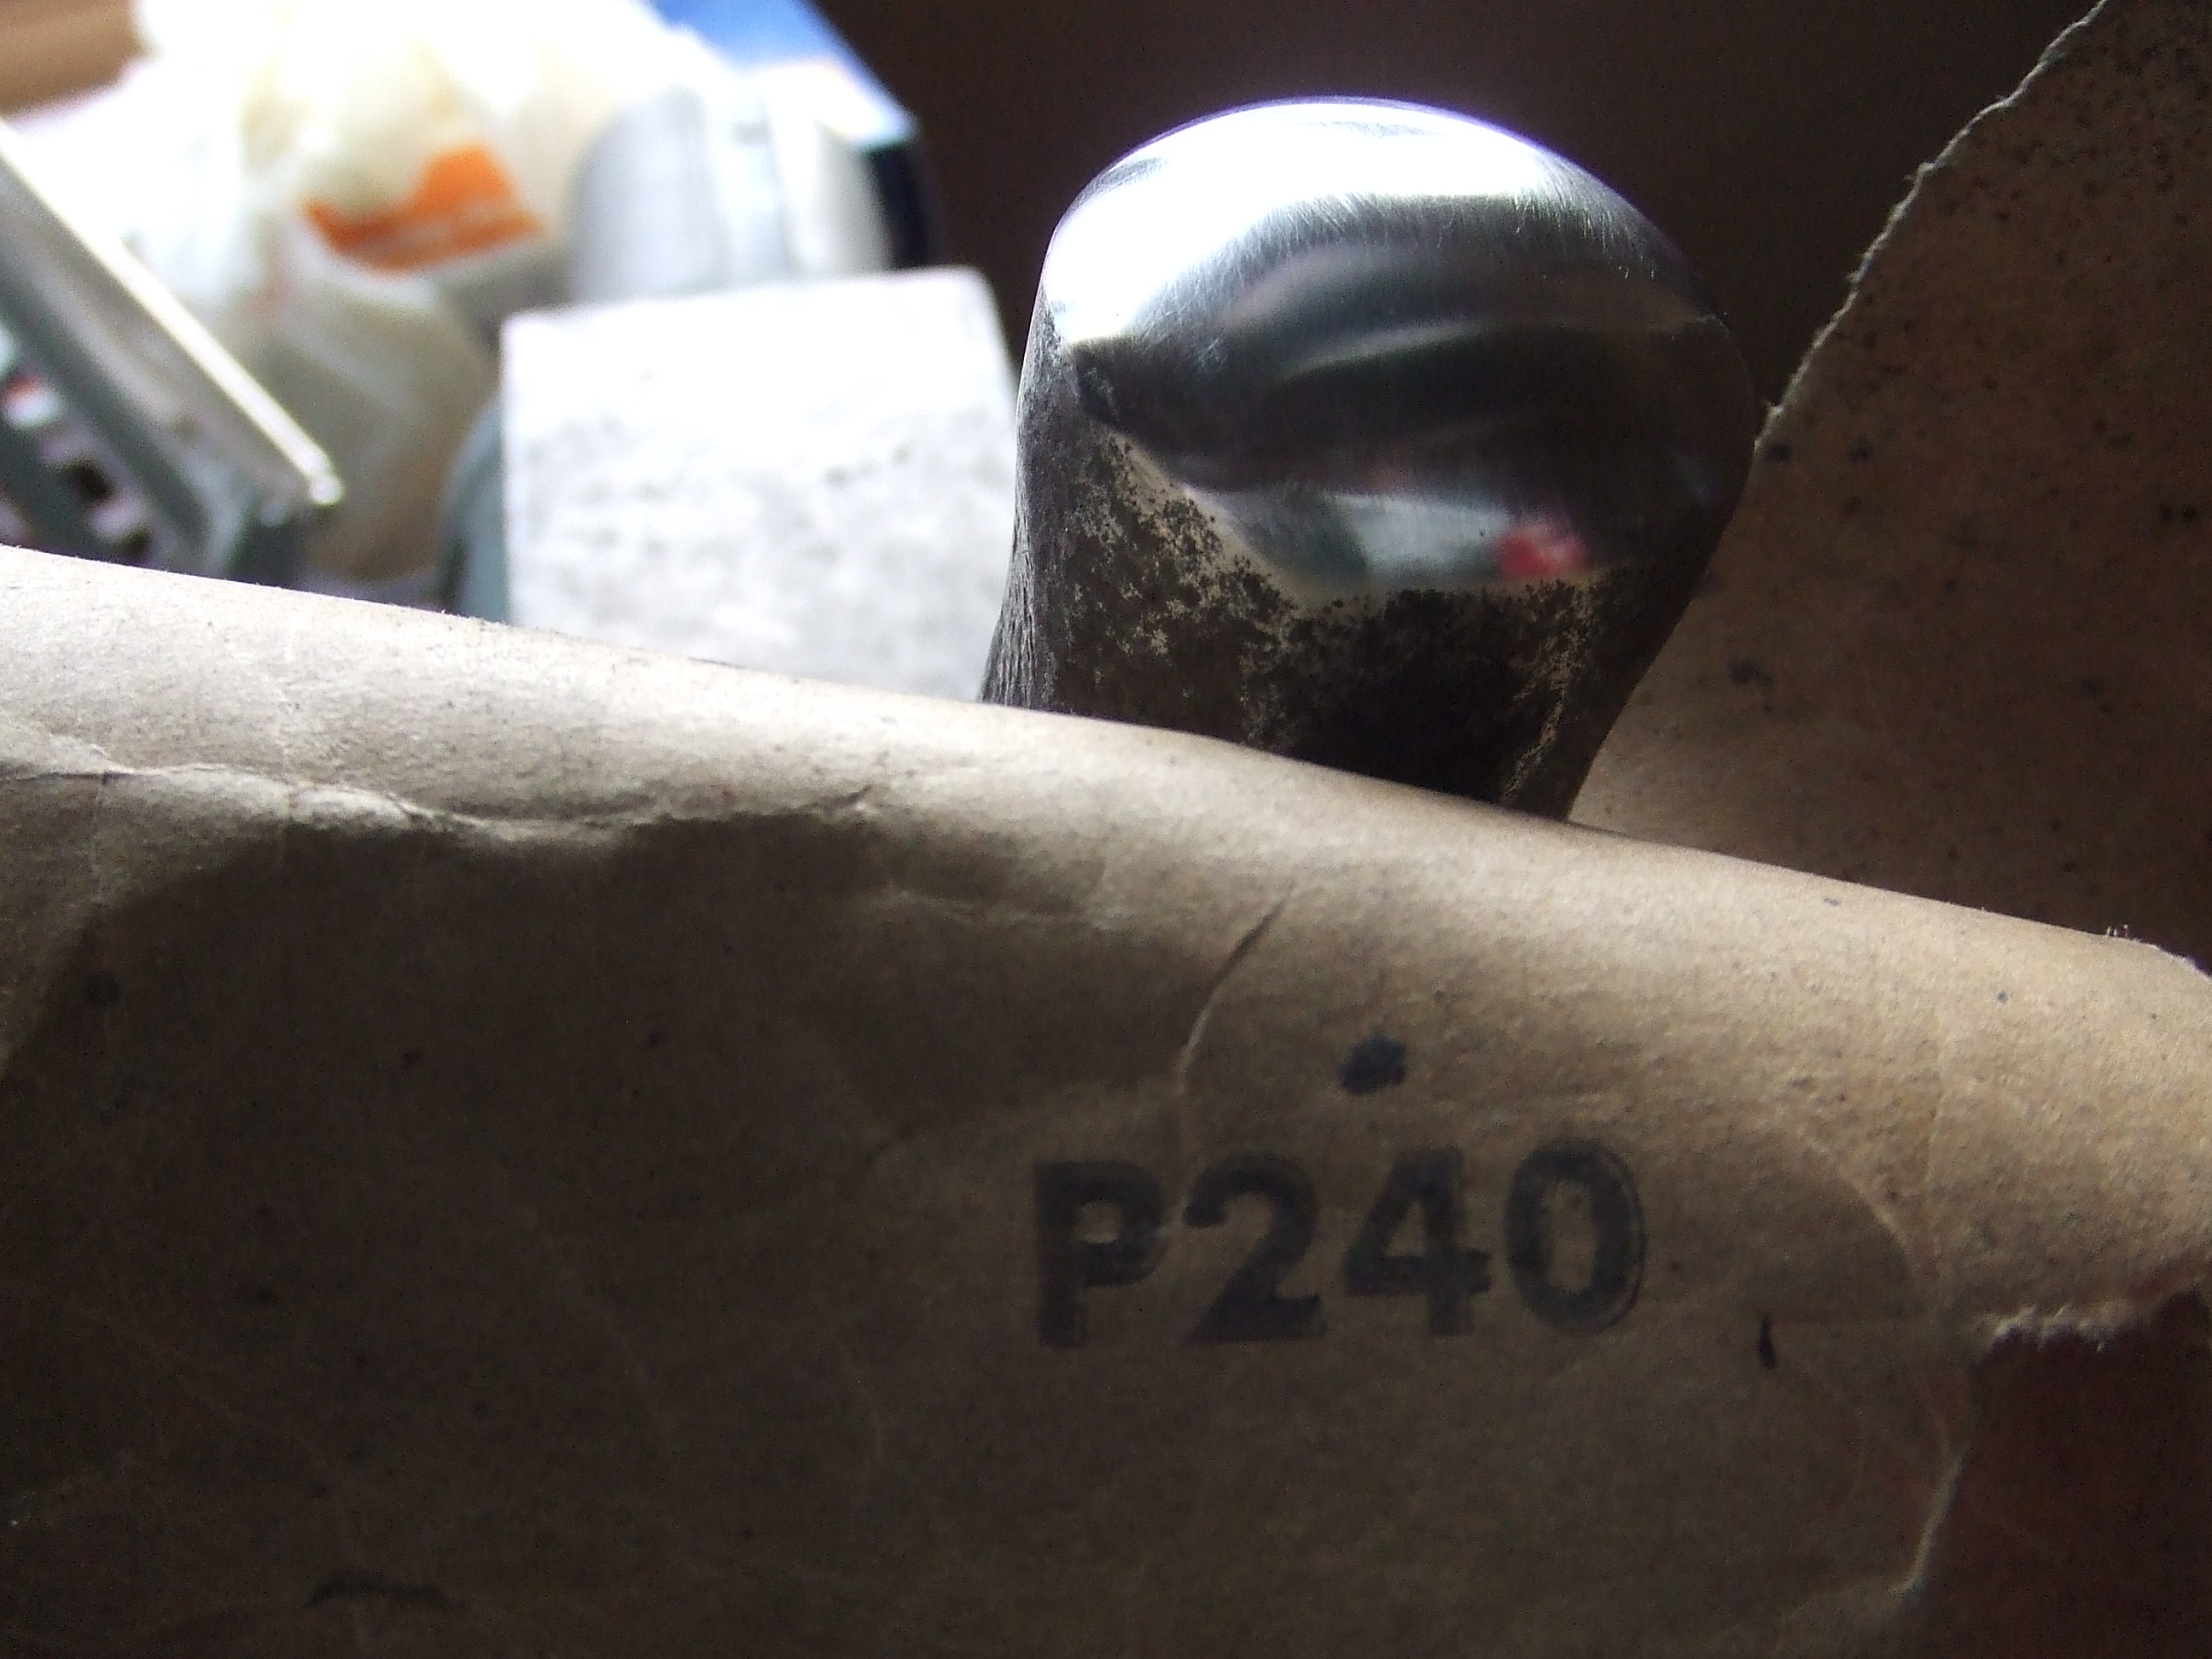
The hammer I used is another junk shop find, very heavy, re-profiled and polished to act as a peening hammer. Consistency, as with much of this discipline, is key. My thinking was that a very heavy hammer can be used to keep the blows consistant. Rather than swinging a lighter hammer, with all the variance this would introduce to the force of each blow, I use the weight of the hammer. You see the gentle curve of the hammer face, all blows overlap to keep the ‘wave’ ahead of, and not behind the next blow. Working from the centre to the outside edge, a section of material at the edge is left. All the material is now concentrated there and ready for calking, more on that in another post.
I lift the hammer as precise a distance from the disk and let it fall on the disc of silver. My reasoning being if the height is consistent, the weight of the hammer will ensure the blows are as consistent as possible, I just have to ensure I keep turning the disc to present the next point of contact for each blow. Do not move the hammer, just the disc of silver flat on the steel trist, working in a perfect circle, hence the guide lines made with a compass, moving outward towards the edge.
The little copper model shown here with the calliper showing the width of the rime is to illustrate the sort of expansion you can achieve. The starting sheet of copper was 0.9mm thick. As you see from the digital read out, the size difference is substantial.
I followed Christopher’s lead and did three rounds of peening to achieve this result. Next time I will show you the stages that follow on from this to create the thickened edge as you go along raising your form.
Untill next time, all my very best wishes.
Stu Art.
