

The completed, hallmarked sterling silver rings.

The first, spiky example was my first attempt at a ring at my first year of College. I am drawn to this type of construction, though I wouldn’t recommend this ring. It was a good exercise on many levels, not least, how to make something totally unappealing 🙂 it taught me a lot about soldering though. The second was my first attempt to make a ring with repousse and chasing techniques to take advantage of the ‘skinned’ or two part hollow nature of these rings. The third is where this project takes off.

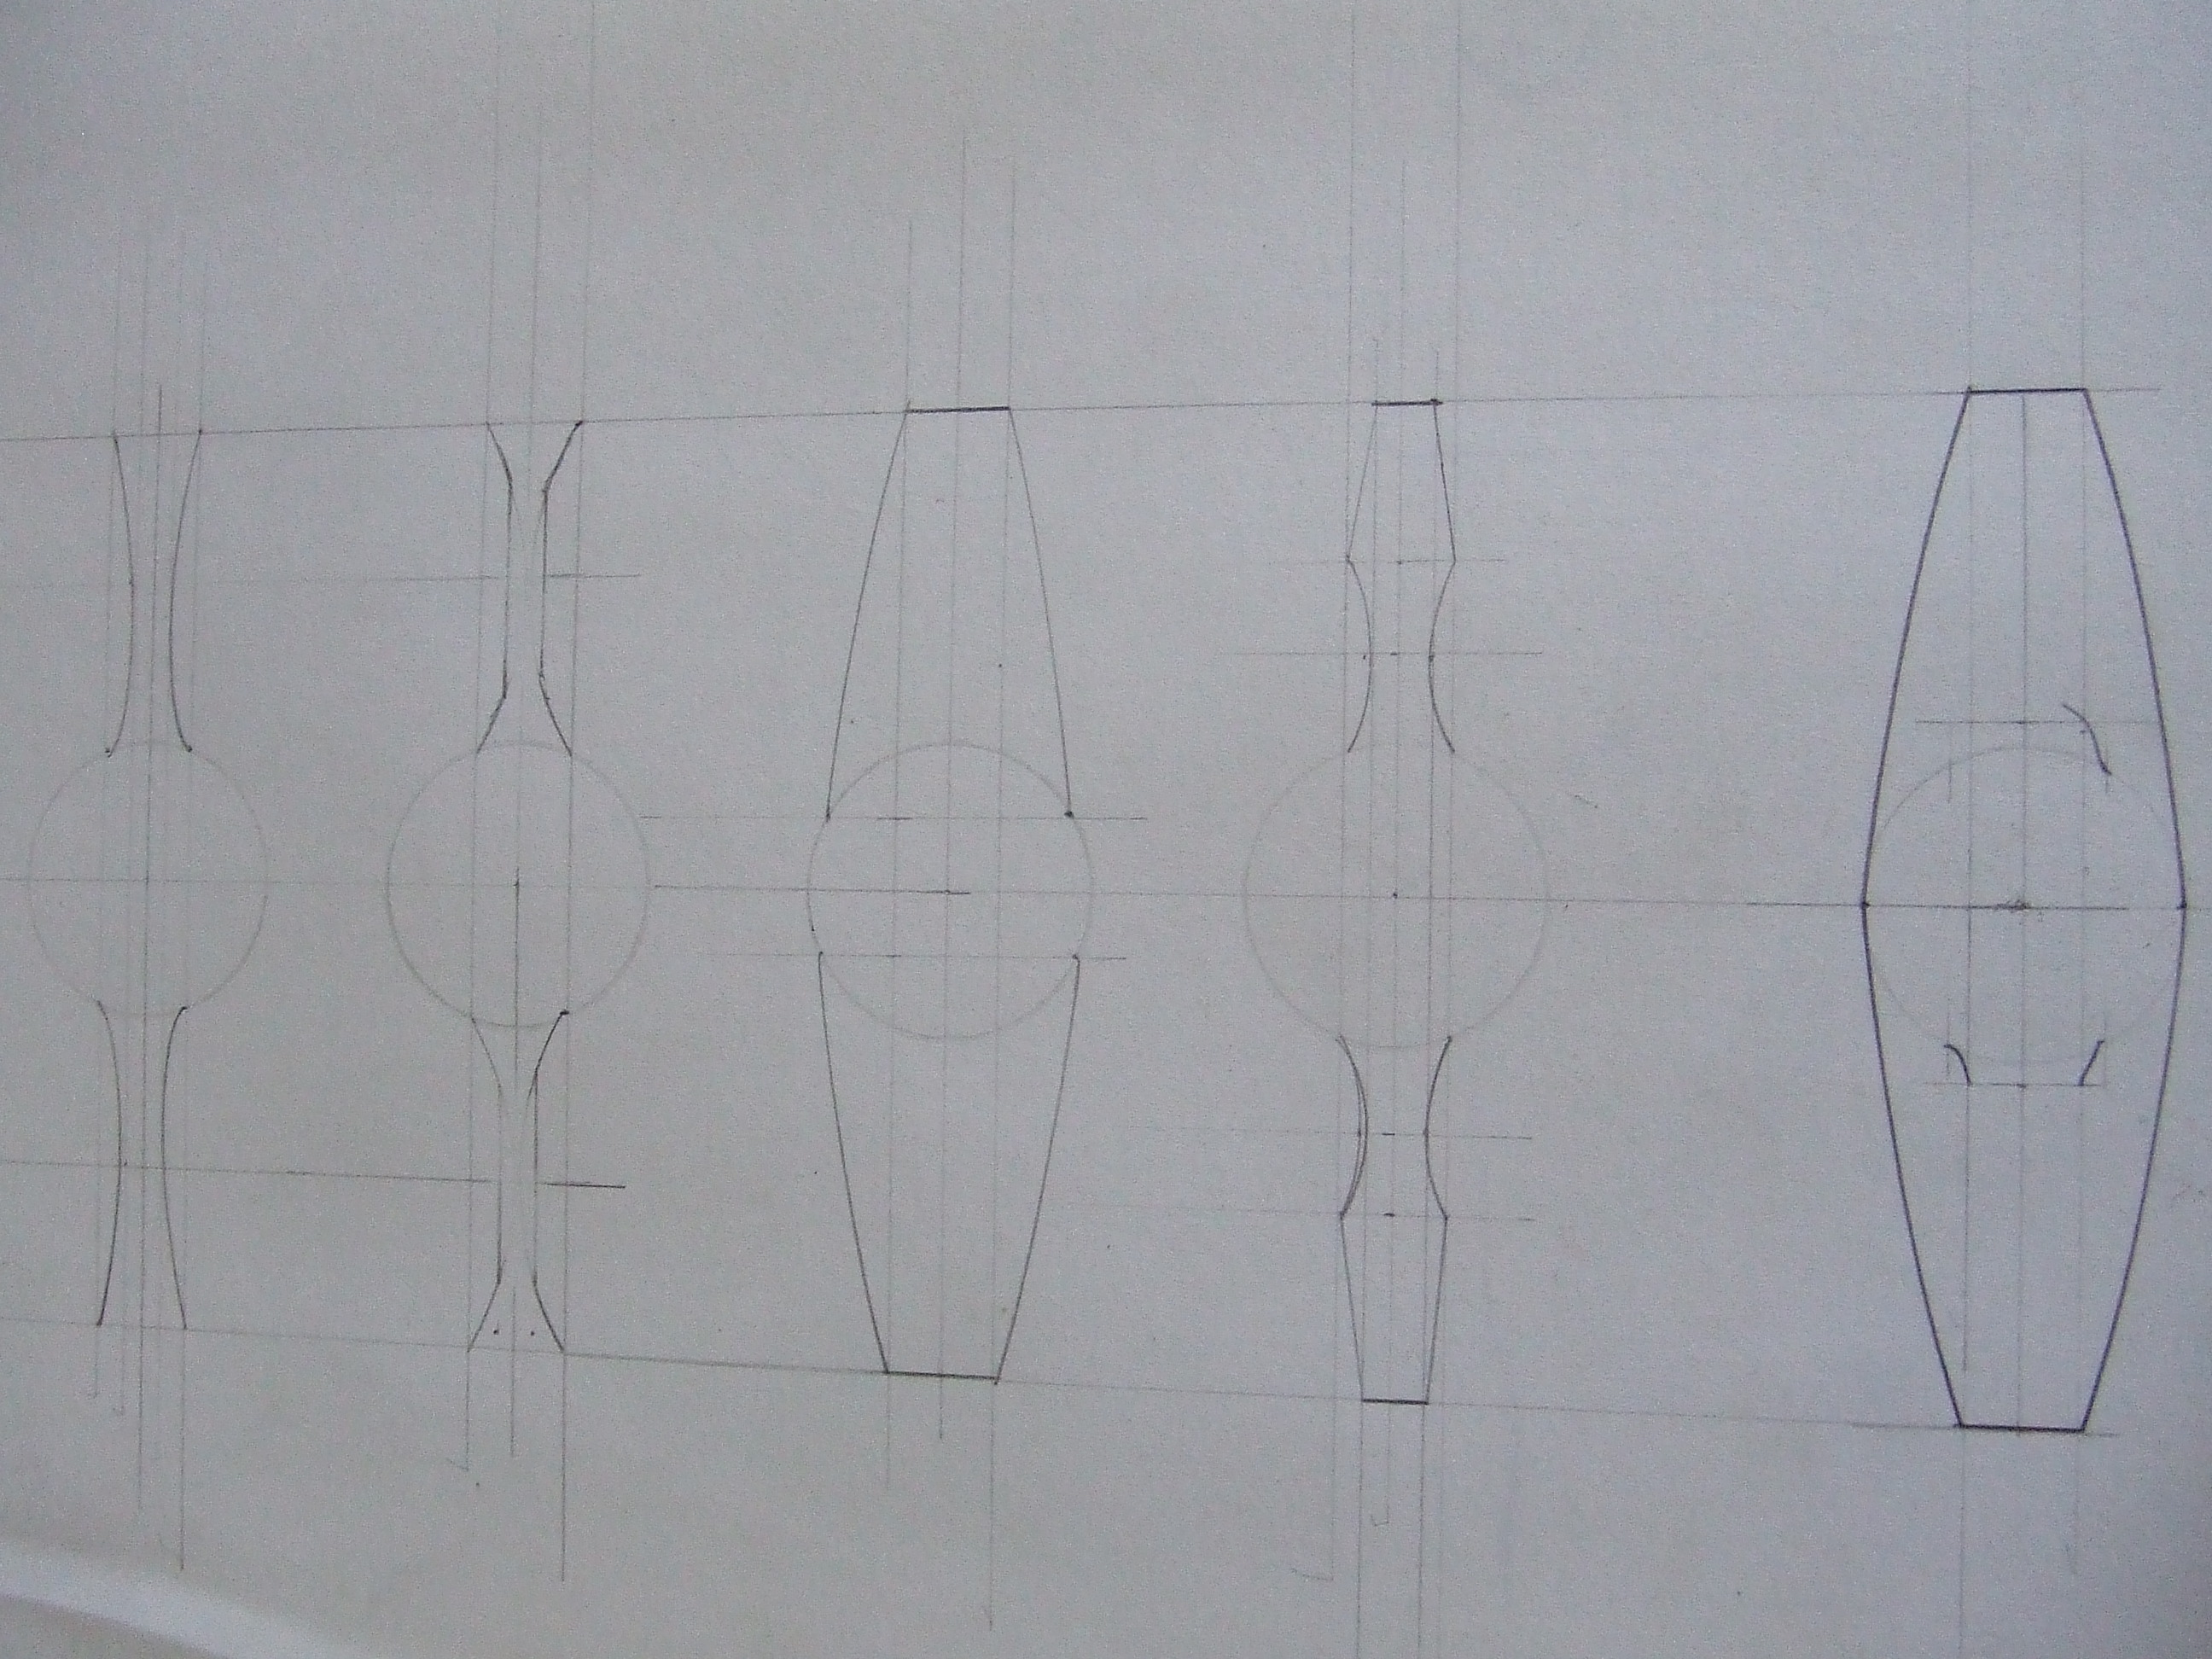
To give you a flavour of the process, some experiments, drawn, paper mock ups and copper blanks ready for the next stage.
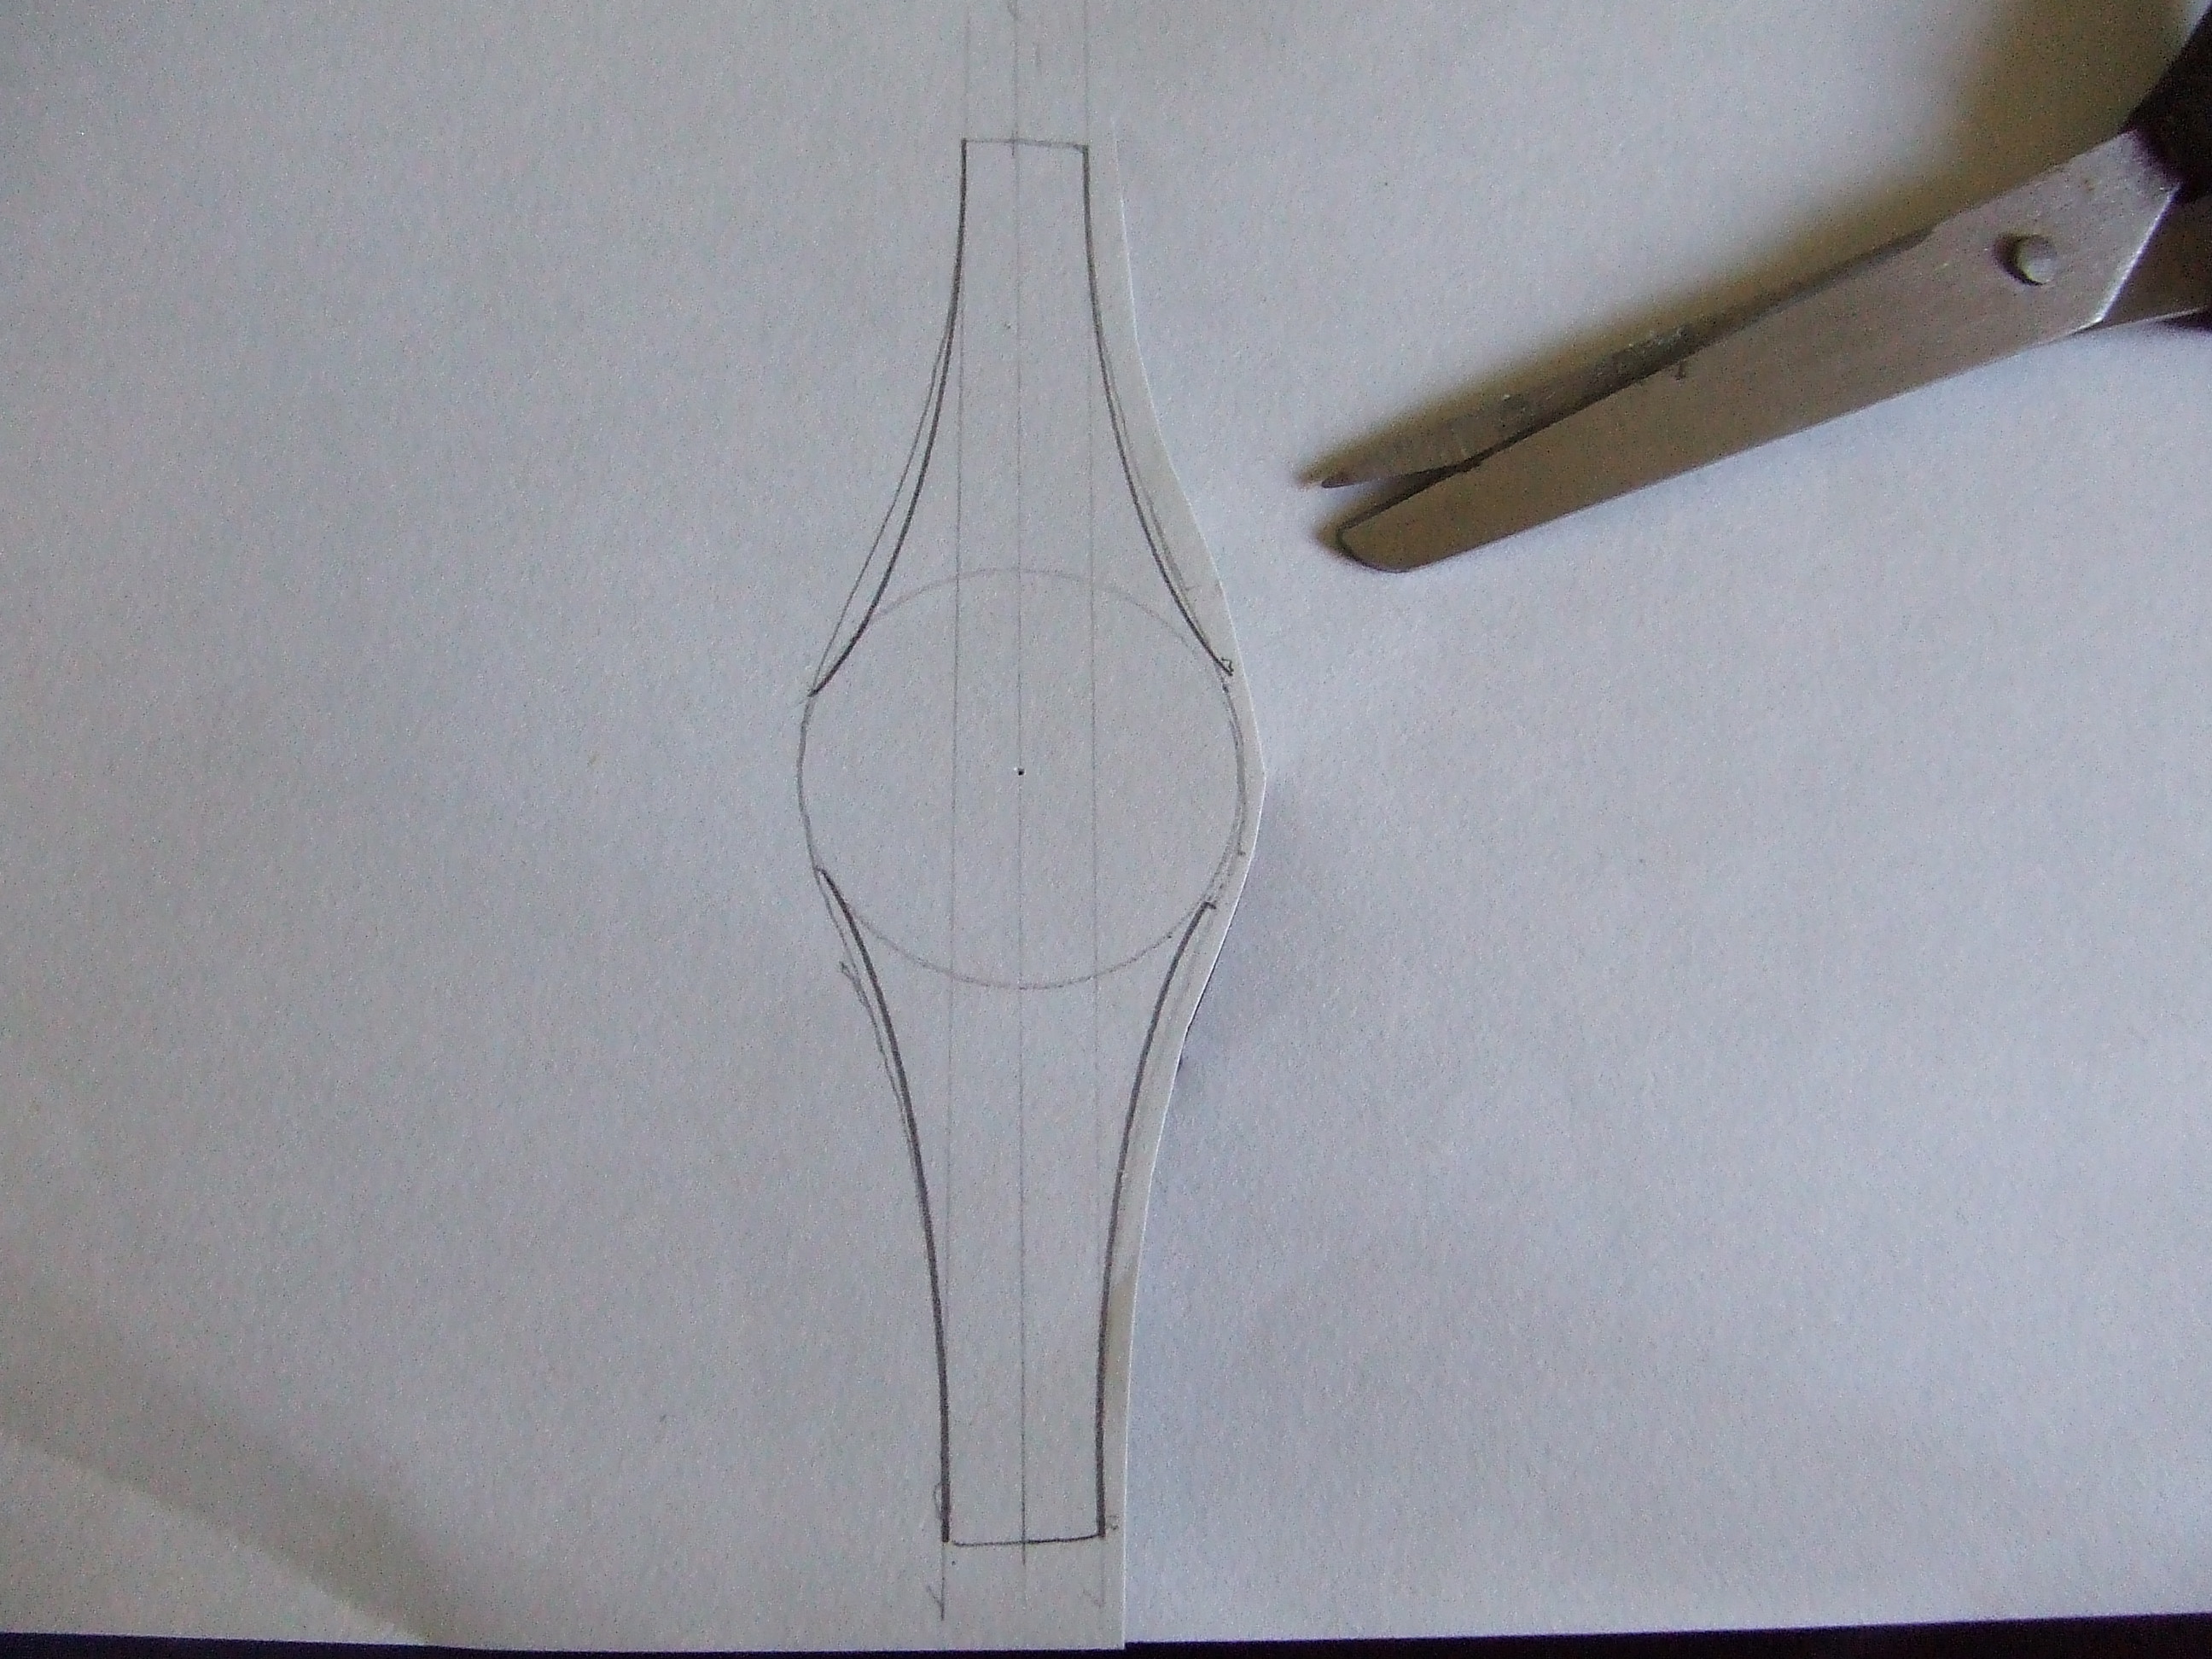
This is not the final patter, though pretty close. If you do something similar I would recommend using graph paper, I did in the end. The reason is, when cut out you notice, especially in the following processes, that your pattern isn’t quite symmetrical. Graph paper makes this far more preventable.
Some of the directions from the comfort of my drafting table,. Told you I couldn’t draw 🙂
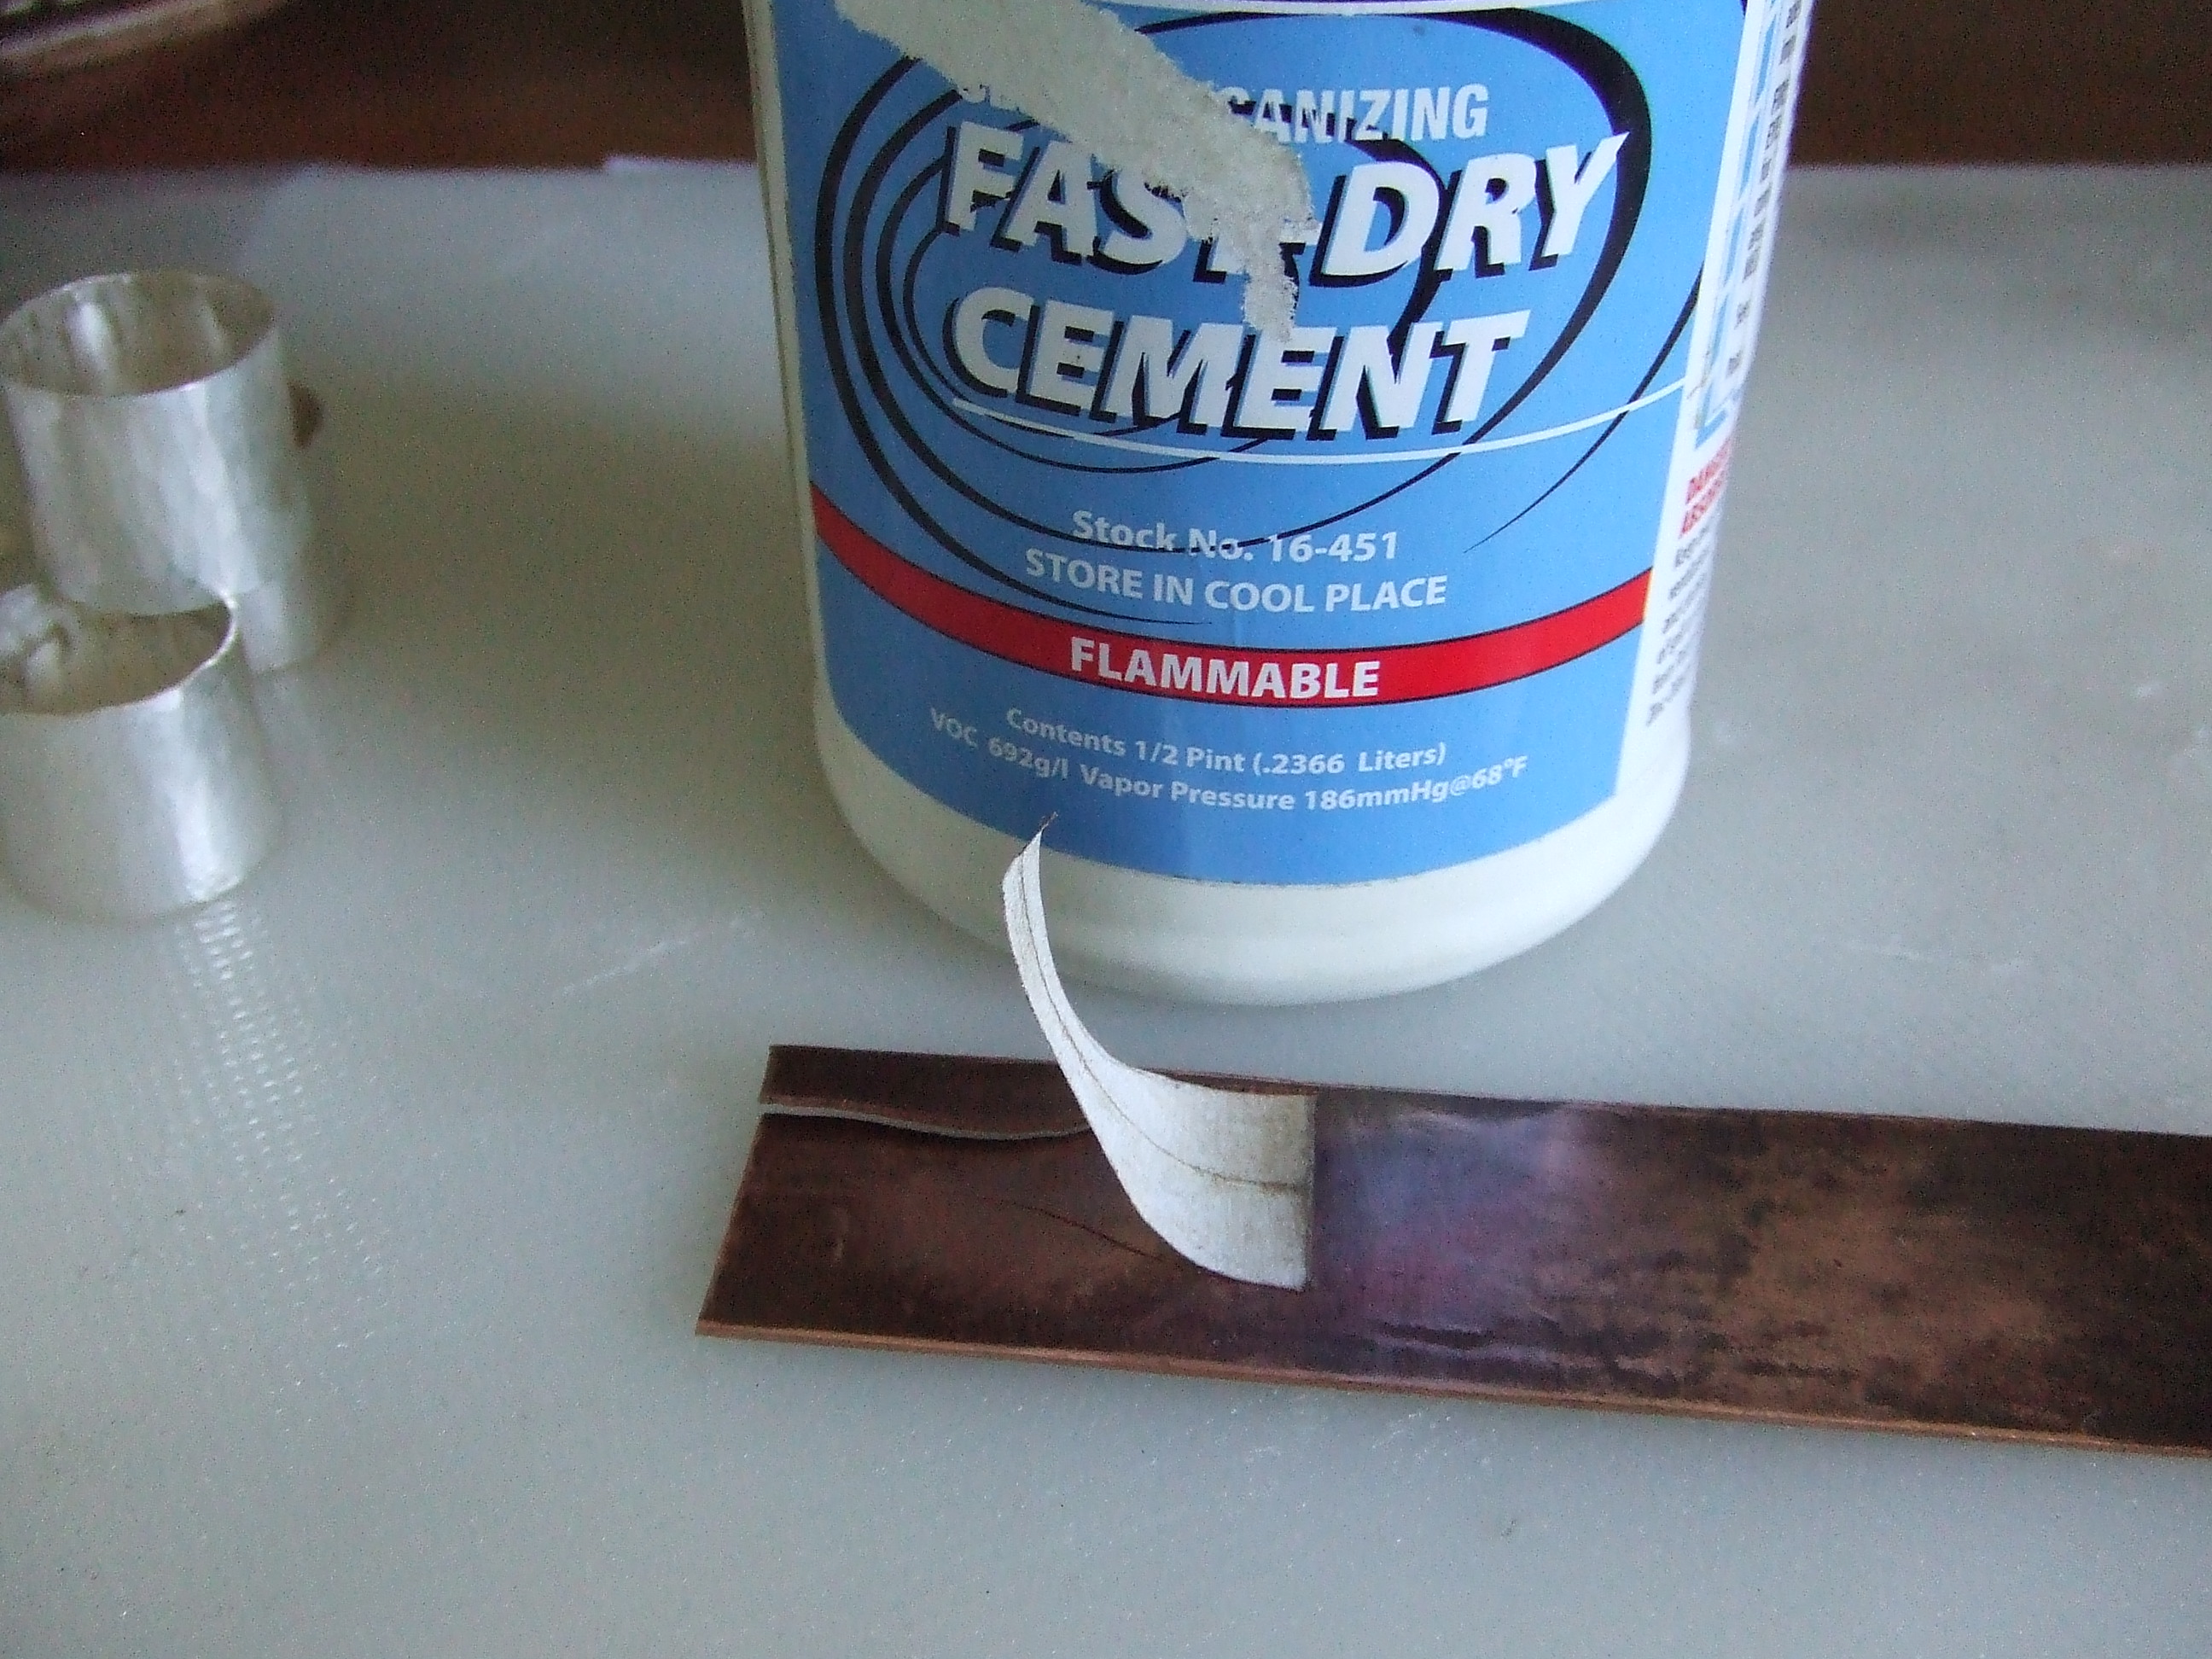
I can’t remember where I picked up this tip. Fabulous stuff this rubber cement for sticking paper patterns to metal. Cover the metal and the paper with the glue. Blow on the metal until it goes matt, slide the paper pattern and leave for a min or two. Saw up to the pattern, great stuff.

Blank in copper domed in the block with a 15mm doming punch. Starting in a larger depression, moving down a size, four or five times. If you try too small too fast, it created nicks in the corners of the piece where it is trying to compress too quickly. Anneal if you feel the need.

From a previous post. remember my, made from copper, filled with lead pitch bowl. This parcel tape fits the bill as a great stand for it. Some grippy cloth in-between keeps thins nice and stable.
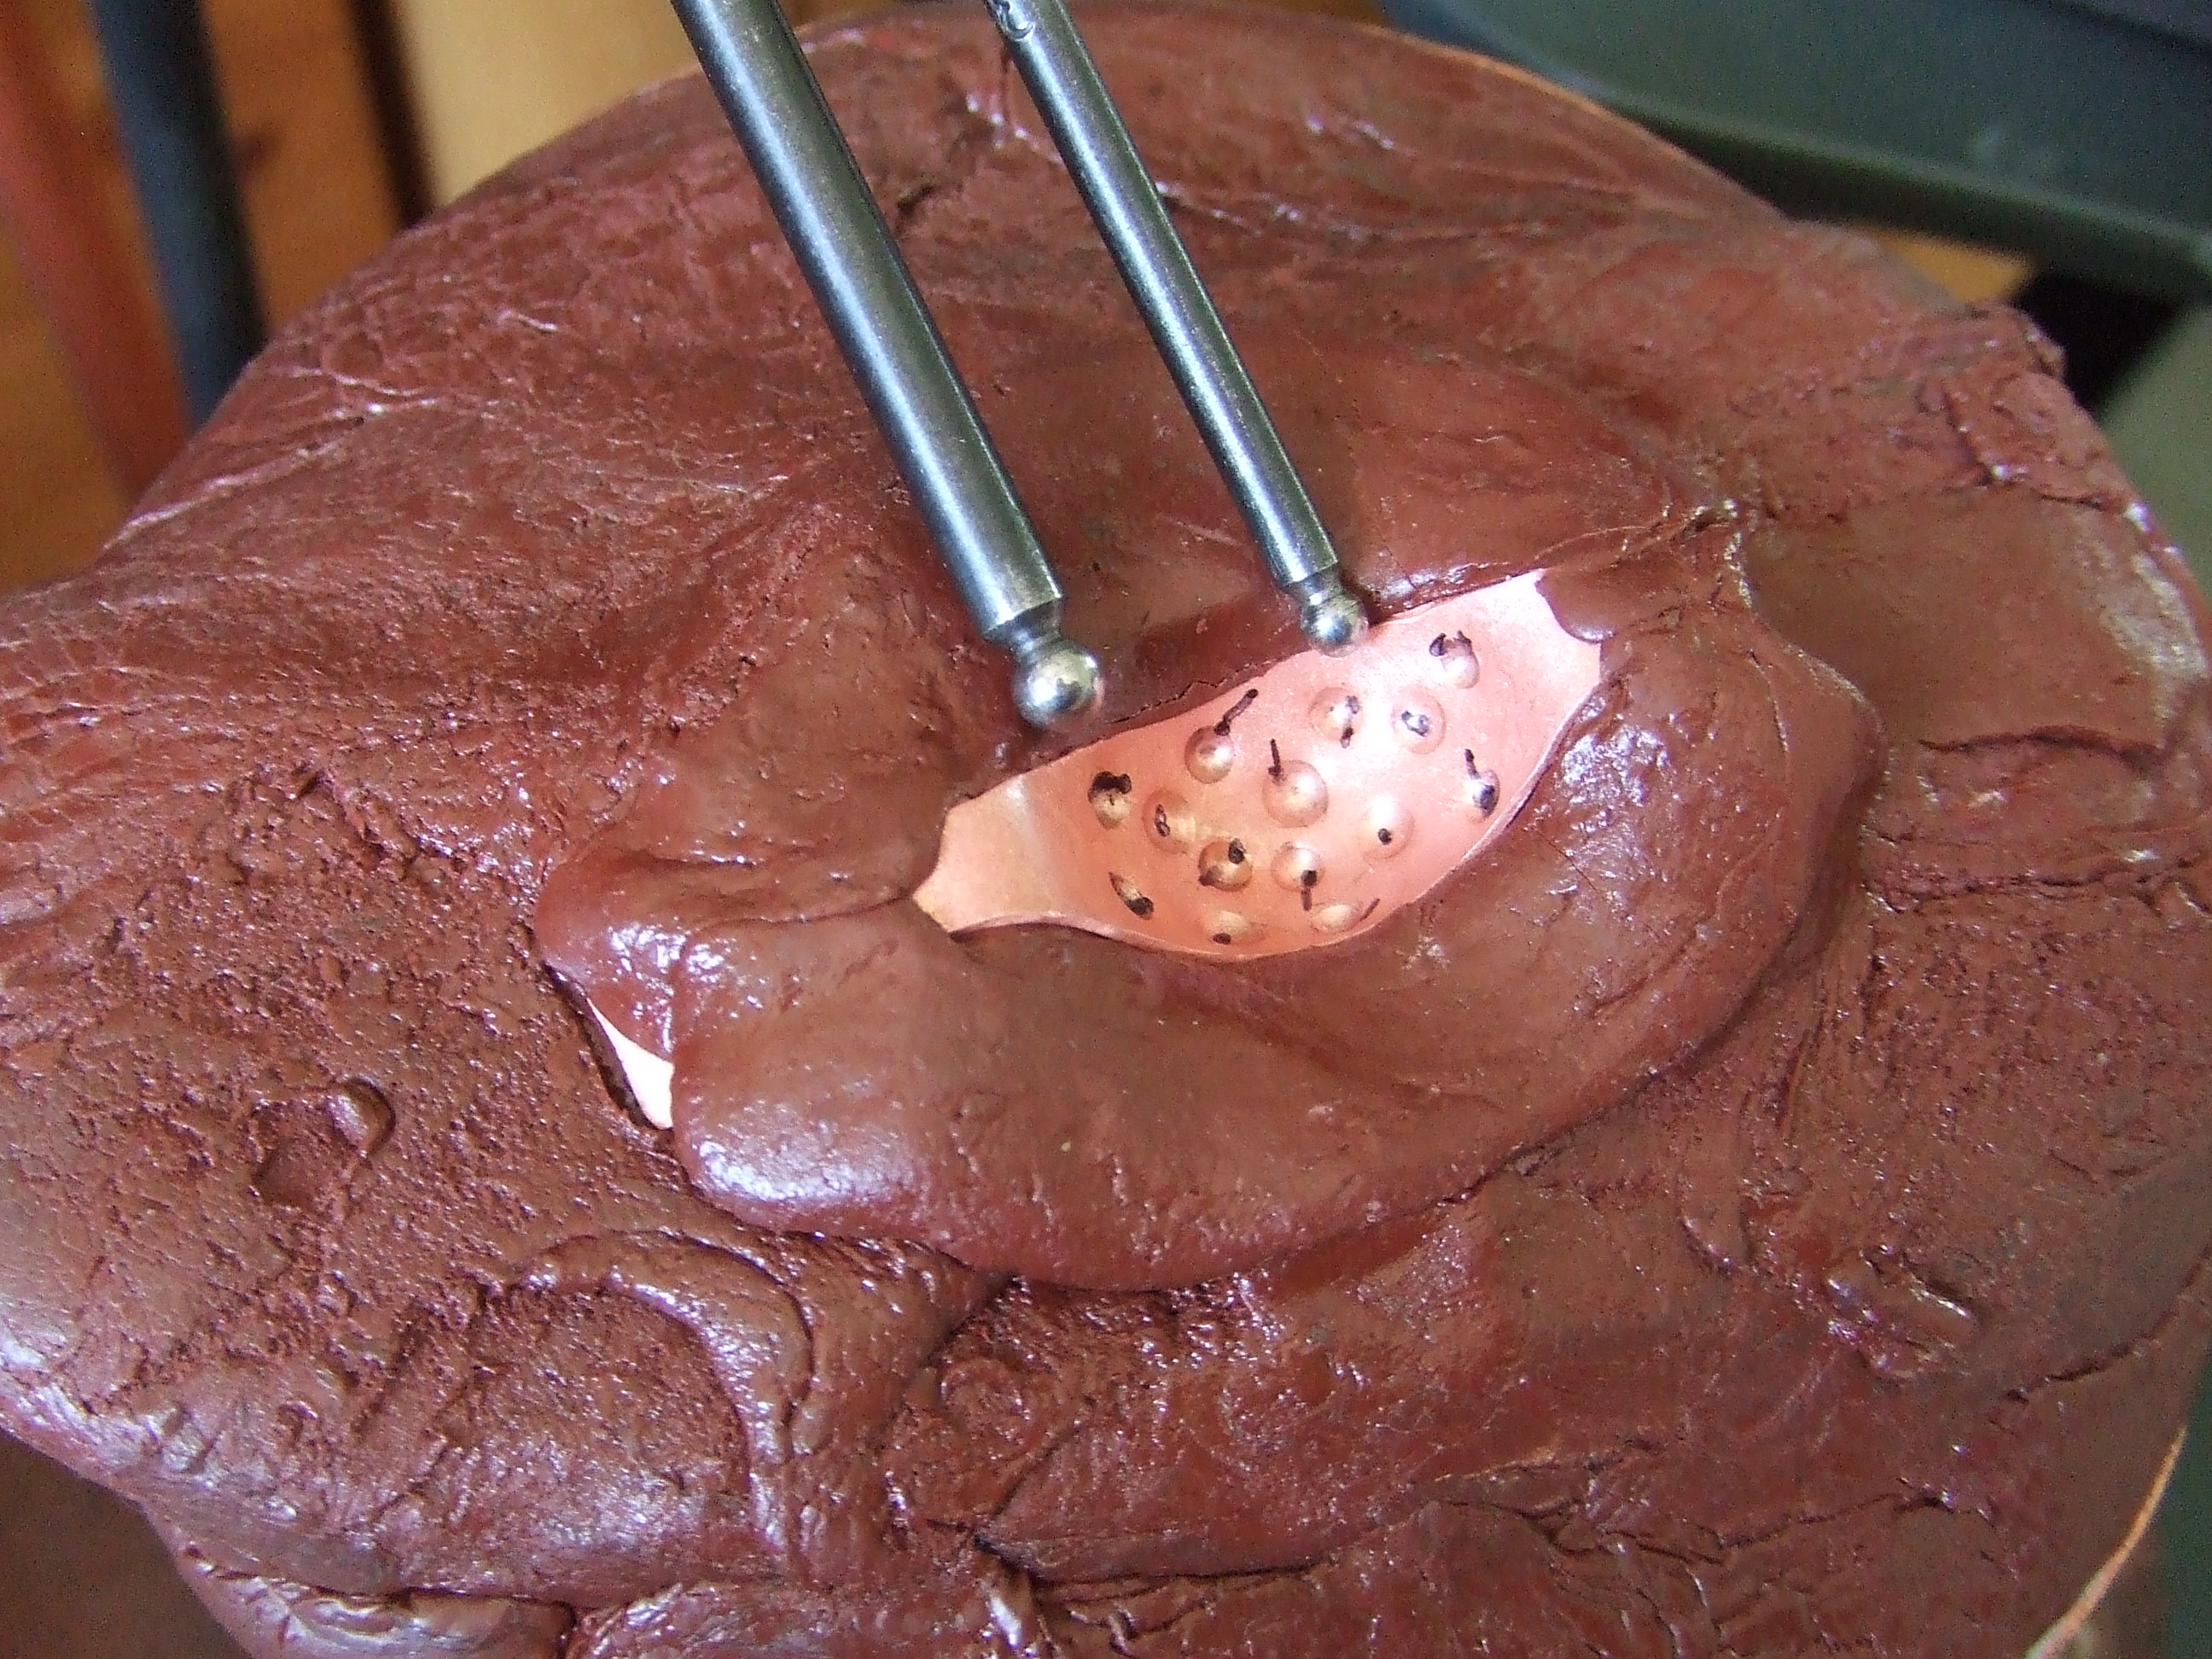
2mm and 3mm doming punches for repousse stage.
Same again for the chasing part.

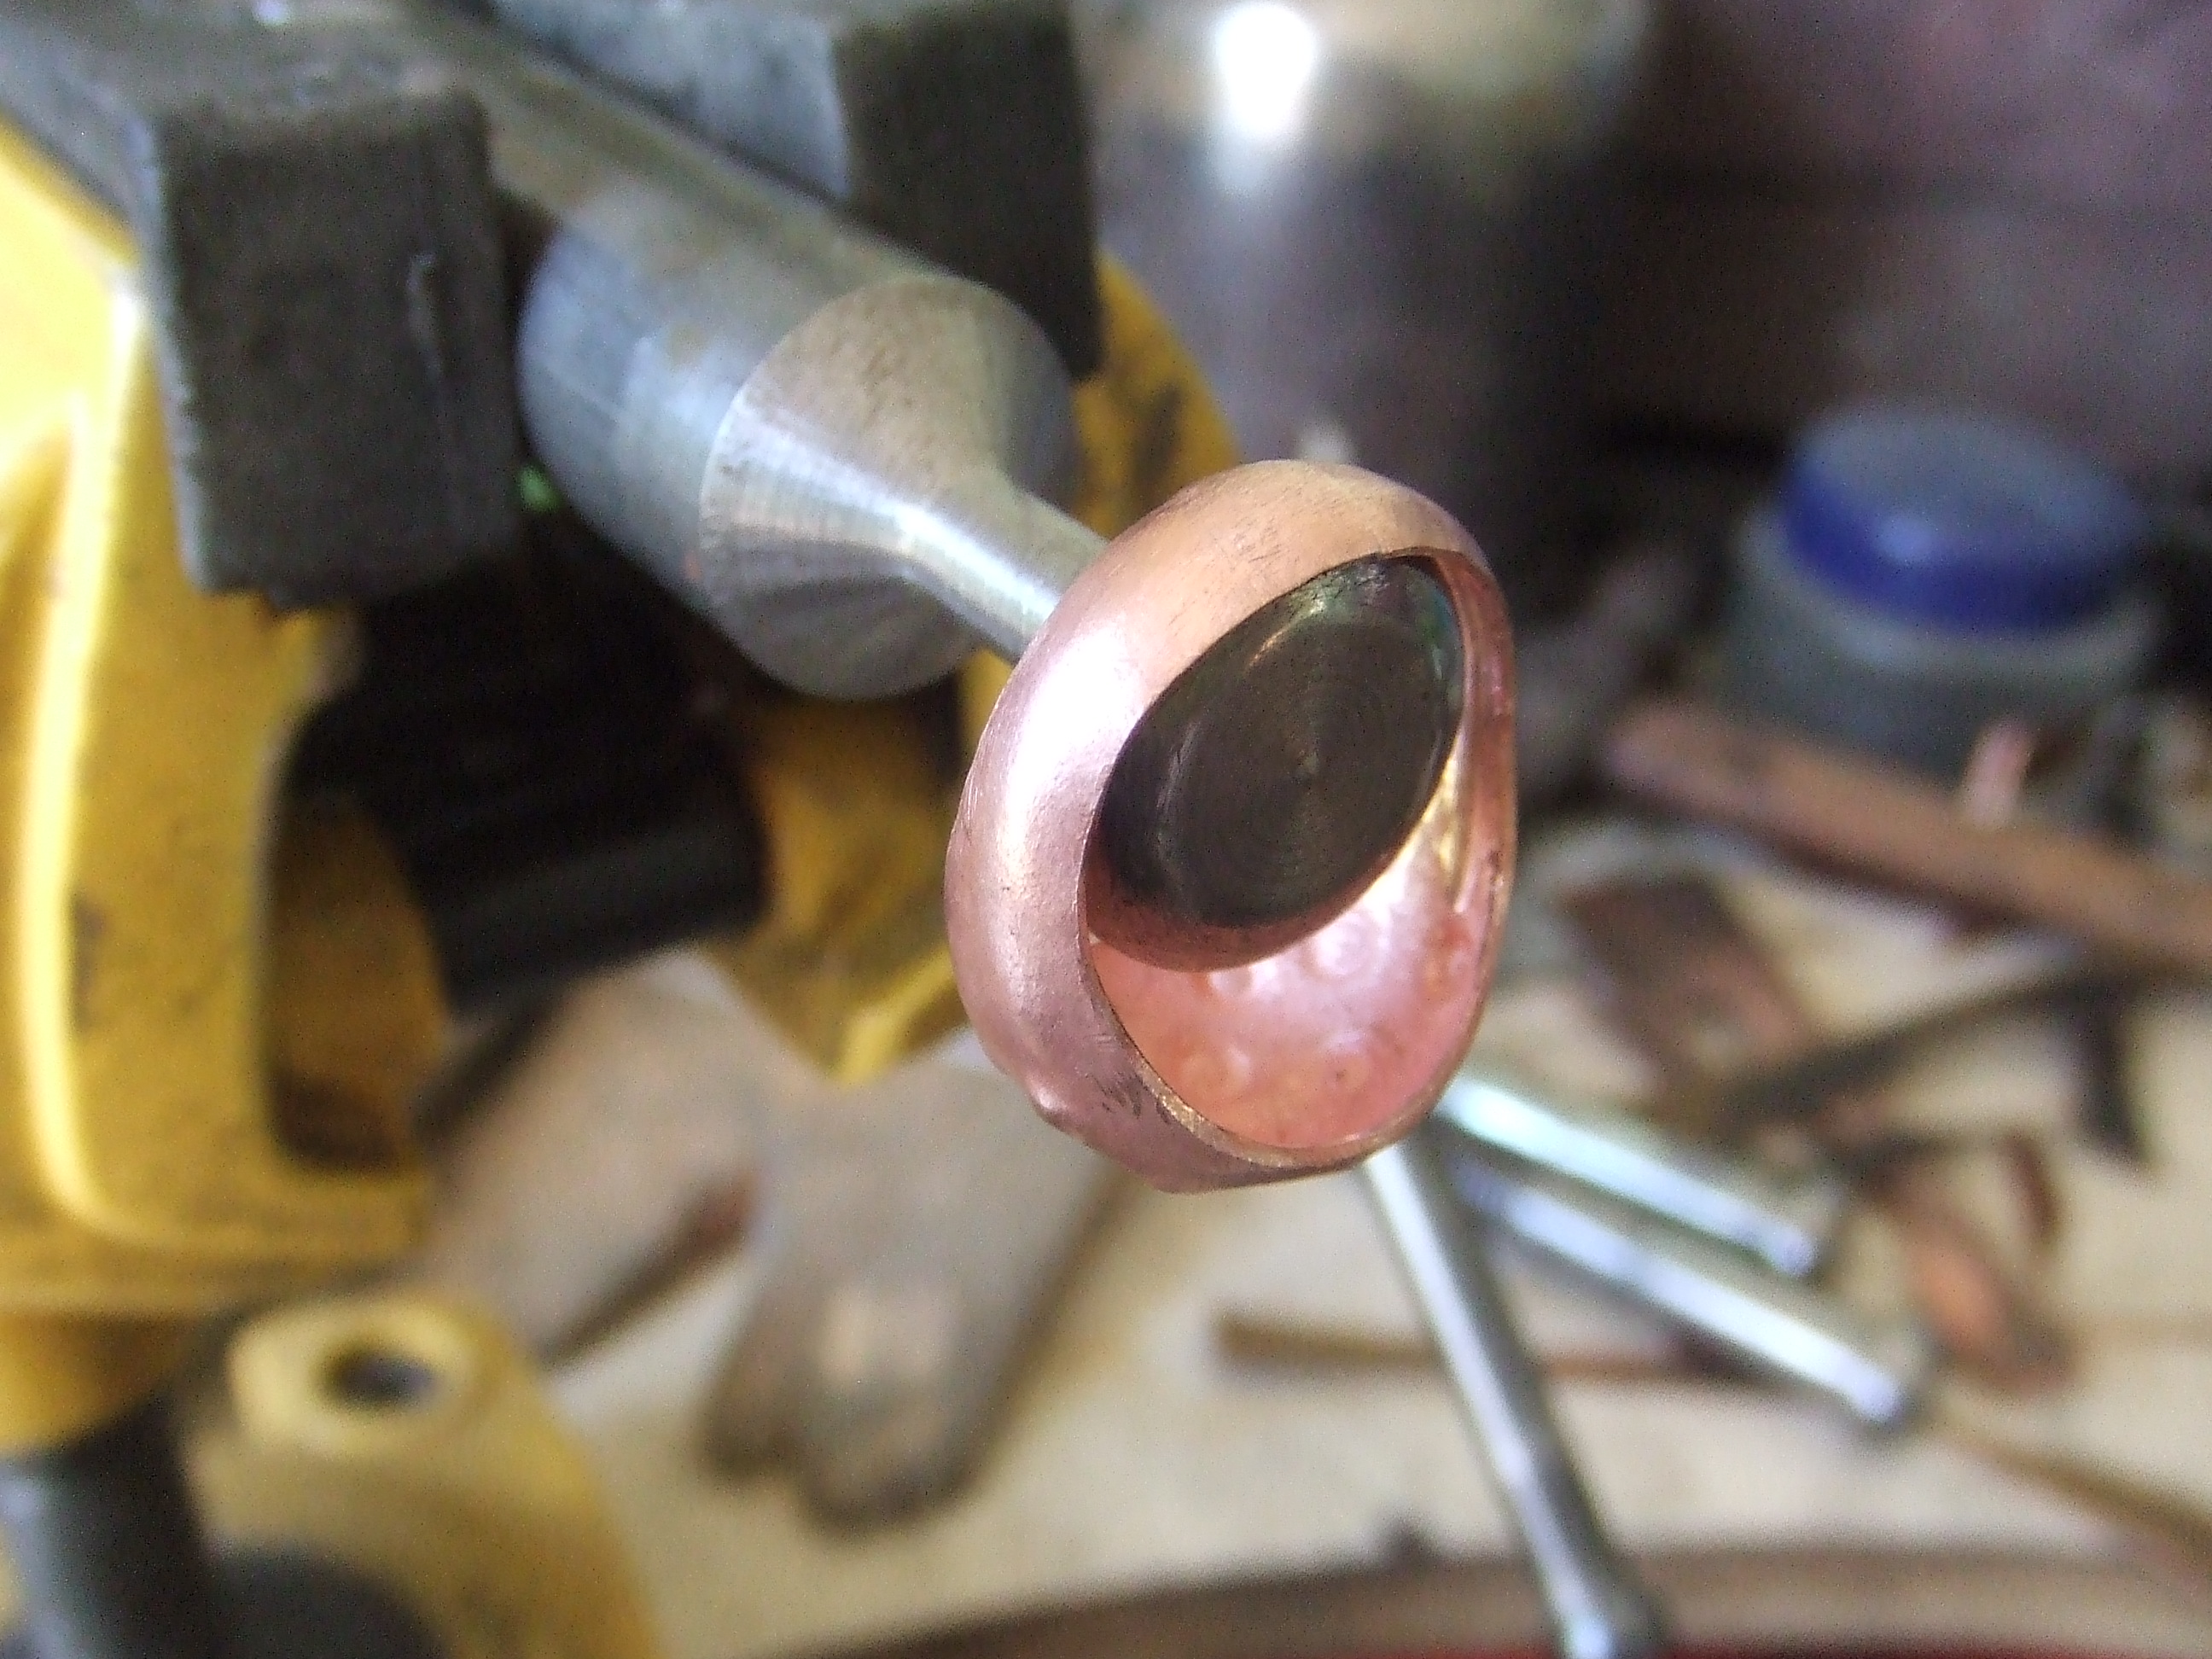
Using a suitable sized doming punch, to fit the ring shank you need. Mark the overlap, cut through both layers (each side) to create a perfect soldering joint.

Some of my miniature metalwork forming tools. See text.

Showing how to round off the shank. Use a soft hammer, not metal as this will stretch the metal. Remember this if your outer is too tight to fit the shank. You can use a metal hammer to the stake to stretch it to fit.
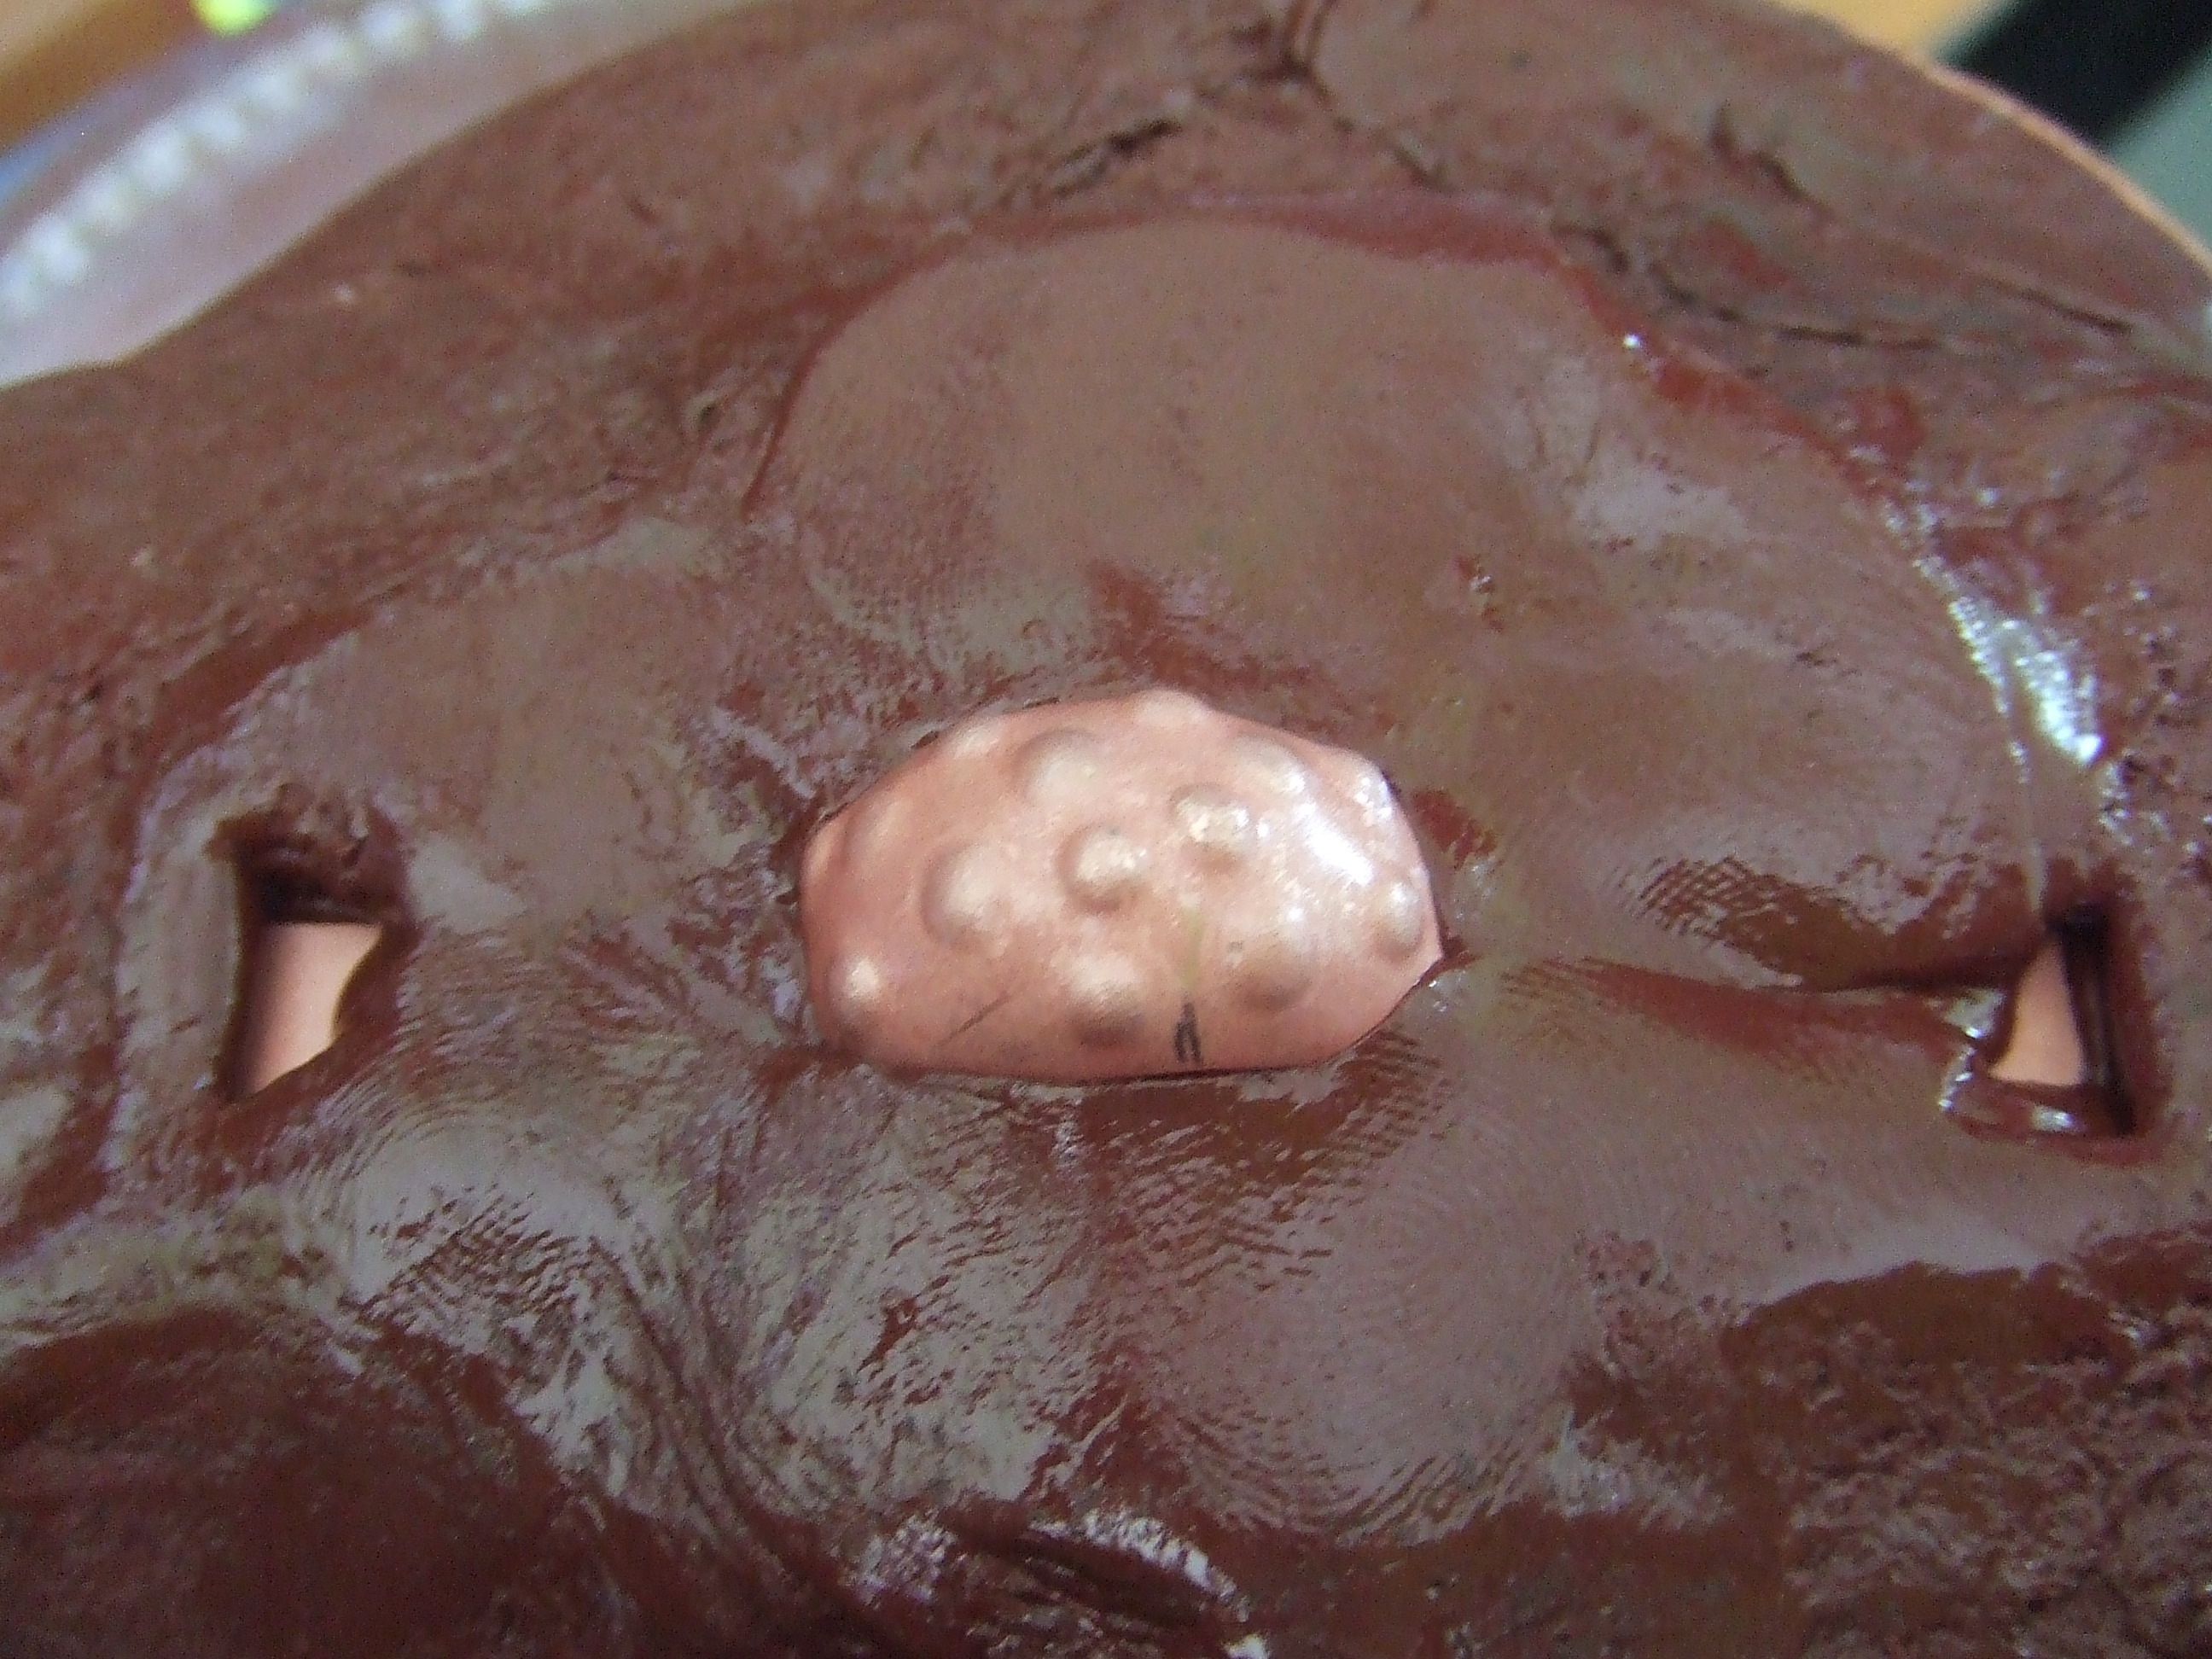
You can just see the air gap. I will go into more detain in the next post.

The silver blanks ready.
Wato wato one and all.
This ‘moon ring’ was a request, I have no idea if it will sell, made a couple just in case.
This journey is in two parts, this one shows you a little background. Also the refinement of the design and the tools needed to realise it.
The references to looking to the text will be covered in detail in the next post. Hope you enjoy reading about it. Also I hope it inspires you to look at the things around you in a different way. You never know where the next tool is lurking, just keep looking.
Until next time. Very best wishes.
Stu Art.

Stu, your photo-documenting with captions are seriously brilliant! So much fun and eye-candy for fellow metalsmiths to see your tools employed, your humorous stories about old college projects – and how your process flows. Just wanted to add that I recently discovered a new pitch that I am using full-time now. It is made by Saign Charlestein (can Google his work–you may be familiar with him already.) He calls it “California Red Chaser’s pitch”, it is 100% non-toxic, red/brownish color as it is made from pine tree rosin. No idea if it can be purchased from the U.K., (Rio Grande sells it here) but it’s so low maintenance to use and about 1/3 less cost of the red German pitch. I know you have a set-up now that you like – but your studio will smell like pine trees whenever you work w/ it. It is not “soft” like the green pitch you already tried. I will never use black pitch again. Thanks for sharing your latest projects w/ us!
Wato wato. Thank you very much for that. Truly appreciated to have feedback from you, a wonderful artist. The pitch sounds very interesting. I wish I knew the constituent parts as my green pitch smells just like that. I bet there is something I could mix in to make it stiffer, it has been suggested I try plaster of paris. Not had the courage to ‘contaminate’ mine. It cost quite a lot of money to have it shipped over here, I should perhaps have a go in small batches. Have you, or anyone else, any idea what I could use?
Once again, very many thanks for taking an interest.:)
Reblogged this on Off The Grid Designs Blog and commented:
I have wanted to try chasing for a very long time, and what a great way to start! Off to the hardware store! I think I have everything else I need right in my studio.
Thank you for sharing. If you want to make chasing tools, I find Allen keys perfect. Most of mine started as such. Allen keys are hardened steel, don’t forget to anneal them before shaping them, hexagonal, great for directional grip. Lastly they come in a range of sizes that can be pressed into service with ease. Keep in touch, be fantastic to share your journey.
Thank you for your post on repoussed hollow rings. It’s a good reminder to get going in that direction again!
Good oh Patricia, look forward to seeing how you get along with it. Thank you for responding, keep in touch.
Great stuff Stuart. These rings show again what an amazing talent you have got. The amount of skill that goes into that can only appreciated by silversmiths and jewellers. Increcible. Well done, keep going mate.
And that’s the circle that I have now accepted I cannot square. In the shadow of superior design and faster/mass produced items, I now better understand talent. I respectfully say I have very little. Technical ability perhaps, nowhere near as useful/relevant as it once was. I feel I am the right person, alas in the wrong time. Very many thanks for your support. 😉
I love your Moon ring. Excellent step-by-step instructions and so many useful tips. And thanks to Patricia for the information on the red pitch, (I had given up doing repousse and chasing because of that dreaded black pitch). Thank you Stu – great work, great post!
Thank you for that. I hope you enjoy part 2