Sterling silver moon ring how to with home made tools. Part 2

DSCF3473

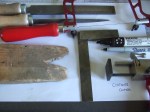
This is the nylon hammer I used. Wood or leather would have worked. 15mm doming punch used to refine after the doming block stage.

DSCF3441

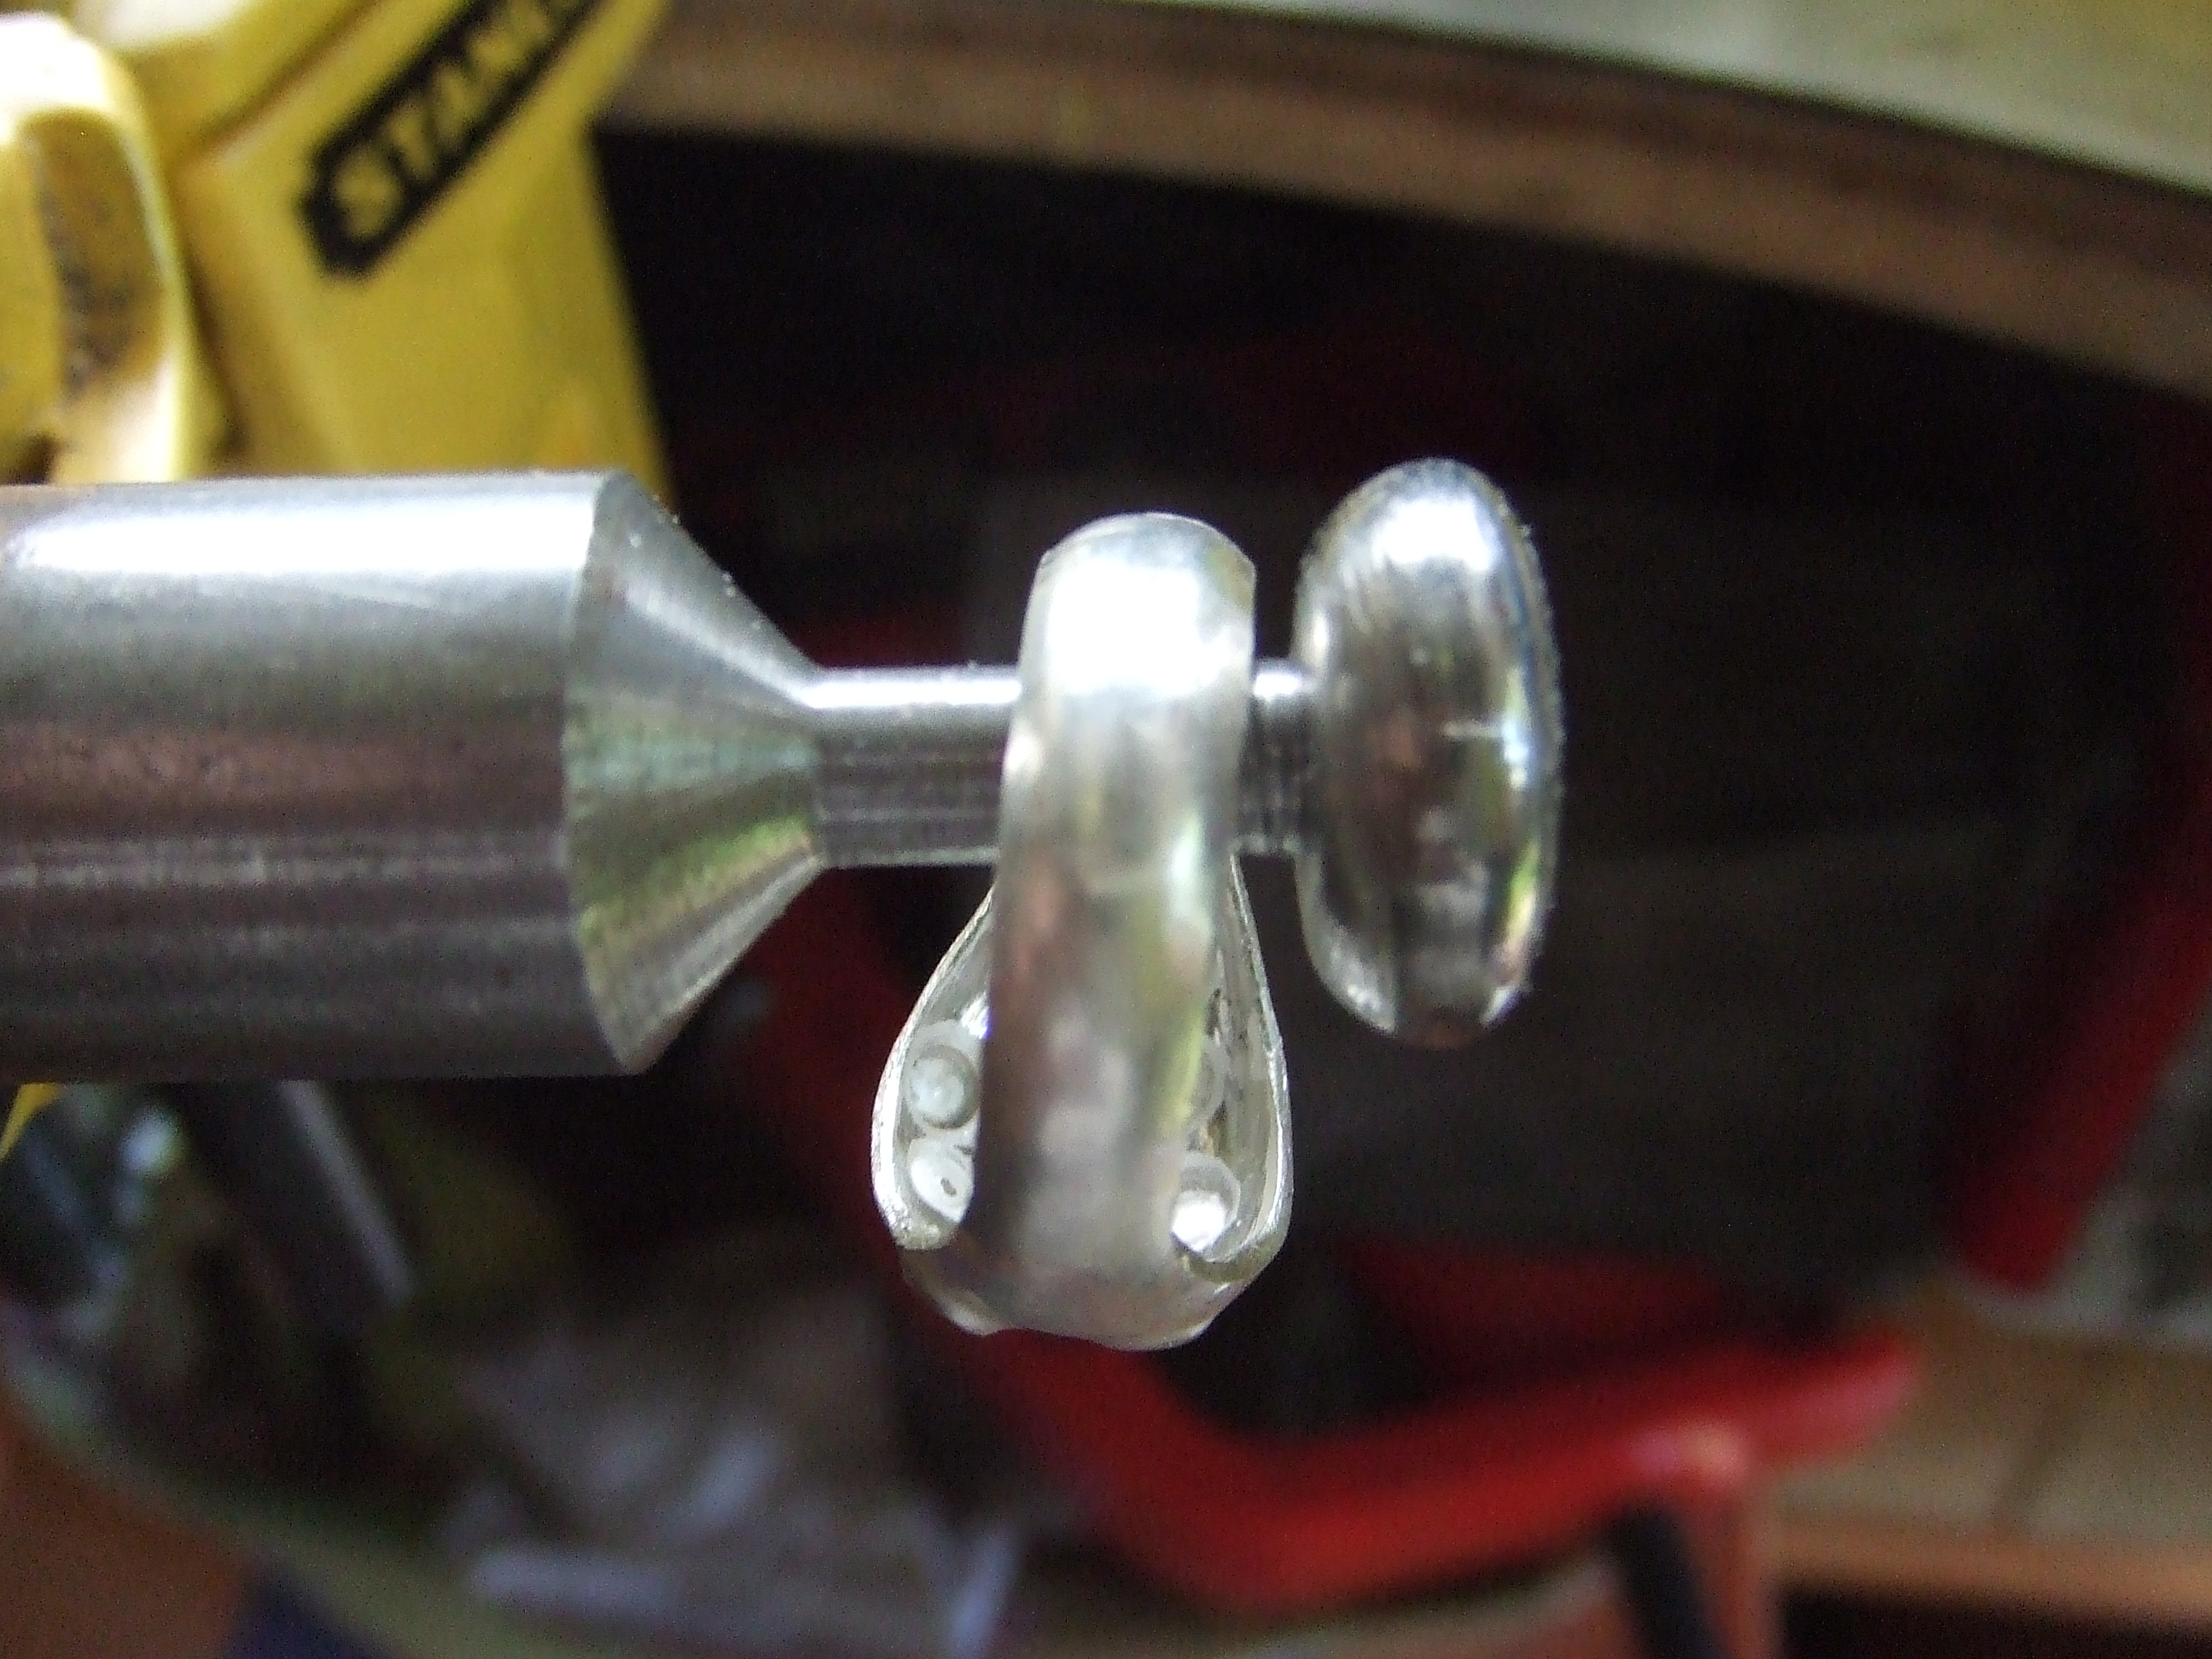
Bolts used for forming, I used all three. Study the photographs, you can see the increased angles; the middle one first, the one in the foreground second, lastly the one on the right that I made in the metal lathe.

DSCF3479

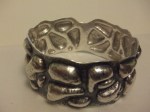
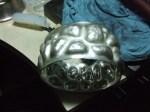
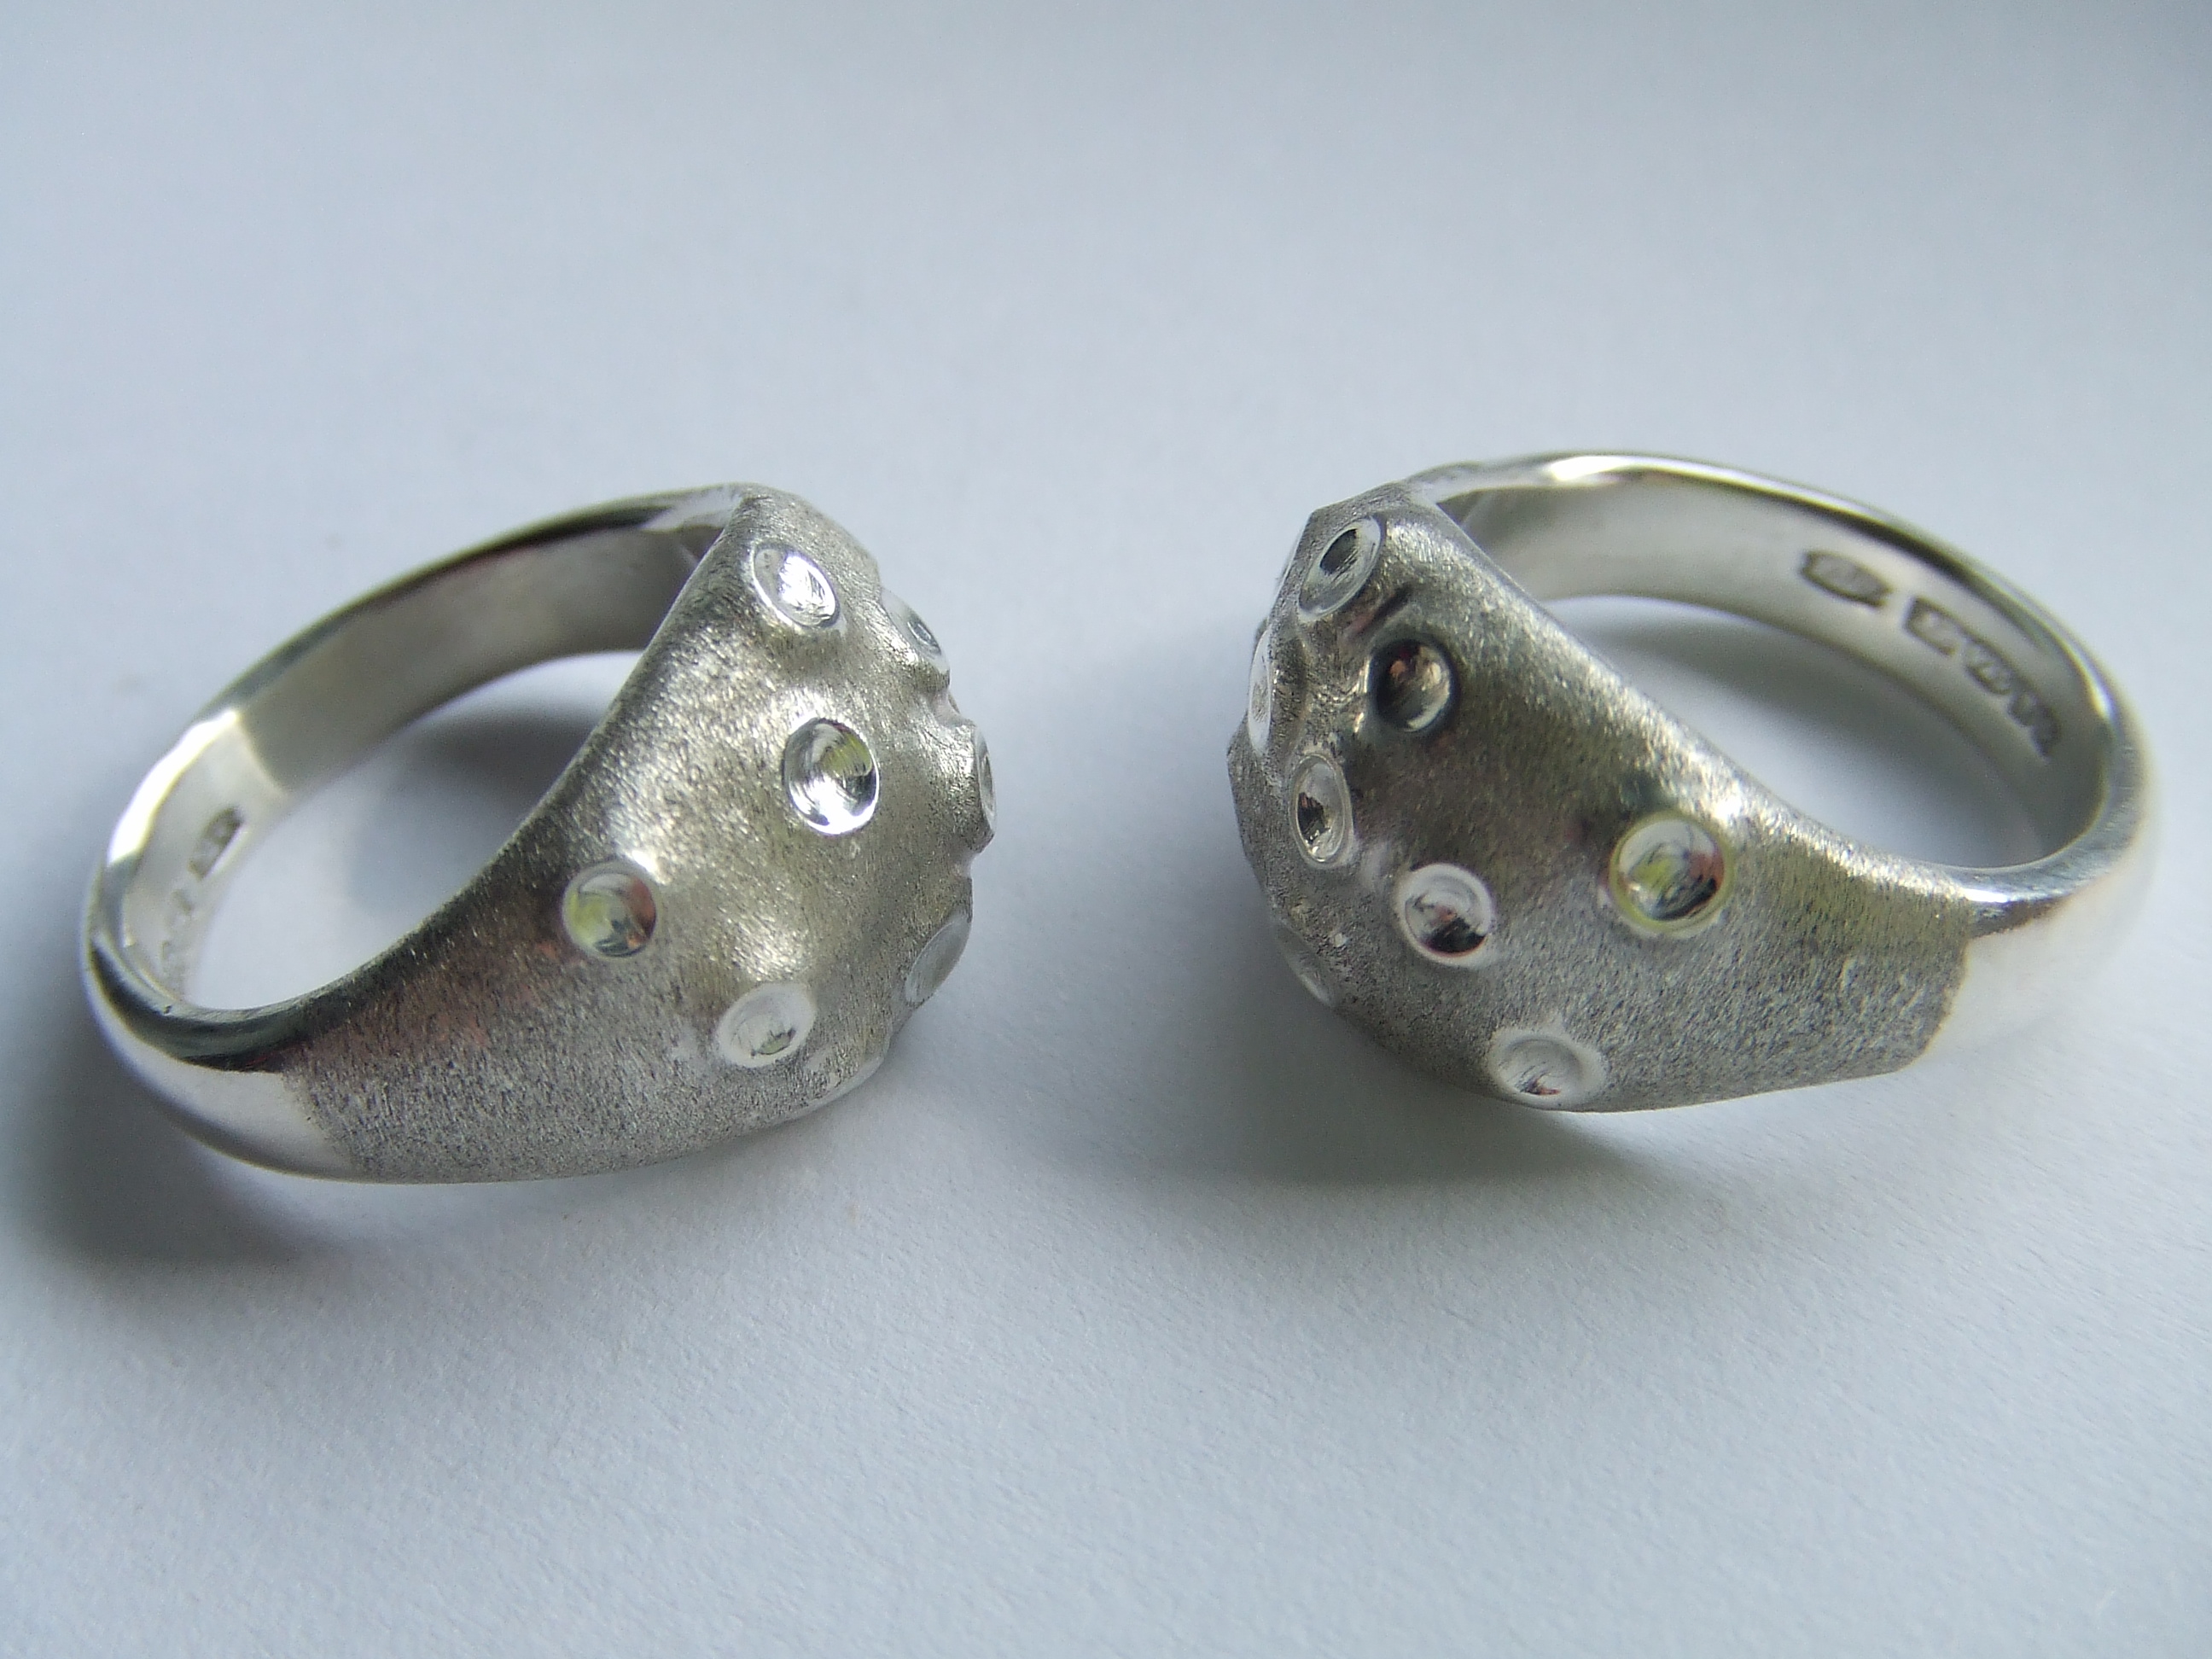
Test fitting with line drawn in the middle as a guide for forming with the nylon hammer and the modified bolt stakes. I refined the design as I went along. The final version was more rounded, I also cut away the bulky shank. Compare this to the completed ring.

DSCF3480

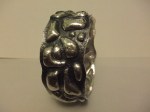
Final rounding of the shank.

DSCF3481

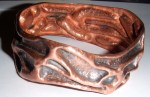
I made this asymmetrical to give me a choice of profiles.

DSCF3486

Small hole drilled in shank to let gasses escape when soldering. I have never used easy solder before, I will in future. Use plenty of it.

DSCF3488

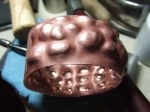
I’m not sure I fully recommend it; look at the top of the picture. The marks are left by the placing of the pallions of solder. I would normally turn the ring over and re apply solder to the other side. In this instance the solder ran clean to the other side, fully sealing the piece without additional soldering.

DSCF3490

Sawing off the unwanted parts of the shank.

DSCF3491

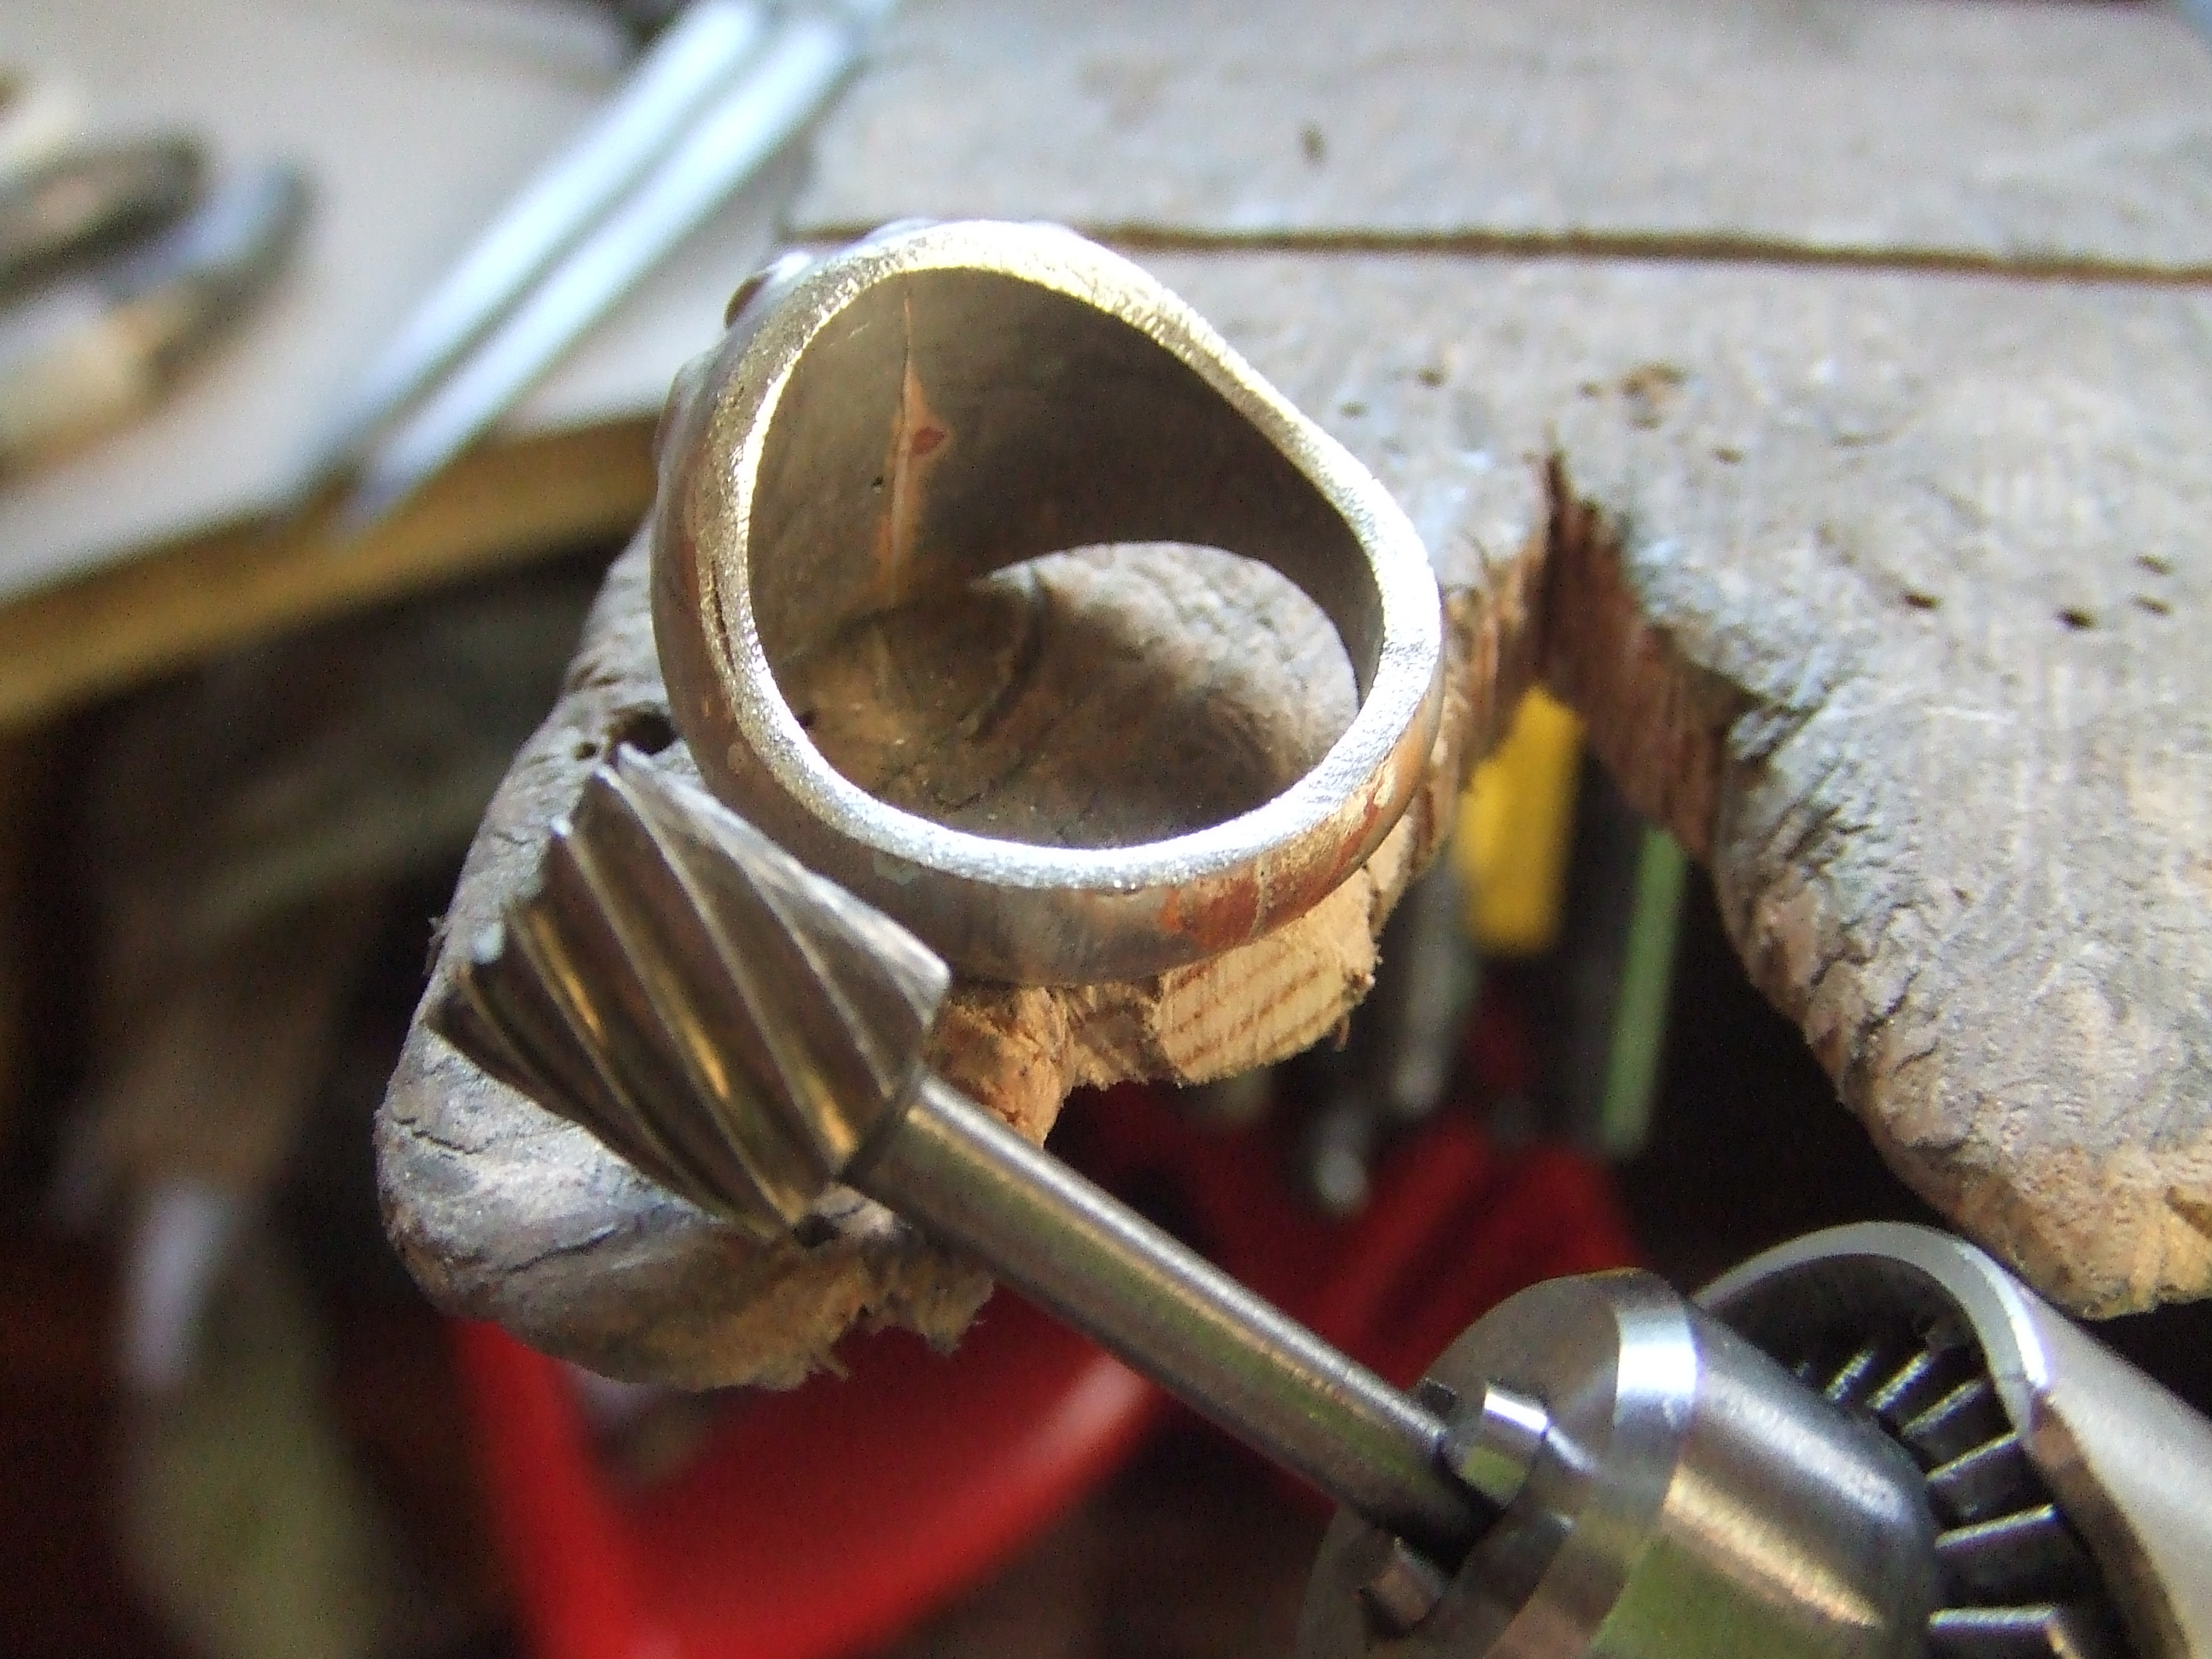
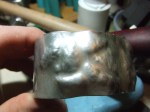
Savage beasty this, be careful, really fast though, saves lots of time roughing out. Notice I stopped just shy of being flush to the surrounding silver.

DSCF3492

Large half round file, almost but not quite nearly 😉

DSCF3493

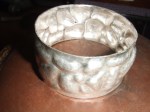
Last of the files, small half round needle file, now nicely blended, ready for final polishing.

DSCF3478

Close fitting solder joint as I cut through both sided at the same time, making sure they would fit the shank.

DSCF3495

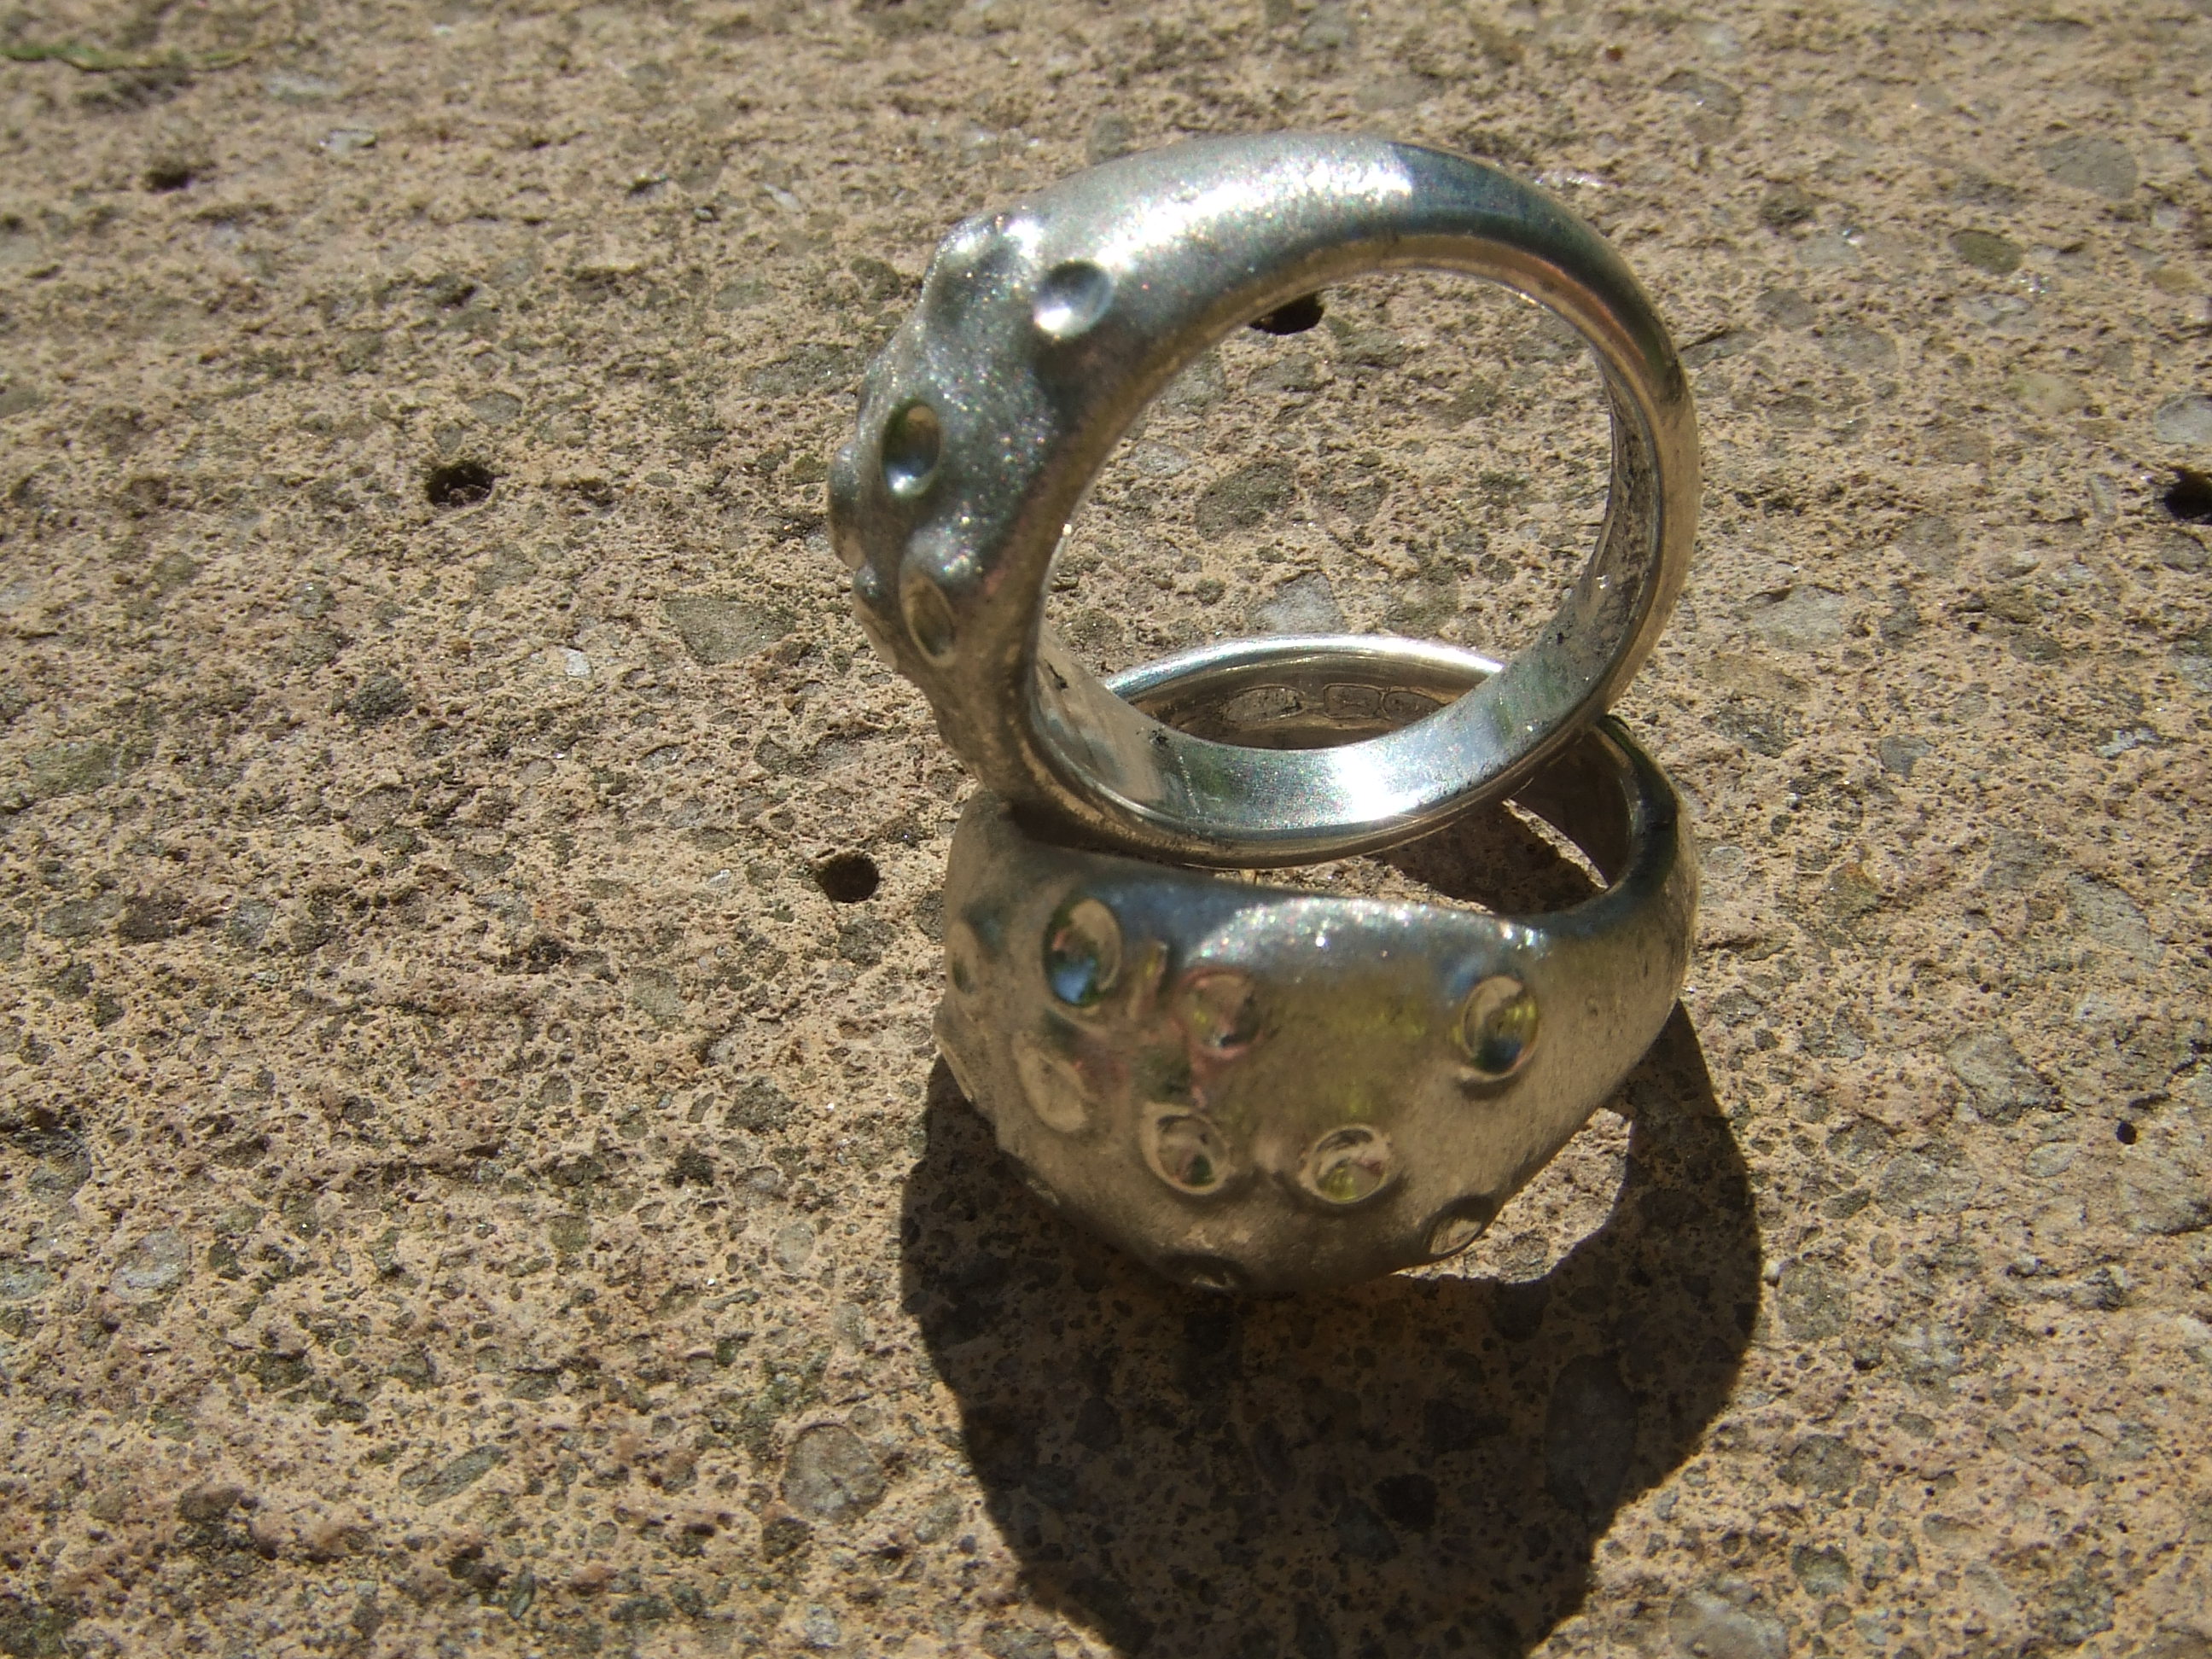
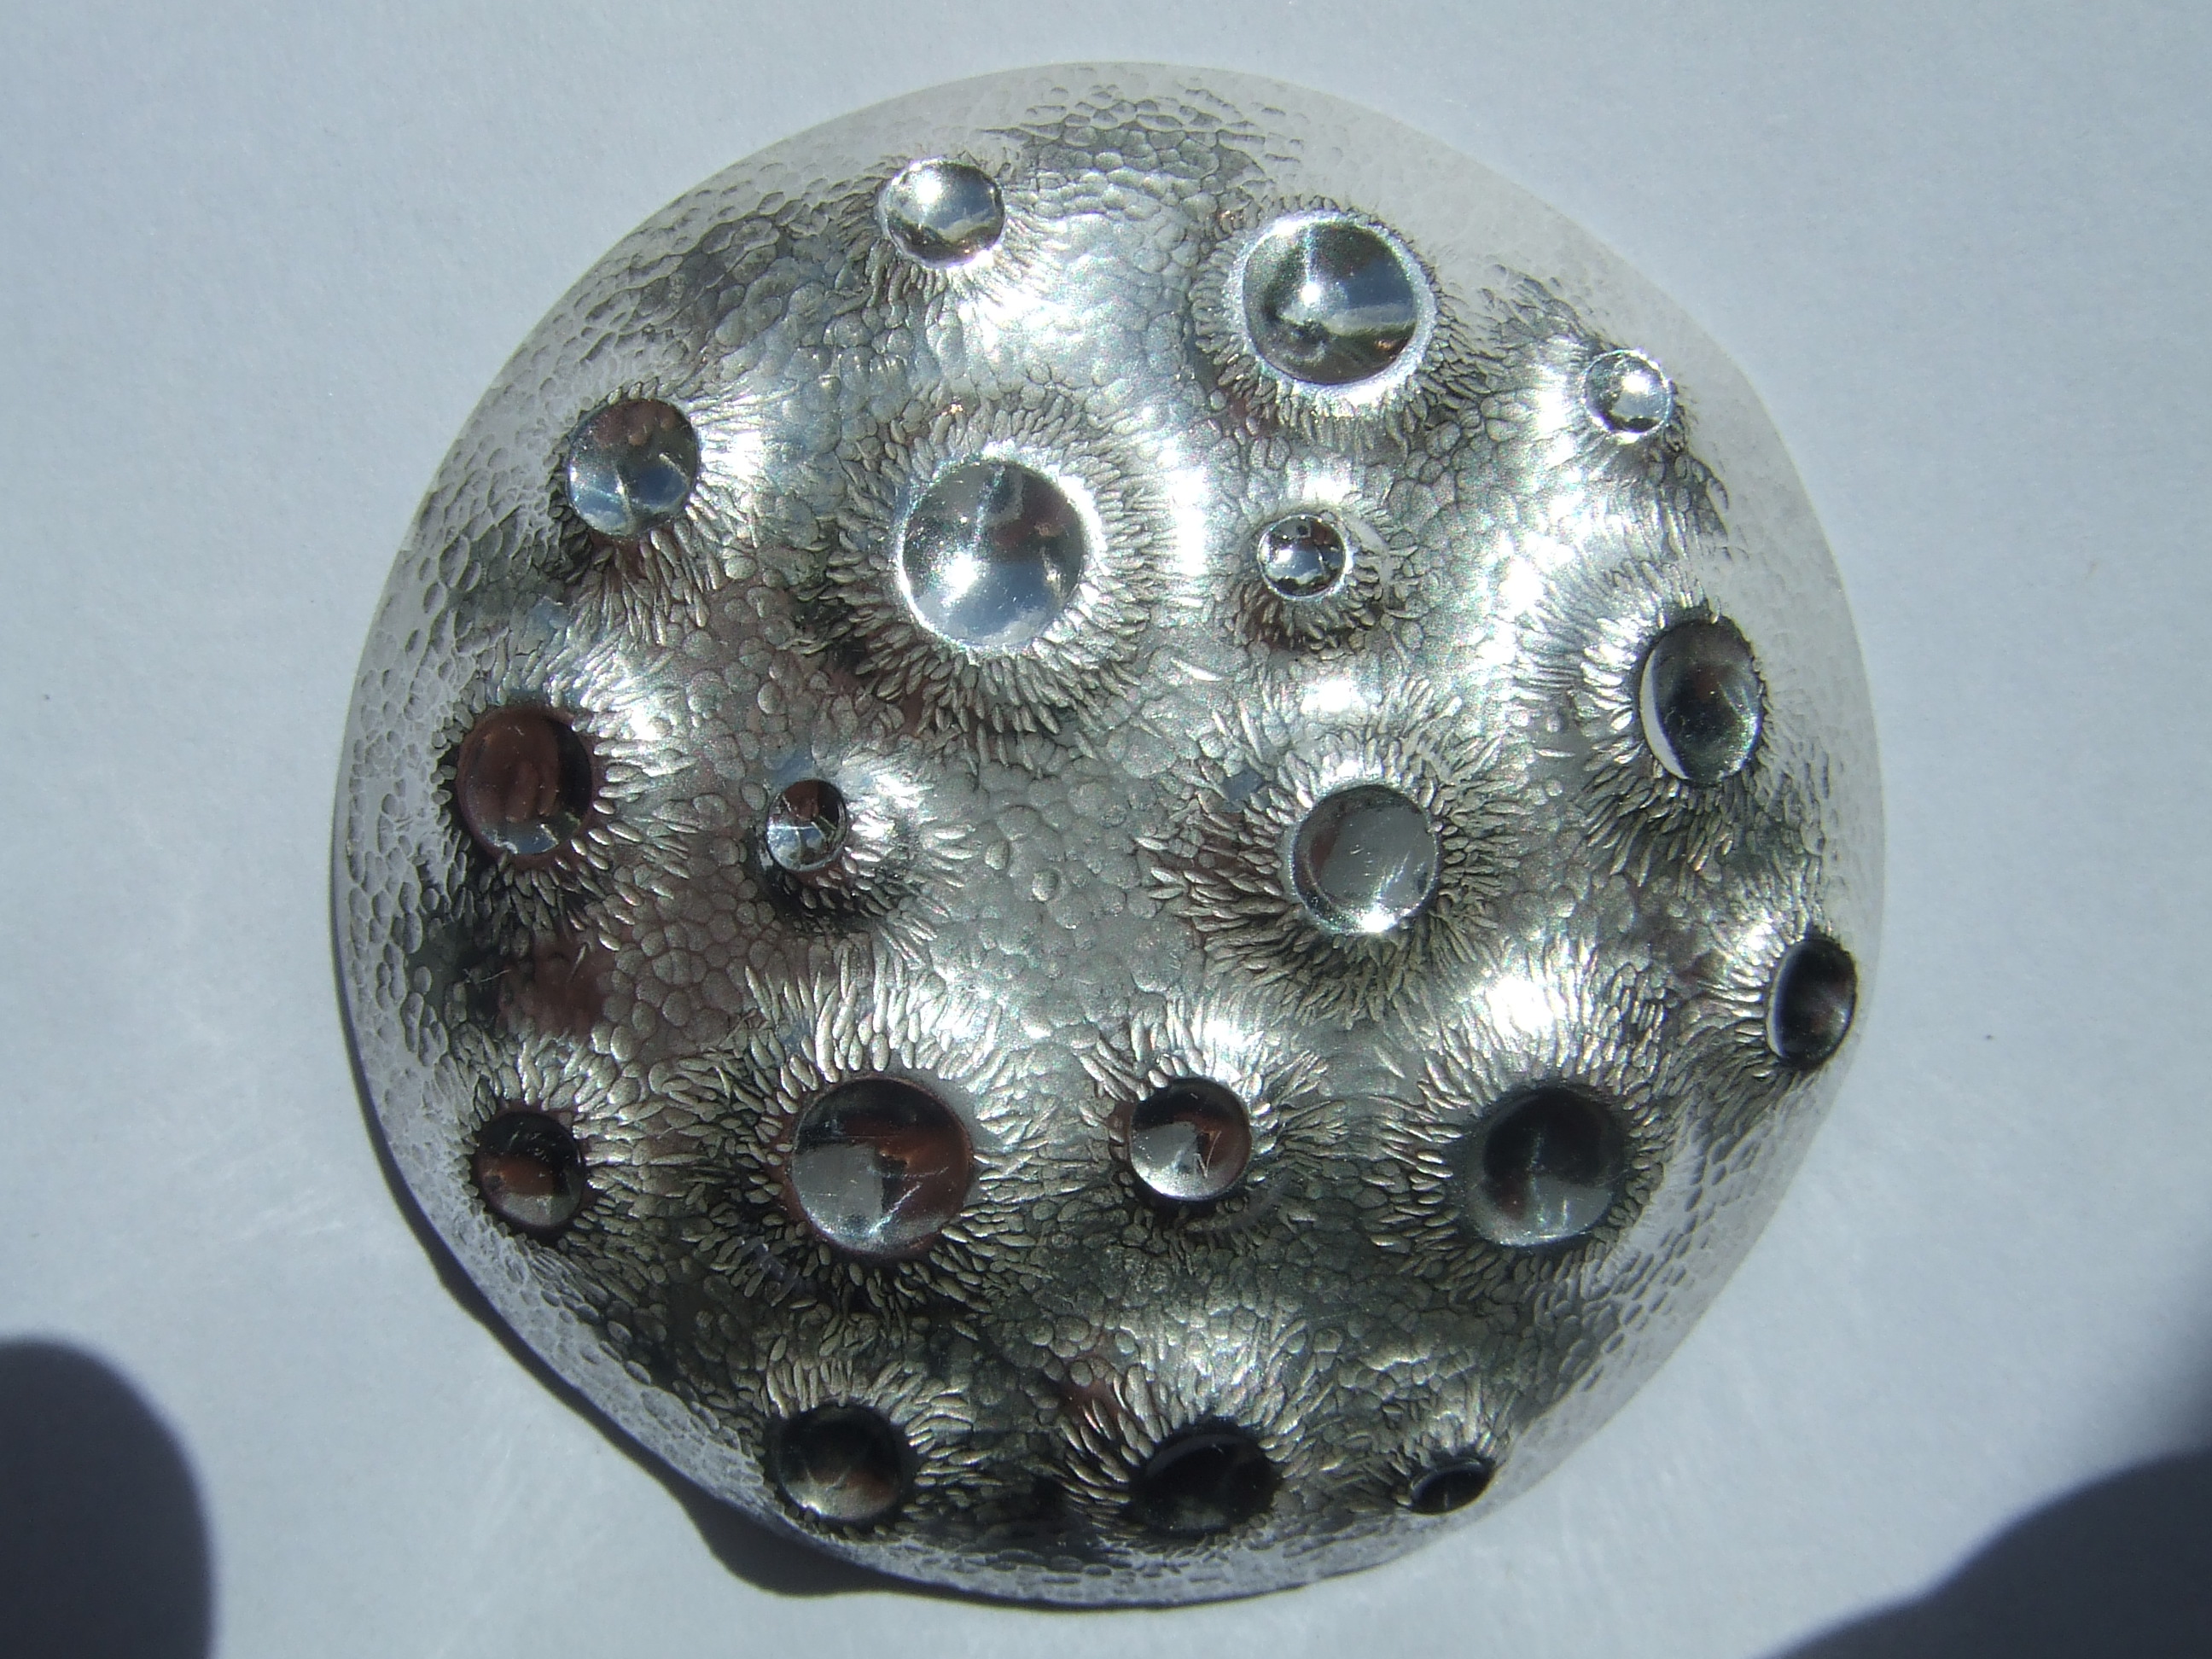
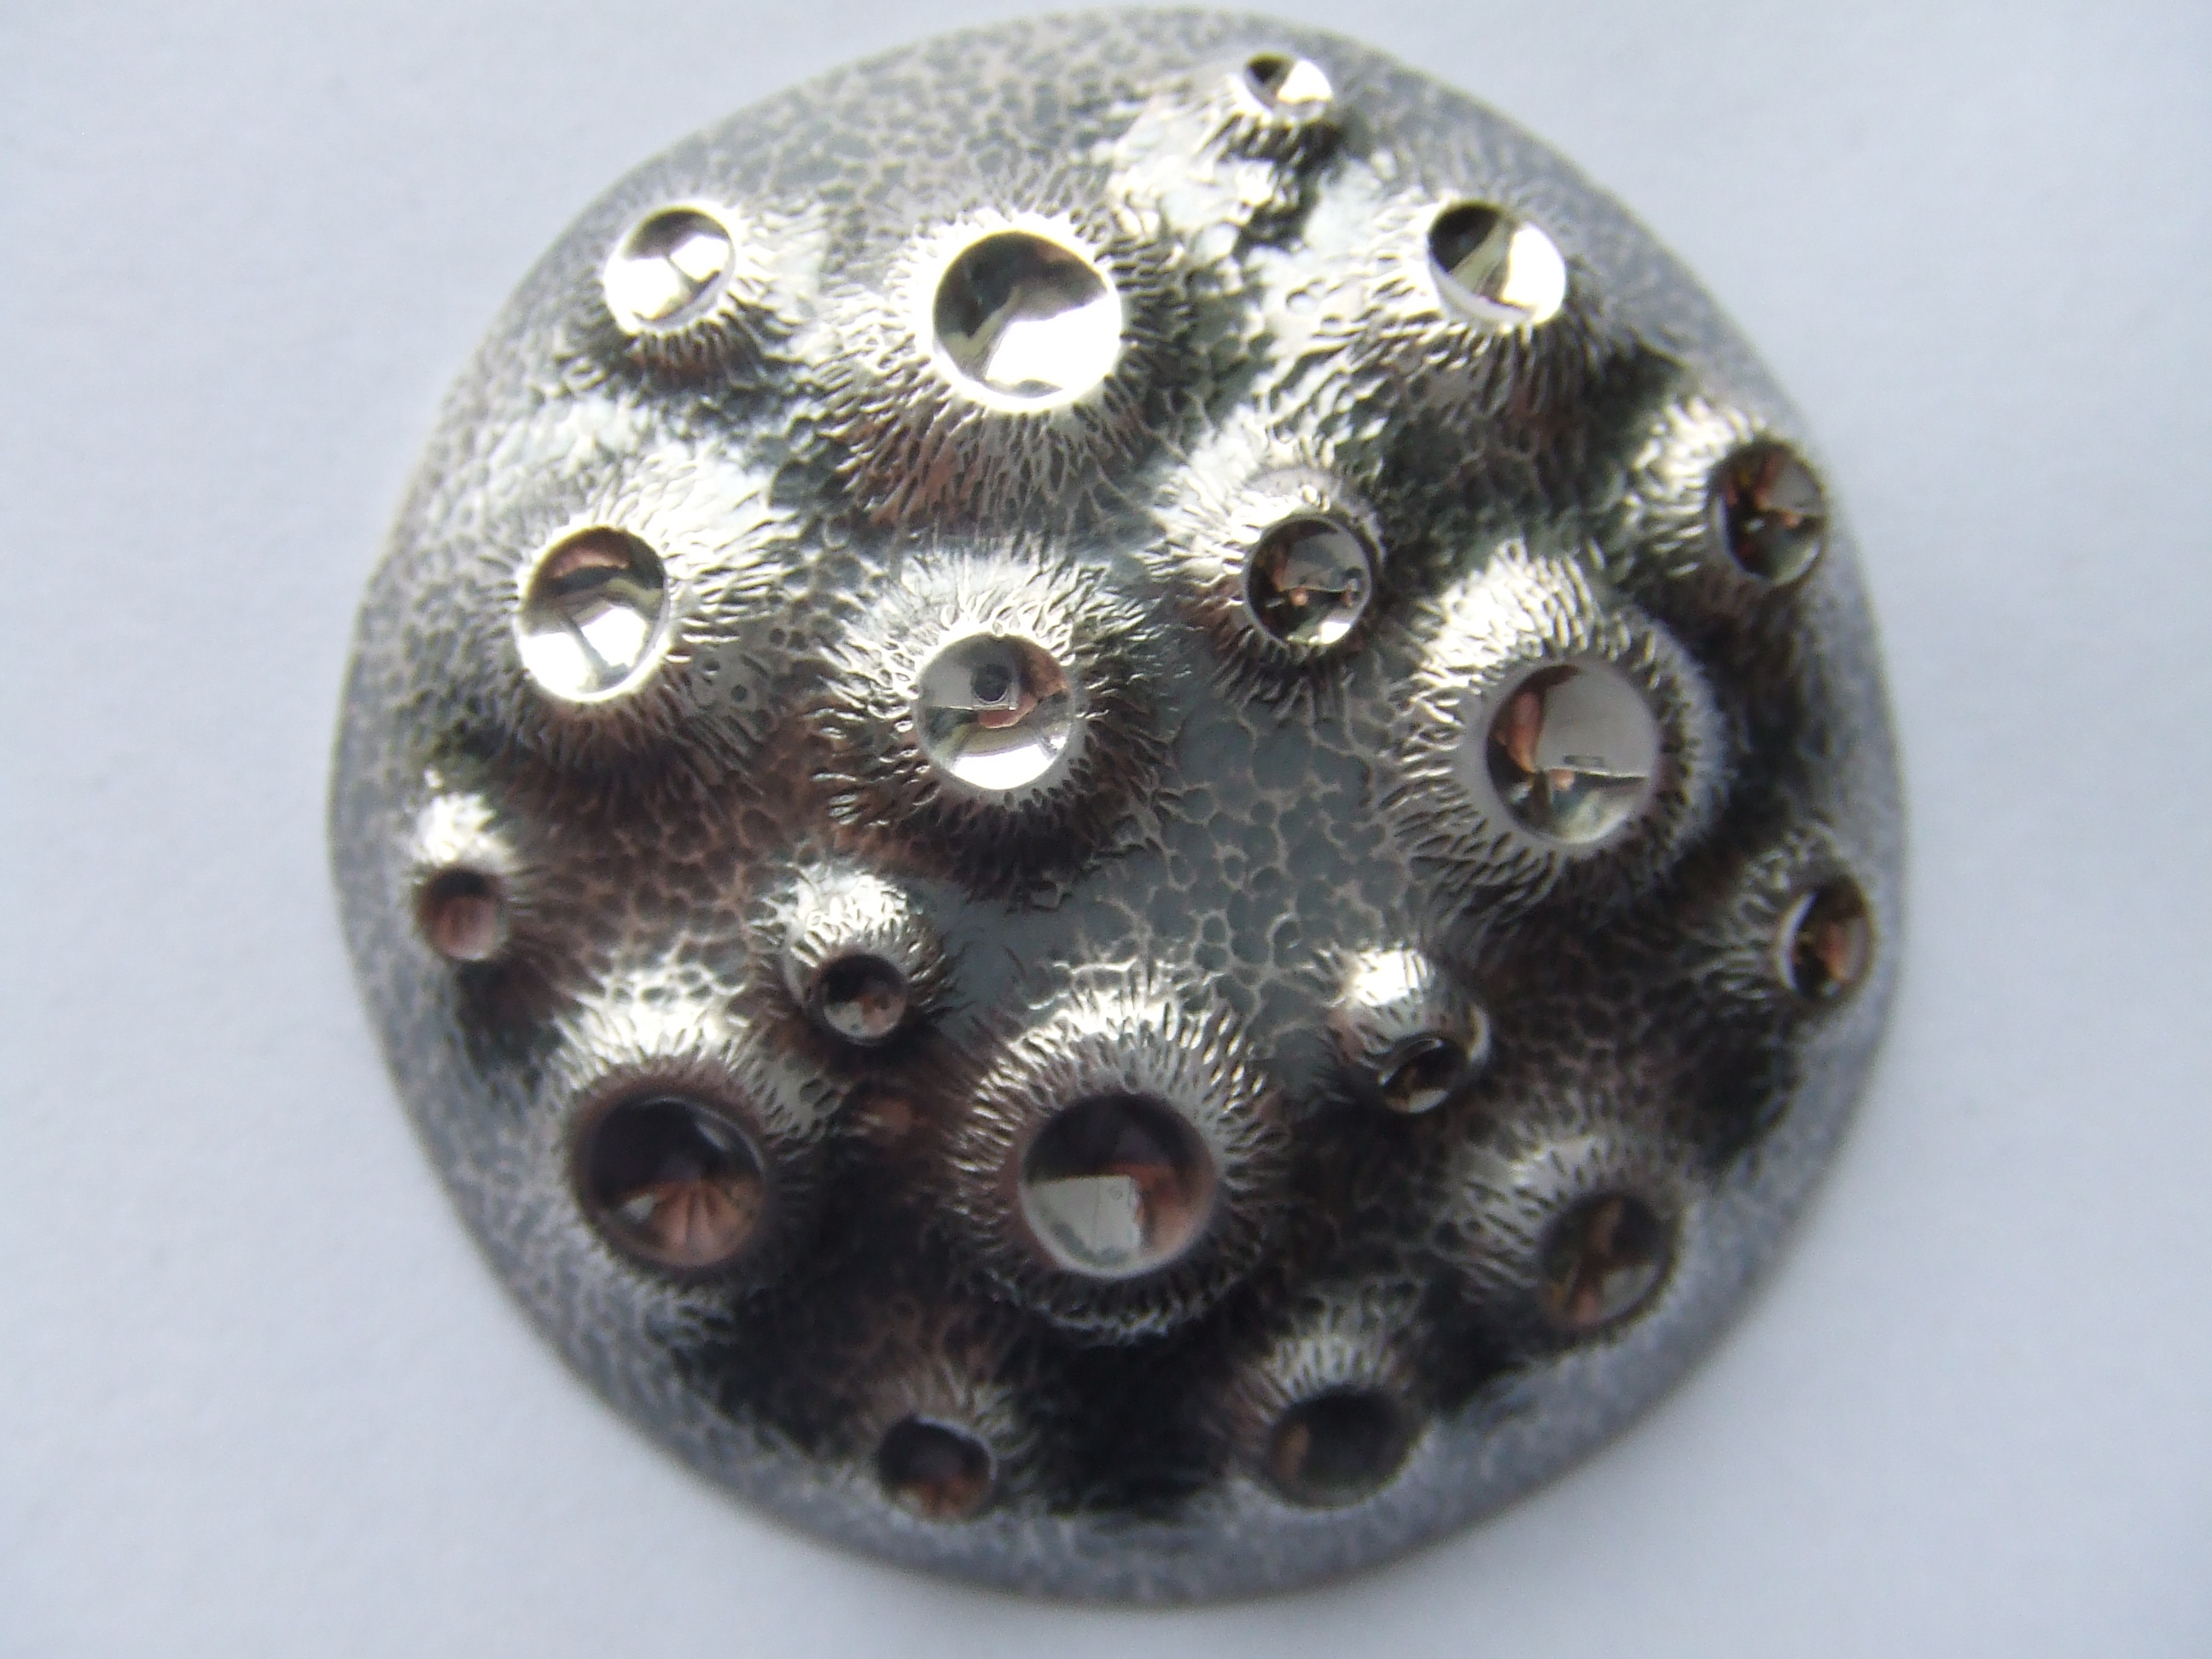
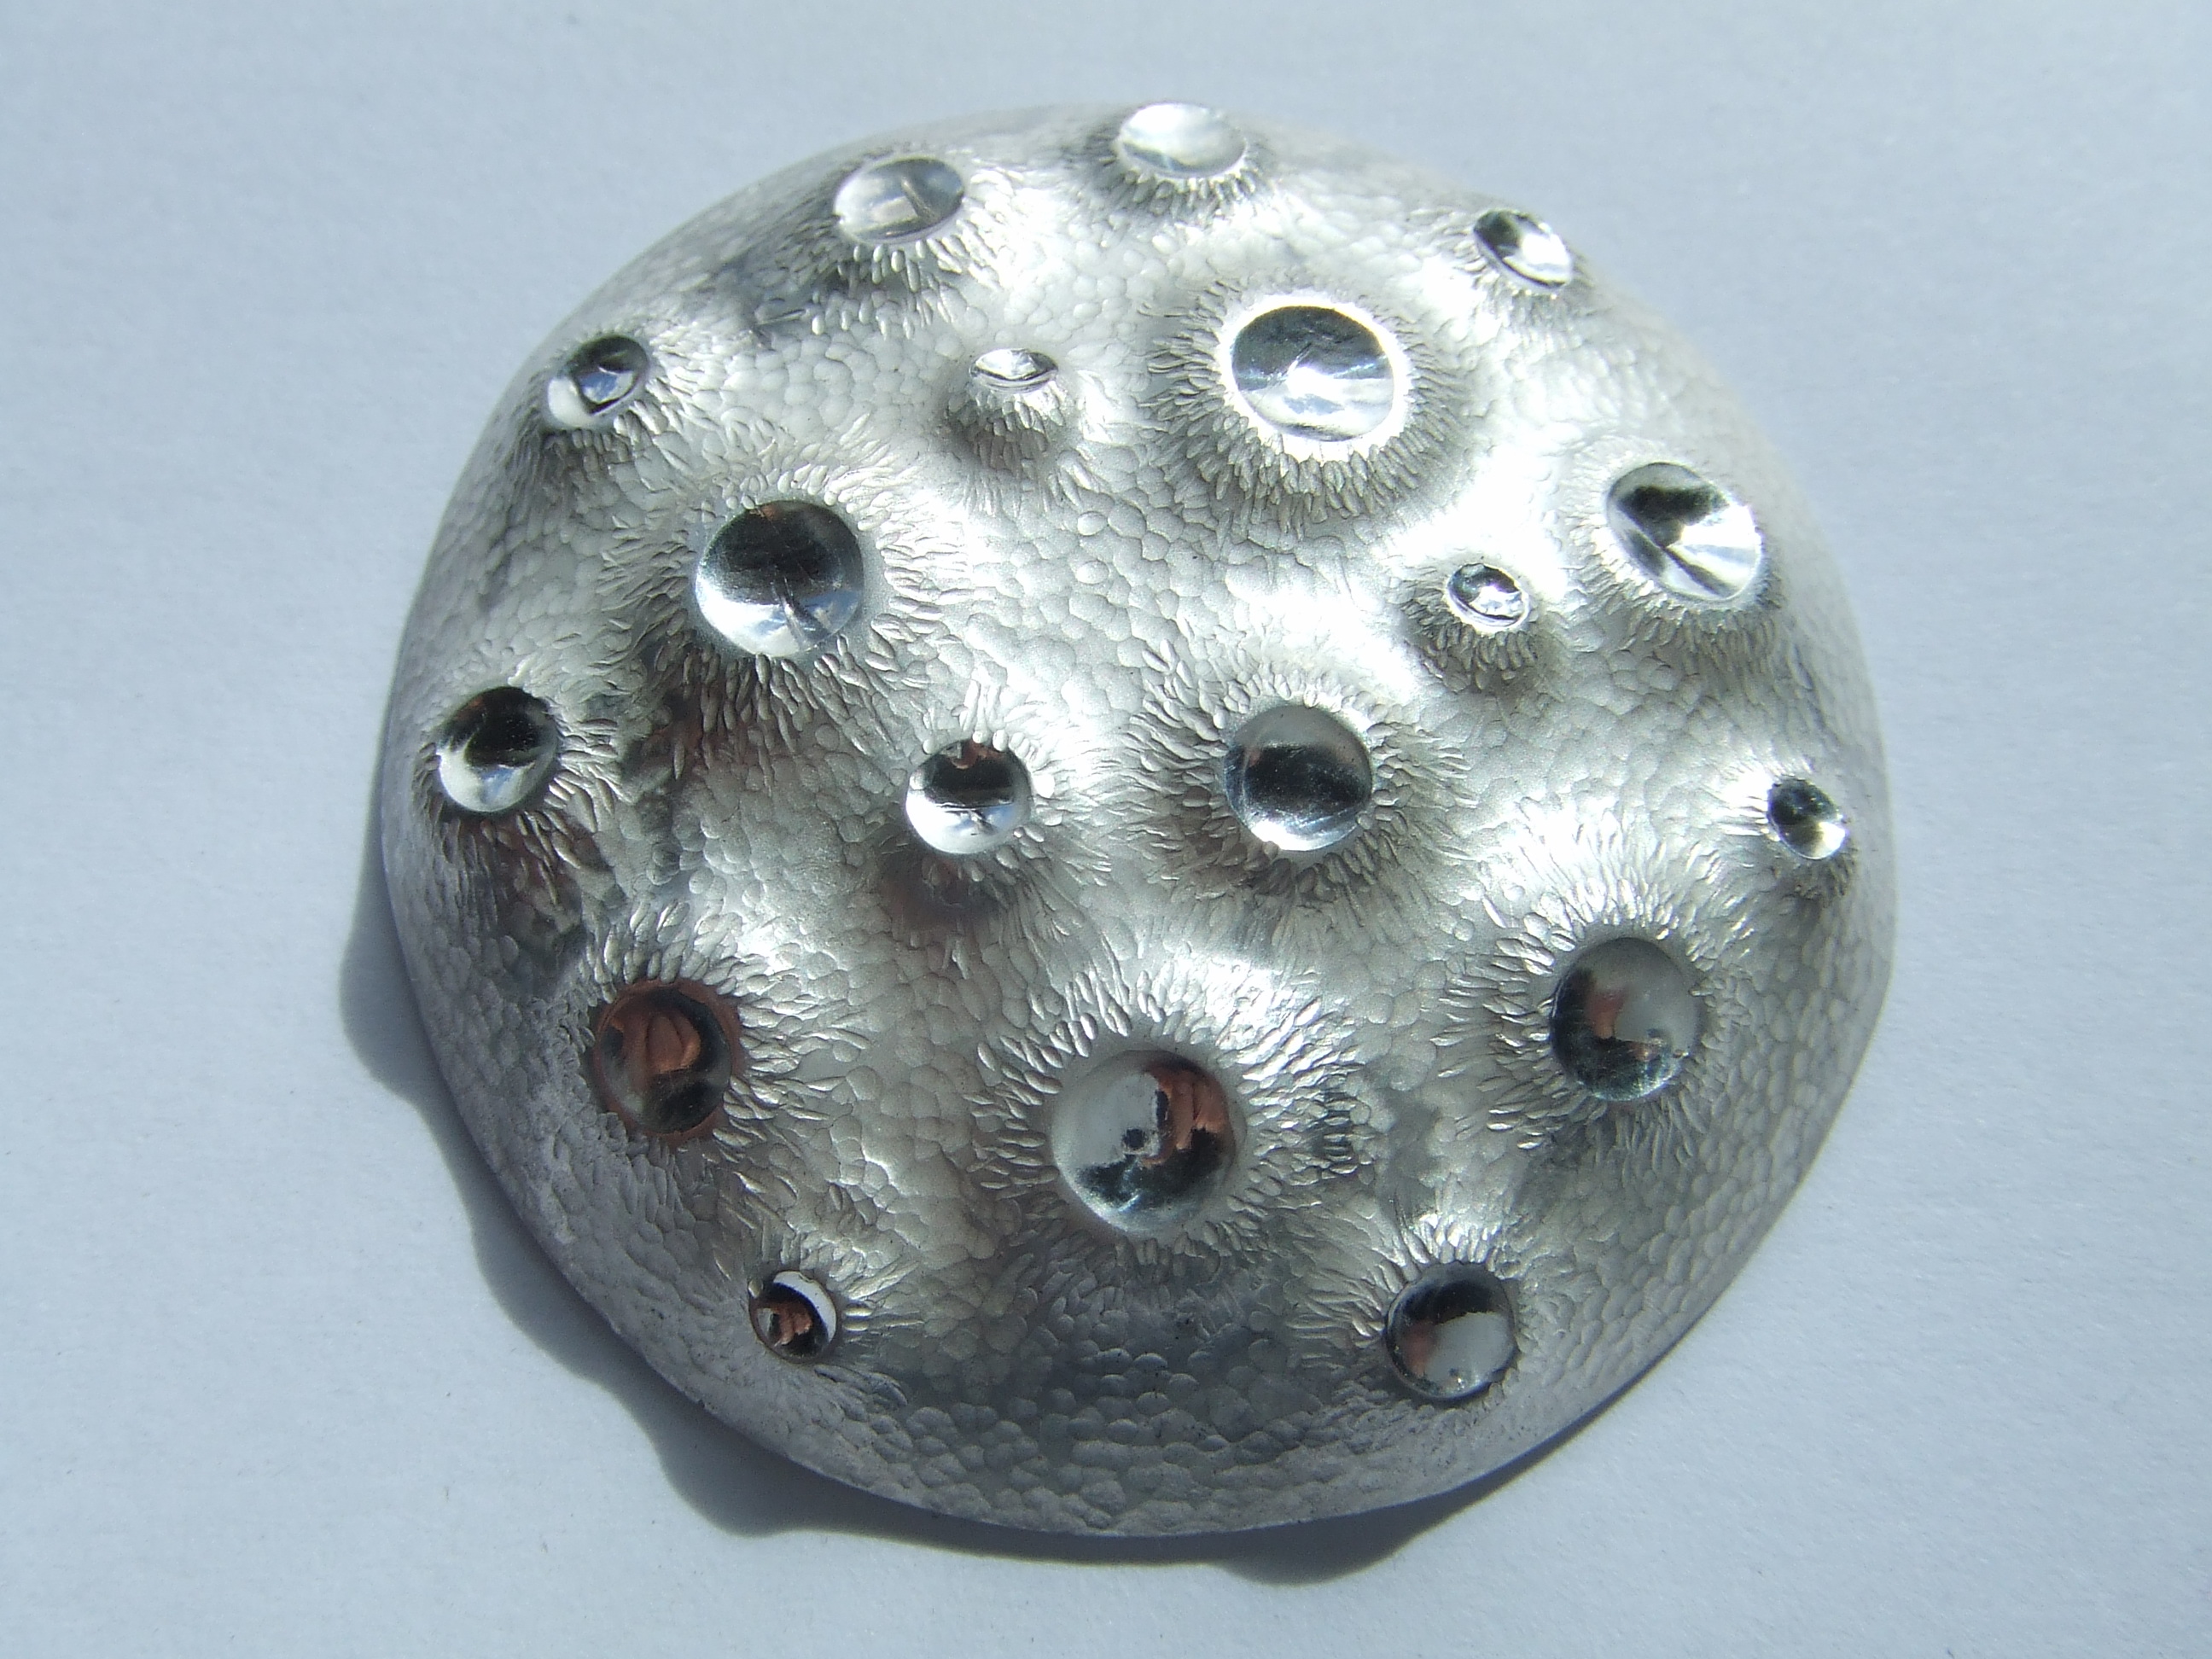
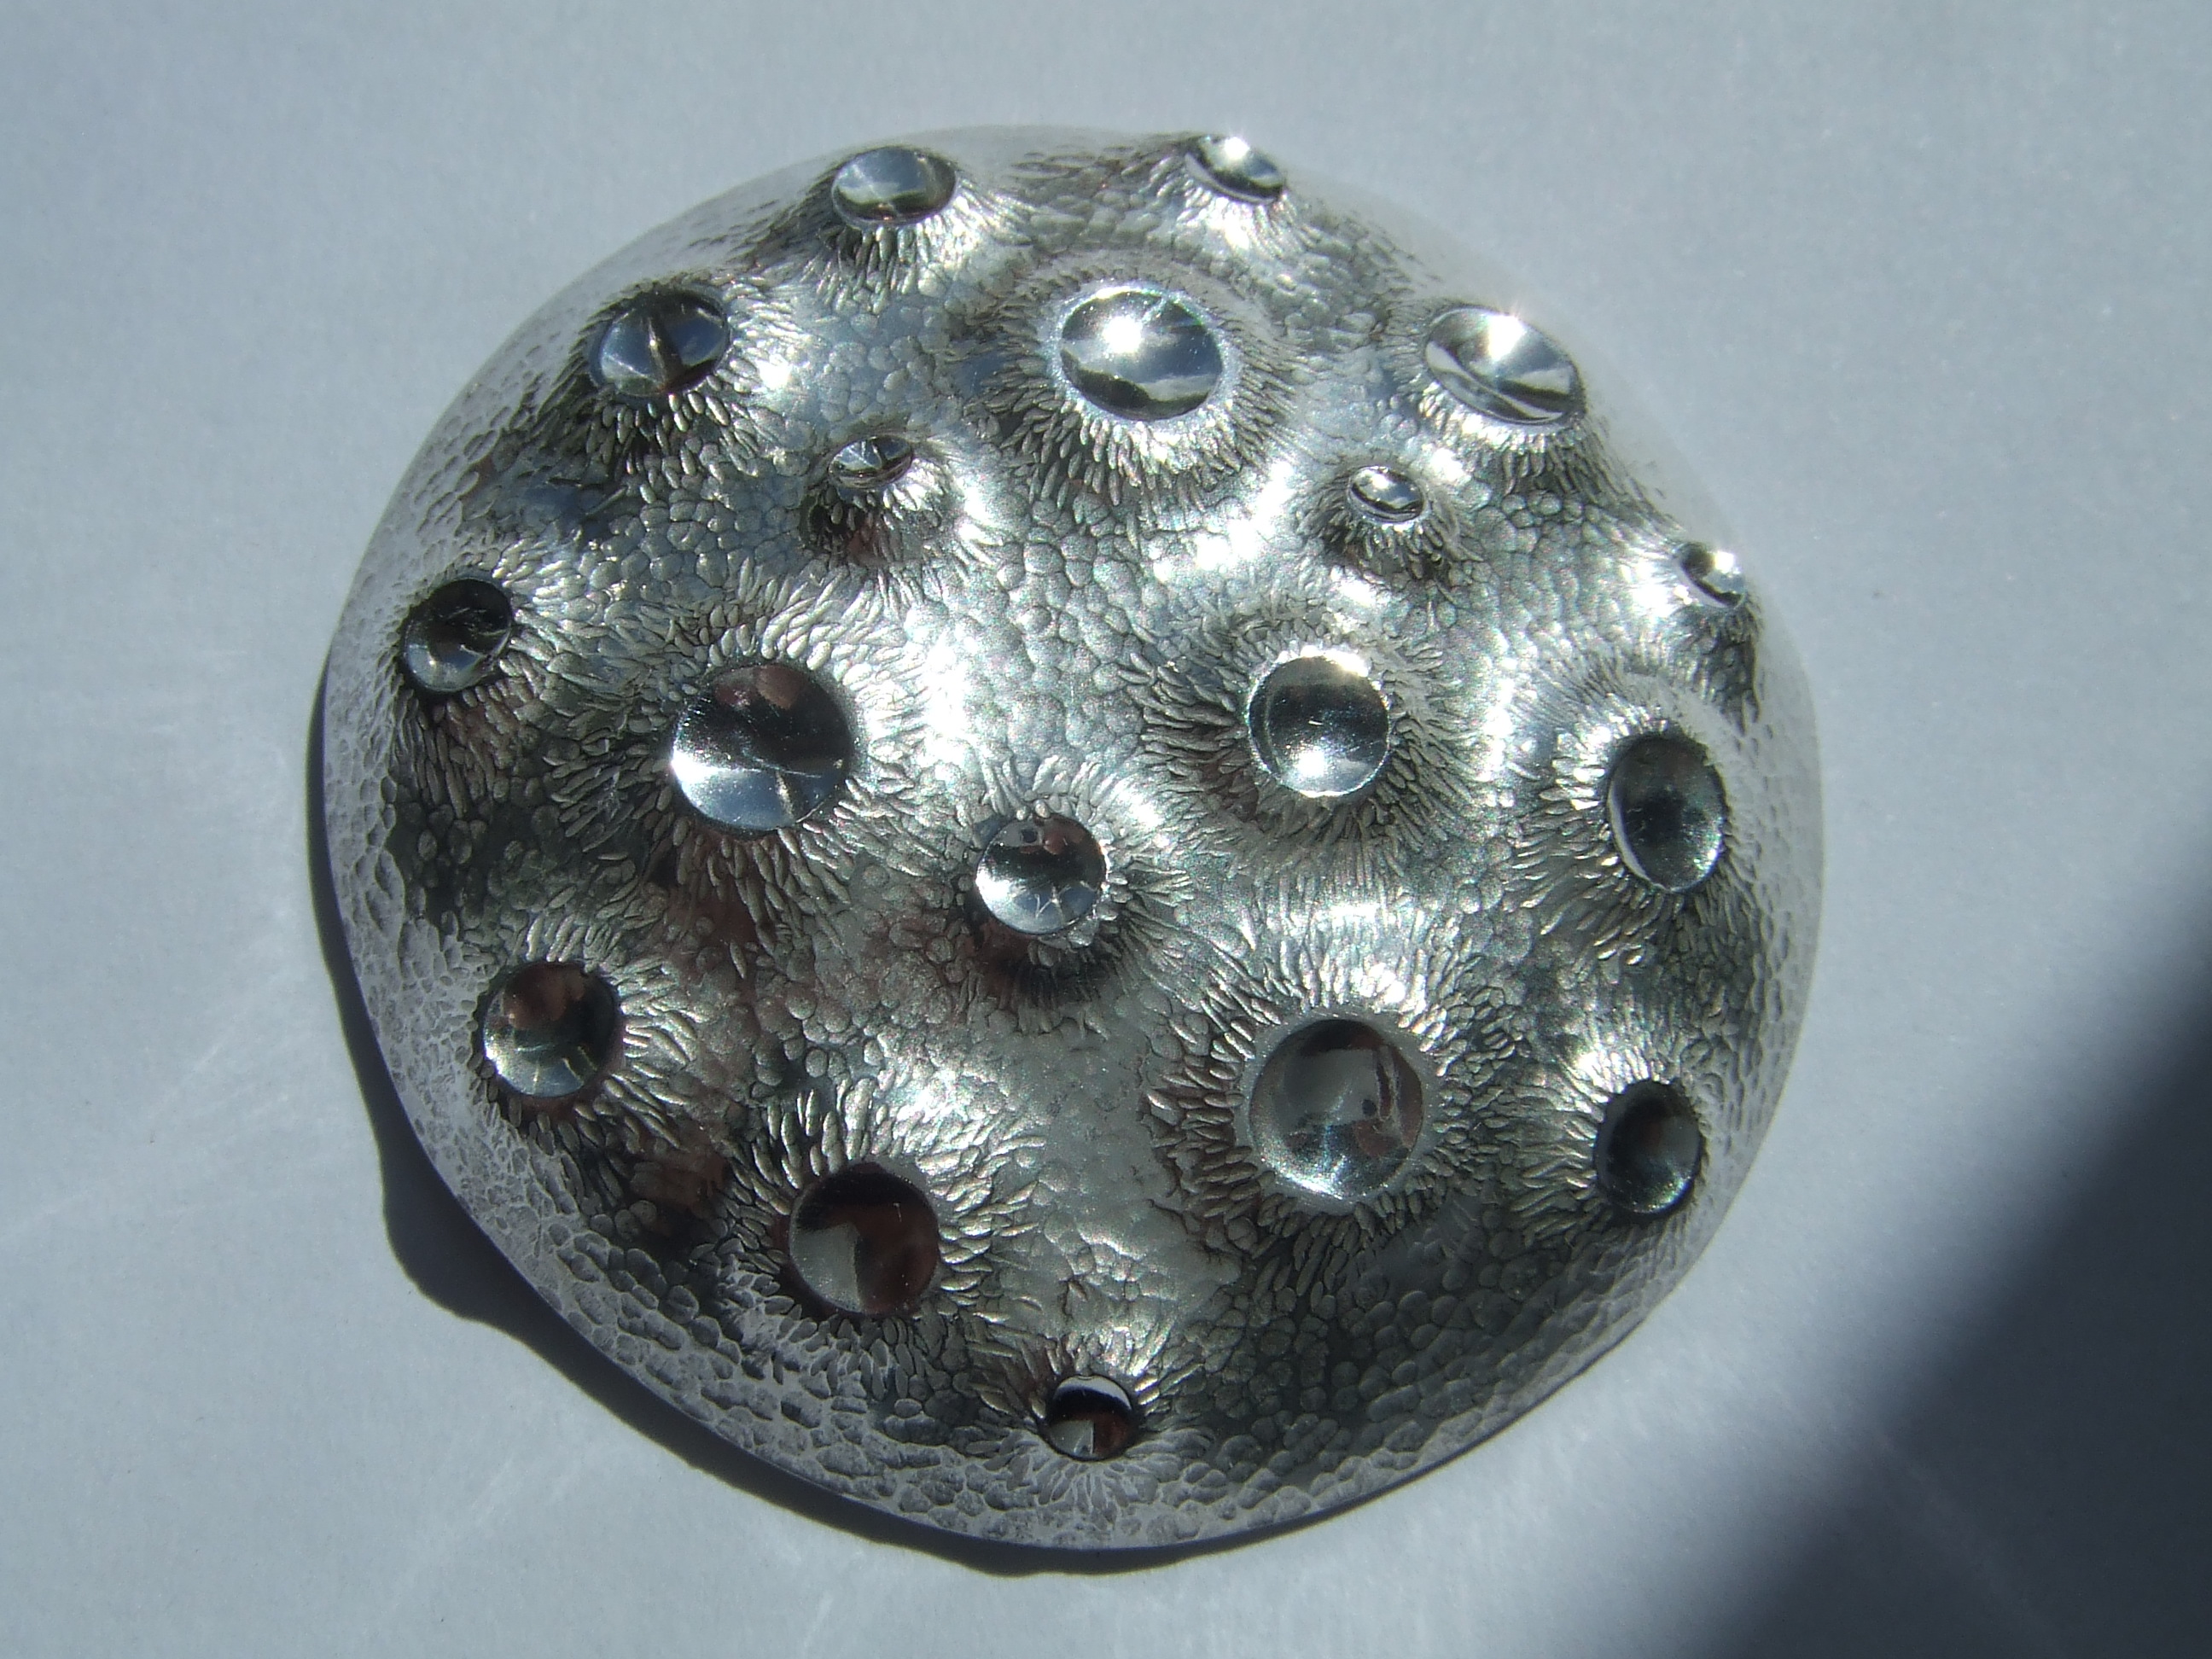
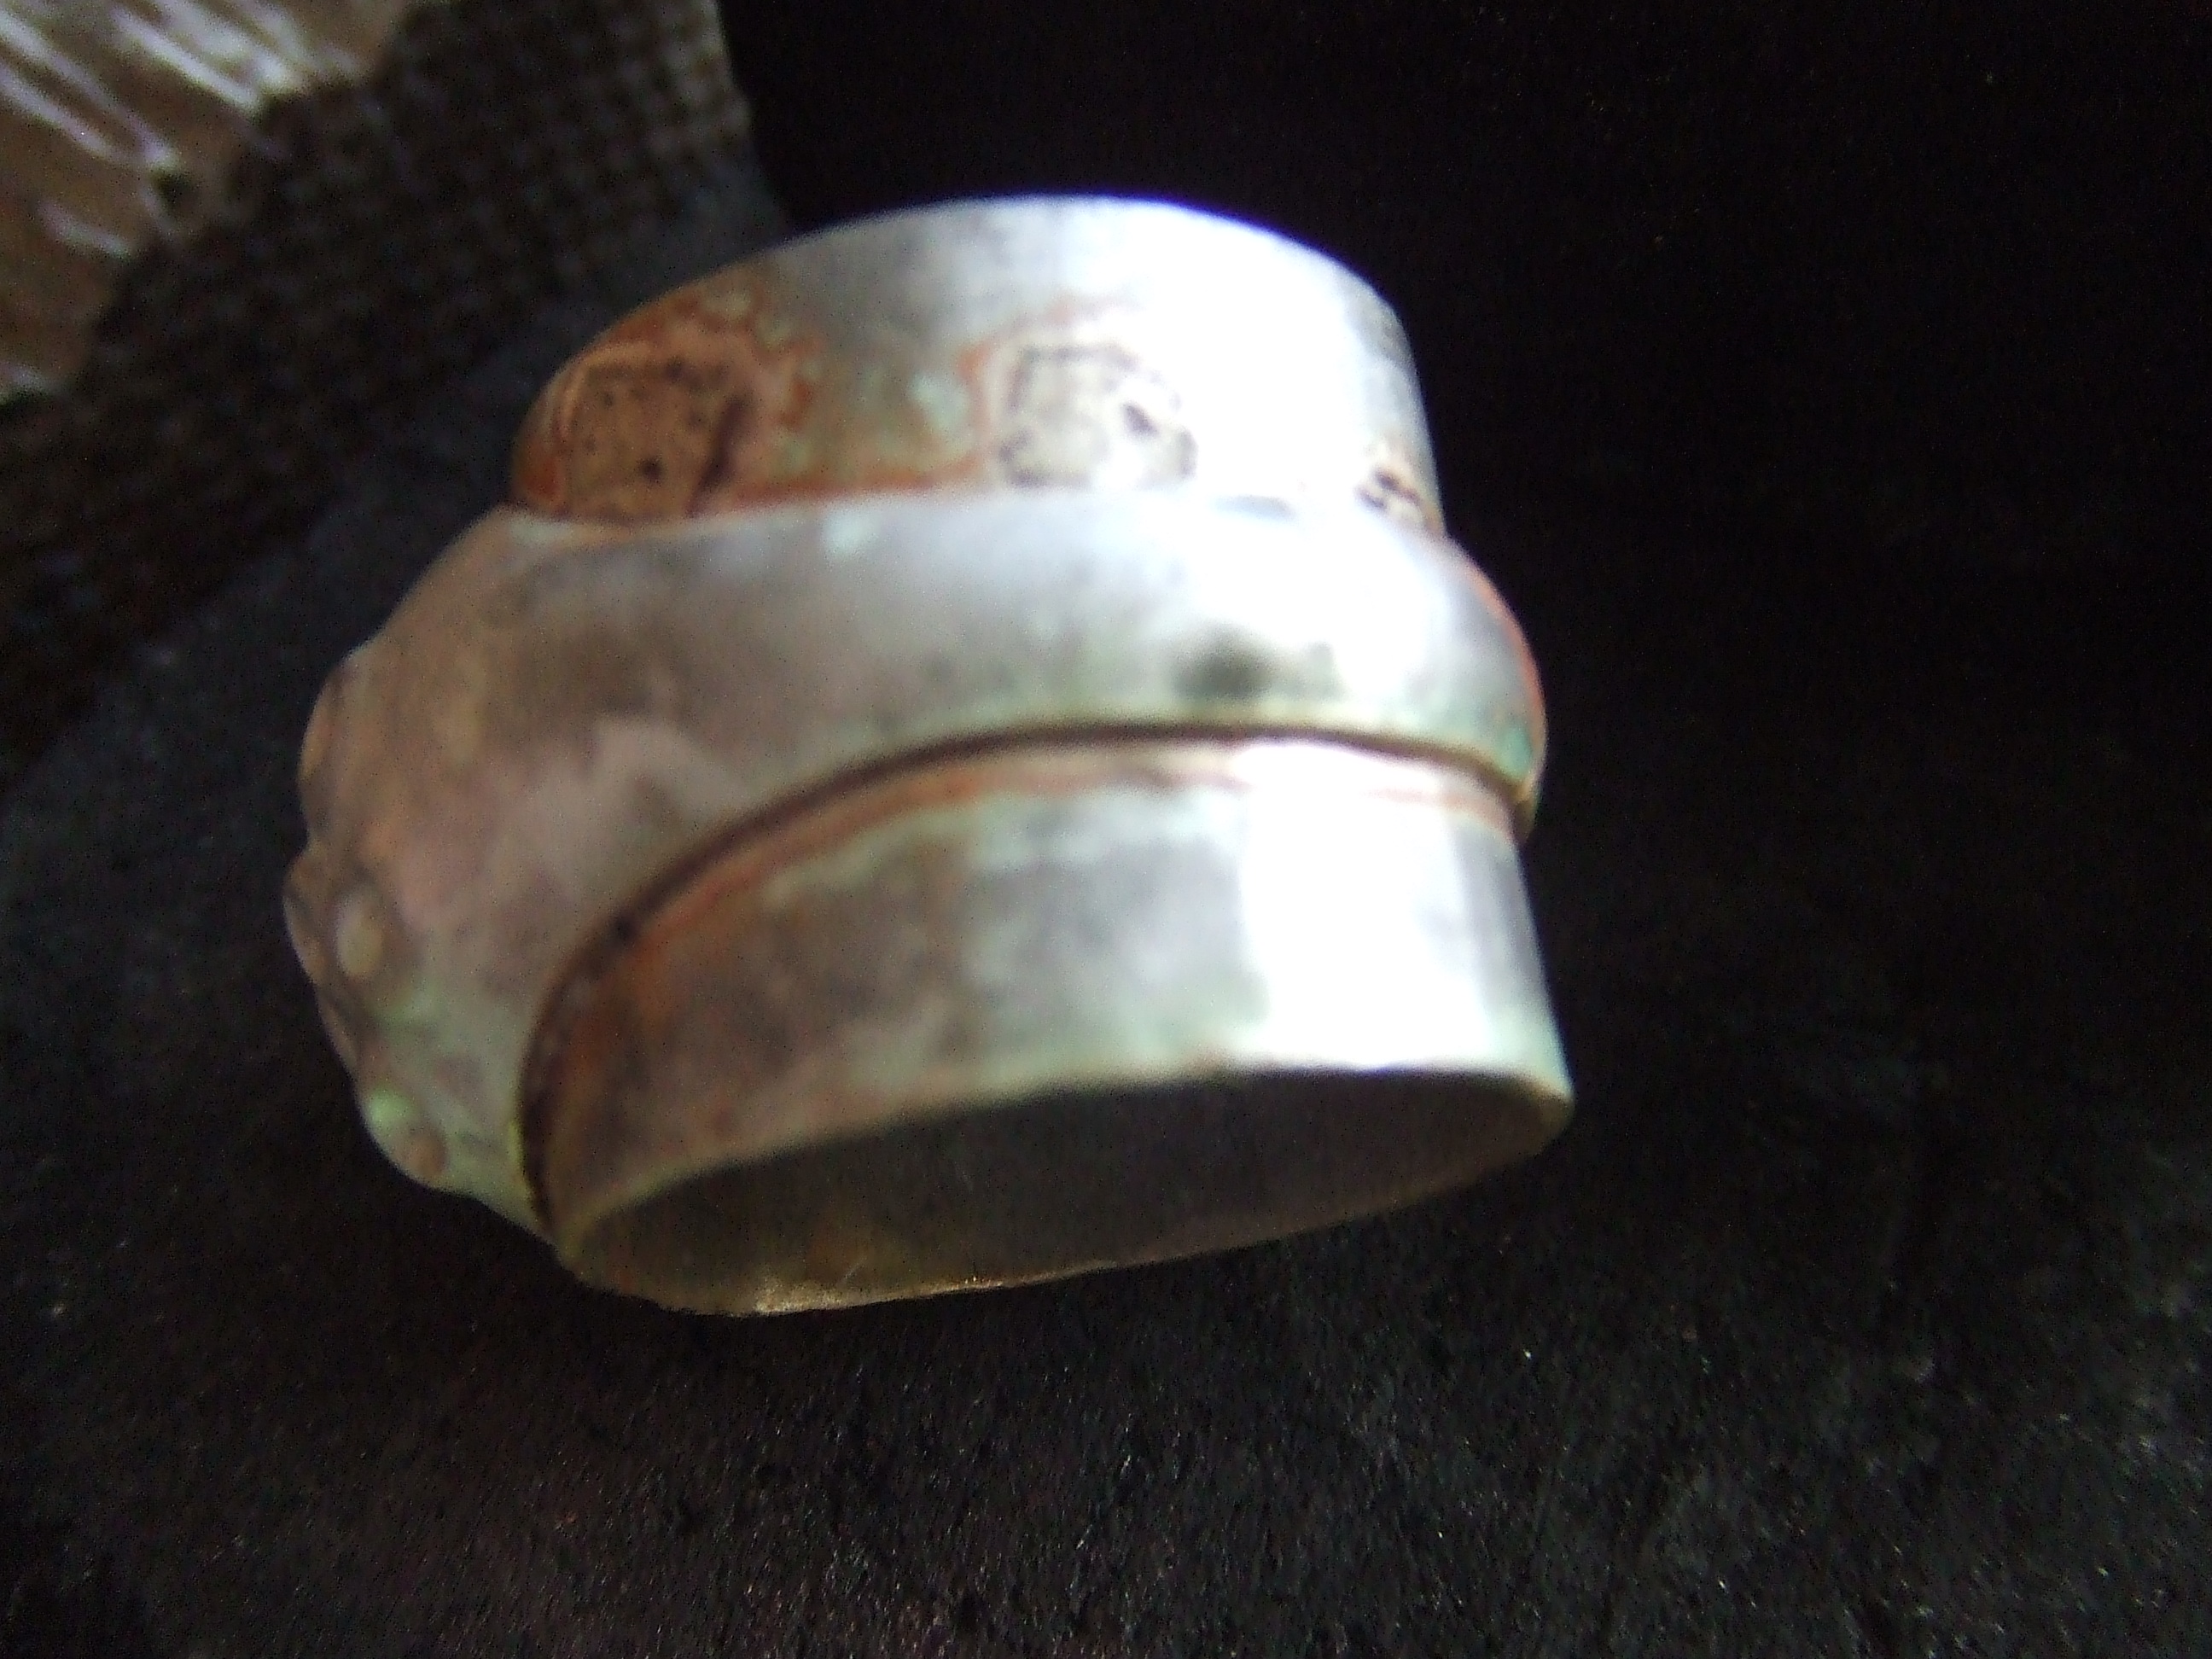
Photographed outside.

DSCF3502

Wato wato the end of the ring project.

This is a great example of wanting to make something but not having to hand the tools to realise it. As time goes by, I understand more and more why I’m not currently able to sustain myself in this craft. I spend far too long procrastinating on designs, making tools to realise far too many failed copper models before coming up with something I think will appeal. Only to discover I’ve barked up the wrong tree. At best a niche item, nowhere near commercially viable.

I now, with huge regret and not a little embarrassment, view my metalwork/silversmithing as a hobby only now. All ambitions of being able to support myself financially through my chosen craft showing as unrealistic at this time. I feel the clue here is in the realisation that I associate myself with the term craft, rather than designer or artist. As I become ever more bewildered as to what is marketed, I come to realise my place as fairly and squarely a maker in a world than no longer needs makers. Concept appears to be king. I feel its akin to being a computer, fantastic at maths; however it takes the genius of a mathematician to make beautiful equations. I aspire to be more conceptual in my approach to the craft. However my first love is the love of learning more about past masters and the techniques they employed to achieve wondrous constructions. The past machine age is pure romance to me. This is lost in a new era where, at the push of a button, designers/artists realise three dimensional objects, made by unseen operatives with mass production machines in such vast numbers as to make pretty much anything commercially viable. I have neglected to fully understand what is fashionable, wearable and viable. That’s the negative. The positive is that now I am no longer attempting to make a life for me and mine using just my hands. My resulting, more relaxed attitude towards this craft will, with luck, result in a positive re think. Trying to become a ‘mathematician’, not concerning myself as much with the mechanics, ‘computer’ aspect of creating wonderful objects. Working towards becoming a creative designer, rather than just as a solver of technical challanges. Watch this space 🙂

If you look at the bolts I modified for this job, I looked at stakes from established tool supply houses. Here in the U/K it is becoming ever rarer to source forming tools, the ones that are available are prohibitively expensive for a hobbiest. As we use very soft, non ferris metals, even a common or garden bolt will suffice for forming. If you wanted to make a more permanent, planishing stake from a bolt you can buy/salvage hardened steel bolts and fashion them to the shapes you desire. Cylinder head bolts work very well, you can look up through fastener suppliers, the hardness rating of a bolt, if you wish to purchase new.

I used a metal lathe to make these. I was thinking though that those of you without access to such a machine could use a drill and a hand file to create a similar stake. Chuck up a bolt that you have founded off best as you can in a vice, then spin it in the drill, rounding as you go with a file. Finish off with coarse to fine paper whilst still spinning in the drill. Be careful as the bolt will get hot. Try to use a drill stand so as to keep it all steady and have both hands free for proper filing. I also add chalk to the file and paper. This gives a better finish as it prevents the build up of metal particles in the ‘tooth’ of the file or paper.

My aim with the next post is to introduce you to my garage machine shop. Fair warning to those of you not interested in such things.

If you have any questions about the ring, or anything else, as always, please don’t hesitate to ask. Thank you for looking.

All my very best wishes.

Stu Art 😉


Advertisement

Soldering great butt joints. Not nearly but really right.

Wato wato,

One of the hardest things for me to get right was making a great butt joint. I kick myself now as it is something I should have seen sooner, being as my hobby before silversmithing and jewellery is model engineering. I also worked in fabrication, as well as various motorcycle projects over the years. My excuse is that I have a tendency to be too ridged in my approaches to things and wanted to be more ‘flowing’ if you will regarding my approach to silversmithing and jewellery. I deliberately tried to forget my formal engineering approaches to help me be more spontaneous. This is another lesson in the interconnectedness of things. This is far too heavy and irrelevant a topic for here for sure.

The textbooks are absolutely right here when they state solder will not hold well if gaps are present. If you look at the kind of strain and abuse I inflict on a join whilst forming with repousse´ it is clear that nearly right is nowhere near good enough. I hope to be able to explain how to create a join so strong that, well look at my cuffs and other work not yet shown here for proof. I dearly like empirical, rather than theoretical evidence, I hope to be able to demonstrate it here so you can attain the results you strive for.

Rings and cuff bracelets present different challanges, I will start with bar stock. By bar stock I mean round, square, oval or whatever, just solid bars of any thickness.

In the first photograph you see all the tools I use, except the needle files, I forgot to put them in the picture, for those who don’t know what they are, just very small files enabling more accurate specific spot removal of material that the bigger files cannot.

The easiest and probably most effective method is to use a chennier cutter. The bar is held firmly and the jewellers saw is accurately placed in a slot preventing the blade from twisting, therefore making a perfect cut with minimal finishing. These tools can be very expensive however, for a beginner or someone who just wants to do occasional work as a hobby they may not want to, or be able to afford such a tool. There is another way for no cost 🙂

An engineers square should be, in my humble opinion, an indispensable part if any toolkit. They come in various sizes and are very reasonably priced. Your bench pin will have a straight edge, with a pencil, I personally prefer to use a sharp scribe as it tears the wood fibres, creating a trench for the next part. If not, make sure your jewellers saw has a tight blade and follow the scribed line, creating a 90 degree little saw mark relative to the edge.

Using a square of triangular file you now carefully file a trench for your bar to rest in. I think the photographs explain better, as you can imagine it was not easy to hold and photograph at the same time. Providing you keep downwards pressure on your bar, wedging it into the groove, presenting it to the file slowly and making sure it cannot jump about. The act of keeping the file pressed against the true bench pin will ensure your two ends will be perfectly flat and true as the 90 degree angle ensures that, as long as you take your time and prevent rocking the file or wire. The human element has been taken out of the equation, the grove and edge being perfect ensures you don’t have to be, it will do it for you.

Sheet presents another challenge, you may be successful with narrow stock, however some of my cuff bracelets are 40mm or more wide. At this width it becomes difficult to coordinate, the filing as the sheet is difficult to locate accurately in the groove.

The trusty engineers square comes to the rescue again, more in a bit. Sharpie felt pens, or any, I use permanent markers, will make great marking guides. In engineering surfaces are checked for flatness with special plates and a beastly substance called engineers blue. Get it by all means is sticks like the preverbal sh12 to a blanket. On skin it will take an age to remove. I thought that marker pens would make a great substitute, they do.

When you cut out your edge, no matter how good you are, the edge will not be entirely flat. To start, file it so it looks flat to you, stop and apply the marker pen to the filed edge. Using a flat plate, like your steel bench block, put some abrasive paper on it stretched tight. I use a piece of abrasive stuck to a piece of board, manmade boards like high grade plywood or MDF are made to tolerances that are useful.

Now GENTLY stroke the piece along the paper making sure you present it to the paper as square on as you can. Now look at the edge, in the photograph I just picked a scrap piece of copper to give an example. Where the black marker has been removed leaving a shining mark, these are high spots, the black areas are low. Now use your file, whatever size is best for the task, gently file the shining bits, coat with the marker and go through the process again and again until you manage to get all the black removed with a single stroke on the flat abrasive paper. Once all of the surface is shinny, the edge is flat.

Not great practice, though I do use it in a hurry or if a particularly wide sheet is becoming difficult, I use the engineers square. Keeping the straight side against the fat part of the square, pushing it firmly against it, I slide the square along the paper whilst pushing the material against the paper. You know this is a perfect 90 degrees as material is being removed along the edge of the square only. This is not great practice as it, technically, makes the square less true as you scrape it along the paper. I would advise that this is done as a last resort, only after you have trued it up as much as you can the other way first. If you do this then you can minimise the damage to the square by using the finest grade of paper you can for the job.

When presenting the ends of your now perfect edges, bent them past and slowly pull them back so the natural spring of the material keeps the seam closed for you, making the wiring of the join not as necessary. I have never wired any of mine, you may still wish to do so. By shining a strong light behind, no light should be visible along the seam. If you see light then a piece of fine abrasive paper can be encouraged into the gap and gently pulled through both sides, using the pressure of the spring in the material, don’t squeeze.

If you follow these steps you will have a joint that is incredibly strong. I always use hard solder as it will return the best results, both strength and colour match. The other beauty of this is that the solder seam is truly wafer thin making invisible seams more attainable. Also for rings you can be confident that the joint will hold up to really quite extreme re sizing as the joint is pretty much guaranteed not to fail, the surrounding material making like a noodle as it shrinks from the join.

I hope this helps, let me know if you need further explanation, or if you know a better/different approach.

Until next time, all my very best wishes.

Stu Art

Opinion please for finish on chased and repousse pendant

Number 1 matt, polished craters

Number 1 matt, polished craters

Number 2 all over polish

Number 2 all over polish

Number 3 Oxidised, polished craters

Number 3 Oxidised, polished craters

Number 1 matt, polished craters

Number 1 matt, polished craters

Number 3 Oxidised, polished craters

Number 3 Oxidised, polished craters

Number 2 all over polish

Number 2 all over polish

Wato wato

Another quickie, please could you look at the pictures of the same chased and repousse silver pendant and kindly let me know which finish you prefer. I would be very grateful as I can’t decide which one I like best.

Repousse and Chased cuff bracelet, a journey from copper to silver

Wato one and all

The year is going at a gallop as my course is up in June so time to get my finger out and settle upon a design I will be using for my final projects and the precious metal bursary that I was fortunate enough to receive from Goldsmiths Hall London. I have, to this point, just keep things pretty much technical in this blog, I find this relatively easy but will stretch myself in future to share some of the roller coaster  journey that this course has presented to me. As you can imaging this will be largely subjective and in no way verifiable or necessarily relevant. Perhaps even unrecognisable to others who have walked a similar path. One of the attractions of this blog, for me, was the opportunity for others to be candid and open with differing views that will inevitably lead to other perspectives; perspectives that I may not relate to. However all comments will bury themselves somewhere in the unconscious. This will only serve to make me more aware and rounded as an individual, difficult as I appreciate it sometimes is to be open face to face, the relative anonymity of this vehicle allows me to be open. I hope you will find it similarly conducive to getting your candid opinion accross safe in the knowledge that we will likely never share the same physical space. I very much look forward to being pushed and challenged, after all nothing can be forged without heat, come on, turn up the burner 🙂

This cuff bracelet was made for very dear friends as a birthday present for Clair. In another post I will introduce the extraordinary force of nature that is Paul and Clair Pennington of the Jewellery Workshop in Porthleven Cornwall.

http://porthlevenjewelleryworkshop.co.uk/

It would take too long to tell the story, suffice to say that in less than a year has seen them become such a successful team that it can be called nothing less than an inspirational tale of guts and determination.

Paul is enrolled on the same course as me and was taken by my, wear your heart on your sleeve, bracelet design. He commented that the inside looked like pebbles on a beach and the forming process left a pleasing sand like look on the inside. As Clair is a lover of such subjects Paul asked me to look at ‘just doing a reverse heart on your sleeve’!!!

The exclamation marks are to warn the unwary of being complacent, on the face of it nothing could be simpler, right? I show the original copper model of this piece to show you what Paul saw in the original design, I will now explain the journey.

The copper model was one of many, actually this is one of two rounded models, the other being a lesson :/ (hideous). Along with this were many flat copper experiments to test punched that I made to try to replicate the effects. I have mentioned this before but it pays to repeat. Working in thin gage copper, approximately 0.6-0.7mm thick is very different and far easier than the 0.9mm Stirling Silver sheet used here. The silver is very much harder to move and requires more annealing stages to obtain similar results, don’t go too far too soon, give yourself more time than you would in copper.

Not shown her is the initial lining as I wanted the stones to look placed on the surface the lines on the outside would spoil the effect. I lined the outlines when the silver was flat on a bench block before bending it to shape with a bracelet mandrel and soldering it together.

Here lies another challenge with a closed form, if you recall it is best to keep the chasing and repousse punches near vertical for them to work at their best. Now you will have to work from either opening of the bracelet. Shown here on my plaster scene, I try to use this as much as possible as the pitch stage is time consuming to set up and messy to clean up.

I chose to anneal often and not go too fast as the unequal stretching that working from either side made overstitching and miss shaping a real danger, so slow and steady. The challenge with this is to keep concentrating on the future as each annealing stage can be a little soul destroying when completed as it appears you have not achieved that much as the rounds count up.

Now as the shapes are coming along nicely the problem presents how best to separate the pebbles from the background. Working from the inside using push tools and planishers define the surroundings of individual elements.

After you have gone as far as you can from the inside consideration turns to the front. I did not want to mark the pebbles as I wanted to keep the finish more subtle, now comes the fiddly part that you have to work out as you go. Using bits of wood and plastic or delron nylon extruded bar shaped with saws and filed to fit a the recesses, carefully knock back the background. As you see from the pictures this still will not define the shapes as separate, for this you will need to undercut each stone from the surrounding.

As one of the last stages it is also a very nerve wracking process. As you can imagine as all these elements were raised from the surrounding sheet. As a result they have streatched and thinned, any careless blows will likely be met with a break through, tearing the silver and necessitating a time consuming repair, worse a piece of scrap, nasty lesson learned.

You see the ‘moats’ or ‘troughs’ surrounding the pebbles. With the undercutting punches I used surrounding material and pushed it towards each element. My reasoning was that as it was moved from untreated areas it would pool up against the edges. This was to ensure that sufficient material was present at the edges of each stone, reinforcing it if you will and making the undercutting process less hazardous, less likely to result in breakthrough. Good luck or practice, I know not what, I had no issues and all went well.

The cutting and finishing of the wavy pattern was done with a jewellers fret saw, files and sanded to acceptable standards before returning to the pitch for final texturing. After putting on the pitch it was left to cool so as to create a hard stake like effect that would support the shape, preventing distortion whilst the texture was applied with liners and planishing punches.

The deliberate break in the pattern was made to ensure that I had enough material to be able to make the piece smaller as I was concerned that with the extreme shaping would result in a possible modification. I feel bound to say that when Clair found it was indeed too big I was glad I did. Fair to say the sawing of it in half and removing a section before soldering back together was another lesson learned. If you find yourself in a similar situation may I suggest that you anneal the piece before you saw it in half. All the forces that had built up whilst final forming and texturing made it distort when I cut through it. I kid you not it took an age to straighten it up and re join it, this would not have happened if I had annealed it first as it would have equalised the forces and made it far easier to modify.

I hope you like it, better, I hope it inspires you to try something for yourself. The next time I will start to show examples of hand raising and making bowls, until then.

All my very best wishes.

Stu Art