
As you see, not a lot of room in here. Compact and bijou my friends, compact and bijou 🙂 Finally had a new door fitted, lathe on the left. Next to the toolbox on the right the milling machine. Next to that opposite from the lathe the shaping machine.

A swivel headed milling machine. The milling cutter can be seen centre of picture approximately between the two hand wheels. If you wish to be bored, explanation following.

The shaping machine, compare the next picture showing the drive side. You will see the difference in the stroke of the ram. This is the control side. The levers to the rear are the clutch and two speed gearbox.

The electors motor lives under the cabinet that supports the machine, the drive belt can be seen. The little hatch contains the eccentric adjustment to alter the length of stroke.

This is a tool holder that fits into the clapper box. Don’t laugh, thats what its called. As the tool cuts into the workpiece on the forward stroke, on the return the tool can swing out of the way.

This is the tailstock end of my beautiful South Bend 9 1/2 inch bench lathe. I mounted it on an old worktop on top of a stainless steel table that was scrapped from a commercial kitchen.

To the left is the chuck that holds the spinning workpiece that is presented to the tool resting on the X Y carriage in the centre. You can imagine the tailstock holding a drill, thats not all it can do. You can see lead screw midway between the hand wheel under the tailstock, above the lever pointing down, see next picture.

Behind this cover exposes the change wheels. These can be changed to allow the carriage to advance at a pre determined rate to facilitate the cutting of threads. You can also set the carriage to go very fast, for roughing out work needing large amounts of material to be removed. Alternately you can set it very slowly to give a beautiful even finish that is near impossible to achieve by hand alone. The next model on from this, as well as more modern and advanced lathes have a gearbox that means you can adjust more quickly using leavers only, rather than removing and swapping gear wheels over.
Wato wato all
Hope alls tickety boo with you and yours, Christmas round the corner and all that, nice to have a celebration eh 🙂
I have promised this set of pictures for a long time. This is the ‘dirty’ workshop. Used surprisingly a lot for silversmithing work. Well, not for the work itself necessarily, more likely to make jigs, special tools and fabrication bits and bobbs. I will give examples in upcoming posts, providing you feel this is a distraction from purely silversmithing and jewellery that you may wish to experience.
This post is a bit of a fishing expedition for me, being as I know, through experience, many of you have little, in some cases no knowledge, about engineering tools and processes. I feel sure it may appear upon first acquaintance irrelevant, boring even, nothing to do with making jewelery or silversmithing work in general. You may be surprised.
I will not dwell on each machine too much here so as to give a gentle introduction. Too much too soon is probably not the way to go as these machines are limited only by your imagination. The salty bit though is you do need a basic grounding in the dos and do nots to save on wasted time, ruined projects, not forgetting personal safety. All these machines are capable of inflicting severe damage on our bodies, even a simple thing as not wearing safety glasses/goggles can lead to catastrophic damage to your eyes from hot, sometimes razor sharp shards of metal flying away from the surface being machined. I leave it to you to research the safety, a great place to start is from a fantastic resource here in the U/K
http://www.lathes.co.uk/
This is a place to learn about all the various machines, old and new. Go on, try it, you may like it.
Of the three machines I highlight in my garage workshop the broad brush differences are as follows; A lathe presents a sharpened tool to the spinning workpiece, a milling machine has the work stationary, held down whilst a spinning tool cuts into it. The shaper has more in common with the milling machine inasmuch as the work is secured in a vice or clamped to the table. The difference being the tool is pushed linearly backwards and forward, effectively scraping the sharpened tool over the workpiece.
I have chosen to give a little more detail of the shaper for two reasons; firstly, I feel it is the least known about of the machine tools, being largely superseded by the milling machine and has some real benefits to a small scale metalworker. It is also available as a hand operated mini machine that would be of real practical benefit to jewellery and silversmithing, also copper smithing and other sheet metal disciplines.
Studying the pictures of the shaper, imagine if you will a box scraper. This is a hand tool that cuts grooves into marked out channels to facilitate bending flat sheet into box type shapes. For instance a square box would require a 45 degree angle, cut almost through before bending up the sides into shape, then soldering. No matter how good, or practiced you are. You will have a natural bias, or slight wobble with a hand tool. The machine can do nothing else than cut perfectly strait lines, the only room for error is by marking out incorrectly, or allowing the tool to go too deep, through to the other side.
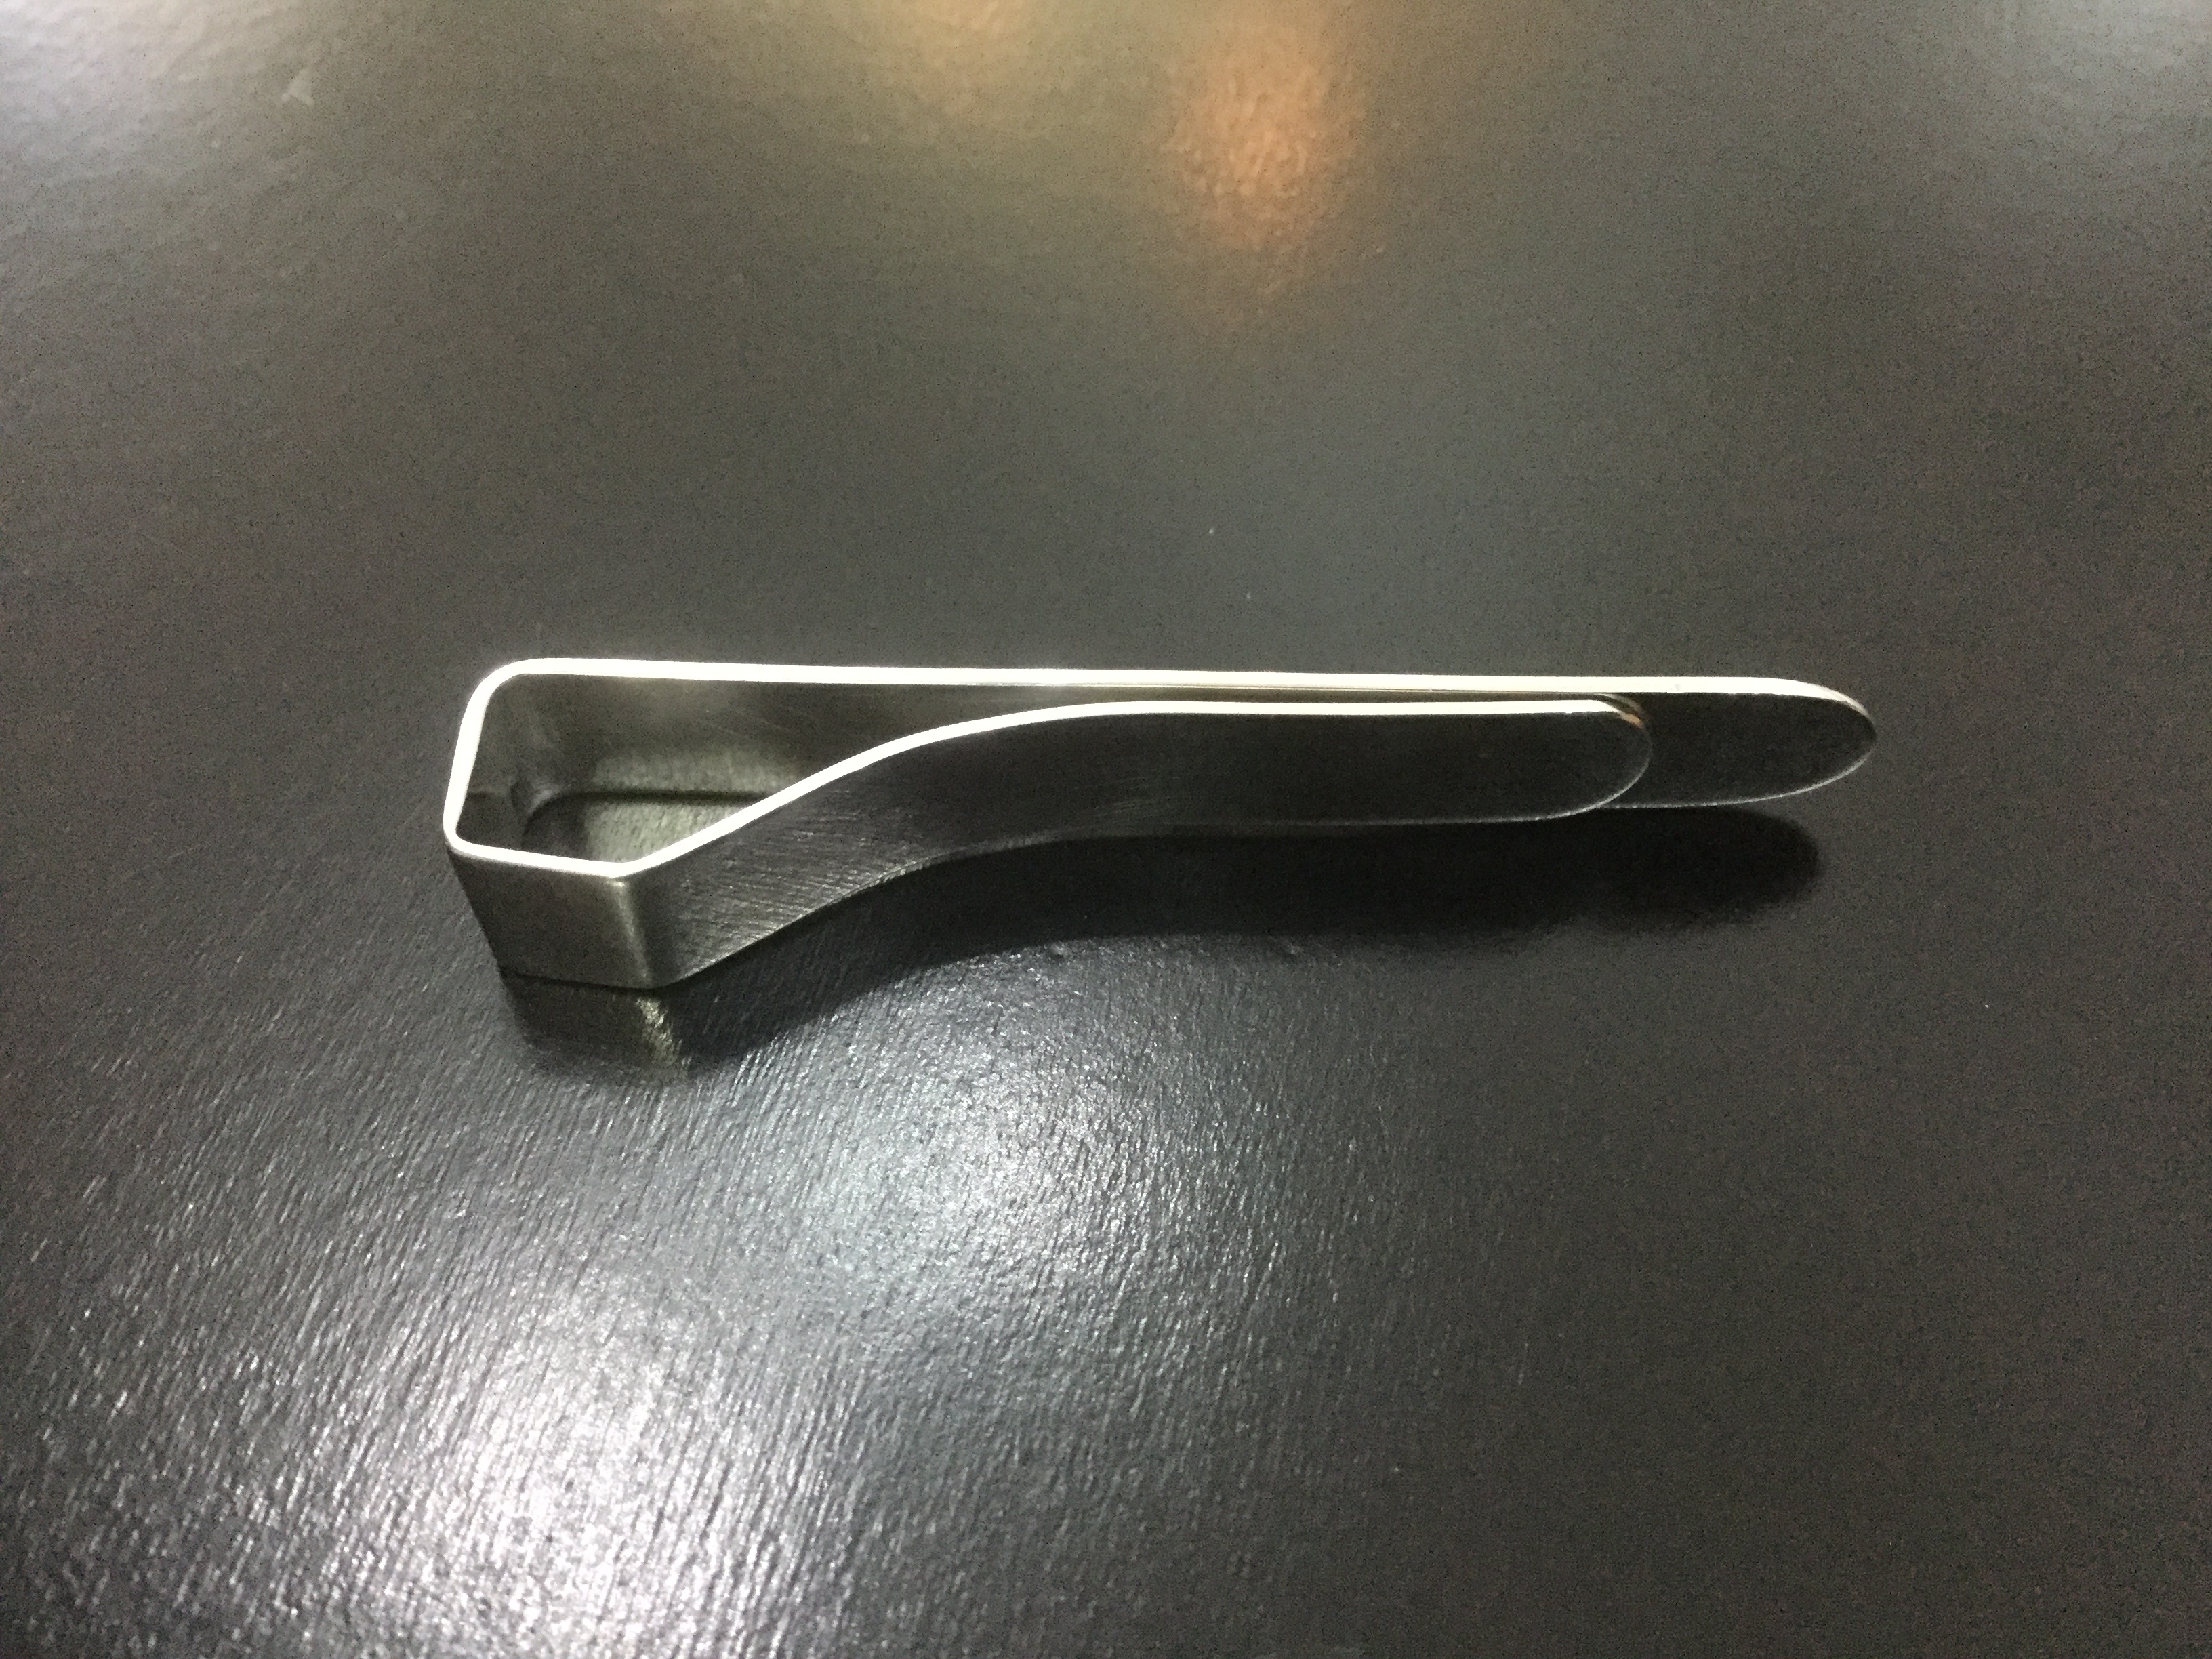
The picture with my hand in it shows one of many different types of tool holder. Using a grinder you can make a tool to the desired profile and angle on a grinder, transfer it to a holder, if a large enough piece of tool steel is used then directly into the machine itself. This is in effect the, for those of you who know about them, scraper that silversmiths traditionally made from an old file, bent to shape, filed and then sharpened.
I hope you’re not glazing over, to reiterate, I will continue to explain some of the uses for this, and the other machines, in a future posts if you feel it is something you may like me to share with you. The shaper is probably the most under appreciated machine of the modern times. Can you picture old woodworking moulding planes? You know, the ones that make patterns in wood strips, the sort of shapes that are used around windows, better still, decorative picture frames. A shaping machine can be set up to produce your own unique shapes in wire with inexpensive pieces of tool steel, a dremel/flex shaft, grinding wheels, files and the like. Wonderful stuff eh.
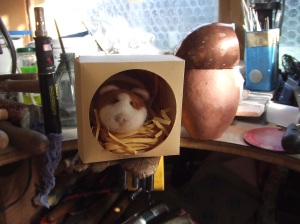
On a more personal note. Thank you so very much to Lottie. Pictured above is the wonderful guinea pig, lovingly hand crafted in felt I purchased for Reen for Christmas. I can highly recommend her wonderful work. For those of you who are sensitive to letters such as I shared with you all. Bear in mind, if the beautiful, unique and one off creations, such as this don’t make the NOTHS cut. Fair to say we are in good company. Please don’t give up, onwards and upwards. What business people say and mean are not necessarily anywhere near the advertising hype. If this work does not meet the criteria, fair to say its probably too fickle to explain anyway.
http://www.lottiescottage.co.uk/
Lottie is one of the people kind enough to comment on the NOTHS rejection letter. It really has been the most commented upon post I have written. I want to try to explain a little more my reasons for it.
http://en.gravatar.com/happyhavenforge#pic-1
Vince from the happy forge makes a fantastic point, please go back and read it. My reply I will not repeat here, also the lessons from Vince are for all to take something away from as he kindly shares.
An argument I have made in the past to be illustrative of a point is as follows and I hope you understand the link I attempt to make.
If you or I were to cut an animal in half and pickle it, pre Damien Hurst, in all probability we would be branded lunatics, perhaps even sick. Damien Hurst does it and he’s a visionary.
My attempts in that post, also the point I try to explore as a metalsmith attempting to be represented in outlets. I feel my work, and in all likelihood yours also, is not the challenge. If the work of Mr Hurst is valued, fair to assume most anything will sell in the right setting don’t you think? My question is always, what is it that separates the ‘visionaries’ from the also rans.
http://www.camalidesign.com/
Another fantastic contributor to the debate, awesome work with a website to swoon over. I absolutely get why this wonderfully creative maker is represented. Thank you for your contribution, I feel sure others will have learned something from your thoughts.
Nina Parker at;
http://www.workingglassjewellery.co.uk/
Rejected, why? Again fantastic site, great presentation. On the face of it, ticks all the apparent boxes. Thank you Nina for sharing. This is the sort of, to my eye, disparity of the selection process.
Perhaps I have answered my own questions. On a given day, with a given selector, perhaps its all in the lap of the gods, nothing to learn, just experience.
I’m very keen to give voice to stories and opinions such as these. Fair to say rejection smarts for all of us. I have just been rejected by another gallery that would have given me an enormous boost if it had all gone to script. I was asked by the manager to show the co-owner, that person gave me huge encouragement. I was sent away and asked to present a body of work. Spent more than I had on supplies, spent over two weeks making a body of work to present only to fail by the other person having the casting vote. No feedback “we have enough jewellery at this time thank you”
Again this is not about how good, two out of three ain’t all bad, I take that much from the experience. What I find myself perplexed by, and unable to let go, is the inability to understand the criteria many of us need to be attractive to the gatekeepers.
Ending on a good note. I had a huge success at a jewellery party thrown by Reens sewing group. I now also have five commissions from a person I work with at the hospital, so not all bad by any stretch of the imagination. So I have no problem in believing my work will sell, it does sell. I just wish I had a better understanding of the when, where and how to of approaching the right places.
Keep on door knocking my friends. Well those of you who, like me, have a challenge in that department. For those of you more savvy to the ways, please do continue to share.
If I don’t post before. A very happy Christmas to you all, heres to being better represented in the new year for all of us eh. Thank you all for your continued input and support.
All my very best wishes.
Stu 😉


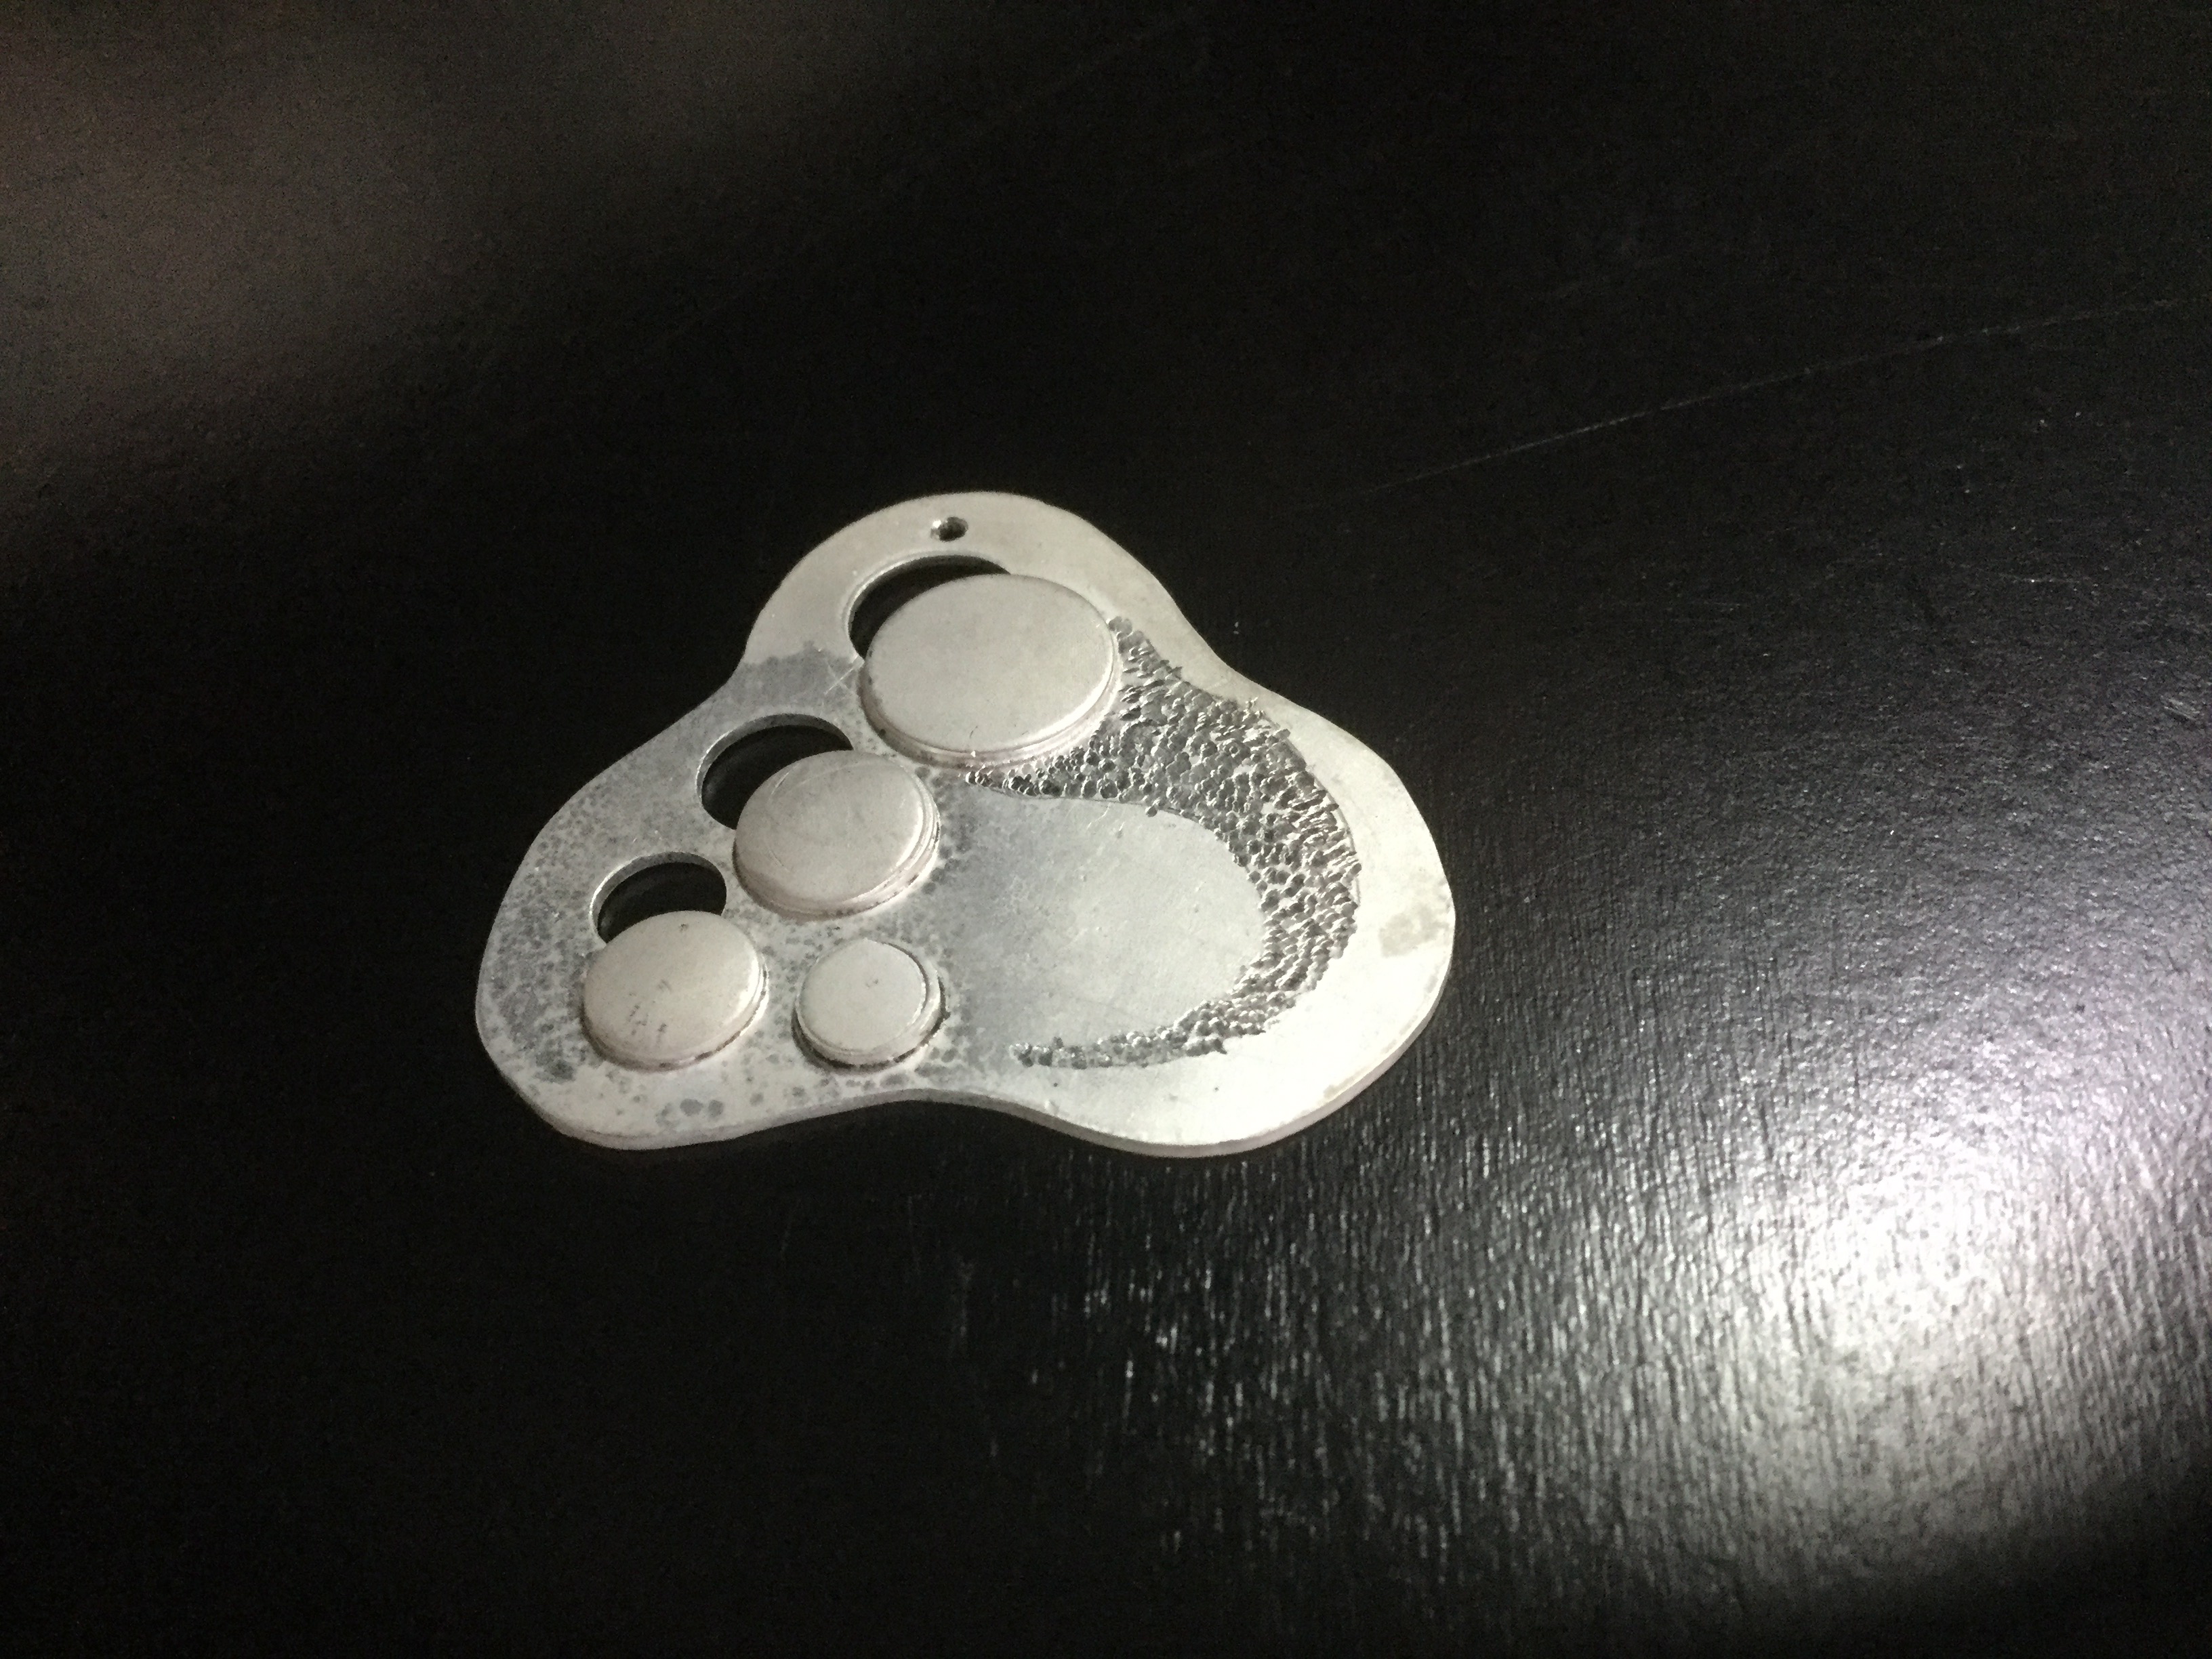


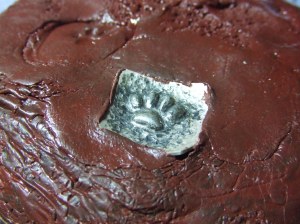
 Smashing lady this was for. A great make it up as you go along job this was. This shape was chosen, bonus is it also could pass for a kennel, framing the dog paw.


