Circle or disc cutter for making blanks for hand raising or sinking silver, copper, tinsmithing bowls.

http://youtu.be/WtyAoITMHFA

Wato wato all. Very long time no communication eh!

Lots of water has passed under my bridge, as for sure yours also, since the last posting on silversmithblog. My new job at the Jewellery workshop in Porthleven has been a mixed and varied bag of delights, horrors, failures and victories that will no doubt continue to crop up in the coming posts. Looking forward to sharing the experiences that will help you to realise its only you in the way of making what you envisage in your head. Remember, all I know is technique that can be learned with ease if the application of the craft is exercised in the correct manor.

Its appropriate for me to now state that, at this time, looking to the types of work needed to service commissions. Also items bought in for repairs and adjustments has rendered me a bona fide Goldsmith. Never in my earlier wildest fantasies did this enter into my mind. The challenges have been both frustrating and rewarding to say the least. Enough of that for now, lets get on with the real passion, silversmithing. Well copper for now anyway.

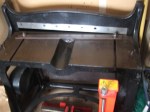
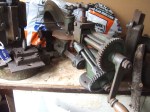
A long while ago a promise was made to video the circle cutter that I am very fortunate enough to be the custodian of. The link at the start of this post will take you, (with luck I have done all the right things for this to happen) to YouTube to see said video. Had no idea you couldn’t upload a video here, you live and learn eh.

For those who watched the clip, sincerely hope it was enlightening, perhaps even entertaining. Please do give some feedback as if you wish, more clips can be added if you so wish. I know YouTube is awash with really great content, though bound to say haven’t trawled through it for some time myself. I will not add to the numbers if it’s not relevant, up to you. Better still, encourage me to post something you may wish to have better explained that will help with more visual content.

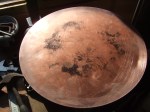
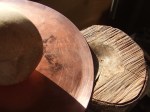
I showed the model that has been an experiment, now it will go further with the four copper bowls that are, finally, on the way.

Reen makes wonderful quilts, probably mentioned this before. Pictured here are two of her creations that led to the idea of the designs to follow.

DSCF3915 DSCF3916

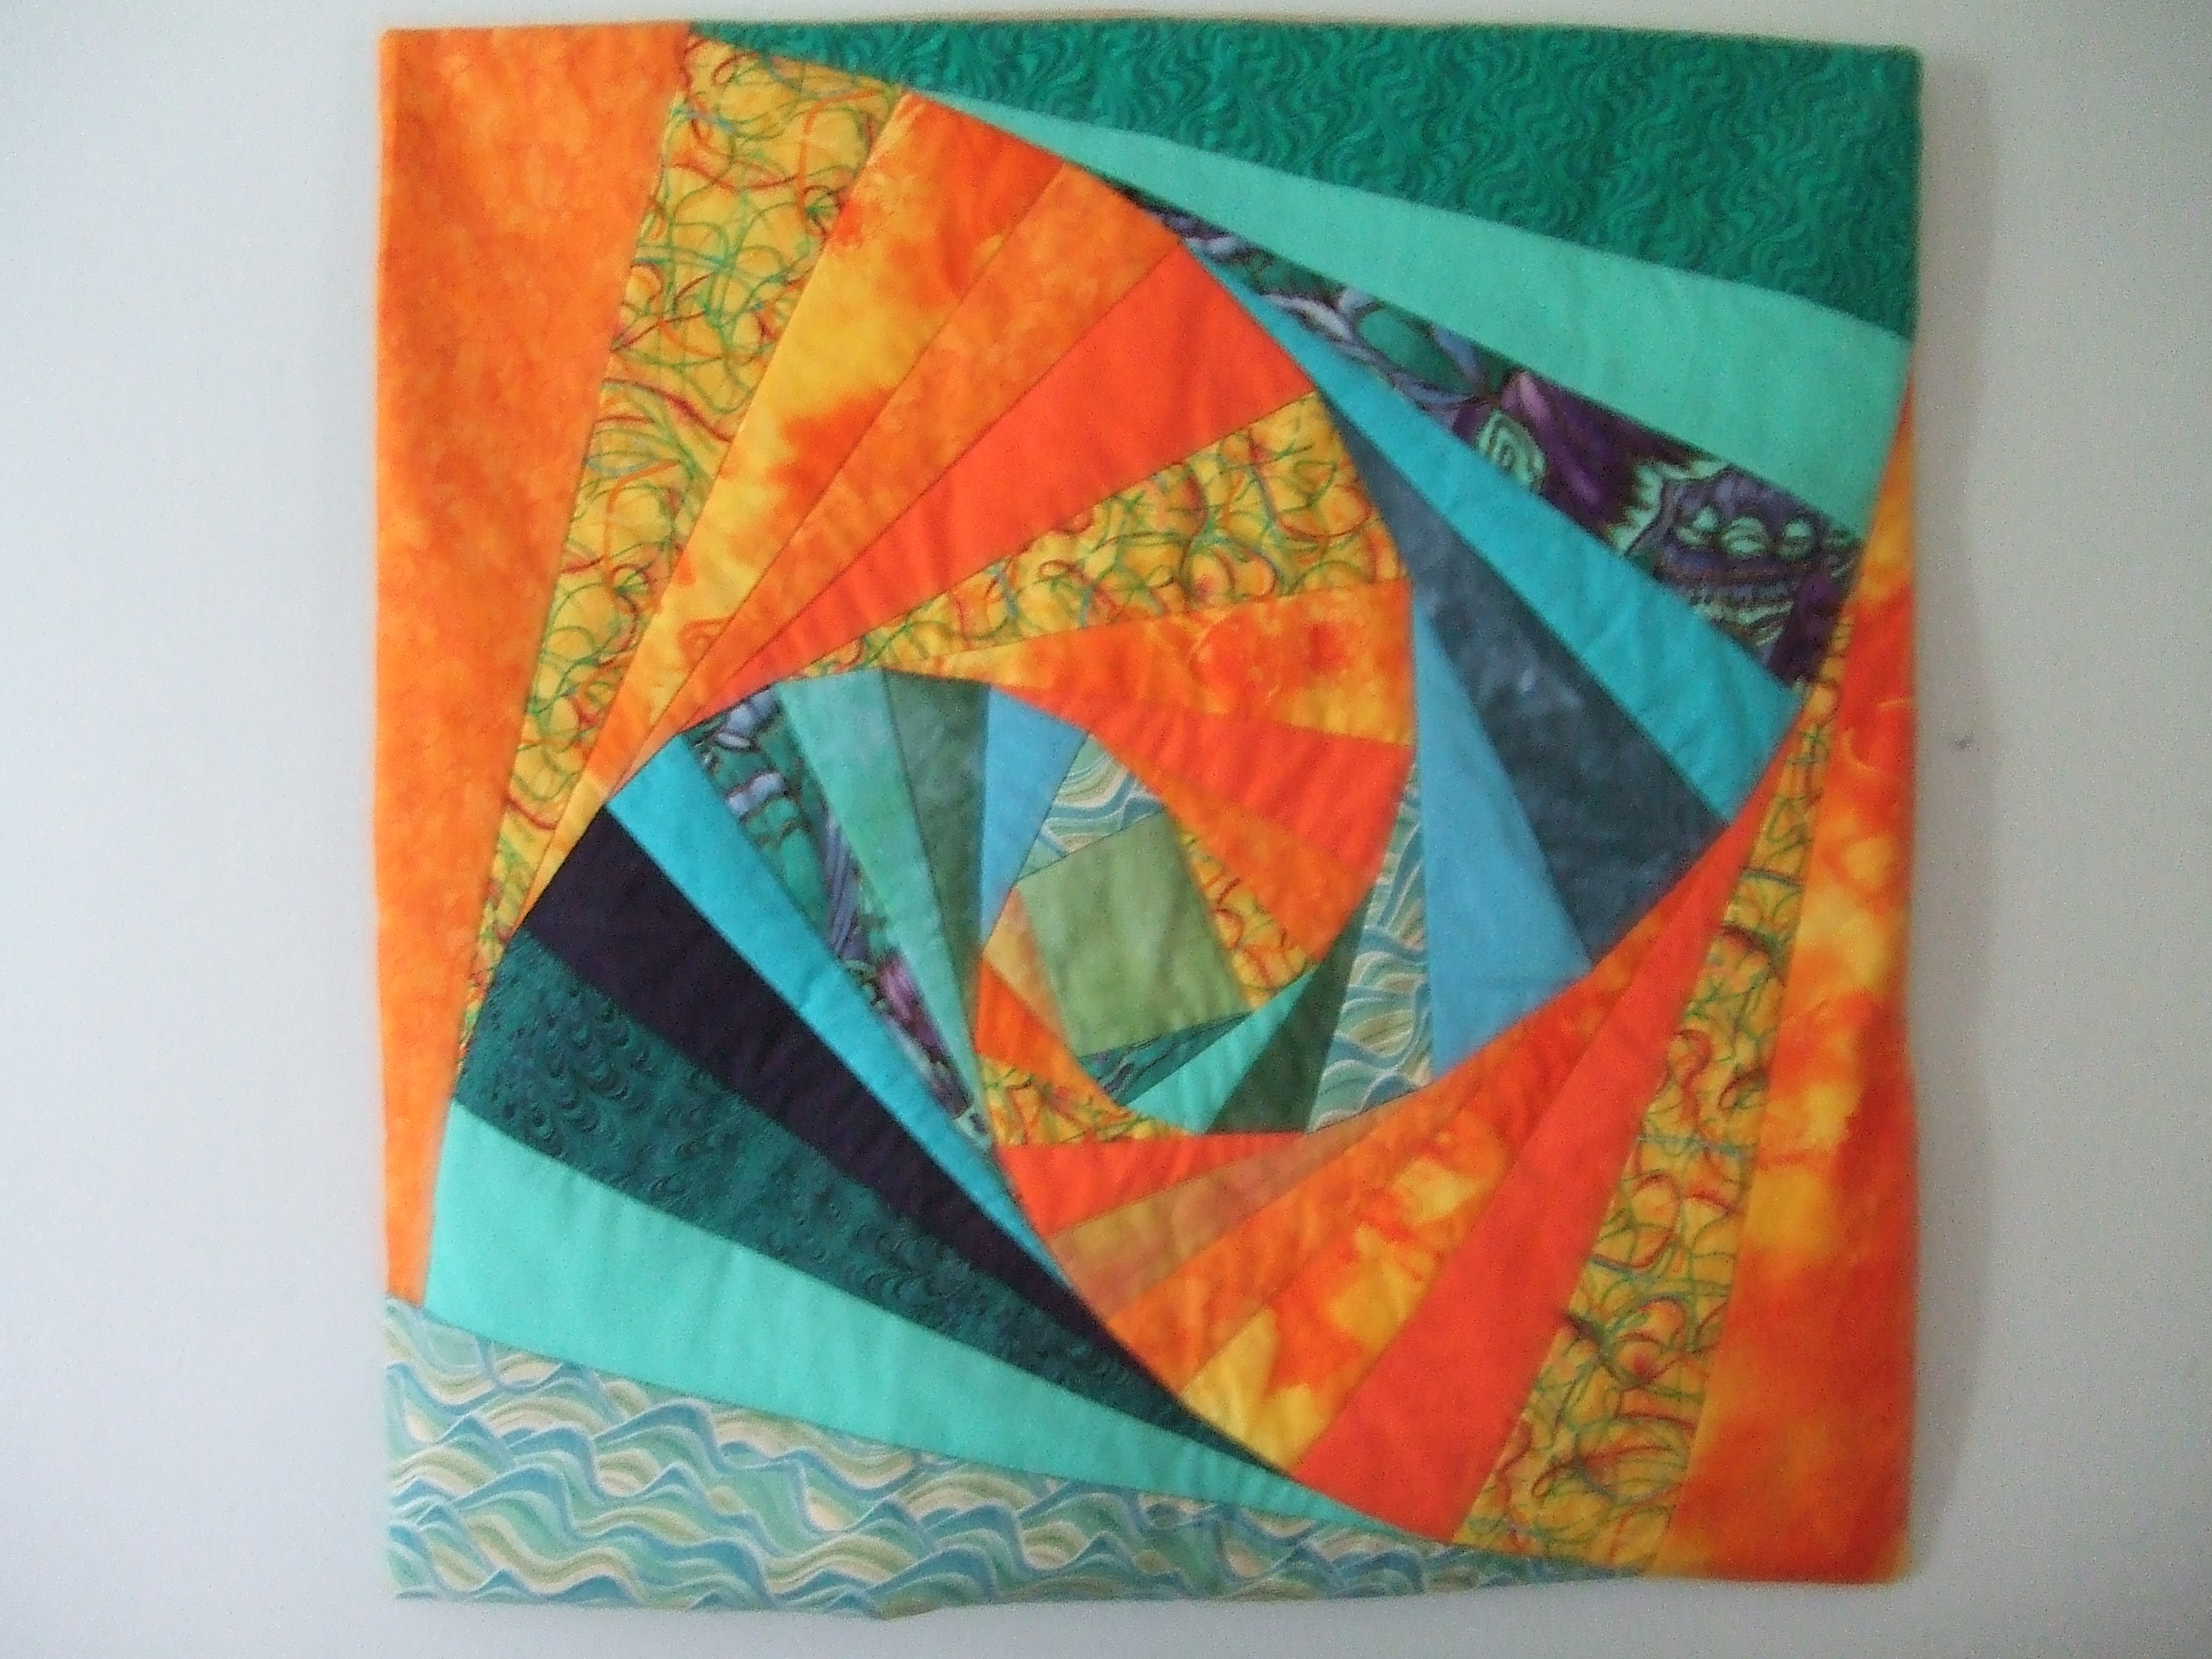
As you see, they convey wonderful movement, along with wonderful patterns. The model in the video, if you look closer, uses these lay out patterns, or at least like them, to start. I wondered how the raising process would effect the geometric, straight lined patterns. The distortions are very pleasing to my eye, wishing you may agree. They lend themselves very well to chasing and repousse decorative techniques, don’t you think.

Missing the larger scale work, working on small scale jewellery at this time, most of the time. Bound to say, I have been pining for more hammer work and less soldering/constructional work. Looking forward to seeing where this goes. As those of you know who have followed this blog from the start, major influences remain Hiroshi Suzuki and his hammer chased vessels. At least one of the bowls will employ hammer chasing, if you return to looking at his exquisite creations, the patterns I will use will be of a similar flavour to his signature natural forms. Not forgetting the awesome and wonderful human being that is David Huang, have I mentioned him before 🙂 I intent to give these bowls a rim, with my own ‘twist’ as a nod to his massive, incalculably huge continuing influence on my approach. This blog was in large part influenced by his generosity, for those of you who have not, please do look him up, I guarantee you will not be disappointed.

I do not want to go on too much as I know this is a continuing personal failing. Suffice to say, its good to be back on the blogasphere. Please do get in touch.

I will be telling you more of my adventures as a jobbing jeweller in a busy shop, as well as my wonderful times as a tutor for the workshop. In two weeks I was fortunate enough to enable 60 people, including my now weekly 8 week beginners course that is rolling out continuously for the foreseeable future.

Until then, all my very best wishes.

Stu

Advertisement

Preparing to sink a copper bowl also applies to silver.

Wato wato.

Time for a break from chasing and repousse, good oh do I hear you say?

I very much wanted to create three dimensional, sculptural type work in metal. This type of working was what attracted me to silversmithing in the first place. So we don’t go off at a tangent, as I am likely to do, no really! I will not give examples of the work that inspires me yet. O/K perhaps just one to give an example of the extreme plasticity and mailability of metal over repeated courses.

http://en.wahooart.com/@@/8Y366D-Benvenuto-Cellini-Salt-Cellar-(5)

This piece was made from gold sheet and raised to become the masterpiece you see here. I was astonished when I saw this and was truly amazed to discover how it was made. As I understand it, it is still somewhat of a mystery as to he exactly did it. I feel the need to show a modern master of this extreme form of metal raising, my biggest influence today as well as a thoroughly decent chap who responded to my ham fisted request for help; David Huang.

http://davidhuang.org/gallery2/main.php?g2_itemId=2147

Breathtaking aren’t they. Please do take the time to look at his sight, the man is a truly beautiful individual who has an inspirational take on life that is well worth reading. When I make enough to support myself and have cash to spare (I put when so that defeat is not an option) I will purchase one of his masterpieces, you can quote me on it.

I was afraid I would get carried away, oh well I hope you find some history and examples of masters challenge you to have a go.

The pictures show the early stages of the journey that leads to hand raised vessels, hollowware or sculptural art as shown by Cellini and Huang. Many practitioners start by raising and not sinking first, here is why I prefer to sink first.

The metal, when you start with a flat sheet, even after annealing is quite reluctant to raising and demands a degree of understanding as to the direction the metal will tend to take. As a beginner it was easy for me to get lost and create what looked like a pringle crisp that had been processed more than once. Experienced practitioners do not have a problem compensating for and altering their approach as the material demands, sinking before lessons this ‘wild’ behaviour of the metal, in my experience anyway. Sinking lets the metal ‘relax’ into the process and aids me in making each round more consistent.

The two ancient looking machines shown in the photographs were purchased by me from a chap who retired as a tinsmith. I managed to rescue the whole of his workshop machines and stakes. You can just see one of the two fly presses that came from him. He showed me one of the press stamps and said this was his first job as a tinsmith when he was sixteen. I feel proud to have been able to become the next custodian of these fine machines that were at the centre of the golden era, now sadly gone, of British manufacturing, don’t get me started!

The metal guillotine is handy, fast and efficient in cutting straight edges. You don’t need it, its just lovely to have as is the next machine that you may not have seen before. This is a circle cutting machine. A kind of tin opener like machine with two cutting wheels that cut as the handle is cranked. Again not a necessity, just a beautiful machine to own and one that will be overhauled, like the guillotine in the future.

The metal sheers or tinsnips are perfectly good for this and are mostly used as many people will not have a circle cutting machine. When you cut with these sheers, go just outside the line and finish off by filling to the line. The sheers will leave a little raised edge or burr that will need to be filled smooth. The jewellers saw is a posh one made by KEW designs. It gets mixed reviews, I am not the best person to advise as I started with the nastiest cheapest saw to begin with, as a result I feel sure anything else would feel fantastic. This saw is great for me and I noticed the difference straight away, best, if you can, to try a really nicely made traditional saw, then compare, I haven’t so am not subjective on this.

Shown are the hammers I use, sinking or blocking hammers as they are known. I put the common ball peen hammer in to show the difference in profiles. As you see this hammer has a very tight radius compaired to the blocking hammers. Imagine the surface finish you see on planished jewellery or vessels. The ball peen is great for texture, not so good for sinking as it compressed a too small area. The larger hammer on the right is looking almost flat by comparison. Imagine this moving large areas at a time and distributing the stresses from each blow more evenly as well as making overlapping blows far easier. Some people would use a bossing mallet shown here to do all the sinking. I find it more efficient to use a hammer on wood then finish off with the mallet, either in the same wood depression or on a sandbag to even out the surface before annealing.

I show the two examples of wooden depressions made to accommodate different sizes and depths. The second one shows the hole I drilled to remove material before using a sinking hammer and repeatedly hammering hard and accurately to create a depression that matched the profile of the hammer. The other one was made deliberately irregular with chisels and sanding to experiment with differing depths and profiles. Willow is said to be the best material as it has a natural spring, as it was explained to me, think of cricket bats. I do not have any and used wood I found after a tree was cut down where I walk my two dogs. Pretty much any end grain wood should work I would think.

When you started to mark out your circle you need to centre punch the middle where the compass spike sits. This is important as you will need this as a reference point later. Careful not to go too deep, making sure you can see the mark from the reverse, this is not as important if you plan to just sink, however if you go on to raise you will need both.

I have, again, written more than I intended and find myself running out of time. I will continue this topic next time, trying not to be as distracted. The next post we will start to strike the metal and create a small bowl. For those of you who are not sure about sinking with the wood, or do not have a blocking hammer but do have a ball peen. I will show you how you can use work hardening with such a hammer and a flat steel bench block to make a small bowl from scrap if you like.

Until next week, all my very best wishes.

Stu Art 🙂