-
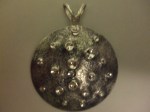
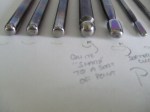
- Moon pendant with bale showing
-

- Moon pendant with hidden bale
-

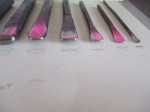
- polished finish for drop earrings
-

- just ‘repousse’ domes, bordered with lining tool
-

- As the previous, this time the domes are faceted with planishing tools
-

- Faceted moon using planishing punches
-
- Illistrated the softness you can achieve when you are mindful of the consistency of your pitch
-
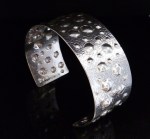
- Planished around the domes to depth some depth
-

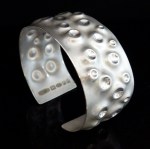
- Closed cuff with scraffito finish
-

- More subtle use of patternation to lift the faceted domes, to draw the eye to the polished inners.
Hello all and a very happy easter.
The clocks have gone forward today, I truly wish my dogs were aware as early dawn chorus was not welcome after a night out at a family birthday bash! Bless them eh. Oh to just want for nothing more than walkies and a full belly, I wish ; )
As promised, some examples of my jewellery work that use doming or dapping punches as a pivotal tool for creating the effects you see here. As I wrote before, I am a huge fan of them, I just felt bound to point out the challenges people may face who wish to use them for themselves in their own creations.
I guess technically the simpler jewelery designs shown here could reasonably be called stamping. I would like to give reasons why this is, in my opinion, not strictly true in these pieces.
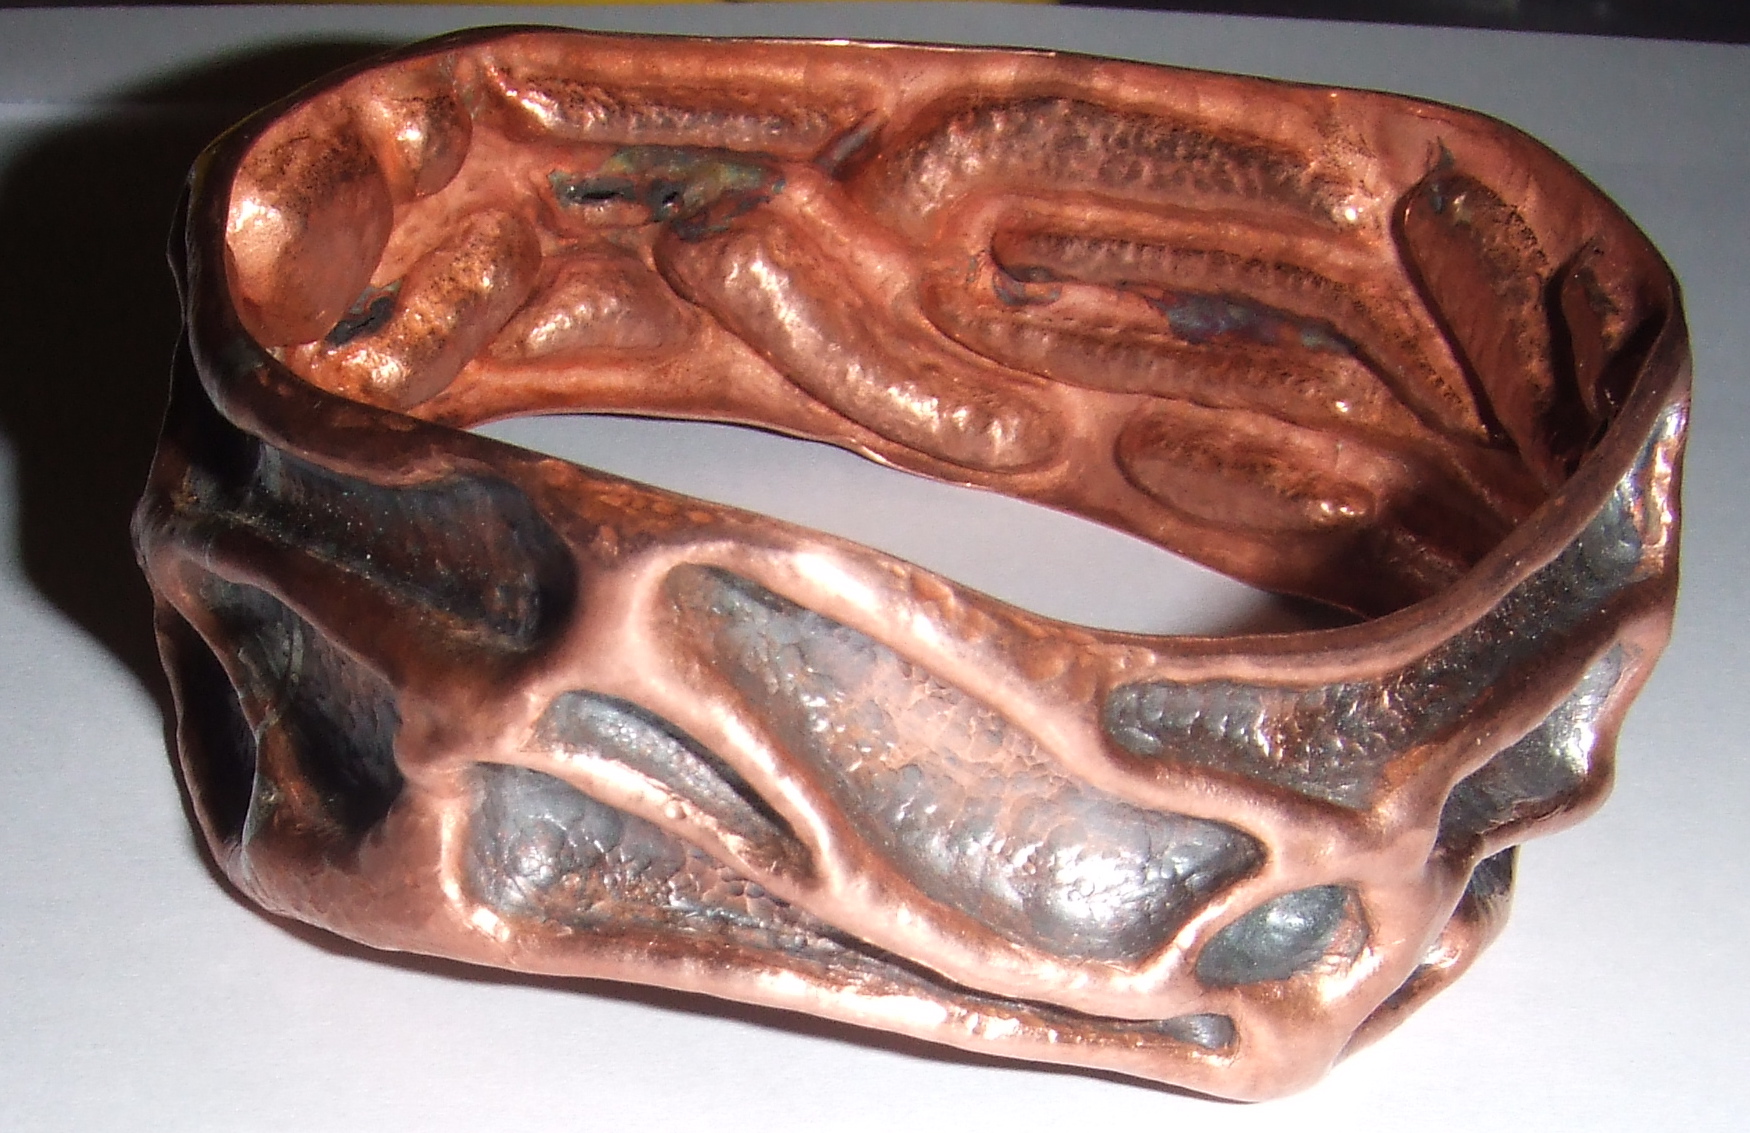
If one uses a doming or dapping block the metal will conform to the ridged male and female parts, creating a perfect, reproducible and measurable copy of the tools used. If you look closely at the open c cuff with the matt finish, you will notice the sloping of the sides, creating a gentle ‘hill like’ ramp that leads up to, and compliments the turning in of the rim. This helps to lead the eye towards the centre polished interior of the domes, a bonus also is the very tactile nature of the risen elements with no sharp ridges. I know I have knocked back other versions by faceting, this was to take the design somewhere else after I had looked at the possibilities with this method. This is achieved by using pitch as a doming block. By altering the temperature, or using pitches with varying hardness, the pitch will support the metal more or less. By experimenting on practice scrap sheet, the viscosity, hardness can be arrived at to obtain the effect you wish to achieve.
A little insight as to how I arrived at this design. As a small child I was fascinated by microscopic images. Back when granny was a boy, yes that long ago, when I was small microscopes were rare and very expensive, unlike now. I remain fascinated with the hidden world we all are unable to see with the naked eye and still think of it often. For a College brief to formulate a design I turned to my old interest, coming up with heart on your sleeve, a cuff made from intertwined raised elements, I will show this another time.
The designs shown here were from me looking at red blood cells. I tried to use doming blocks, finding them too clumsy for cuffs, not suitable for domed surfaces and the domes were very pronounced, not that there is anything wrong with that, still looks fantastic, just did not fit the criteria I was looking for, also to satisfy the College tutors. I wanted the ‘blood-platelets’ to be more rounded at the edge and look as though they were growing out of the sheet rather than looking as though they were added elements that can perhaps be mistaken with a crisper punch and die approach.
The designs have morphed into the ones you see here, and a few more. I now call them the moon series or even stuck on you as they look a little like octopus tentacles. This is a great example of a design, once decided upon, becoming something else unforeseen and beautifully unpredictable. Another more practical consideration was from the reaction from some of my lady peers who were a little grossed out by the thought of blood cells. I have used this association with other designs that I will introduce in later posts.
In conclusion, to explain the techniques used. I first repoussed, from the inside the domes, then took the pieces off the pitch, turned it over face up and chased, using a smaller, or larger, doming punch to create the craters, depending upon the effect I wished to communicate.
The textures I used were created with punches and other techniques I will show next time.
I hope you all have a great holiday break.
Very best wishes.
Stu Art


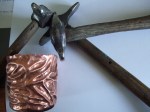
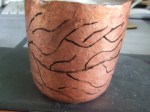

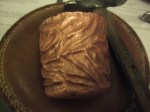


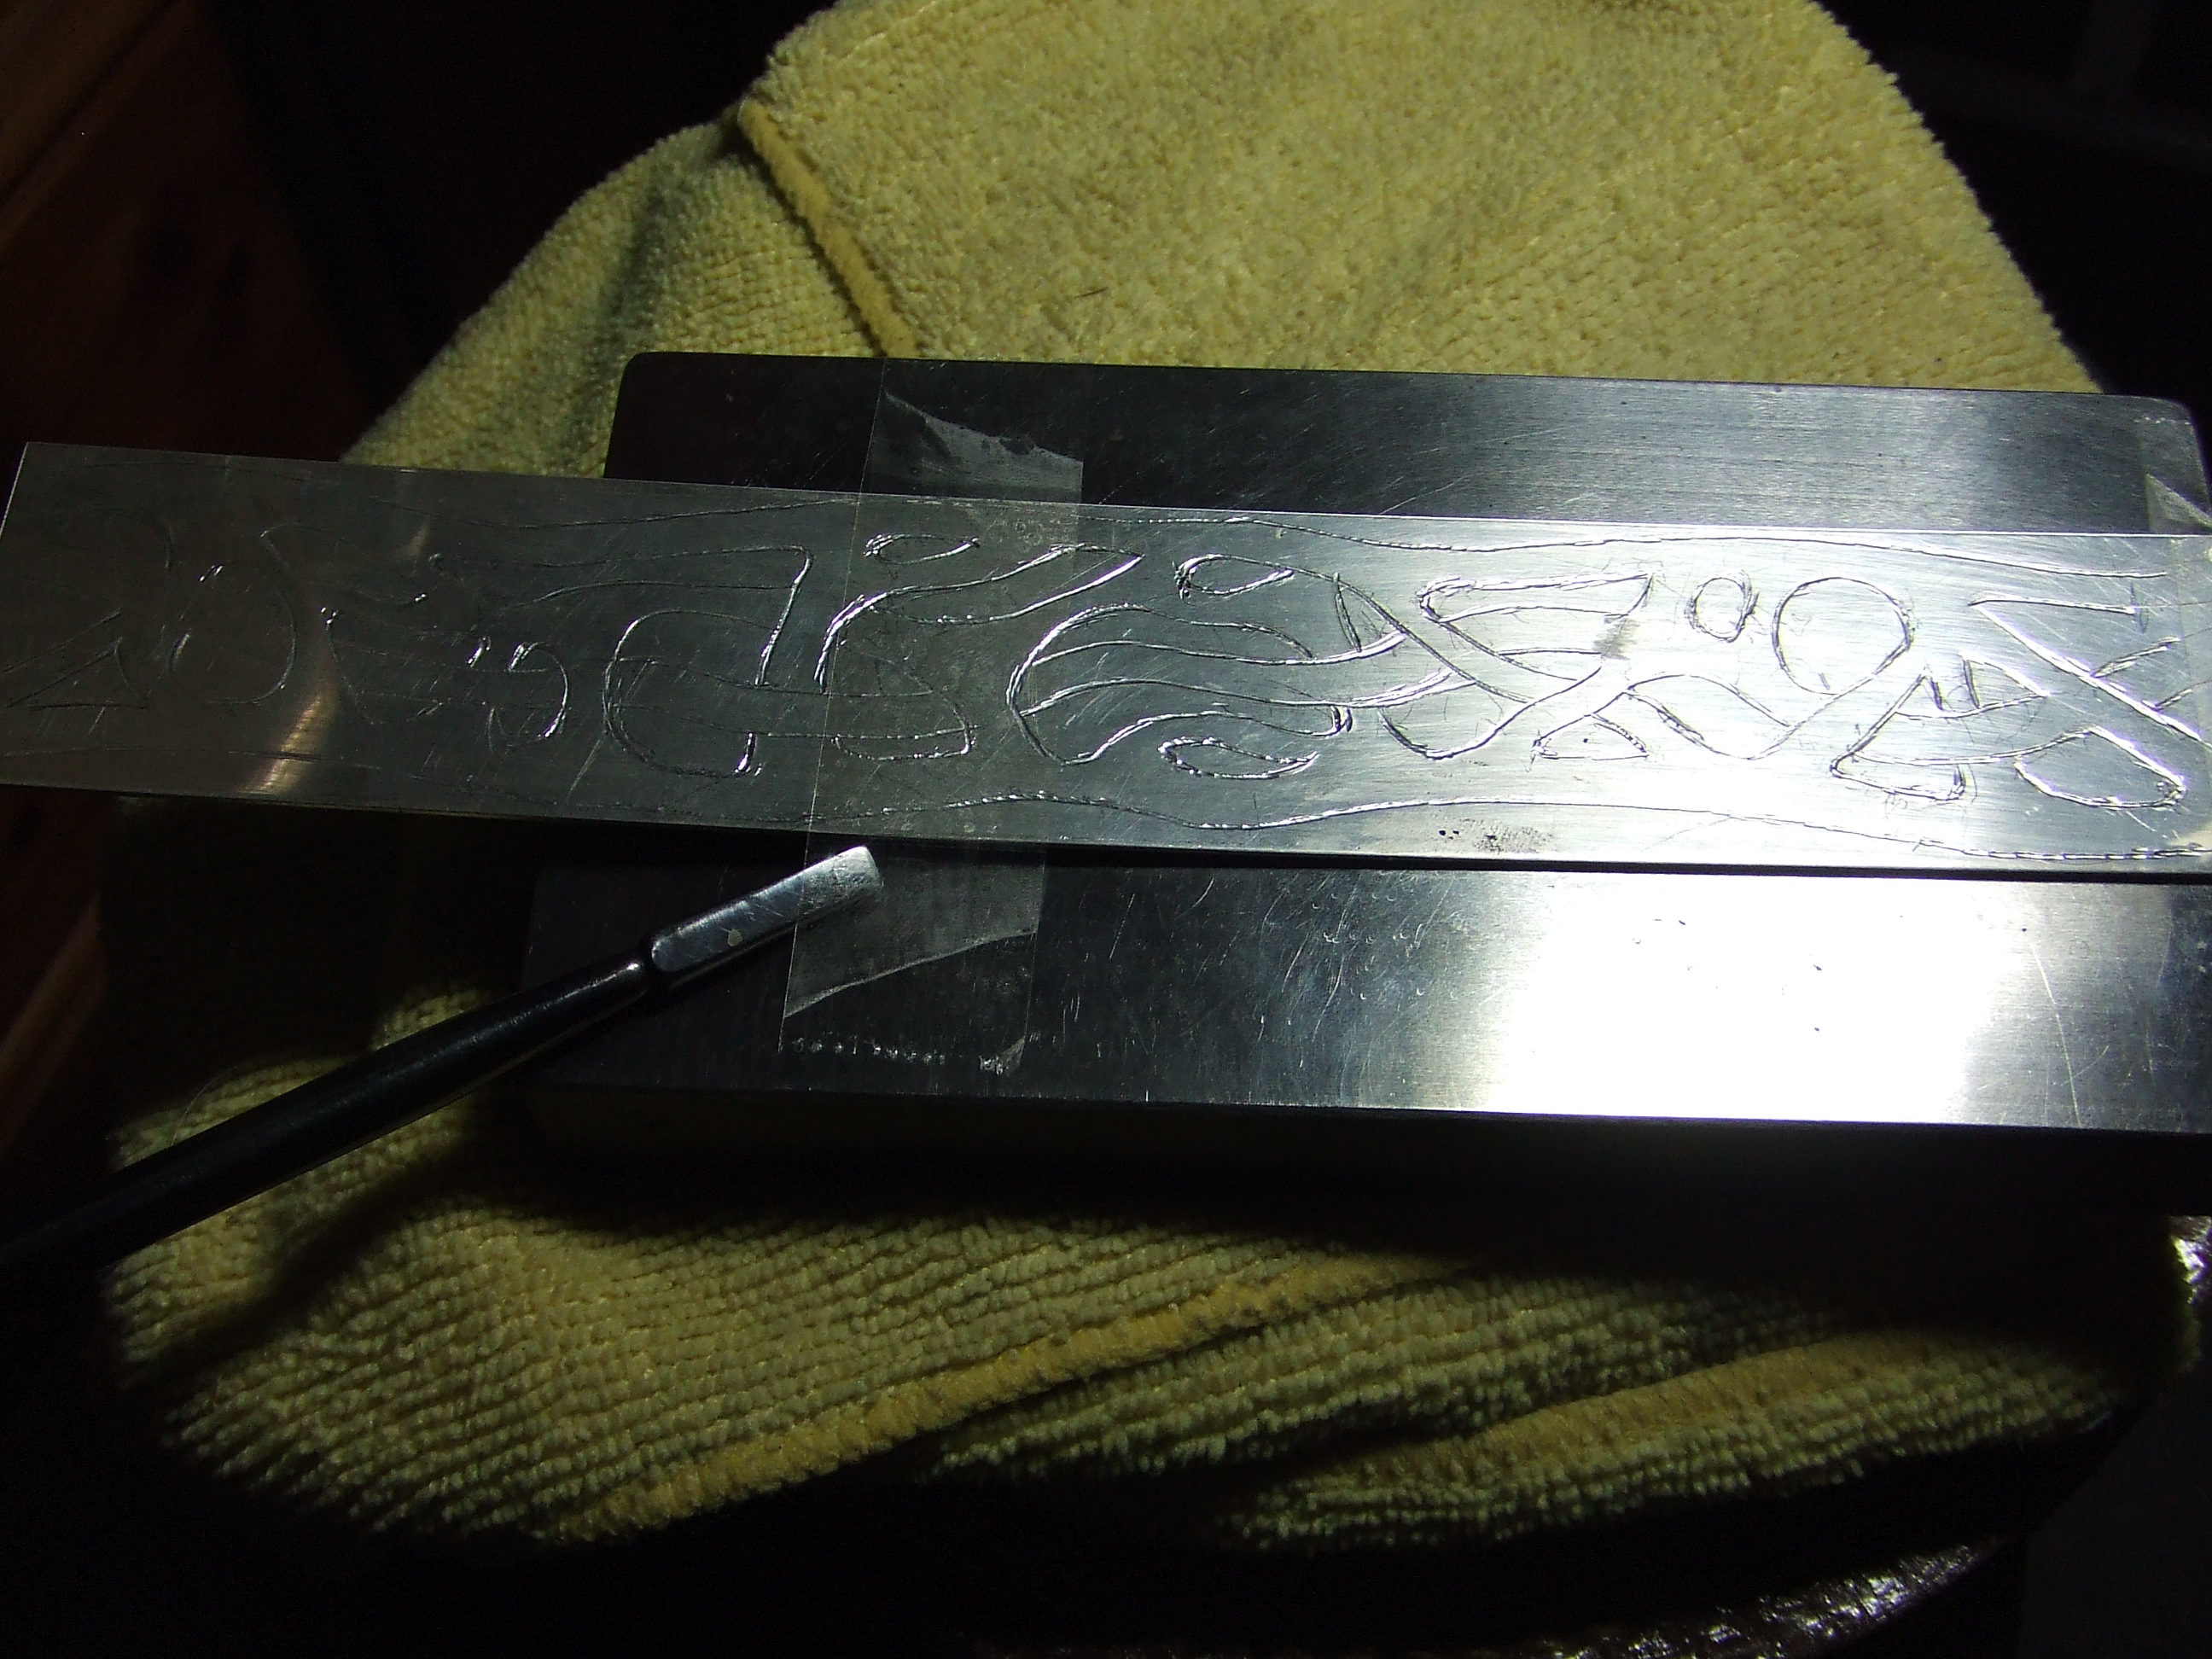
 Start of the design before final trimming, shown is the copper prototype