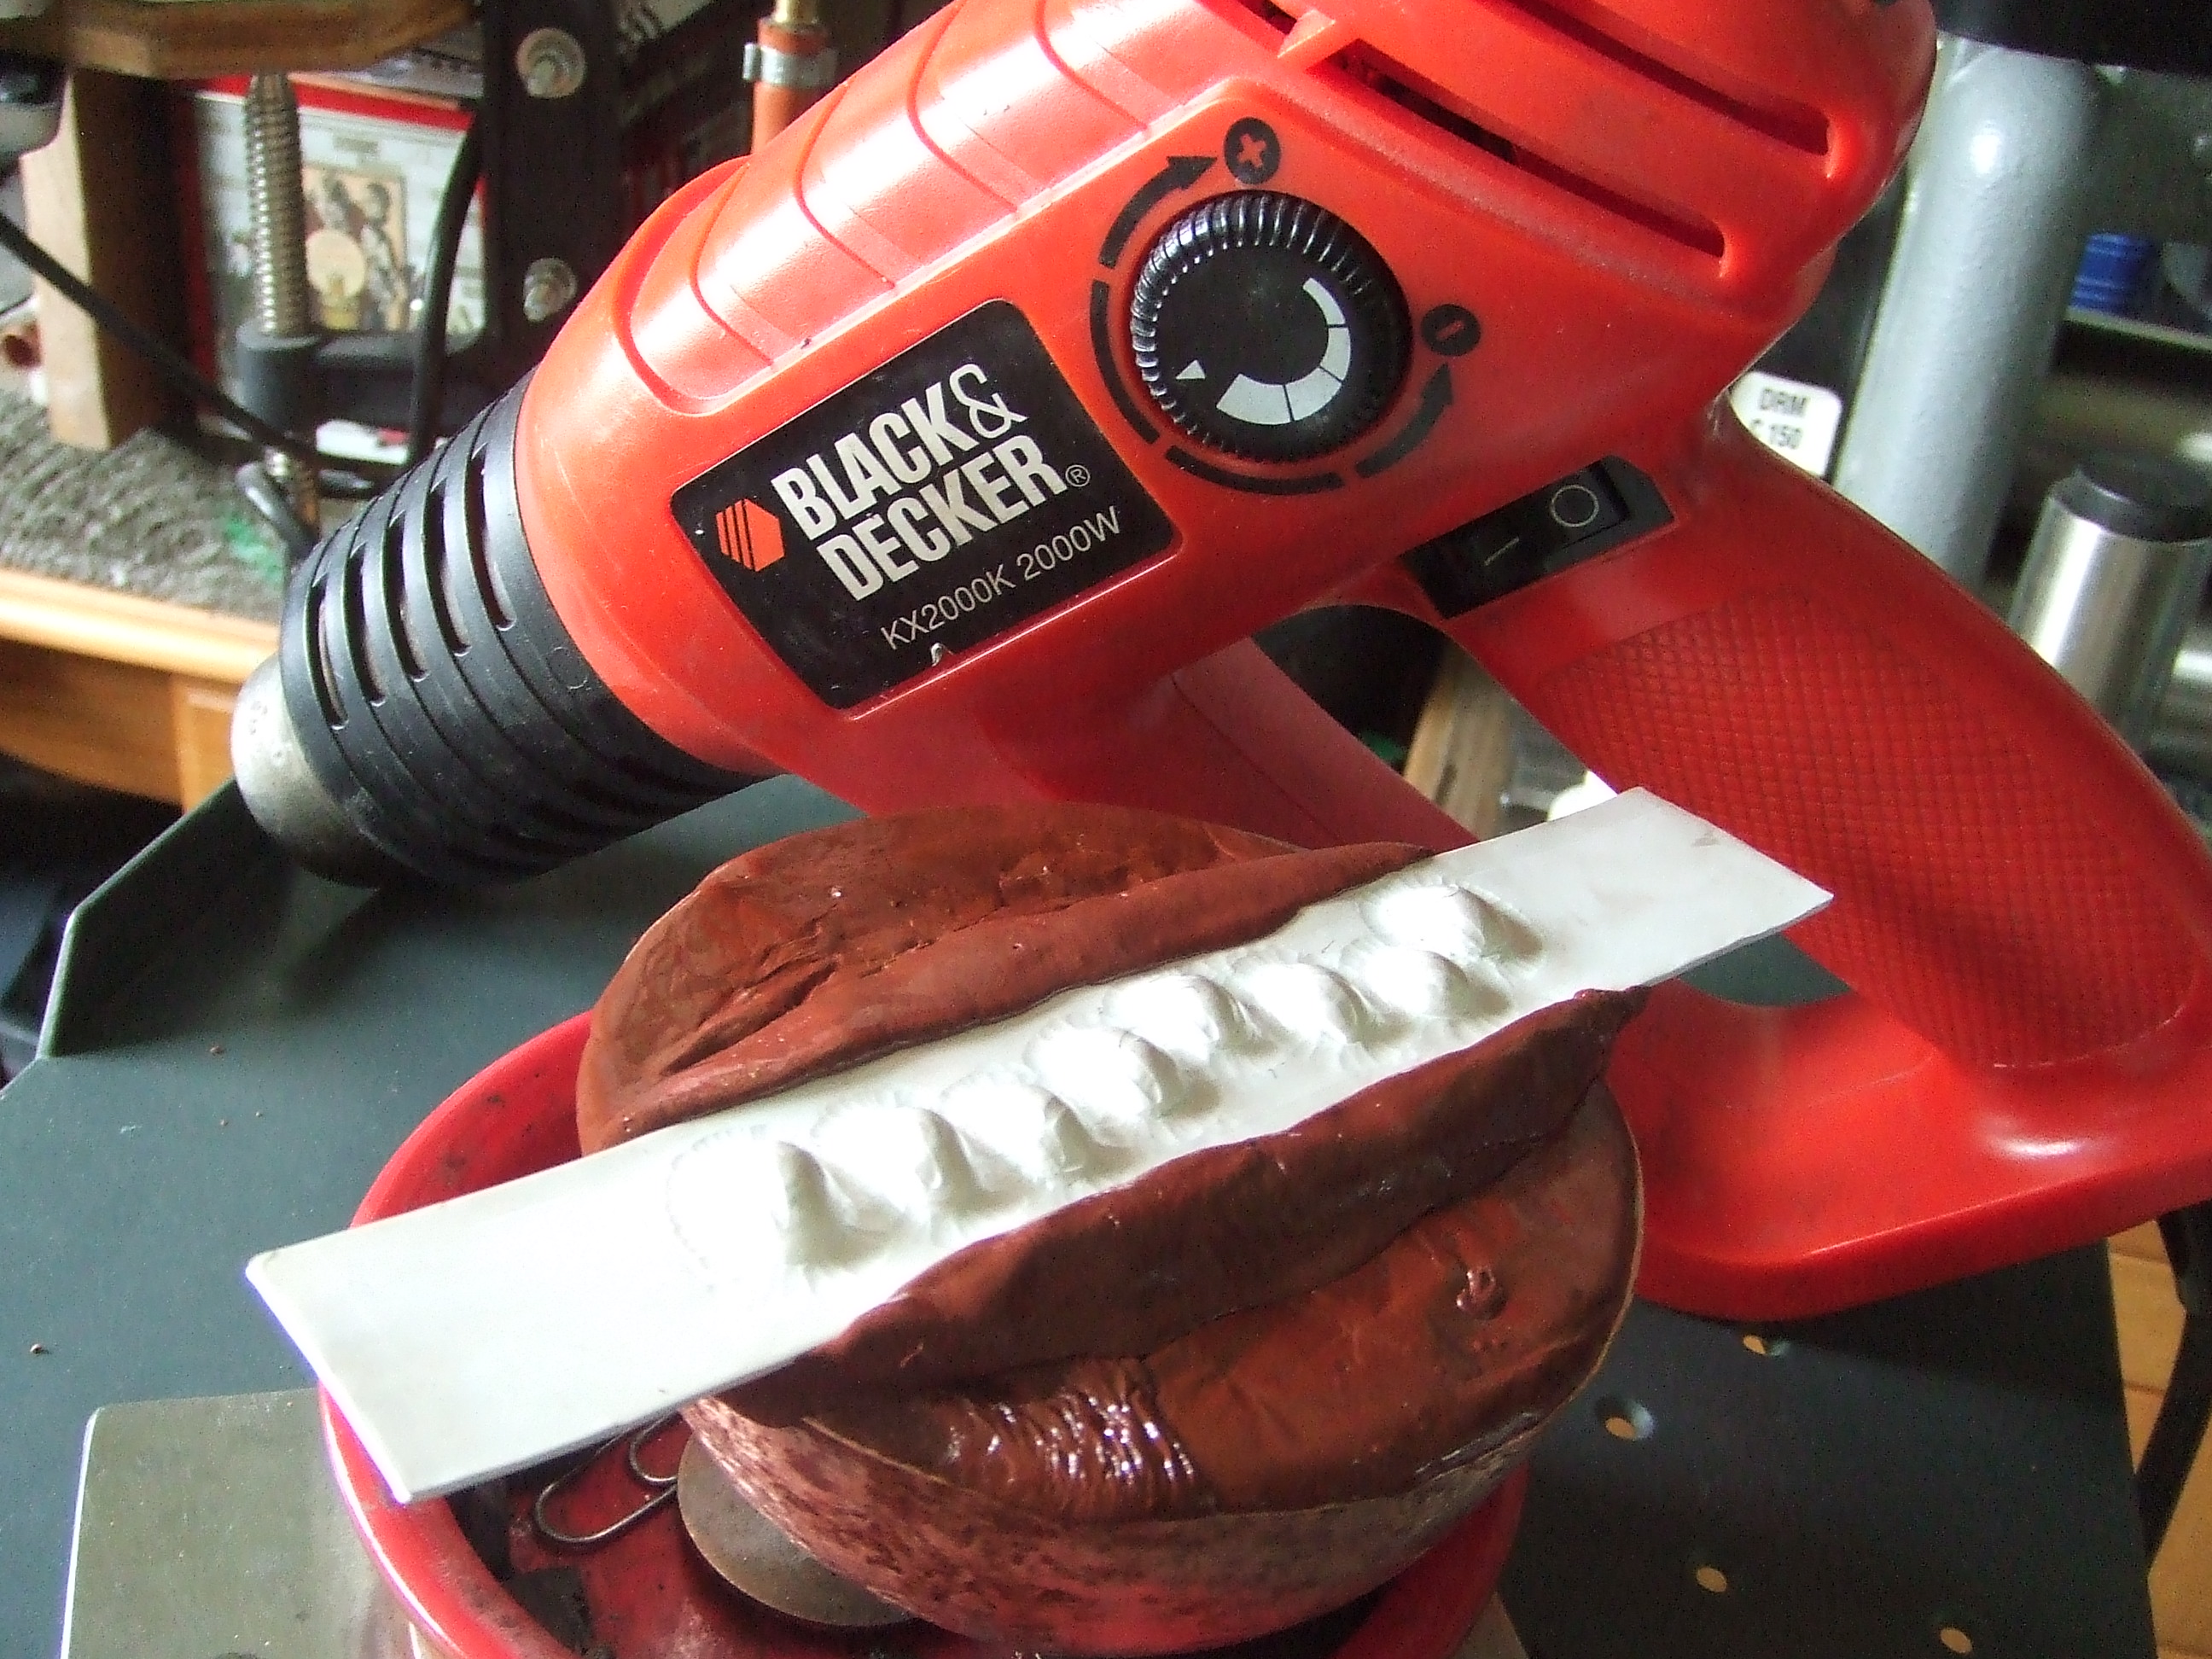
See text for explanation of hot air/paint stripper gun.
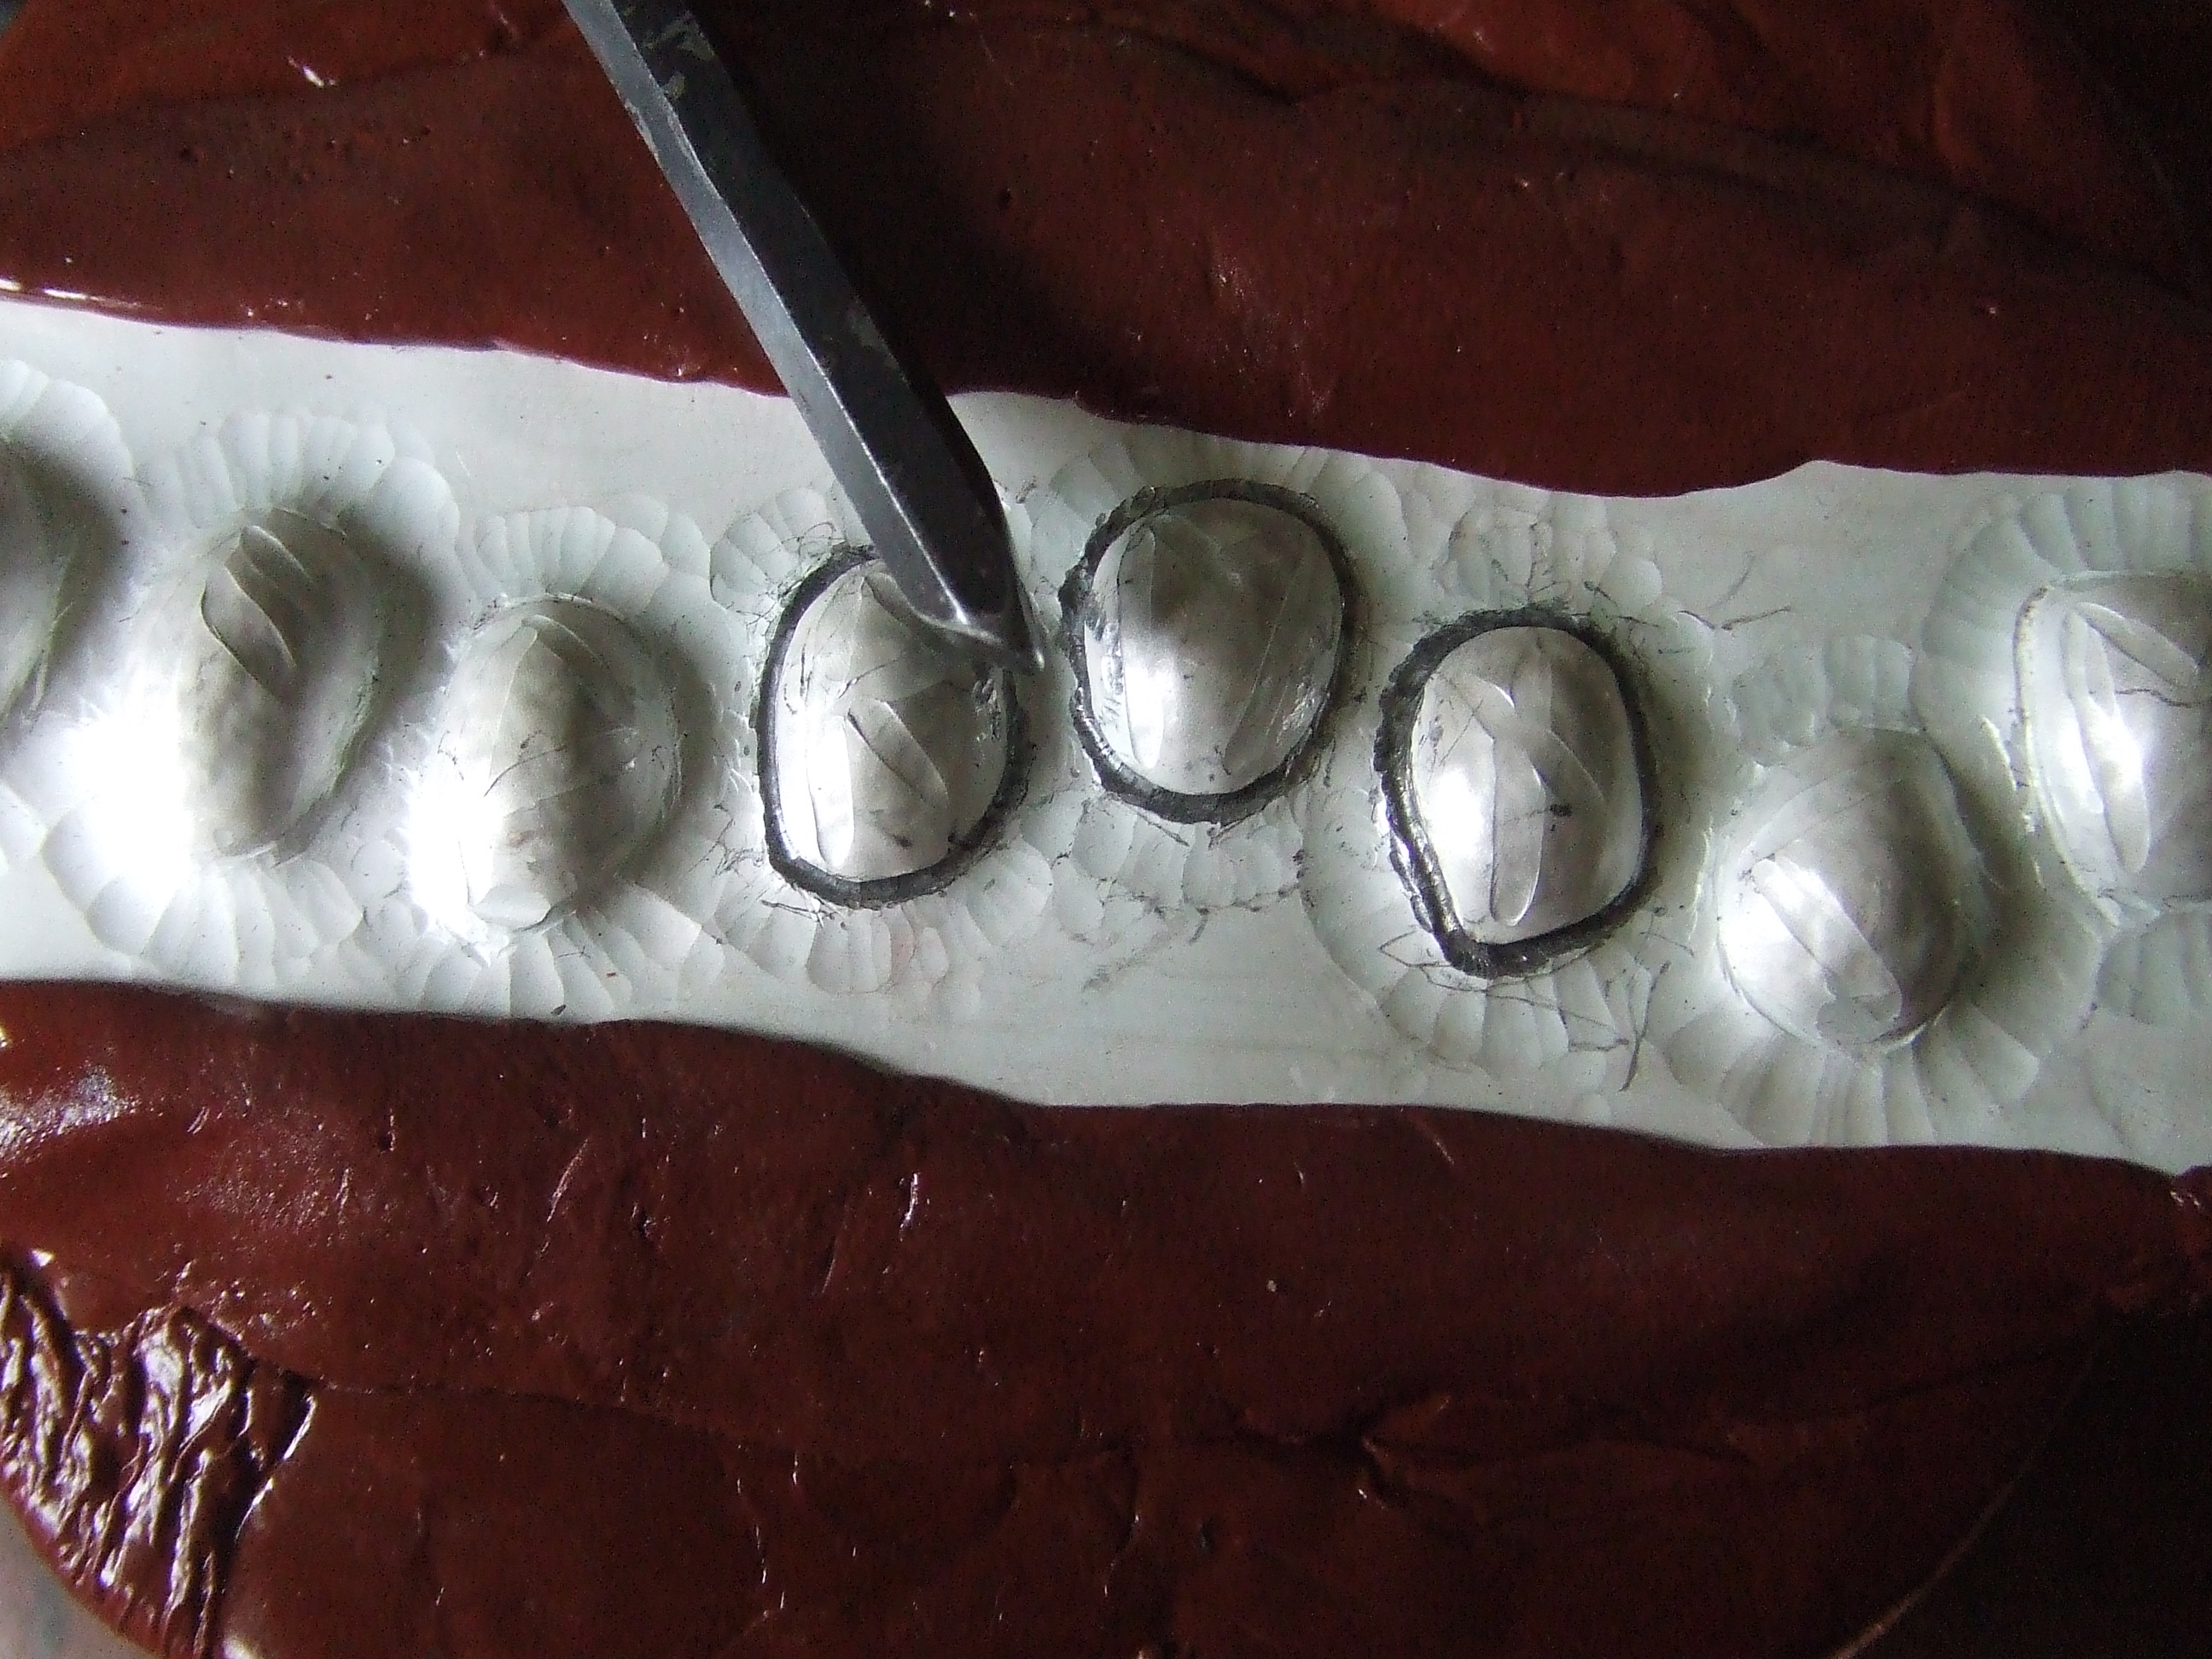
Because of the hight required for the ‘runes’, also the definition/separation from the background I wanted to achieve; you can clearly see the material ‘gathered’ from the surrounding ares of each stone to push more silver where thinning will inevitably occur.

German red pitch, I now have experienced, is very much more supportive. To get this flatness with my normal green would have meant transferring from the pitch to a flat plate, using planishing punches to push back surrounding areas.

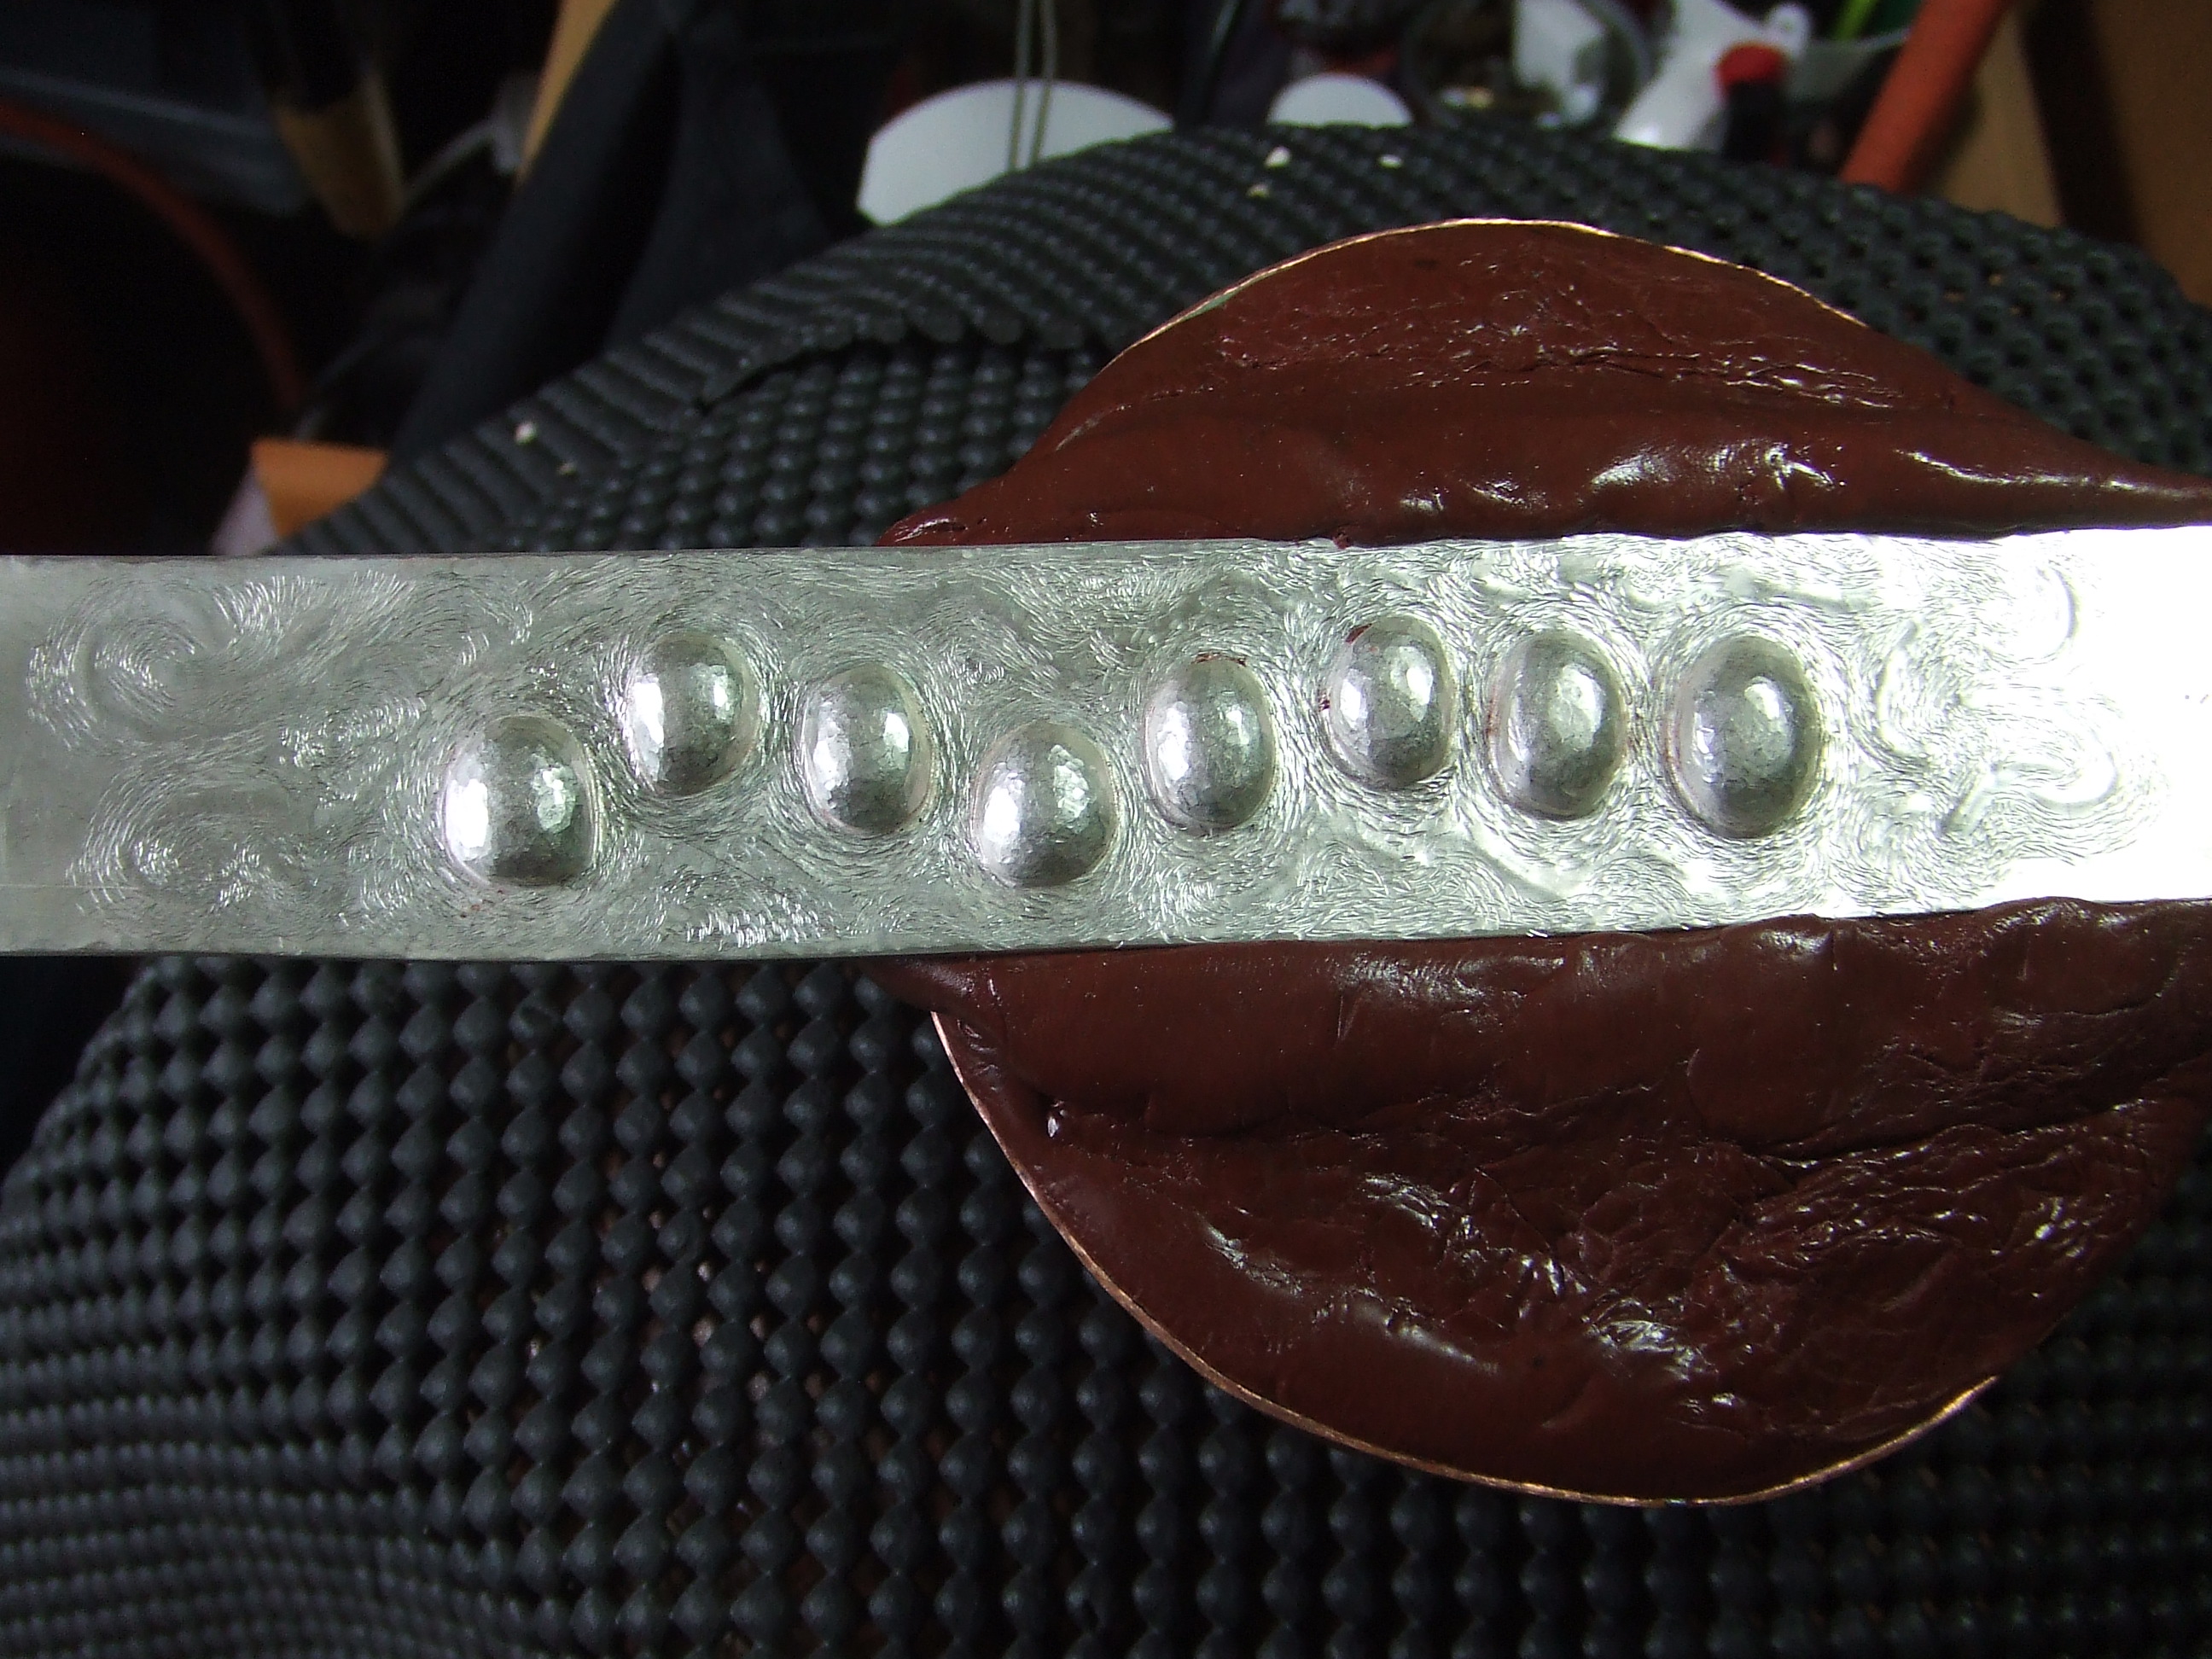
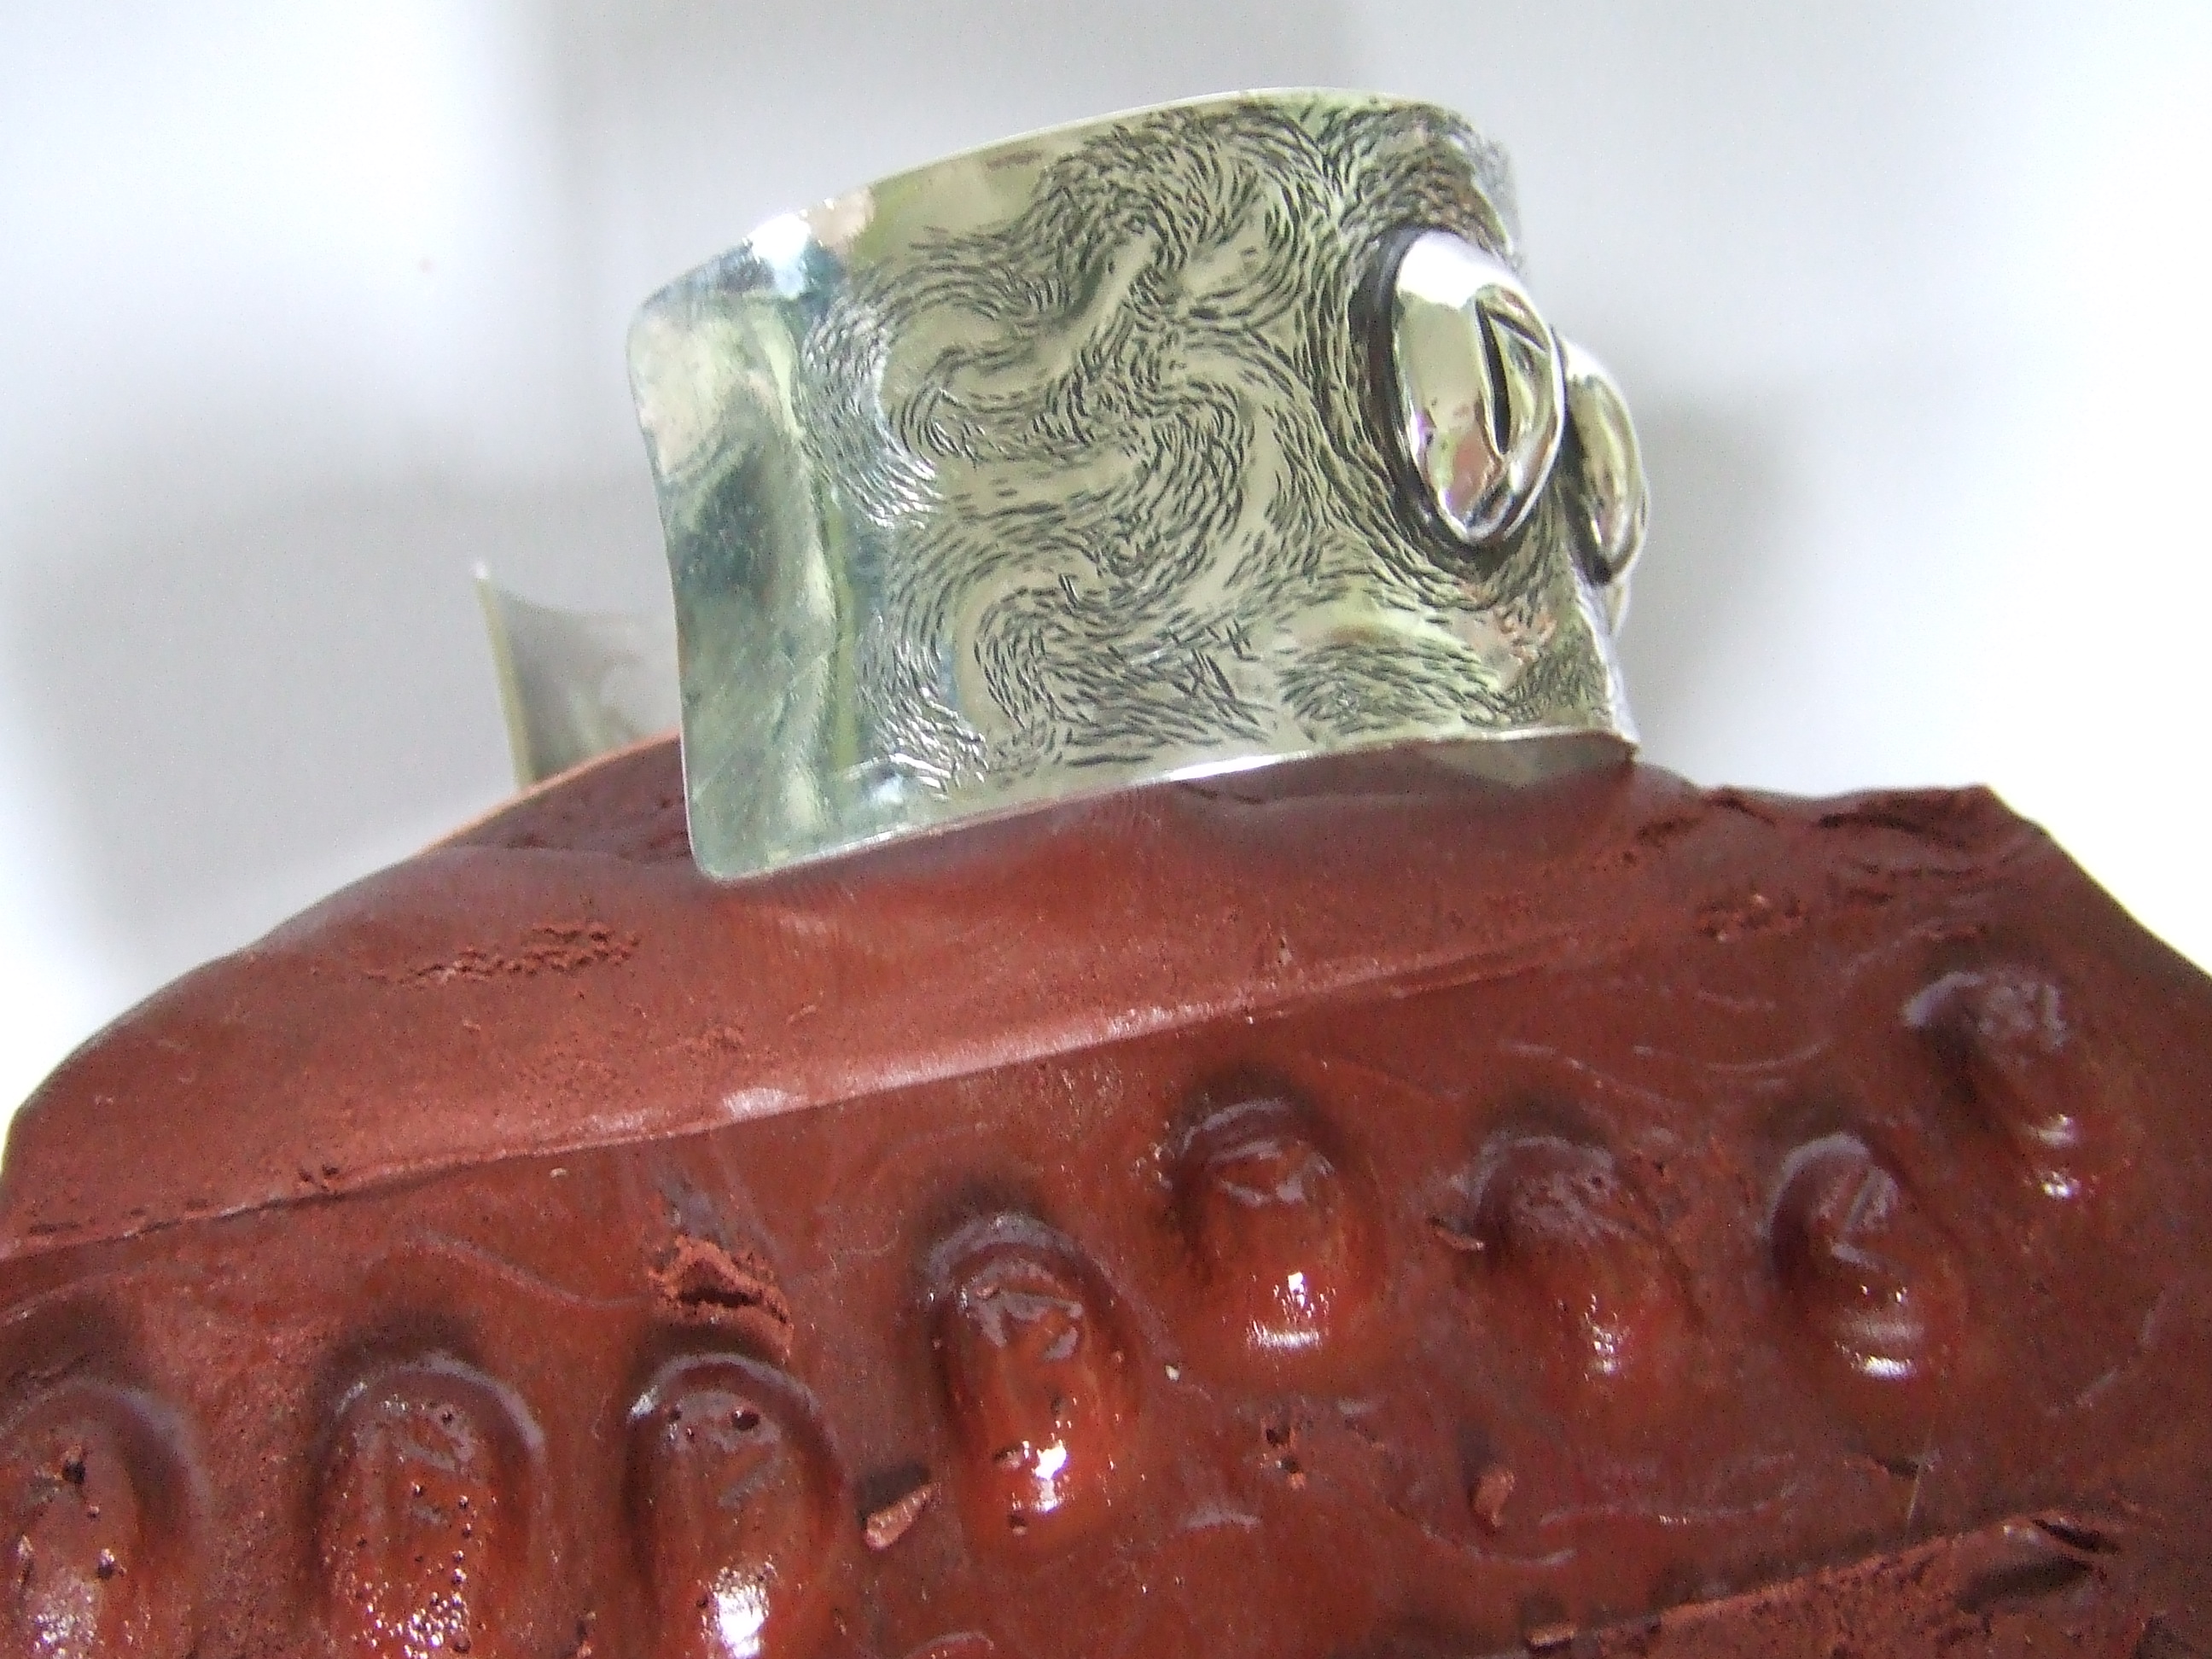
To cover up the marks made whilst gathering material, starting to use different curved liners to give the impression of flowing water.
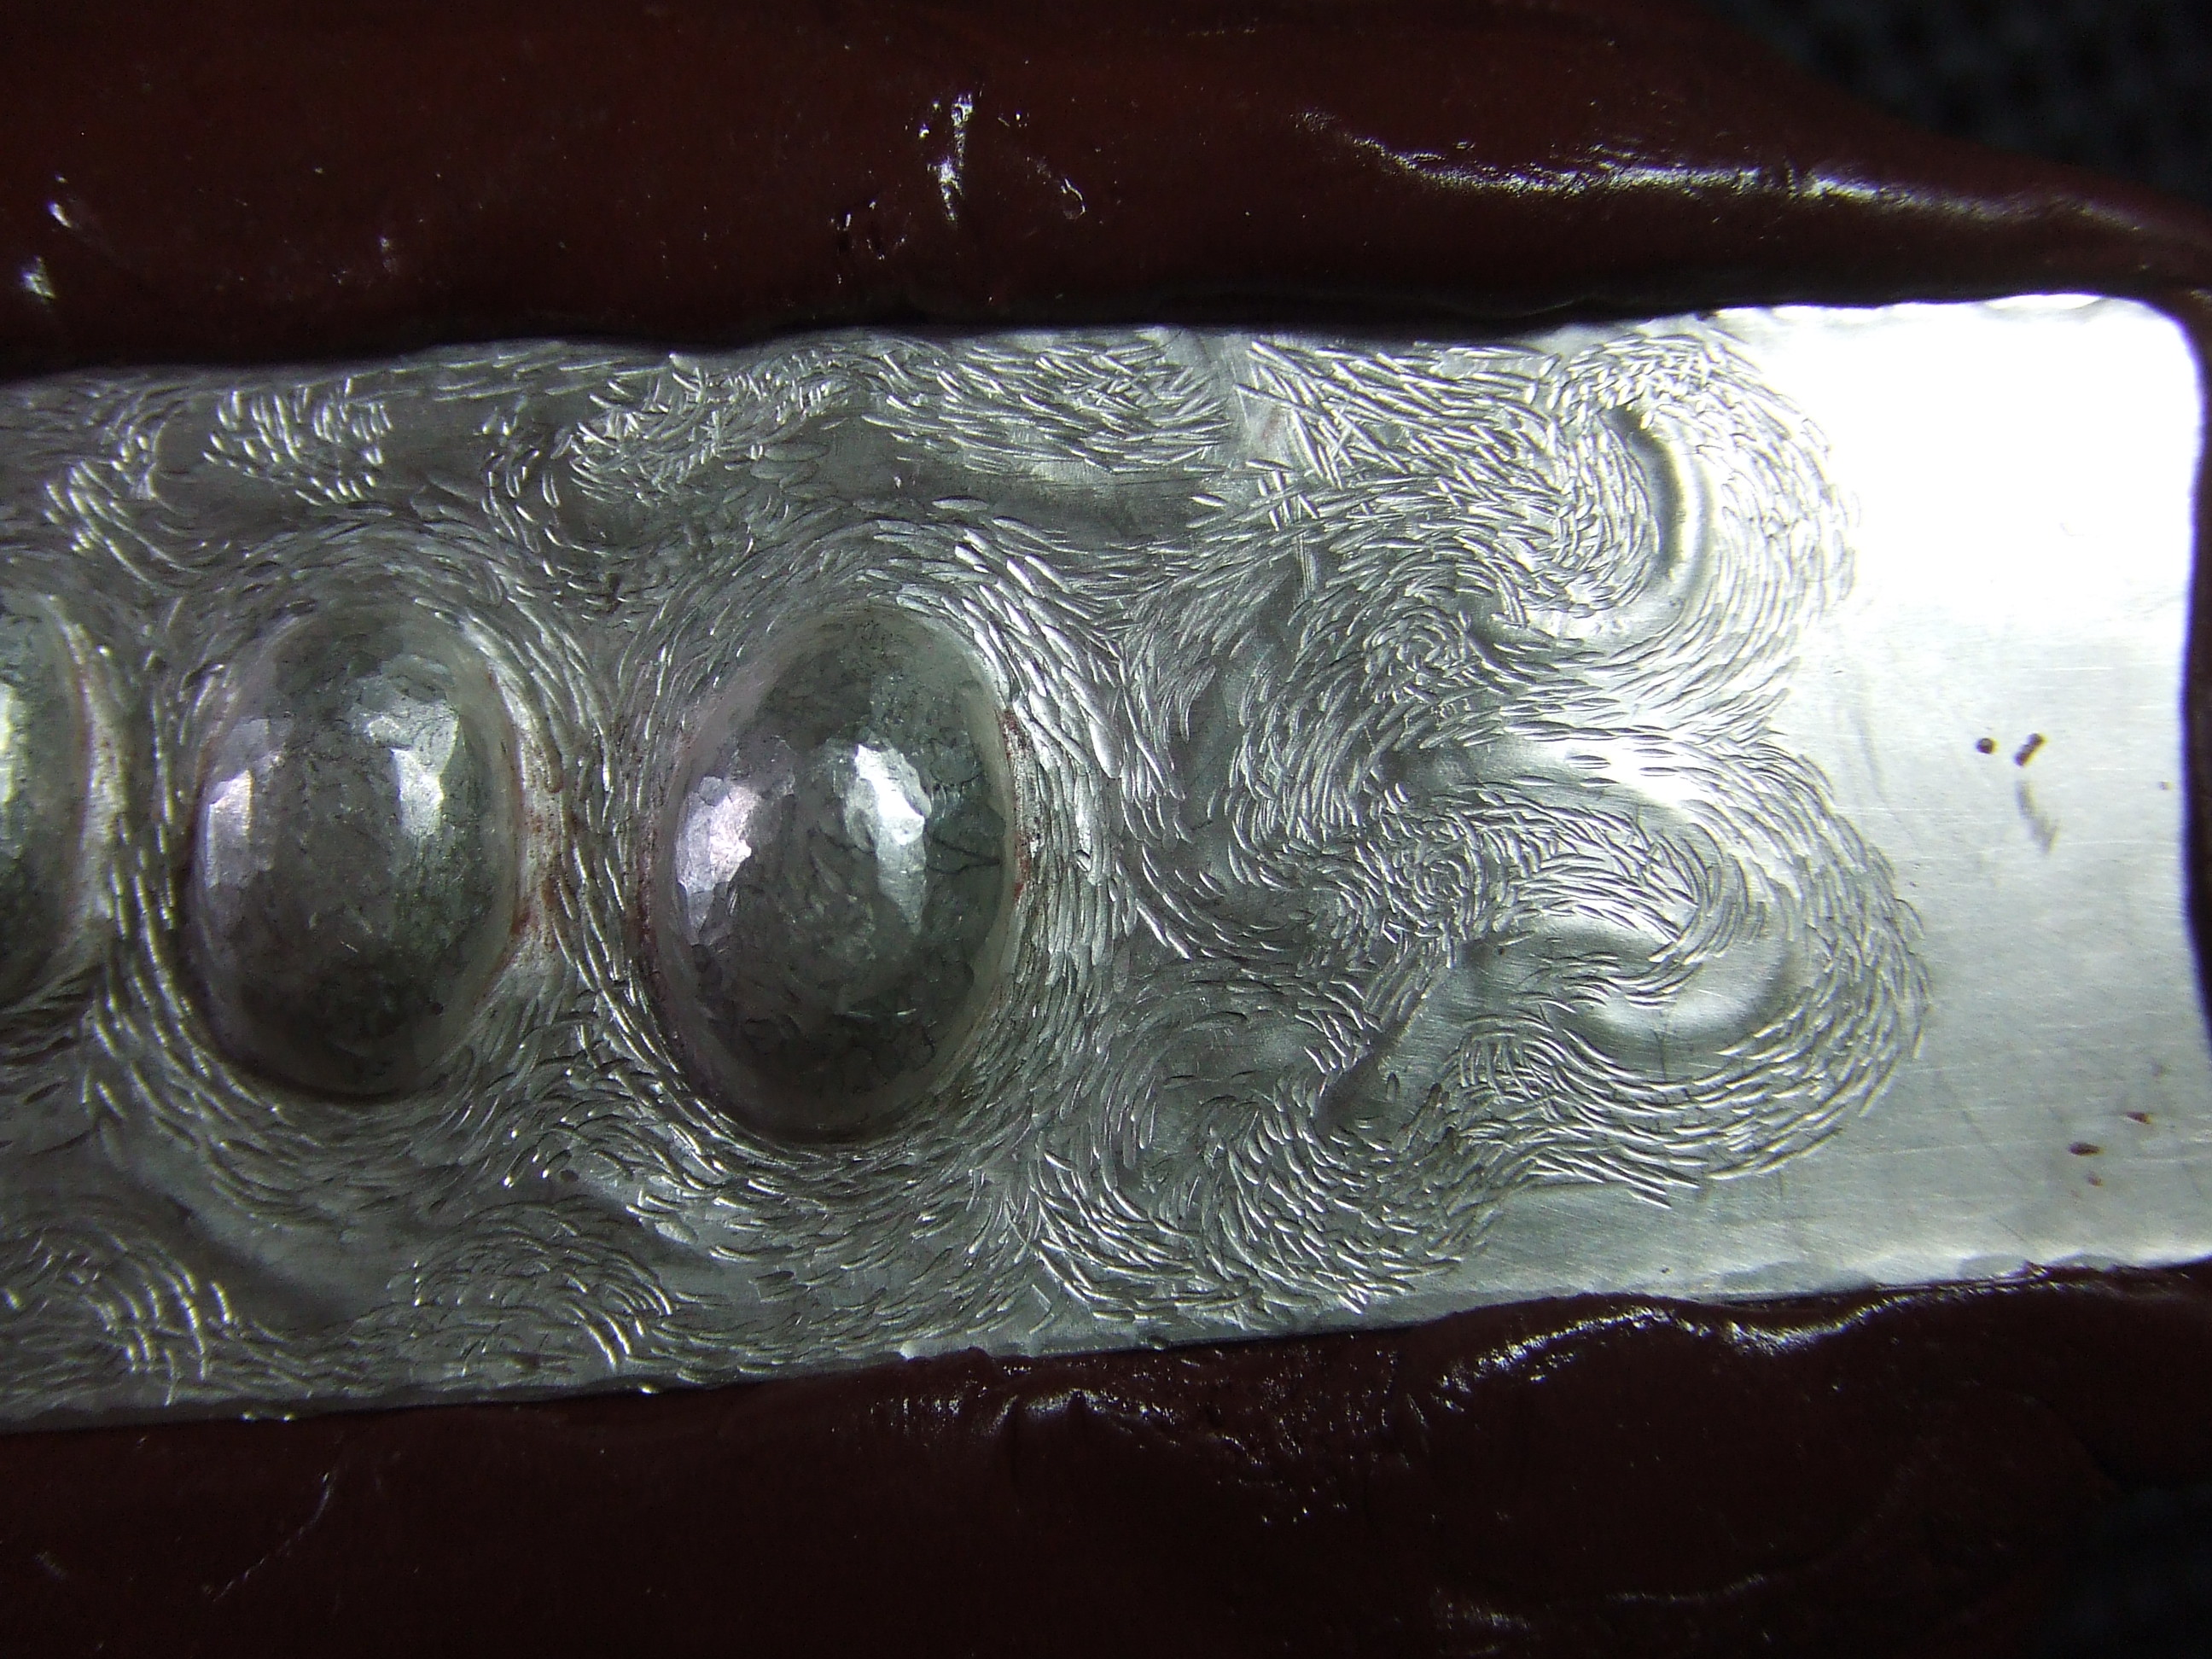
Not shown, look at the slightly raised areas made by turning the piece over in the pitch to repousse´ small water eddie type effect.

Close up of the water eddie effect I was shooting for
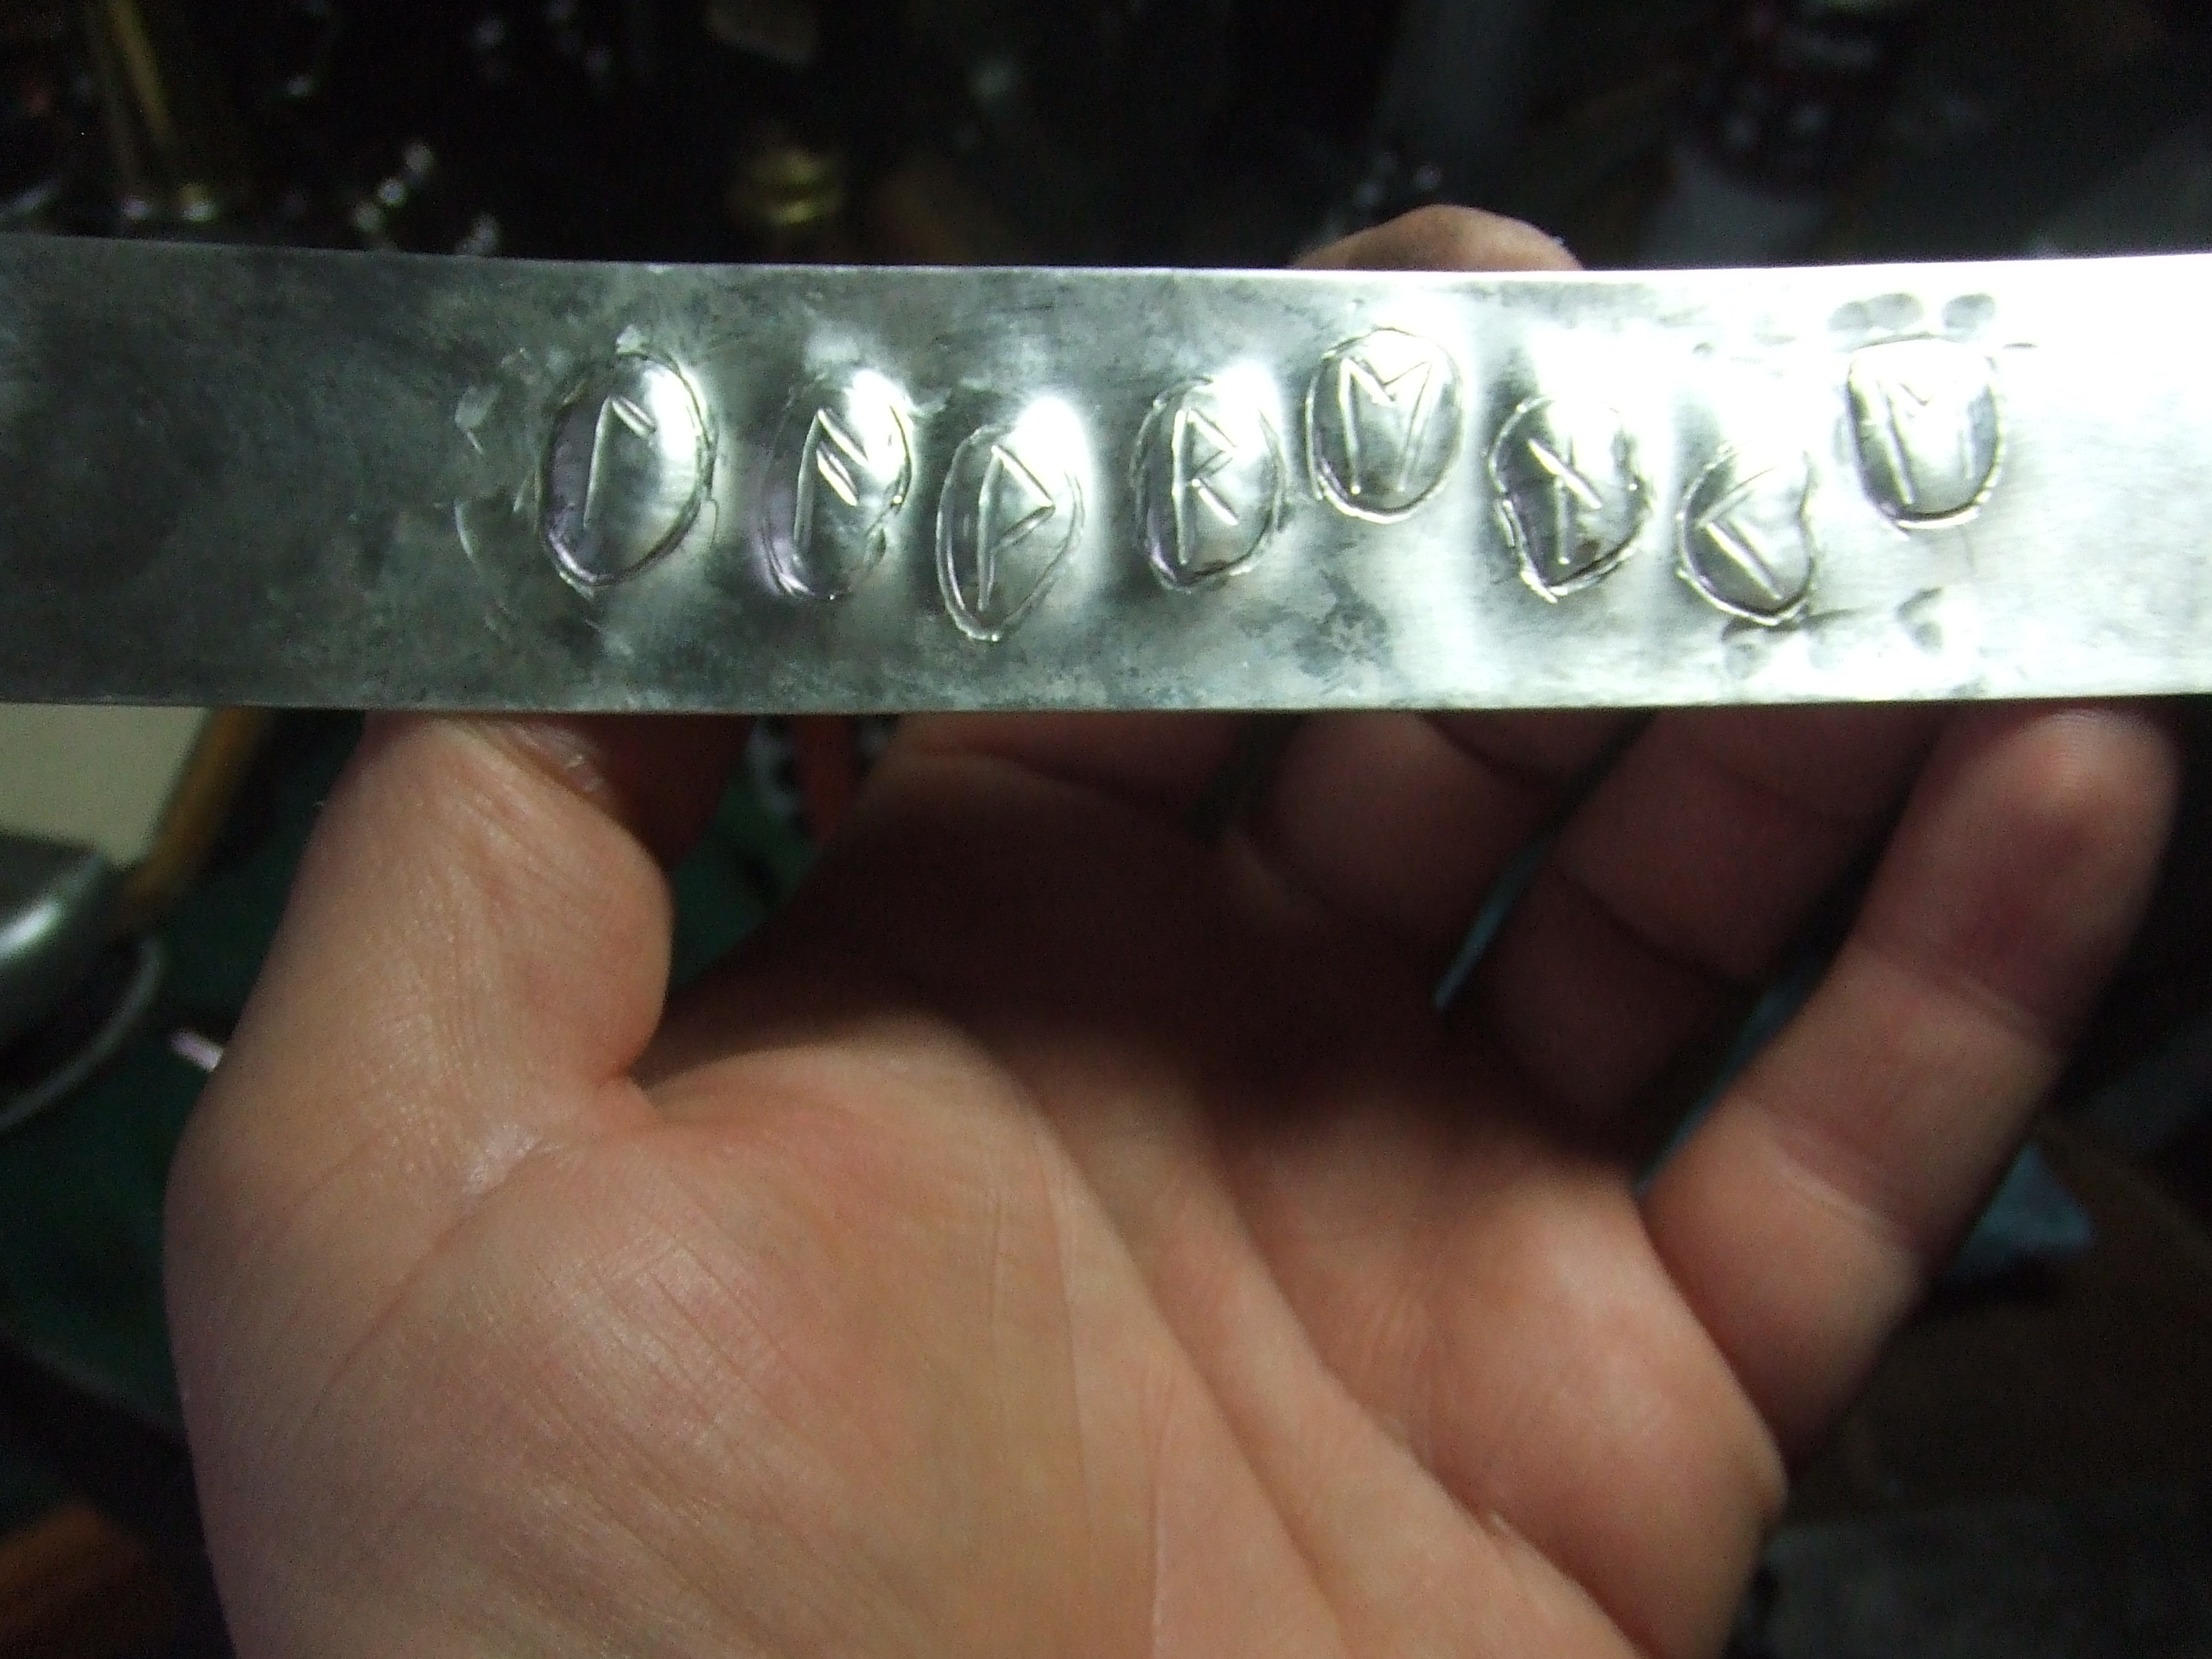
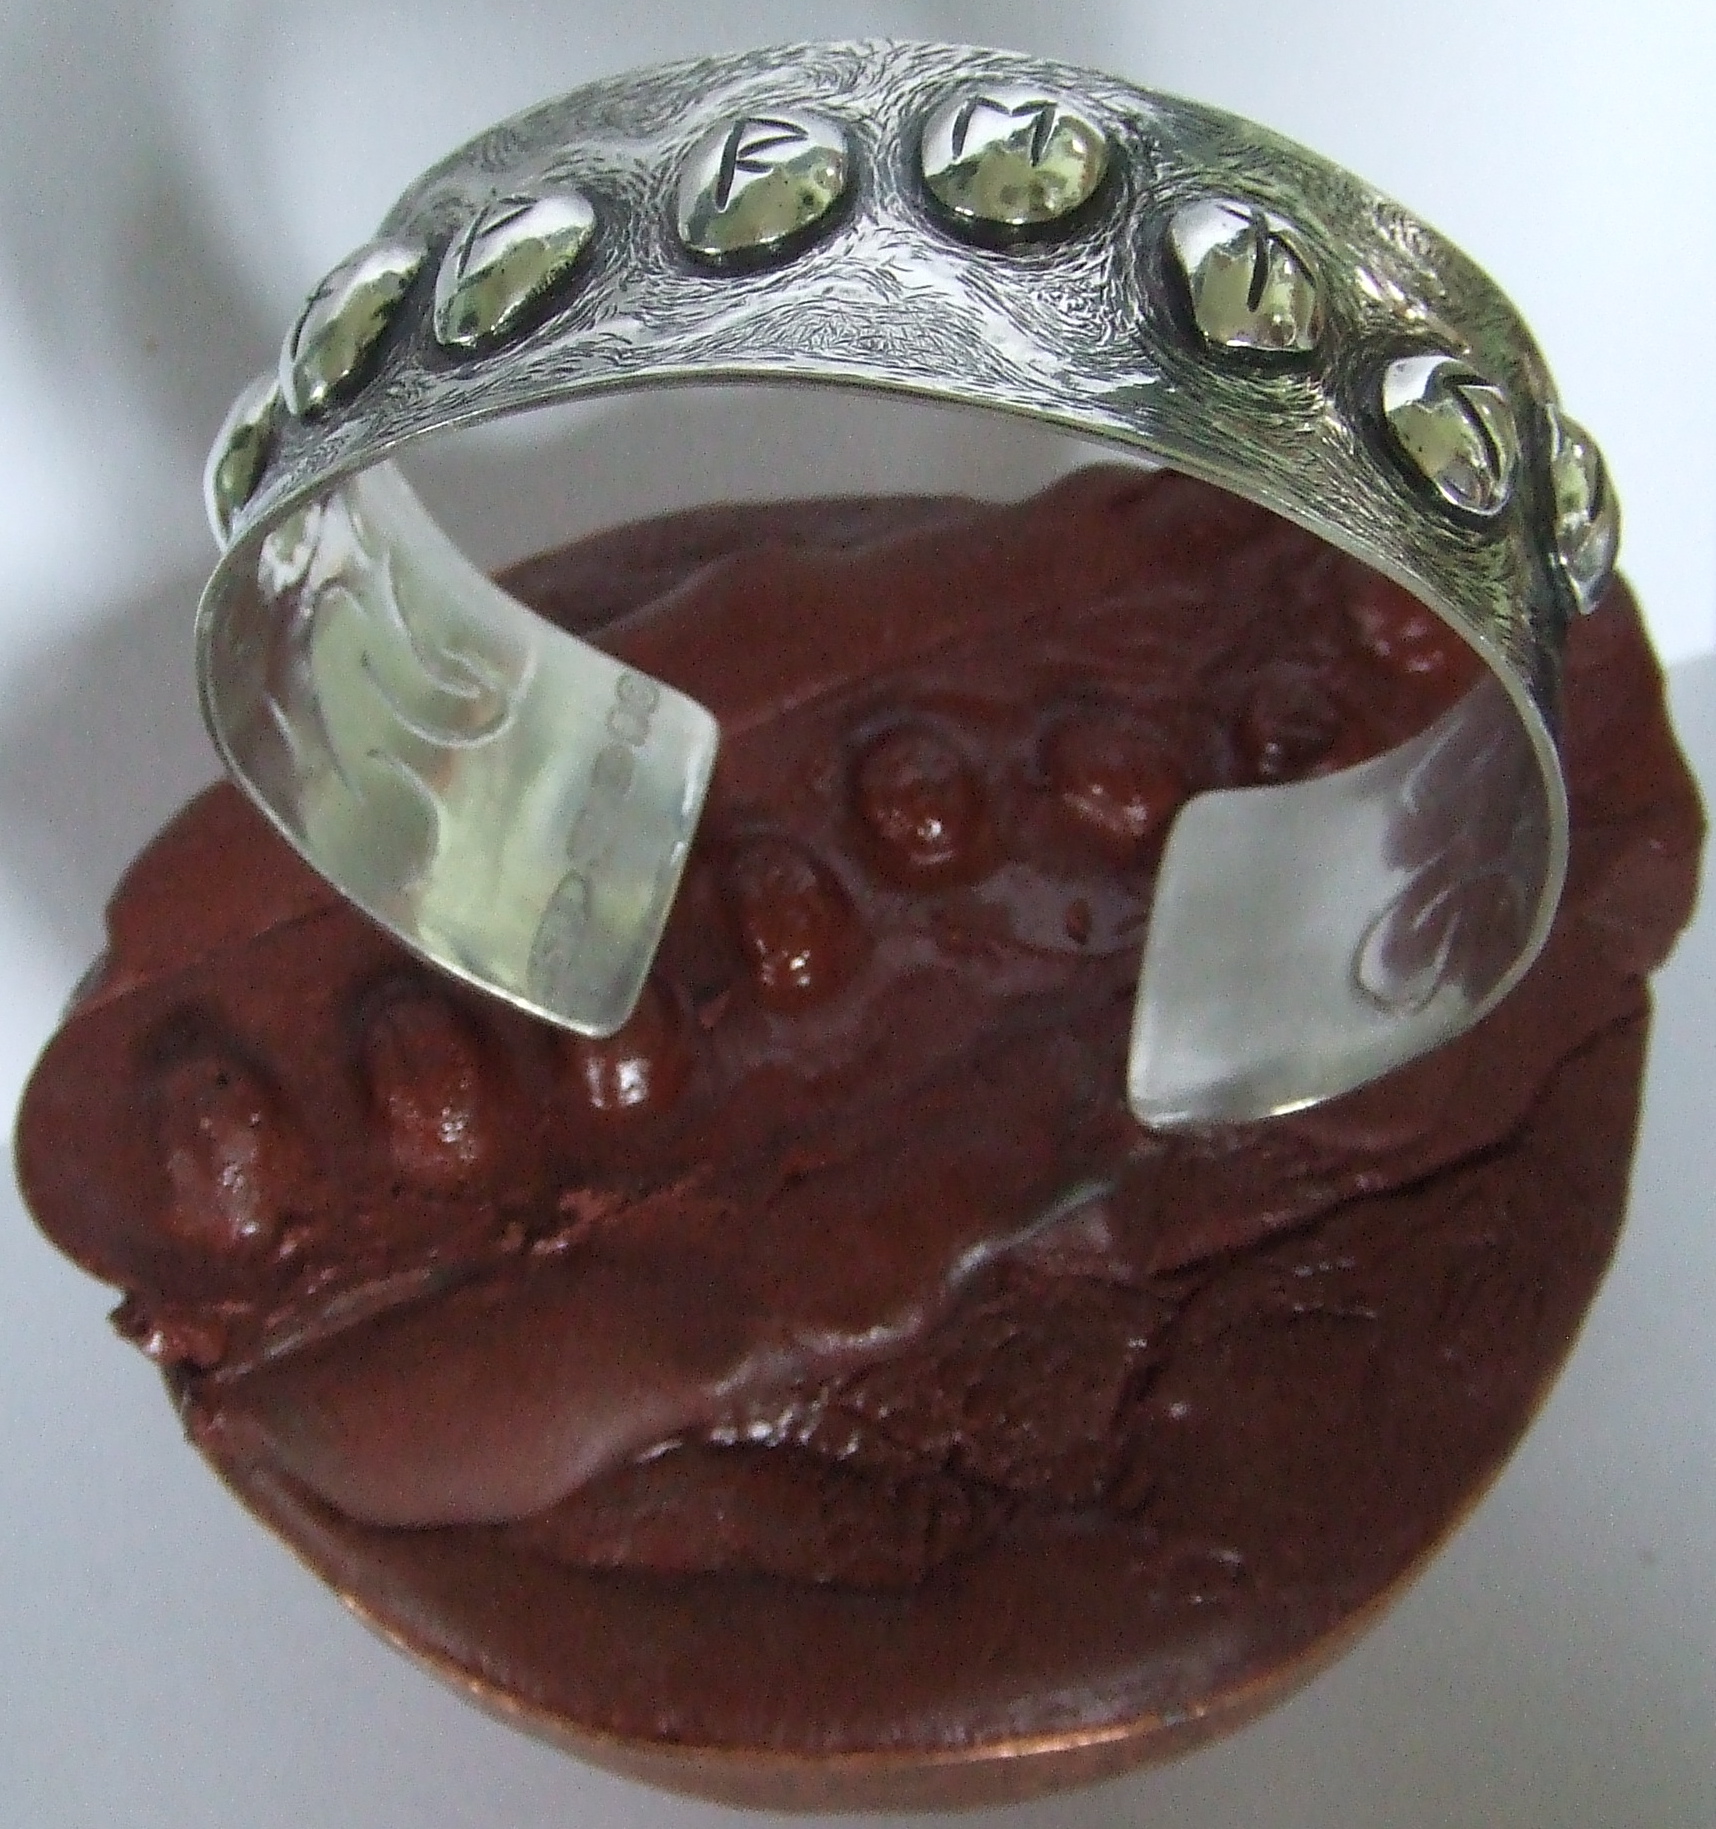
After all the water flowing decoration was applied I planished each rune as best as possible with planishing punches. From the pictures of runes I have seen, many appear to be smooth and shining. Not my normal approach, I much prefer the planishing marks, however for the effect I was looking to create, polishing was next.

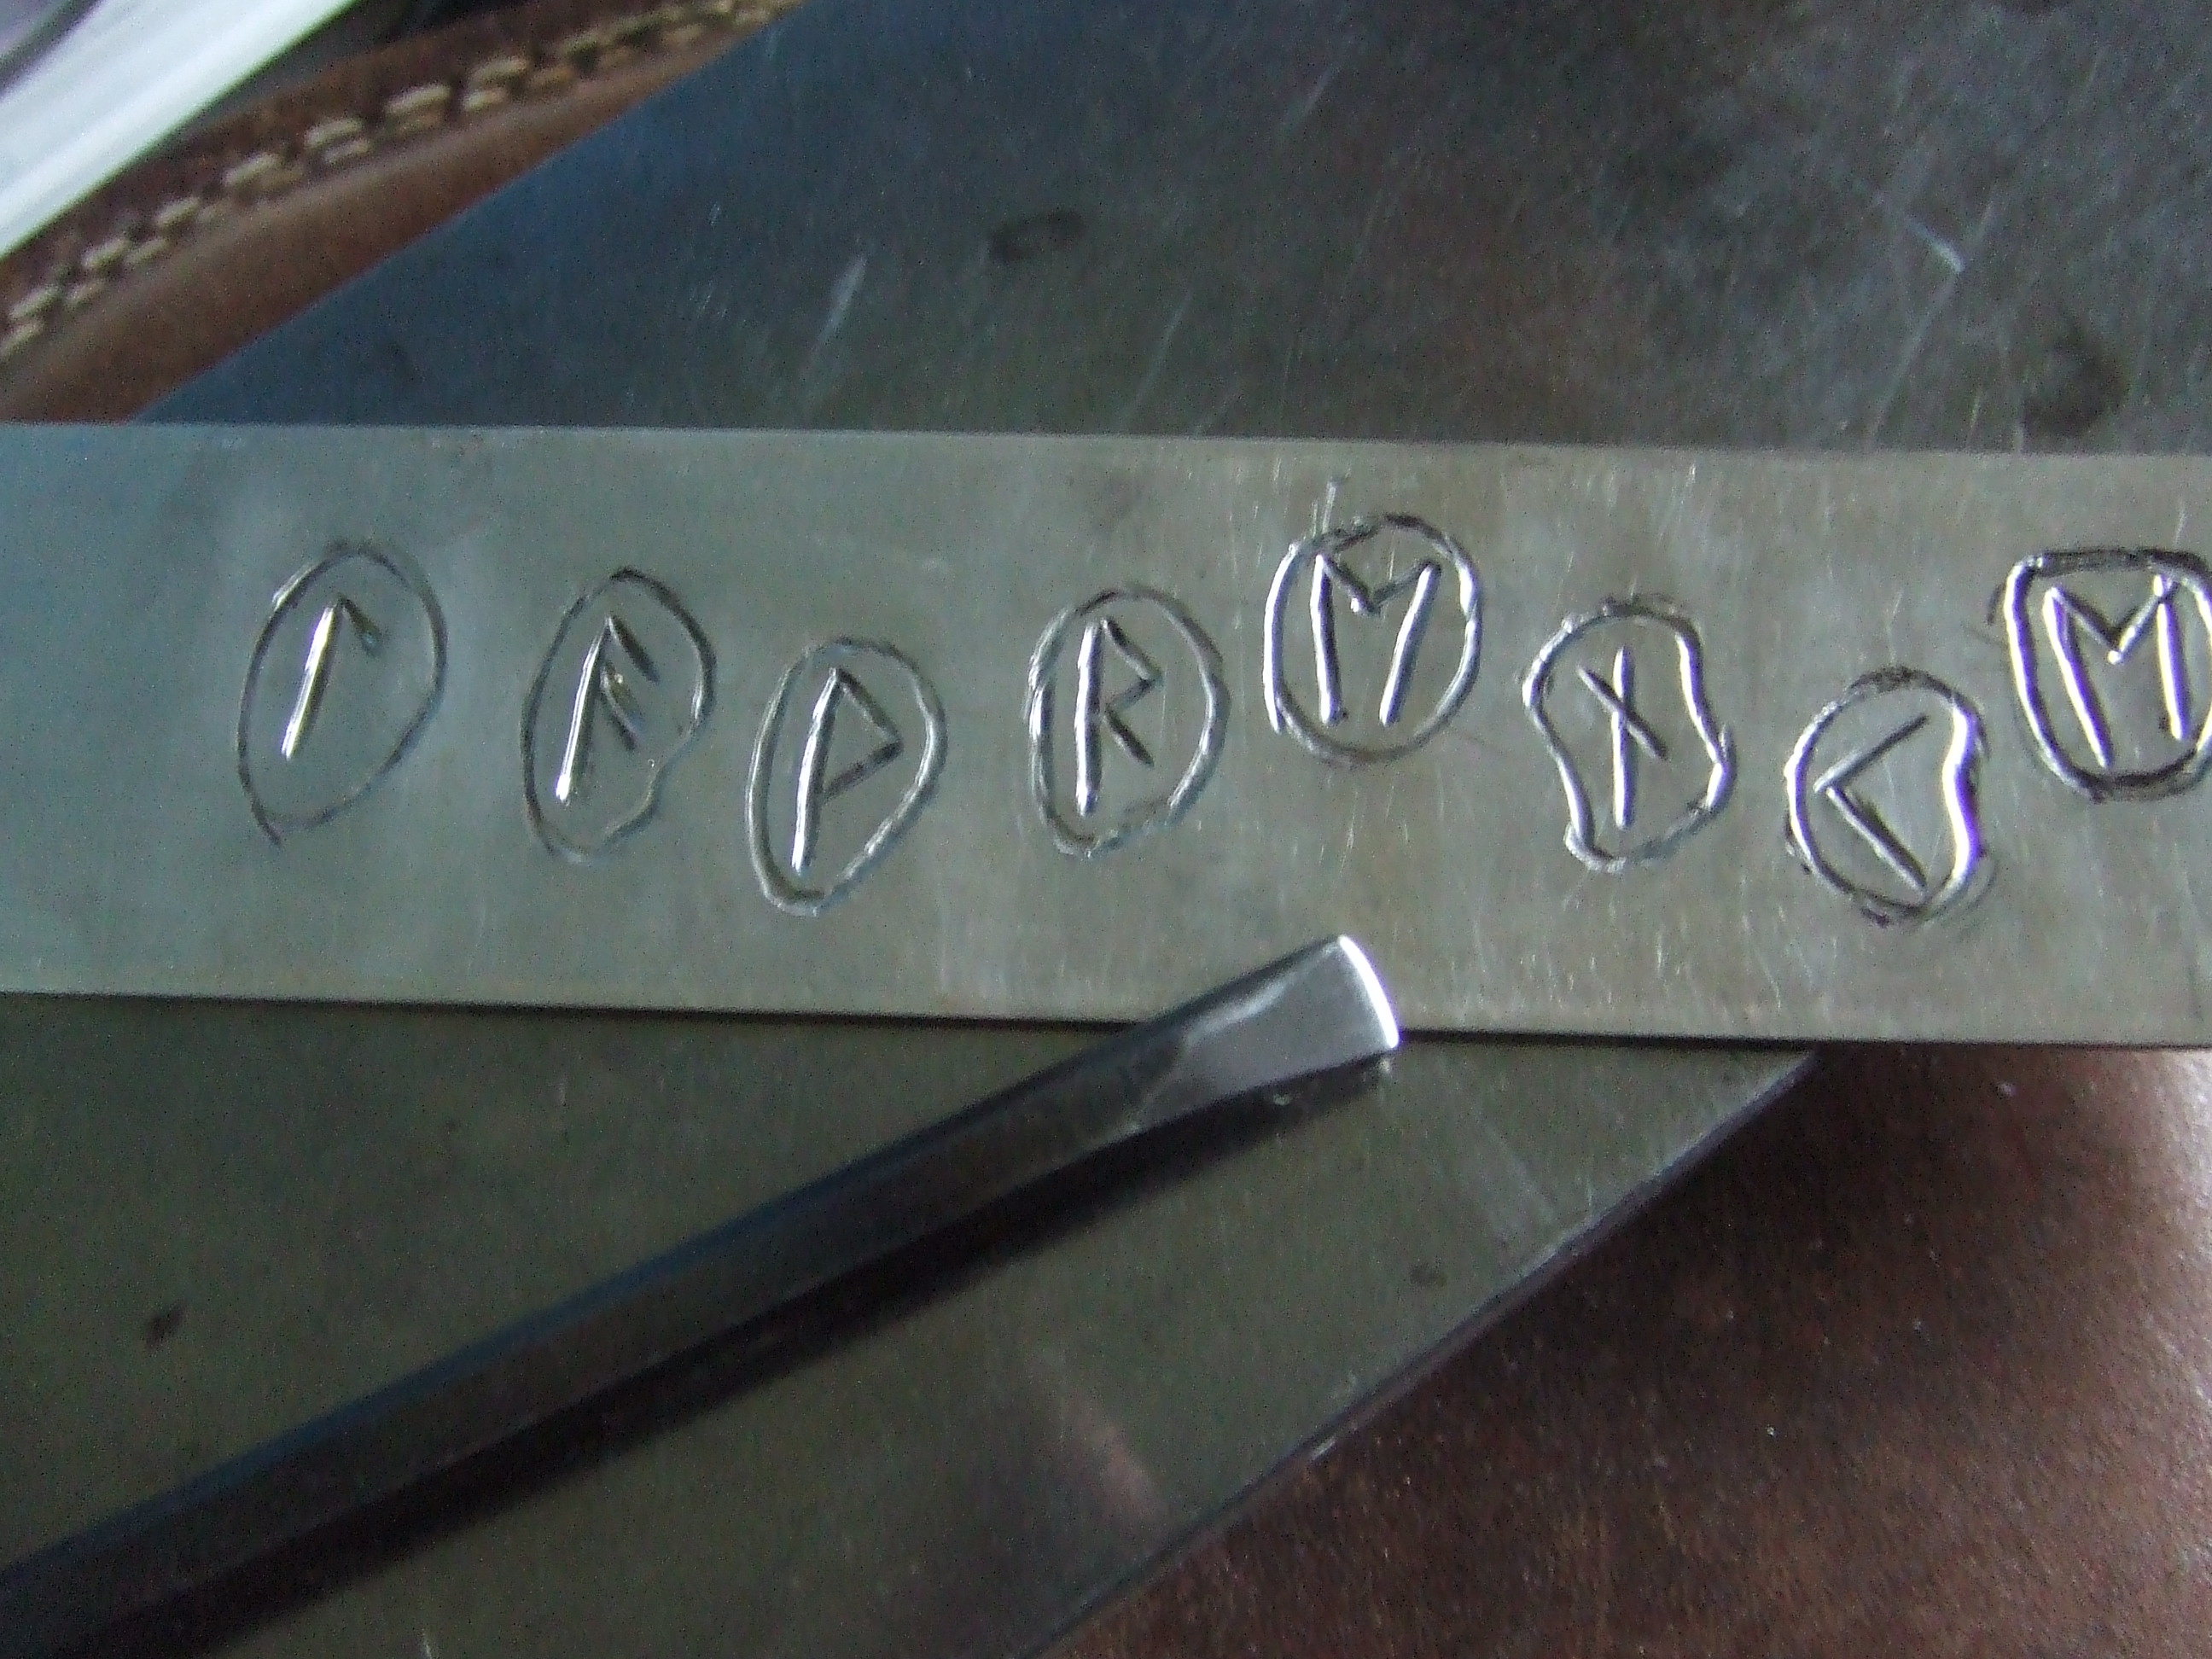
After polishing came the application of the name Lawrence in the rune alphabet.
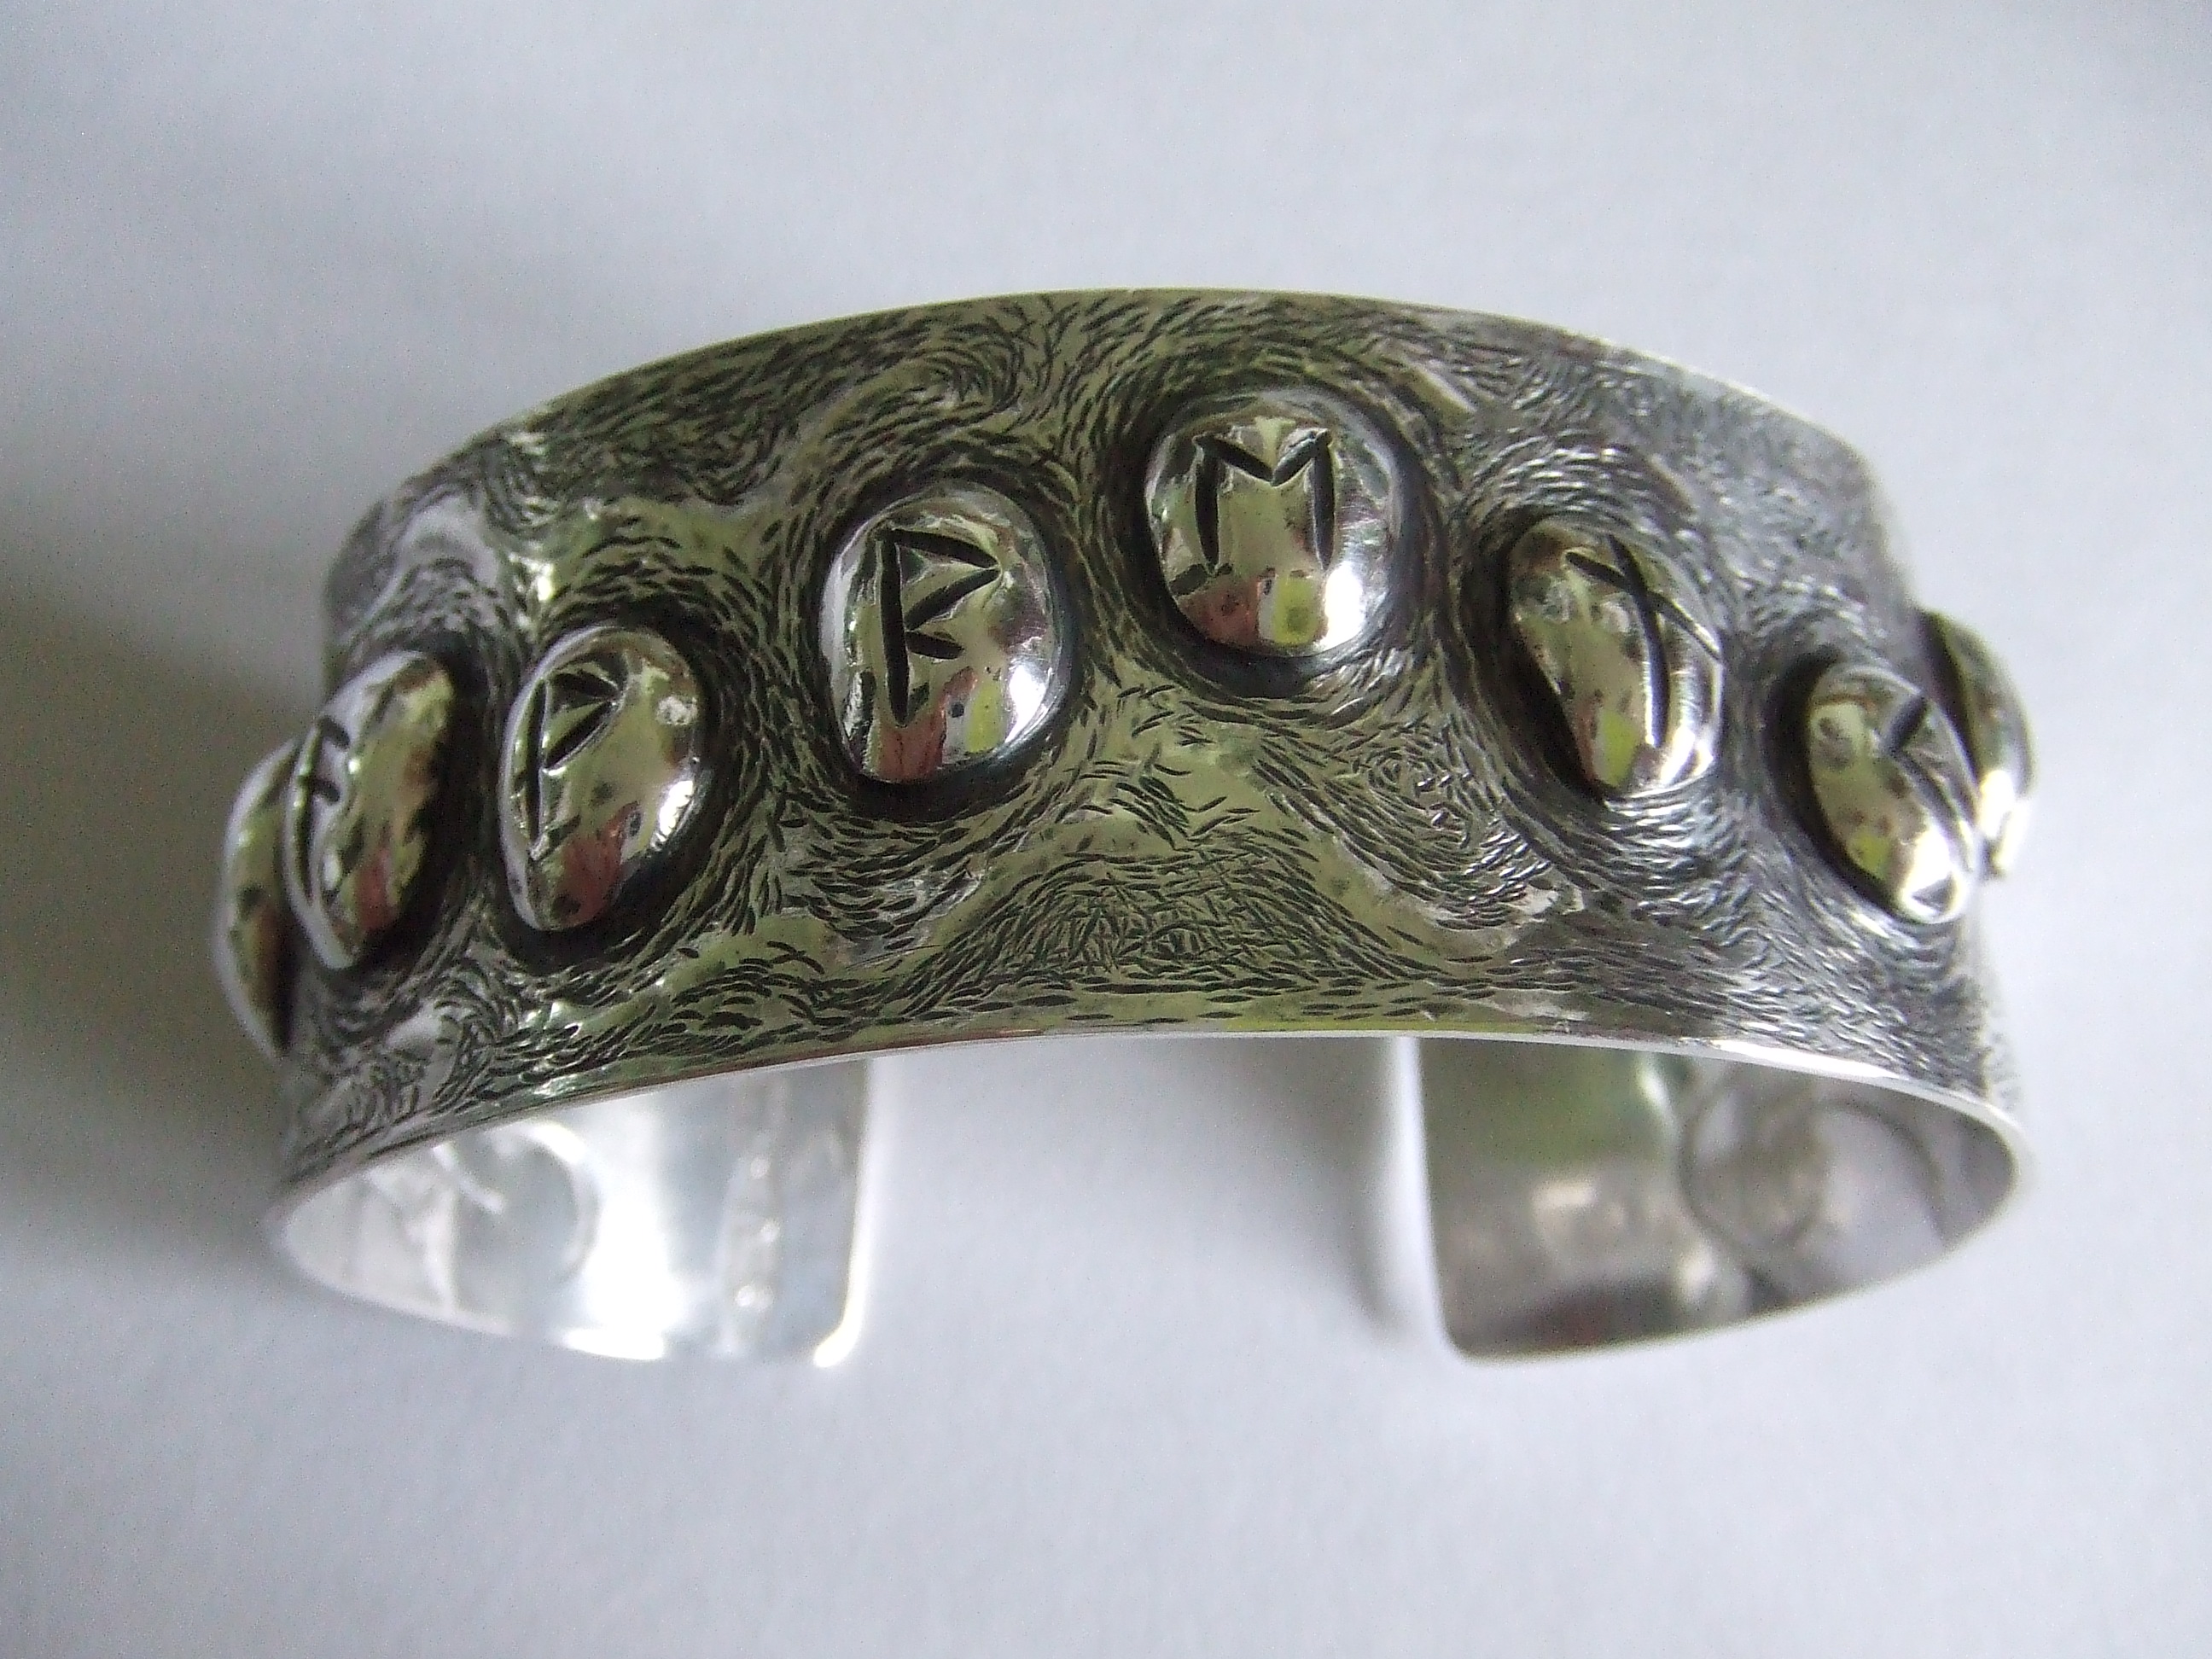
All done 🙂


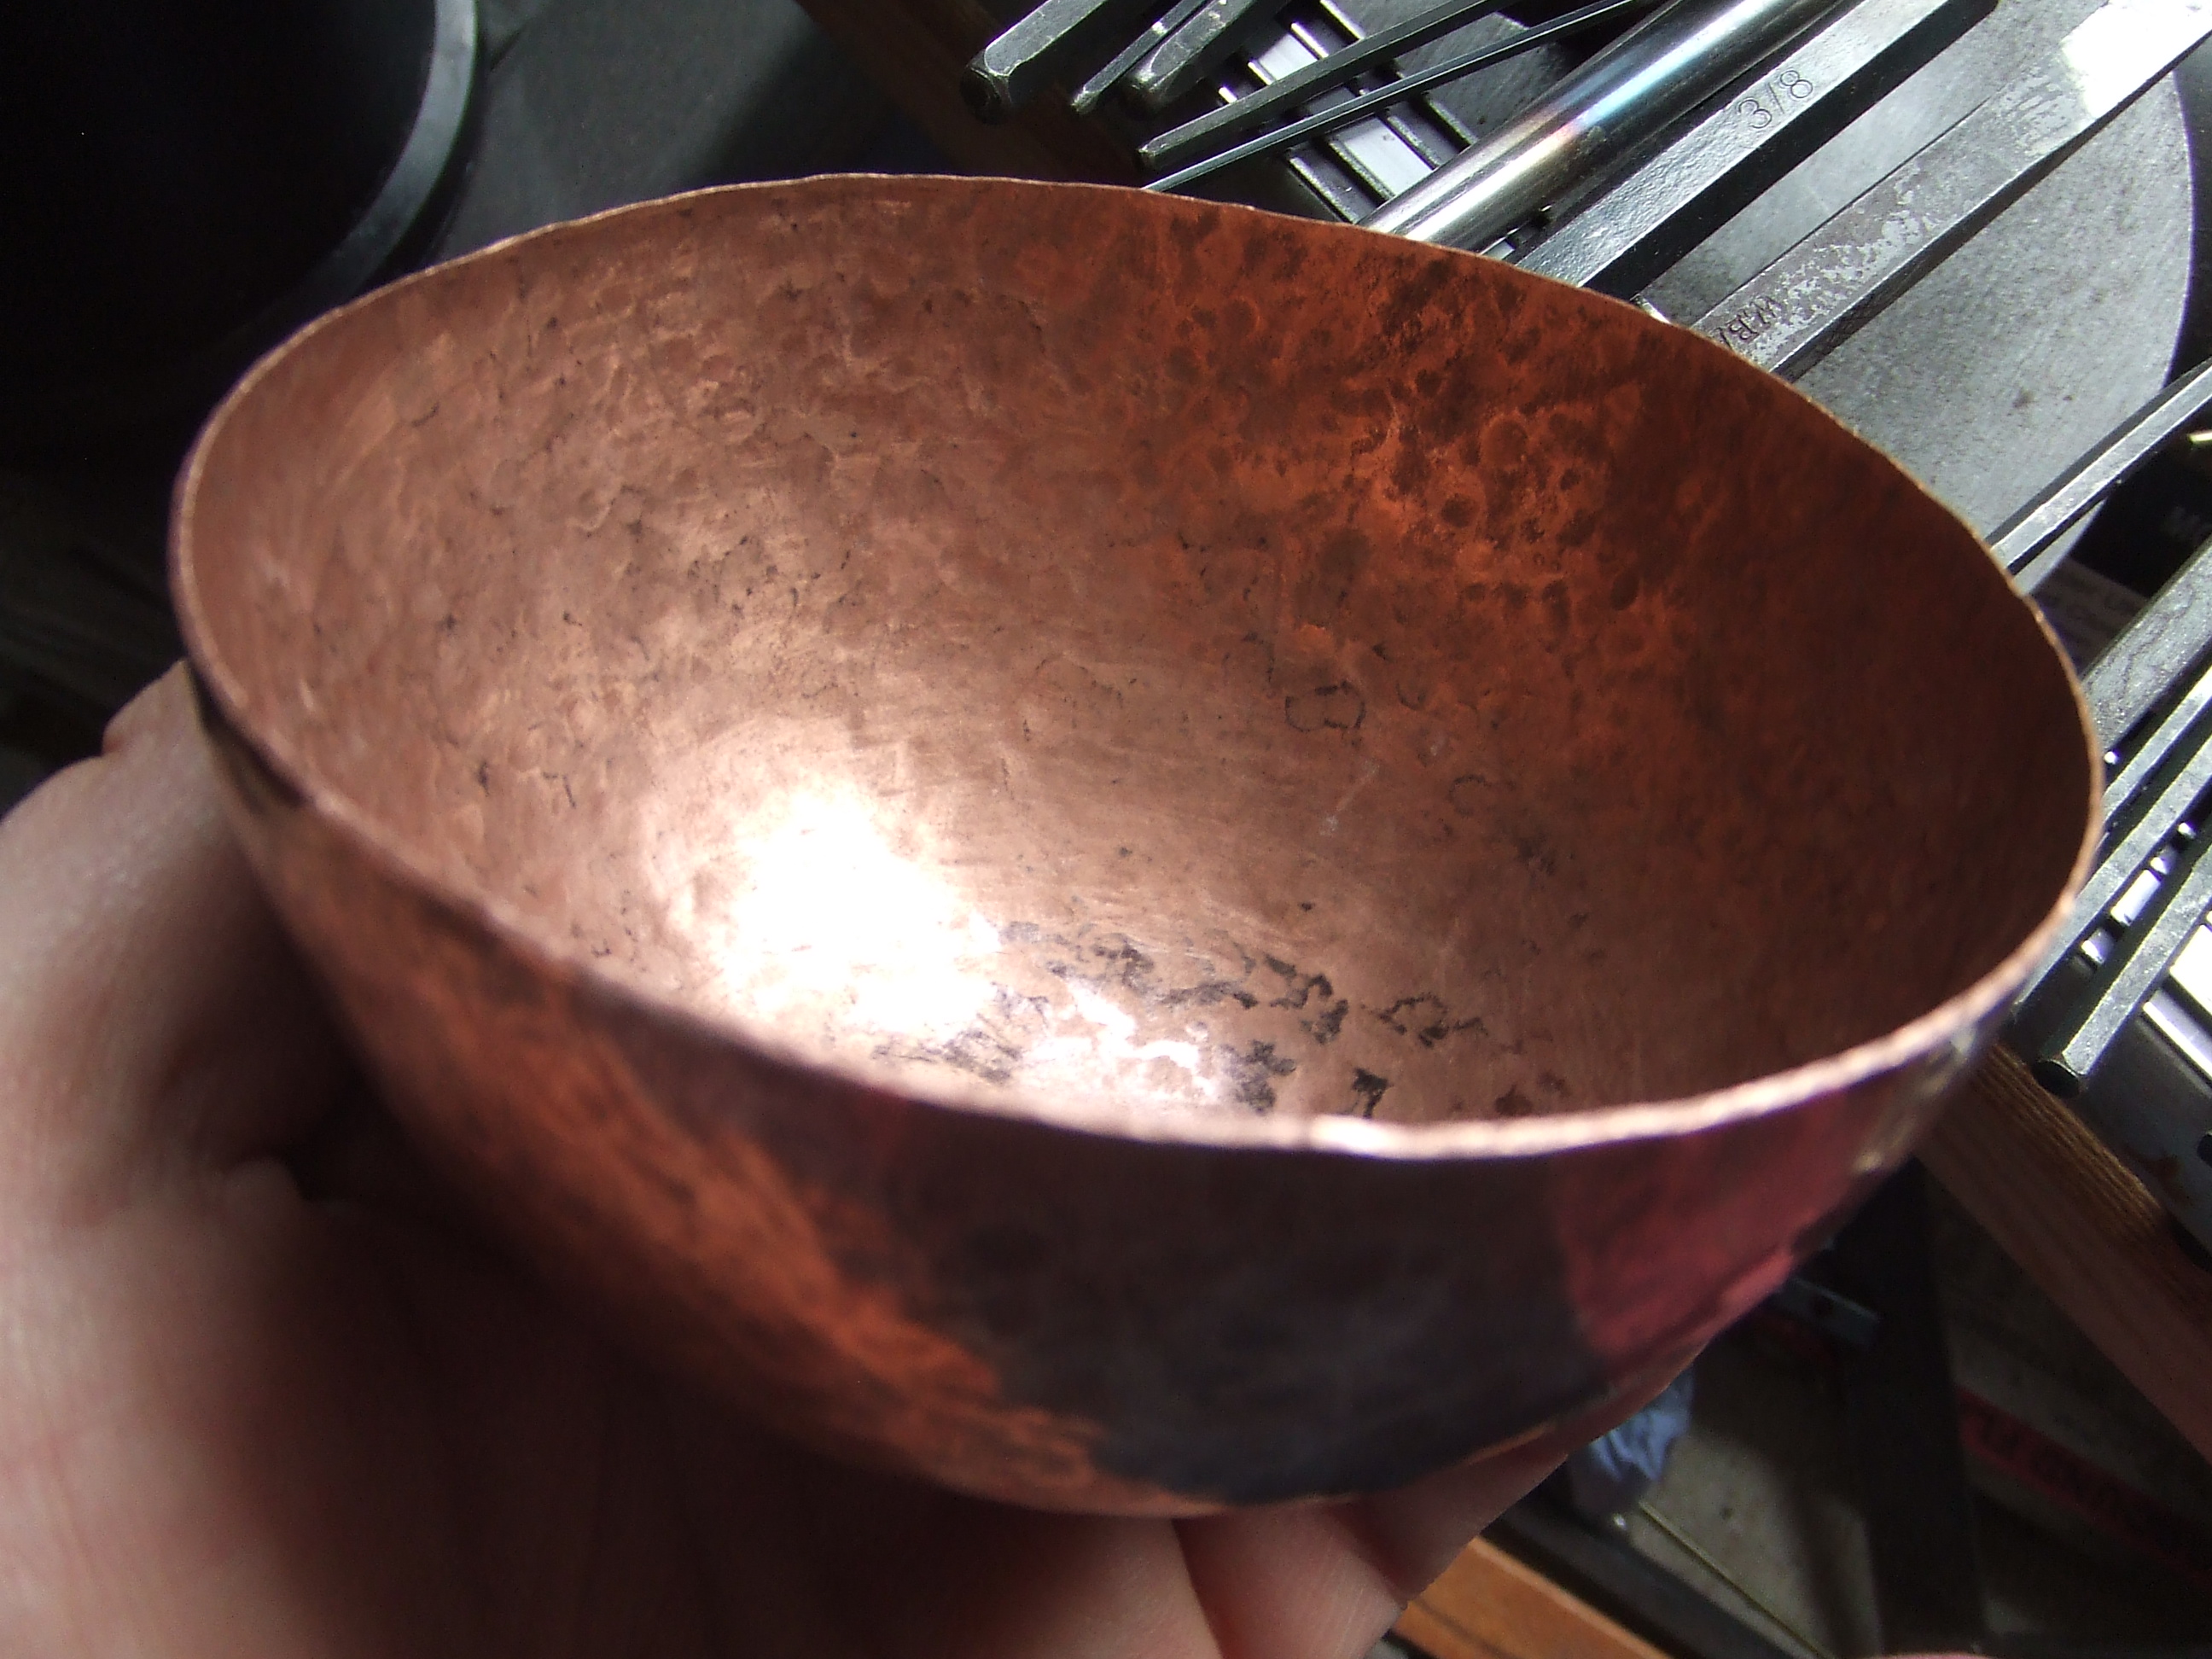
From a previous post, remember the copper ‘sketch’?
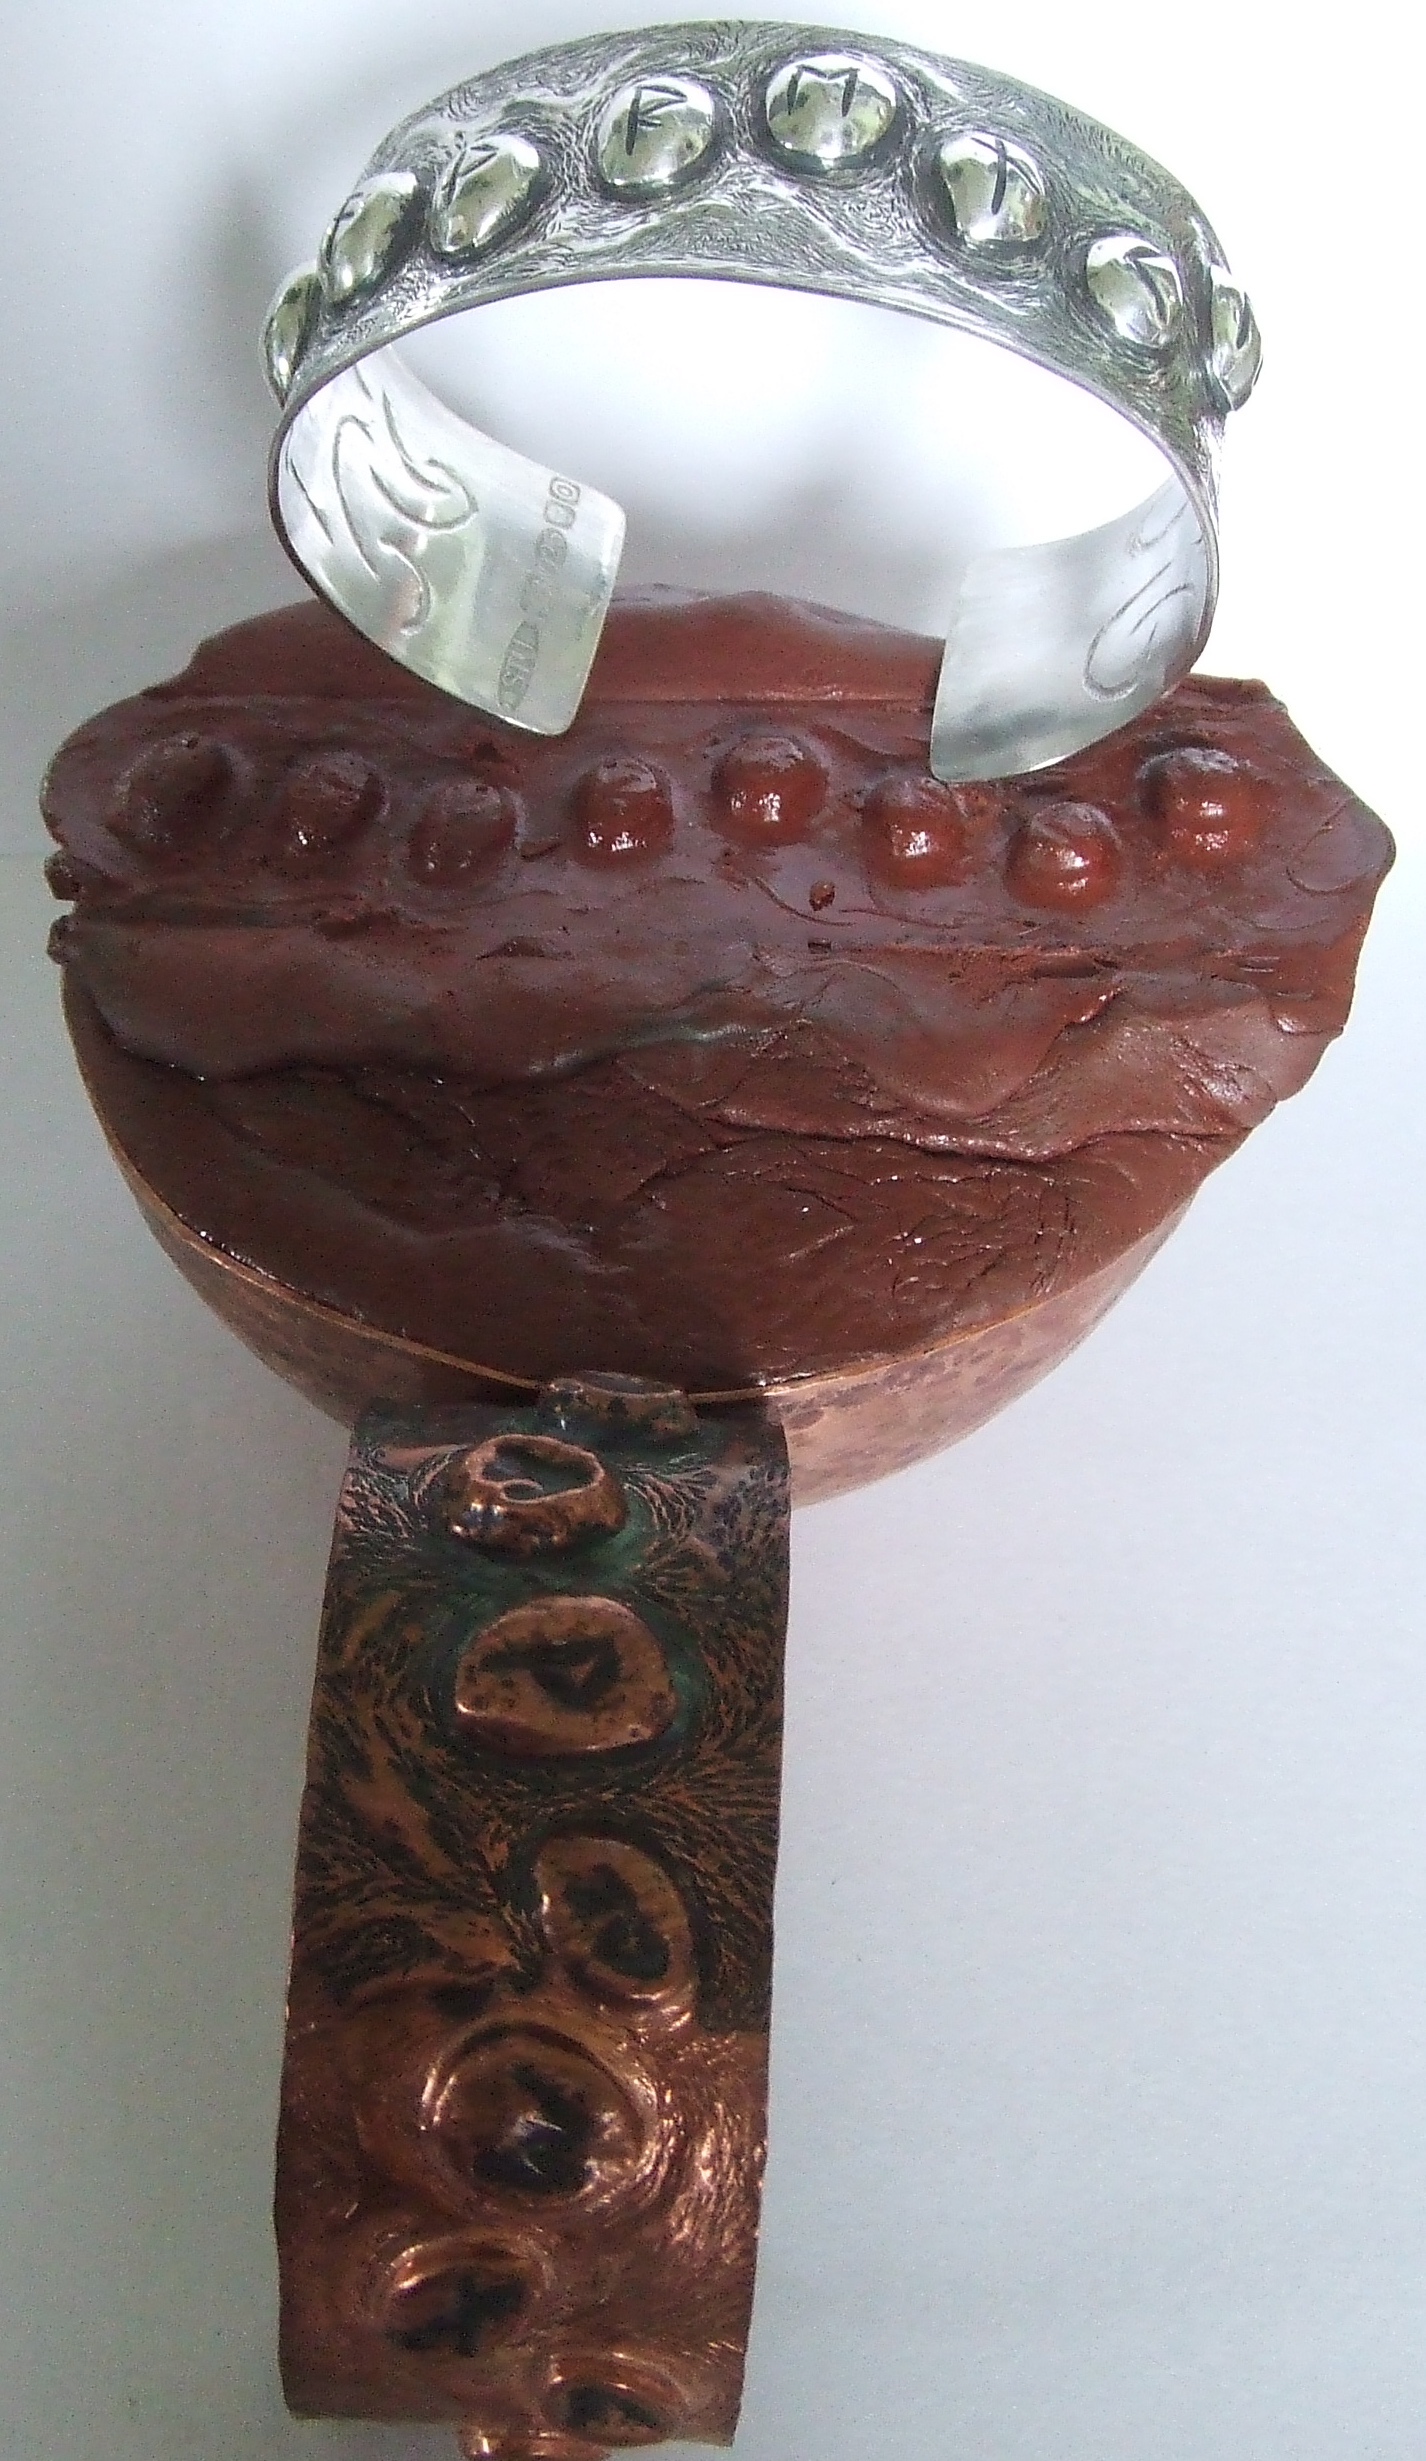
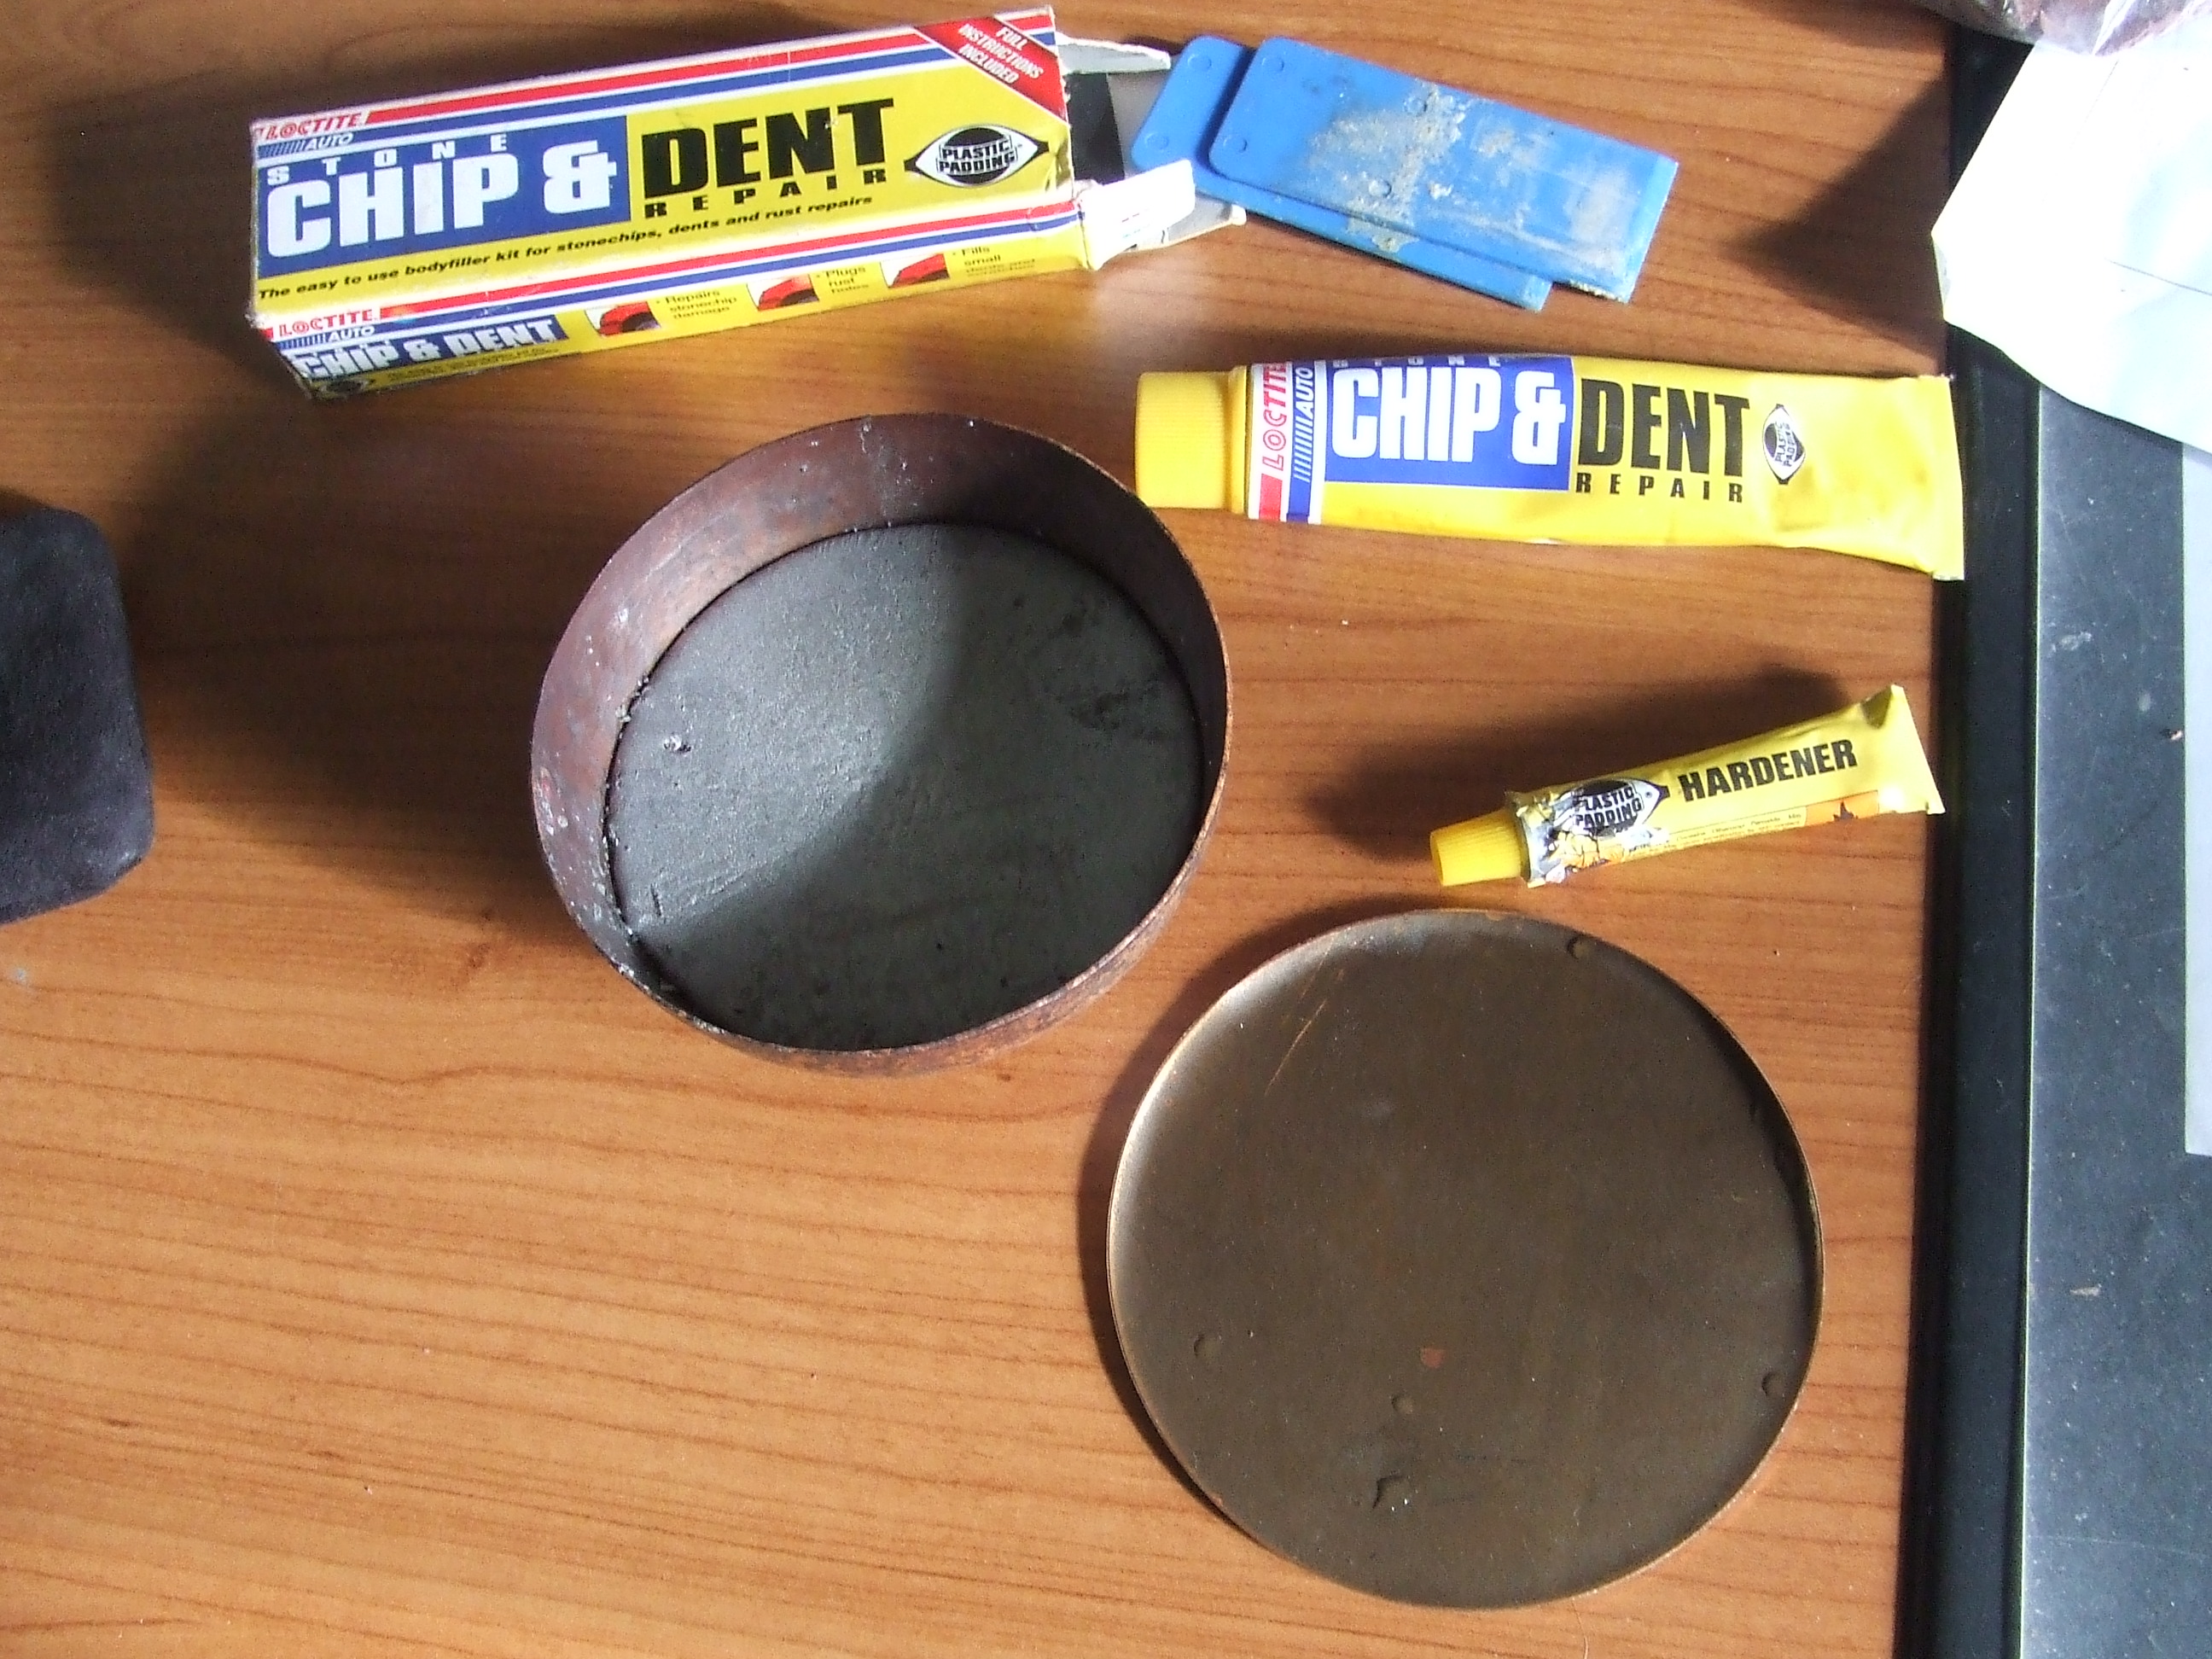
Another bonus with the German red pitch. Look at the impressions left after removing. It releases much easier, is a lot less messy and so much easier to clean up.
Fingers crossed Lawrence likes it
Wato wato one and all.
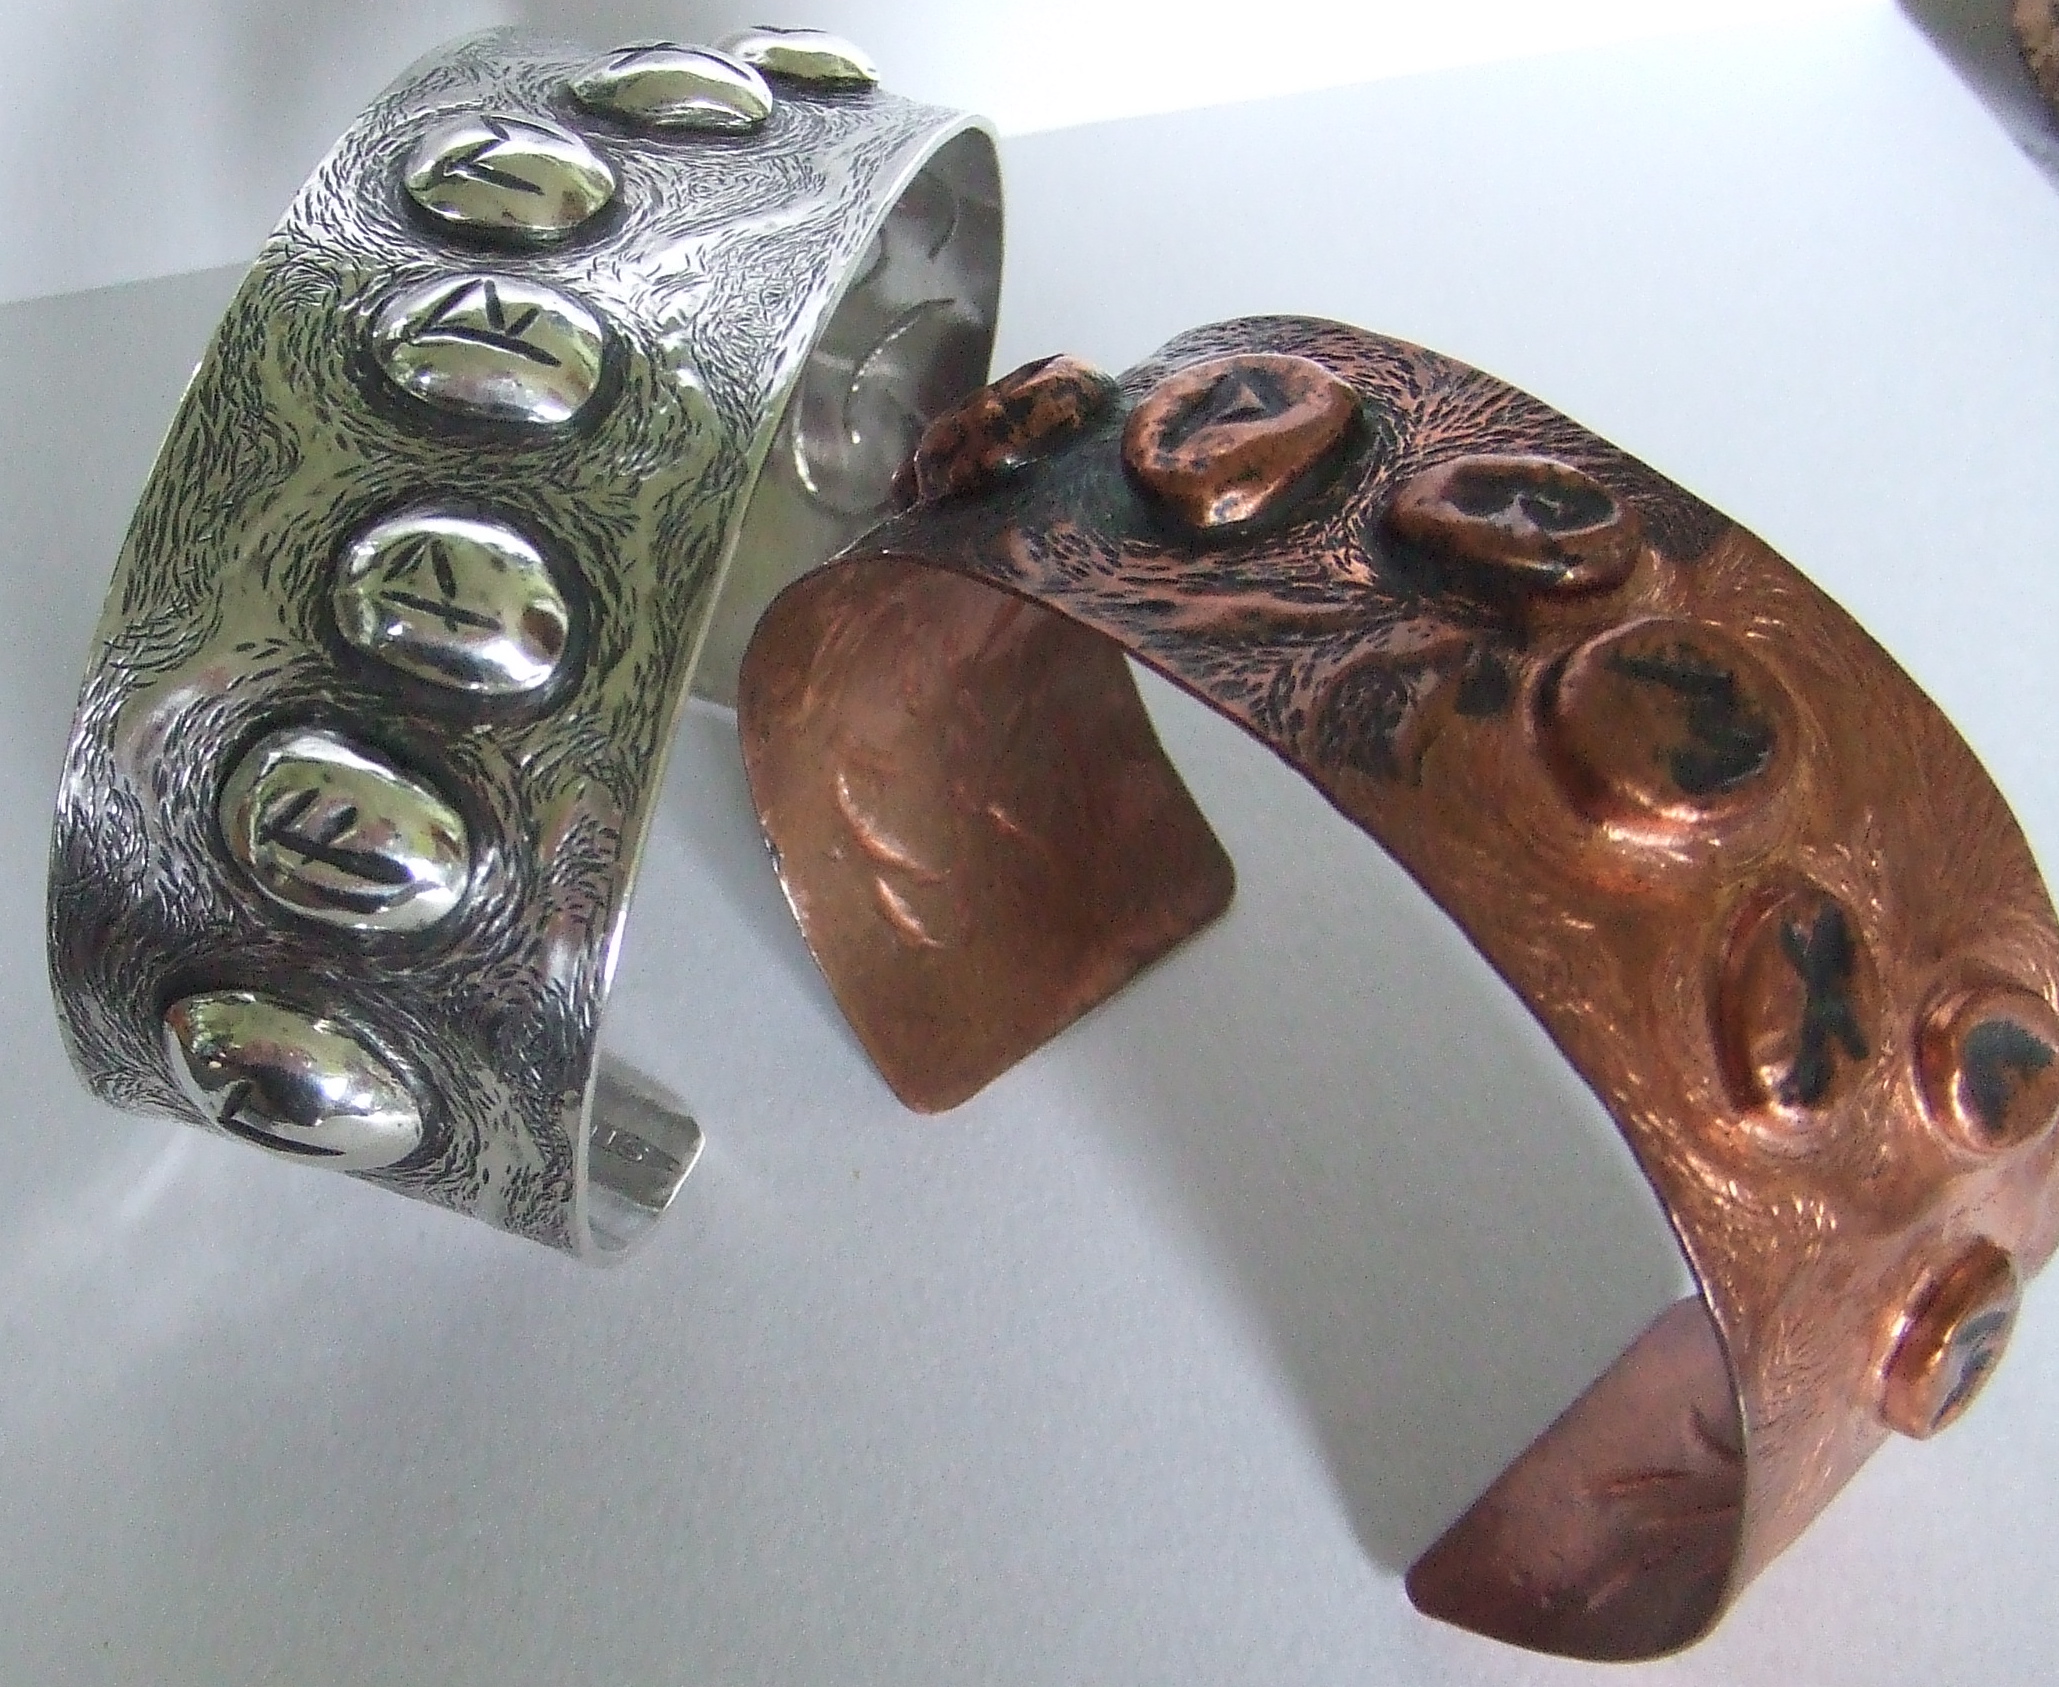
The German red pitch is brilliant, I’m a convert. The green pine based pitch will still have a place in my workshop, I wont be throwing it out anytime soon, horses for courses as the saying goes. For rapid ‘puffing’ or the repousse´ stage, it still has a lot to offer, being as it is far softer than the red. At this time I feel confident in stating I will in all probability not use green pitch ever again for chasing. After using the red, it just isn’t supportive enough. When I made the copper model, yes I know its softer to start with, however I had to, after each course, return to a steel flat plate and return the surrounding areas to flat with mallets and punches. Not once did I have to using the red.
You will perhaps remember when I attempted to put in ‘Lawrence’ into the copper runes, they pretty much all collapsed. I feel very confident that would not have been the case if I had used the red, rather than the green pitch. Yes, the silver is stronger, remember though the amount of raising required to get the hight will have thinned the silver quite a bit, so perhaps not as strong as we may be lead to assume.
In conclusion, green for rapid and less precise repousse´ stages. Red for chasing and more refined lines, less planishing and more support. I hope this is helpful to some of you who, like me, wanted to know the difference. I still haven’t found anywhere on the web where comparisons are made, probably not looking hard enough, please let me know if you find such a site.
A very nice lady, check out her blog http://patriciacarlson.wordpress.com/ told me of a workshop she attended with a master craftsman, David Bigazzi:- http://www.dbcollection.net/
She very kindly passed on a tip she picked up whilst there. I show, in the first picture, a heat gun that I have always used for softening my pitch. I find the thought of playing a flame over it and all the associated soot, not good. My Dad is a heating engineer and he has a supper dooper programmable digital heat gun used to check out thermostats. I couldn’t afford one of those, but I got the idea this one. Its great for the job and has a variable heat setting that I find very controllable. Patricia also says DB uses such a gun for annealing!! How cool is that. I must confess I haven’t tried it yet, I will though. Could it be a better way, less risk of overheating and firestain. I will let you know, Thank you again Partricia.
Thank you all again for looking at this blog. Remember if you wish to see something, don’t hesitate to let me know, I love a challenge. I hope to show you next time some ring projects I have in the pipeline. A lady likes my moon series, but wants a ring made. I have done a copper model (no really 🙂 this will be a hollow design needing stakes that I made out of old bolts to create, I’ll show you how. Reen had been asking for me to do a moonstone ring, aaarrrrhhh stones, colour, get behind me Satan. I pays to get out of your comfort zone once in a whilr – right ;\
Until next time all my very best wishes.
Stu Art 🙂