

Sunk copper brooch

Single wire bent to make two pins that spring against a ‘moustache’ looking retainer

First one with rounded pin showing planished underside
Here we go with number two. Into the pitch to chase outlines

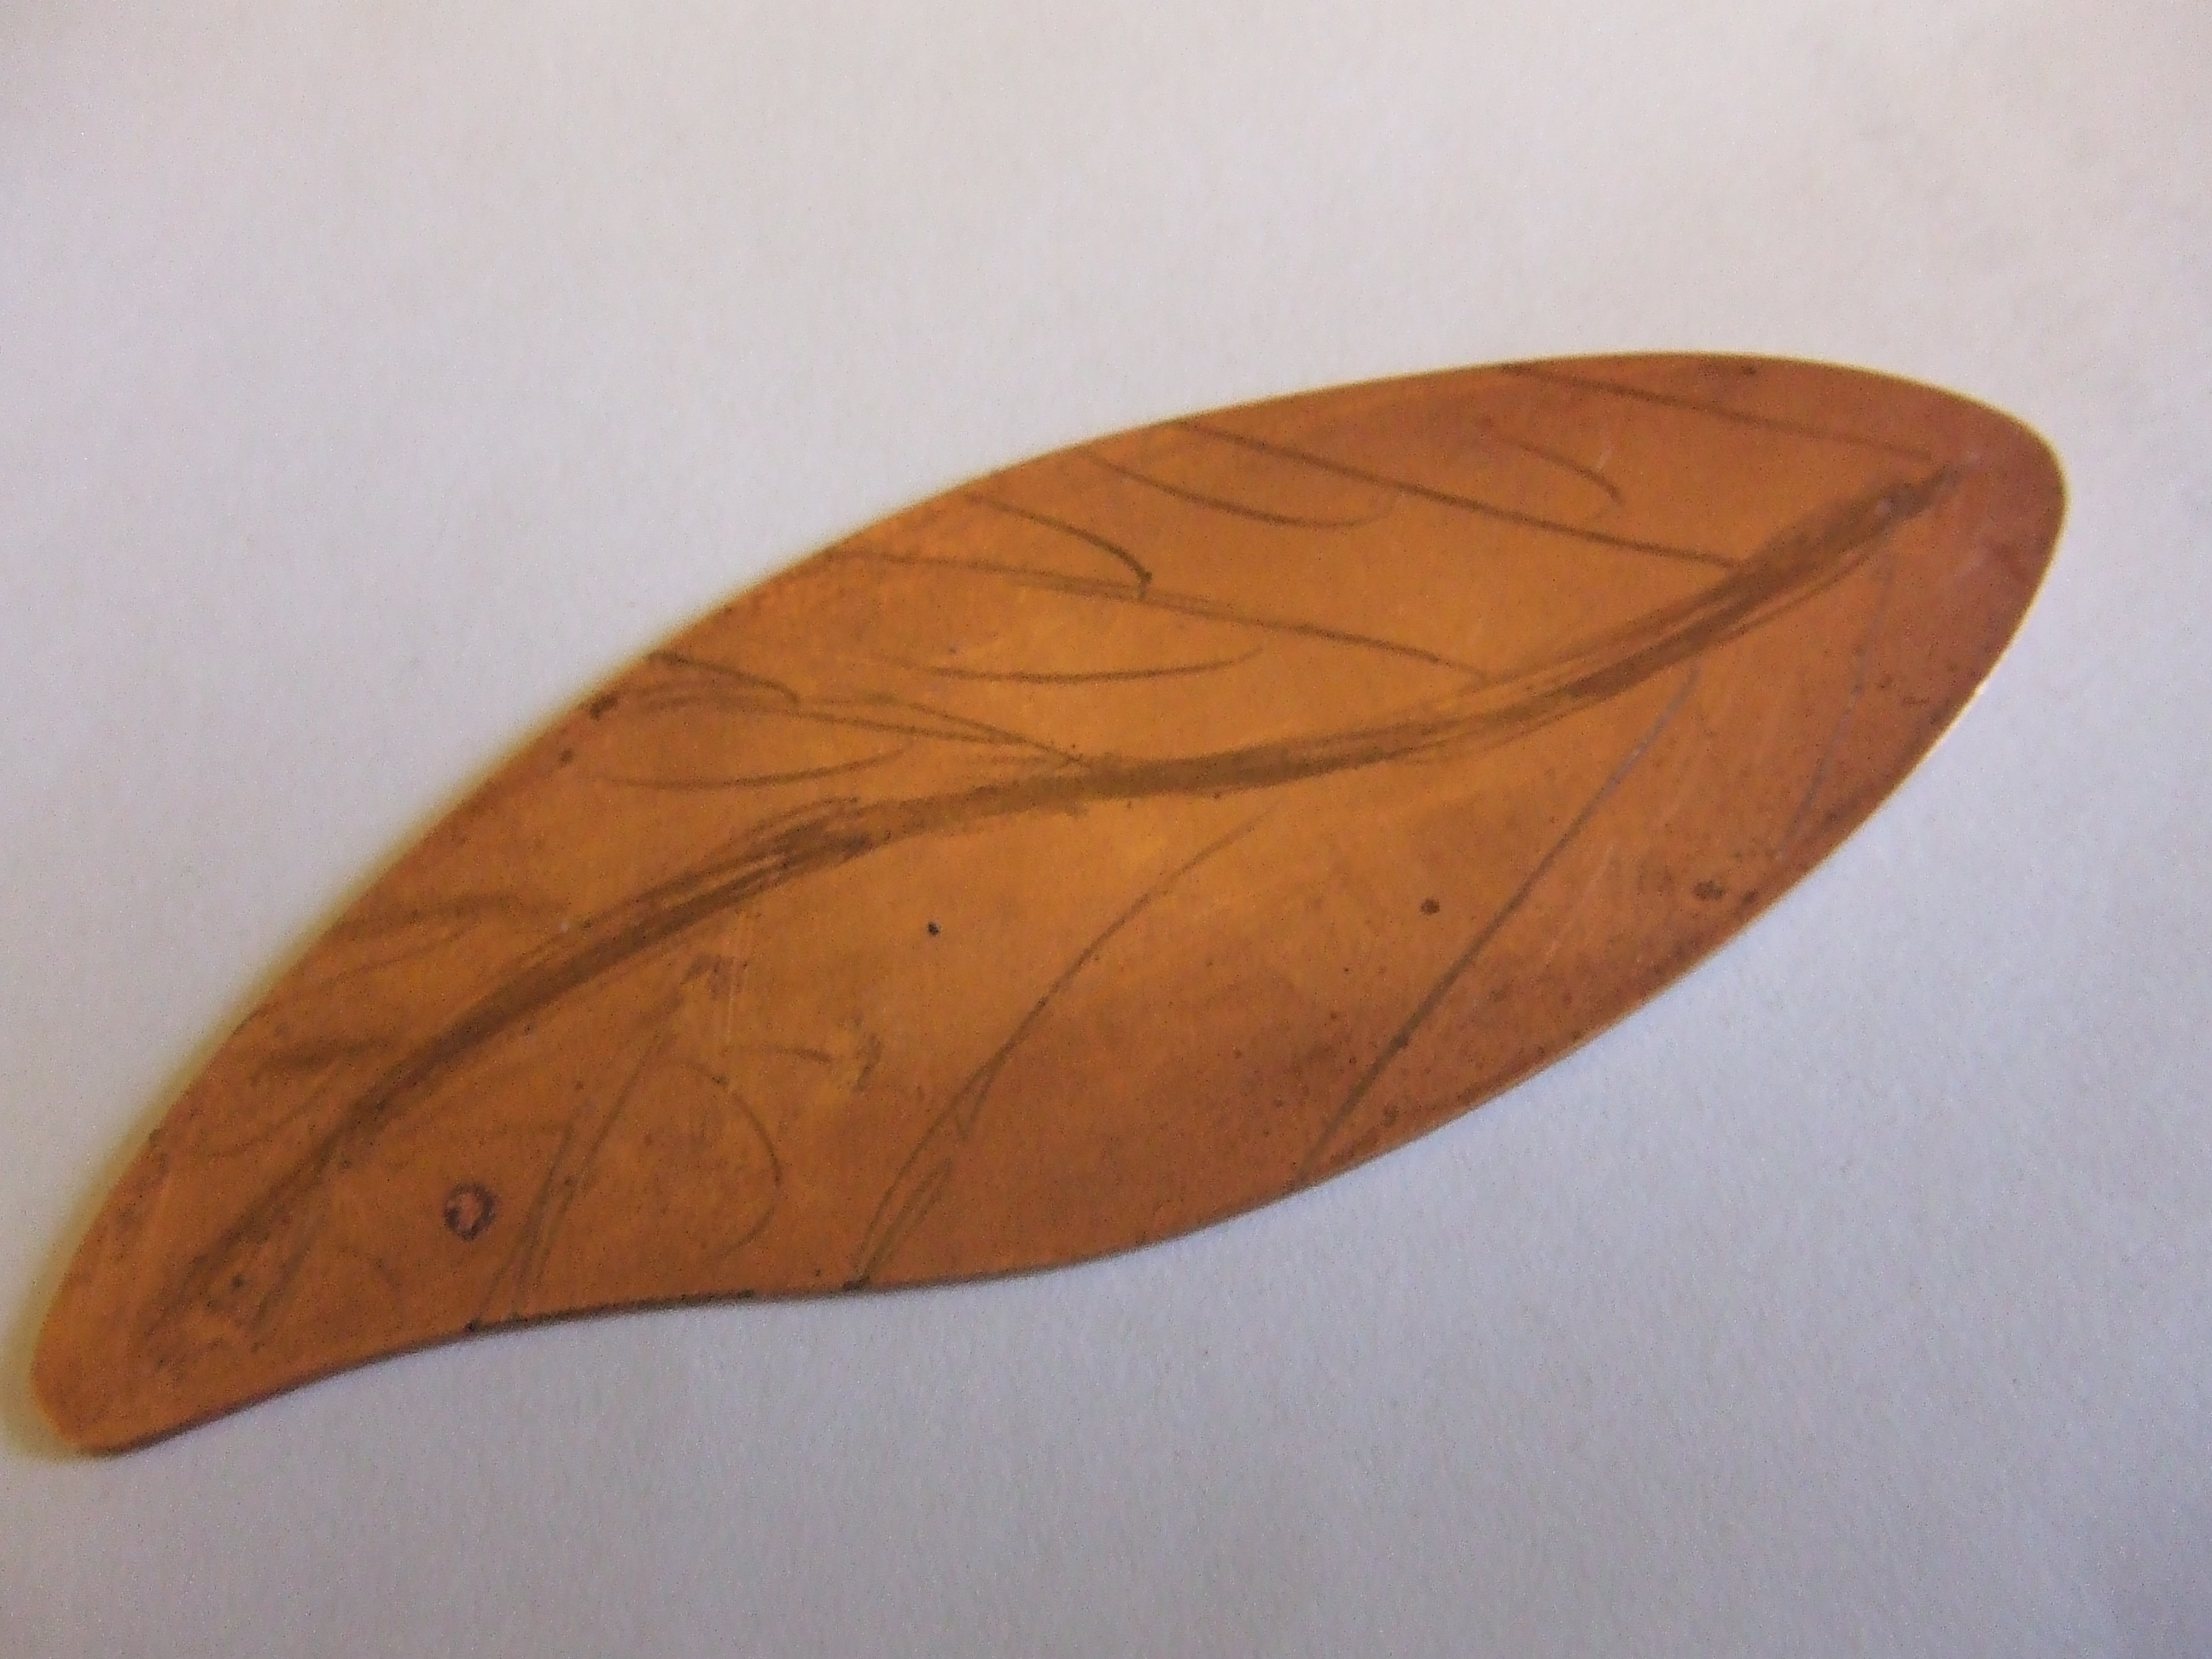
A view of underside of leaf before shaping and soldering the back on.
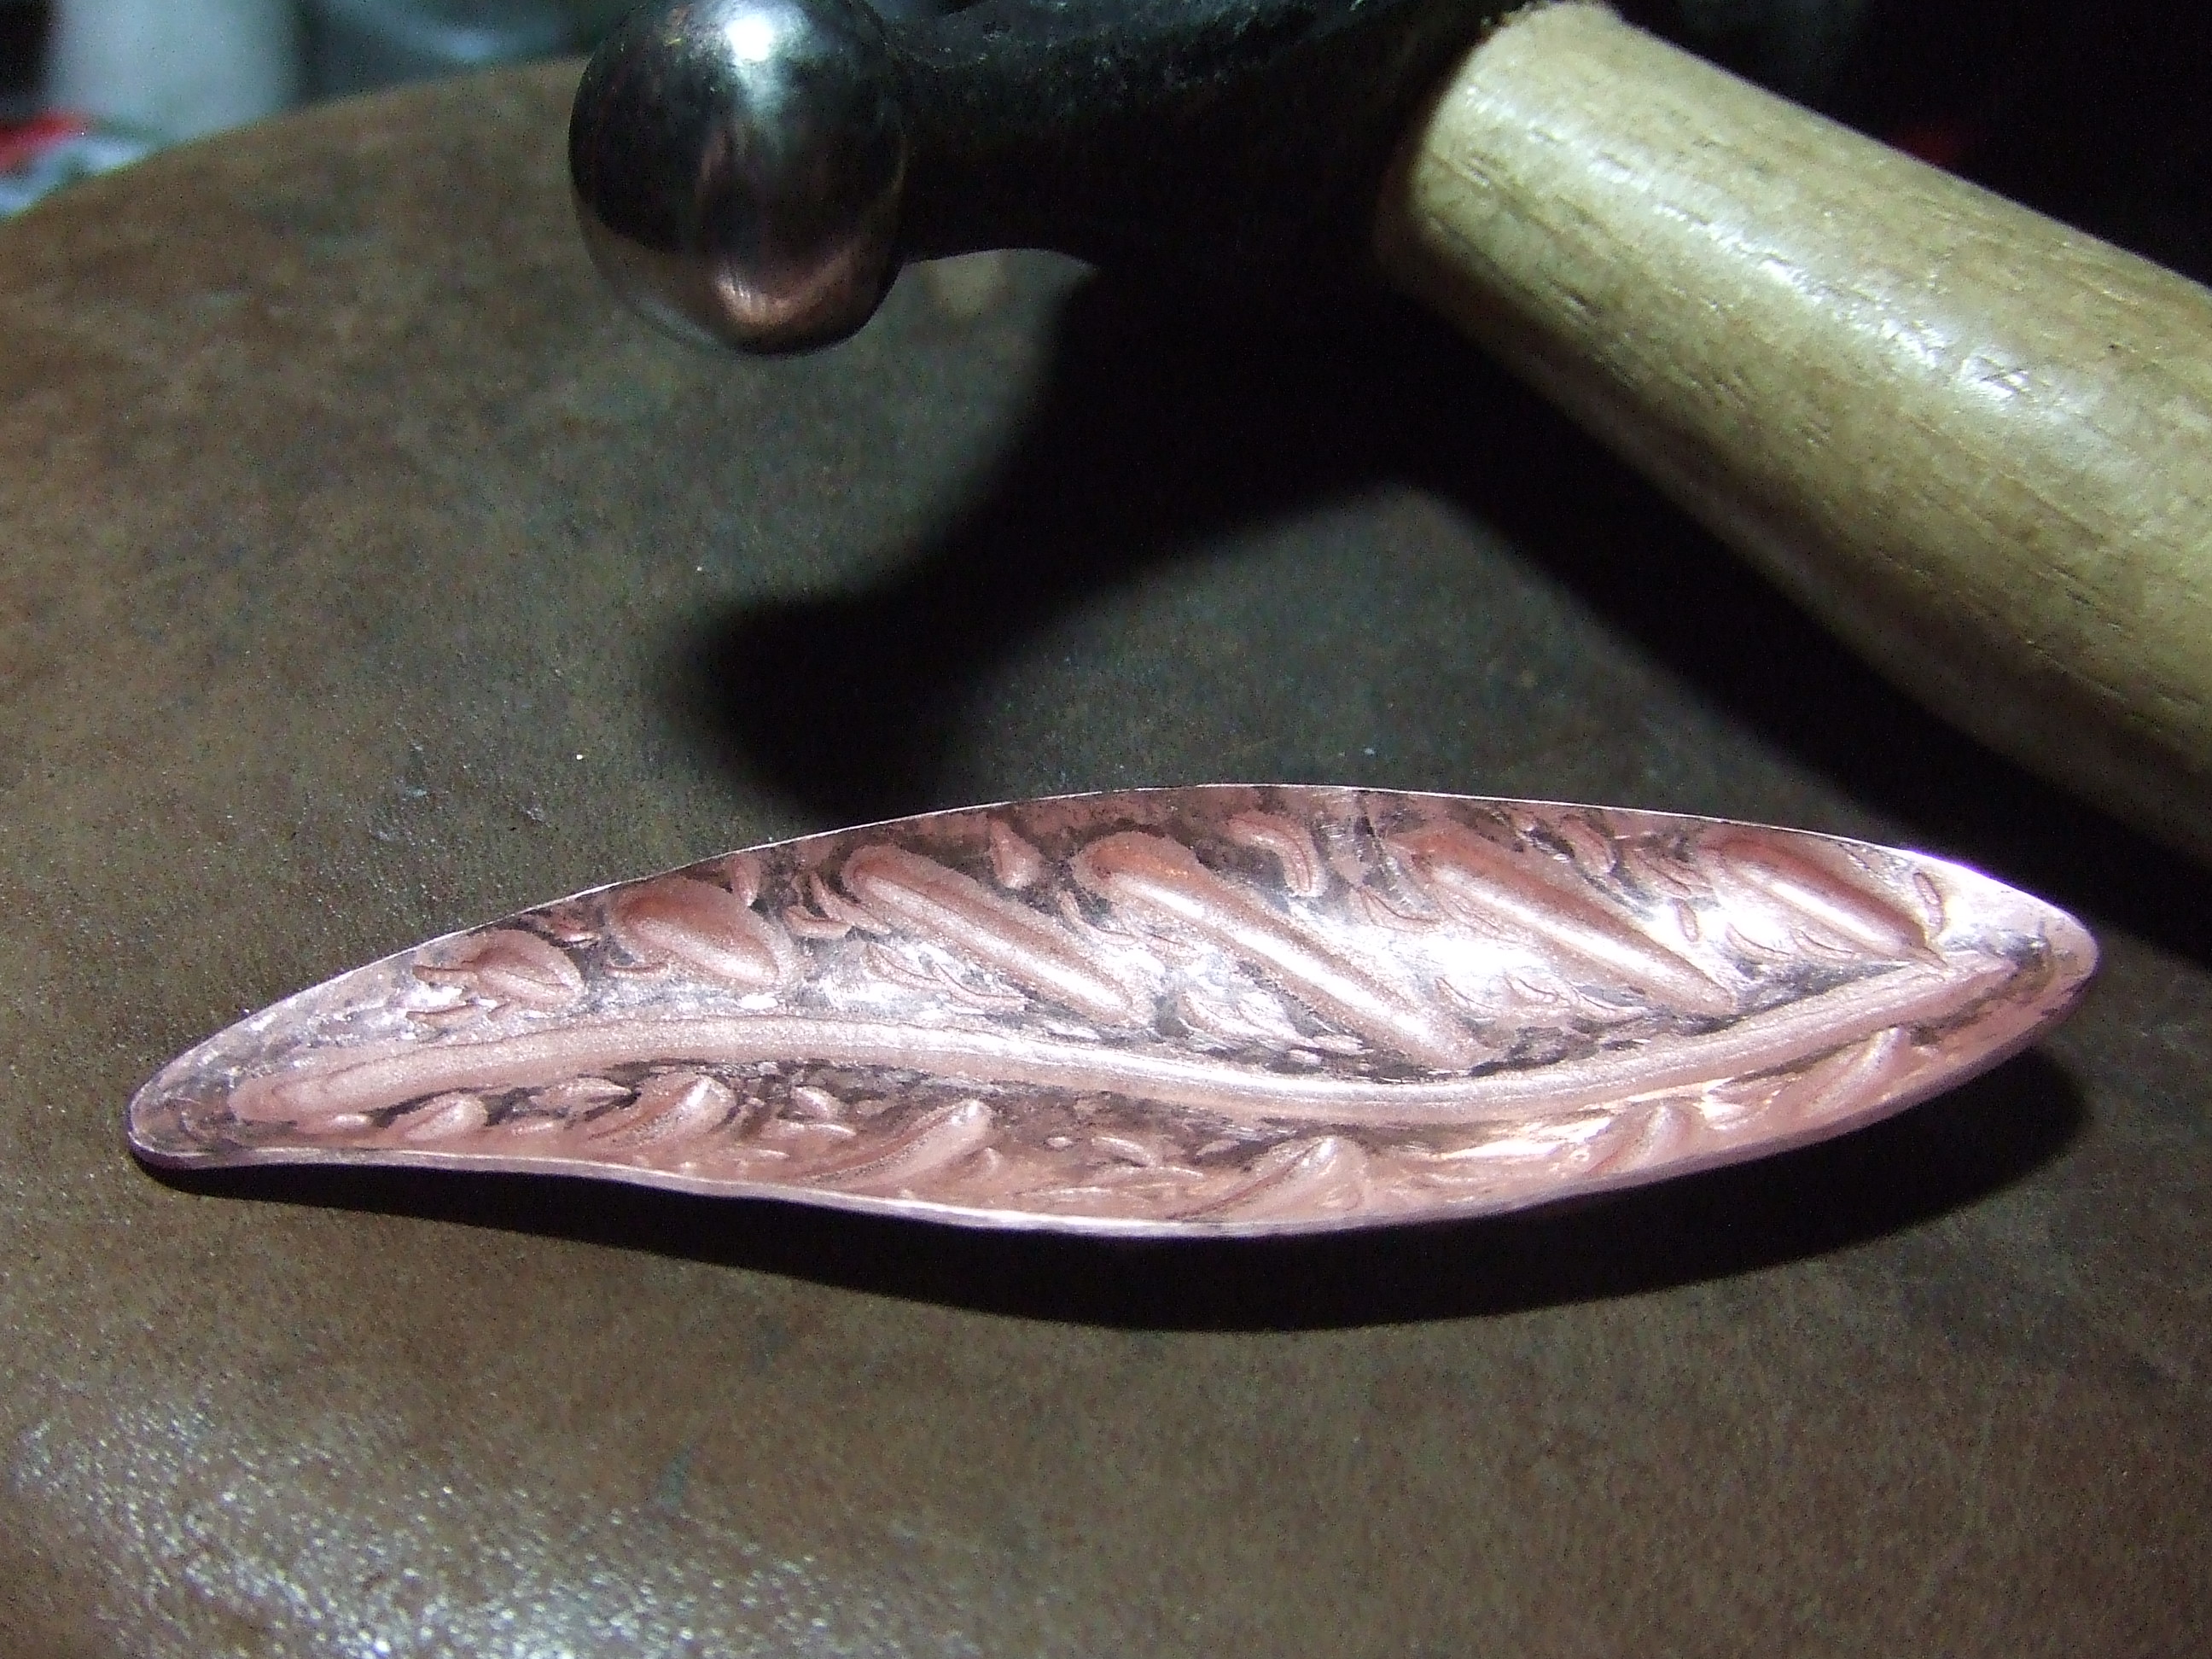
Sinking hammer, also punches used on sandbag to create curve.

I raised this one to make a flatter base. I’m bound to say, far too much trouble for this project.

Shape O/K, now to add hinge, bearer and retainer before final planish.

PLEASE SEE TEXT DO NOT SOLDER HALVES TOGETHER WITHOUT ‘BREATHING” HOLES SHOWN HERE.

As you see, this is what you will see when the two halves come together, nothing, no trace of the holes, good oh eh 🙂

I hope you can make out the zig zag of the wire to give the pin spring. Let me know if not.

Mark two with the thicker veins.
Wato wato, a very happy and productive new year to you all.
Well I feel sure I’m not alone in carrying a little- well O/K a lot more weight after the festive season, when will we ever learn eh 😉
As promised, the copper brooches, made from my trusty supply of copper hot water tank. Not too much longer, I hope, before I’m back in work, the administration train runs sooo slooowww, then I will purchase more silver.
Being boracic lint, (cockney rhyming slang for skint, no money). I thought I was to receive some money before Christmas, alas it didn’t materialise, I was forced to improvise for cost effective prezzies. My poor long suffering mum was the recipient of one of these for Christmas.
I have explained alongside the pictures as best as I can the dry construction notes, I do feel bound to point out the one showing the small holes I drilled in the tube that acted to release pressure when soldering the two halves together. If you look at some closed forms you will see a little hole, this is for safety, the piece can explode whilst soldering if no allowance is given for the gasses to escape. Now the little boy in me would love to see this in action, however I have kept down this mischievous side of me and made my holes invisible. I really dislike seeing the hole that is drilled in pieces I have seen, so I opted to cut the slot deep enough to go through the underside/skin to allow me to drill two holes in the soldered bearer tube, this becomes invisible once the brooch is constructed and the pin added.
I chose to make the leaf in two halves for three reasons; The copper is quite thin, approximately 0.6mm, just under in fact, this makes any construction very weak. By soldering two halves together the strength increases. Also it adds weight, both visually and actually, making the piece more tactile. It also gave me the opportunity to use three different finishes, chased design for the veins, burnished edge to attract reflective light, helping to accentuate the curve in all directions, and finally a contrasting planished back.
The pin was made from florists stainless steel wire 1.0mm thick. If you notice the first one I put a curve to follow the back, the second I bent a zig zag to act as a spring, enabling me to keep the pins straight, either will do, I could not express a favourite.
Of the two, I think I prefer the first one. The veins were chased with a narrower liner, I attempted to make bigger veins with the second, perhaps too thick?
I like to flame patinate copper and seal it with a clear coat of acrylic. I should have been braver and gone for some more purples and reds, oh well, another time perhaps.
I hope these will give you some ideas of your own, please do let me know, I would be thrilled to hear from you.
Until next time, all my very best wishes.
Stu Art

Hey Stuart, I really like the brooch. And I could make out the zic zac in the wire and I did exactly that for a repair job not long ago. It works really well. I also like that you used two pins . It adds stability and safety. I am very happy that you don`t let go of your hammer. Keep banging man…..
Wato Paul, very many thanks, means a lot, especially coming from a problem solving jobbing jeweller in the commercial world. I will keep banging……. Well with the hammer at the very least eh 😉 very best wishes.
Stu, very happy to see you still pursuing the making of smaller jewellery such as these brooches, (and not just making holloware!) I really like all the in-process shots and the explanations that go hand-in-hand. It really helps to elaborate further on your creative process while working. Nice post yet again!
As always, I am very grateful for your thoughts and feedback. After all this time I feel I’m getting a better handle on posting. Please do keep in touch, a bit of a delay in my returning to full time work has made purchasing more pitch not possible to date. I should have the red pitch in February, I’ll post as soon as I can after. Very best wishes 🙂
Stu, please don’t feel you have to rush w/ purchasing. I am still using my trusty old black pitch – as I know that to determine red vs. green will require me purchasing a whole new bowl setup as well. I just found out that my favorite tools’ supplier has just dropped selling the green pitch – so the red is looking better at the moment regardless! So whenever work settles in and you get the chance is fine. Good luck w/ work, and I will check back in here again soon!